The project shown here is exceptional in its process and outcome, because of the extensive use of scale models as a design tool and as a presentation tool. To show the process this post is the short version of the booklet Danique van Hulst made for the Argus Expo at BK City.
The Delta Shelter is a six-week design project by the chair Form & Modelling studies during which the student has to develop a plan for a summerhouse on a Venetian island.
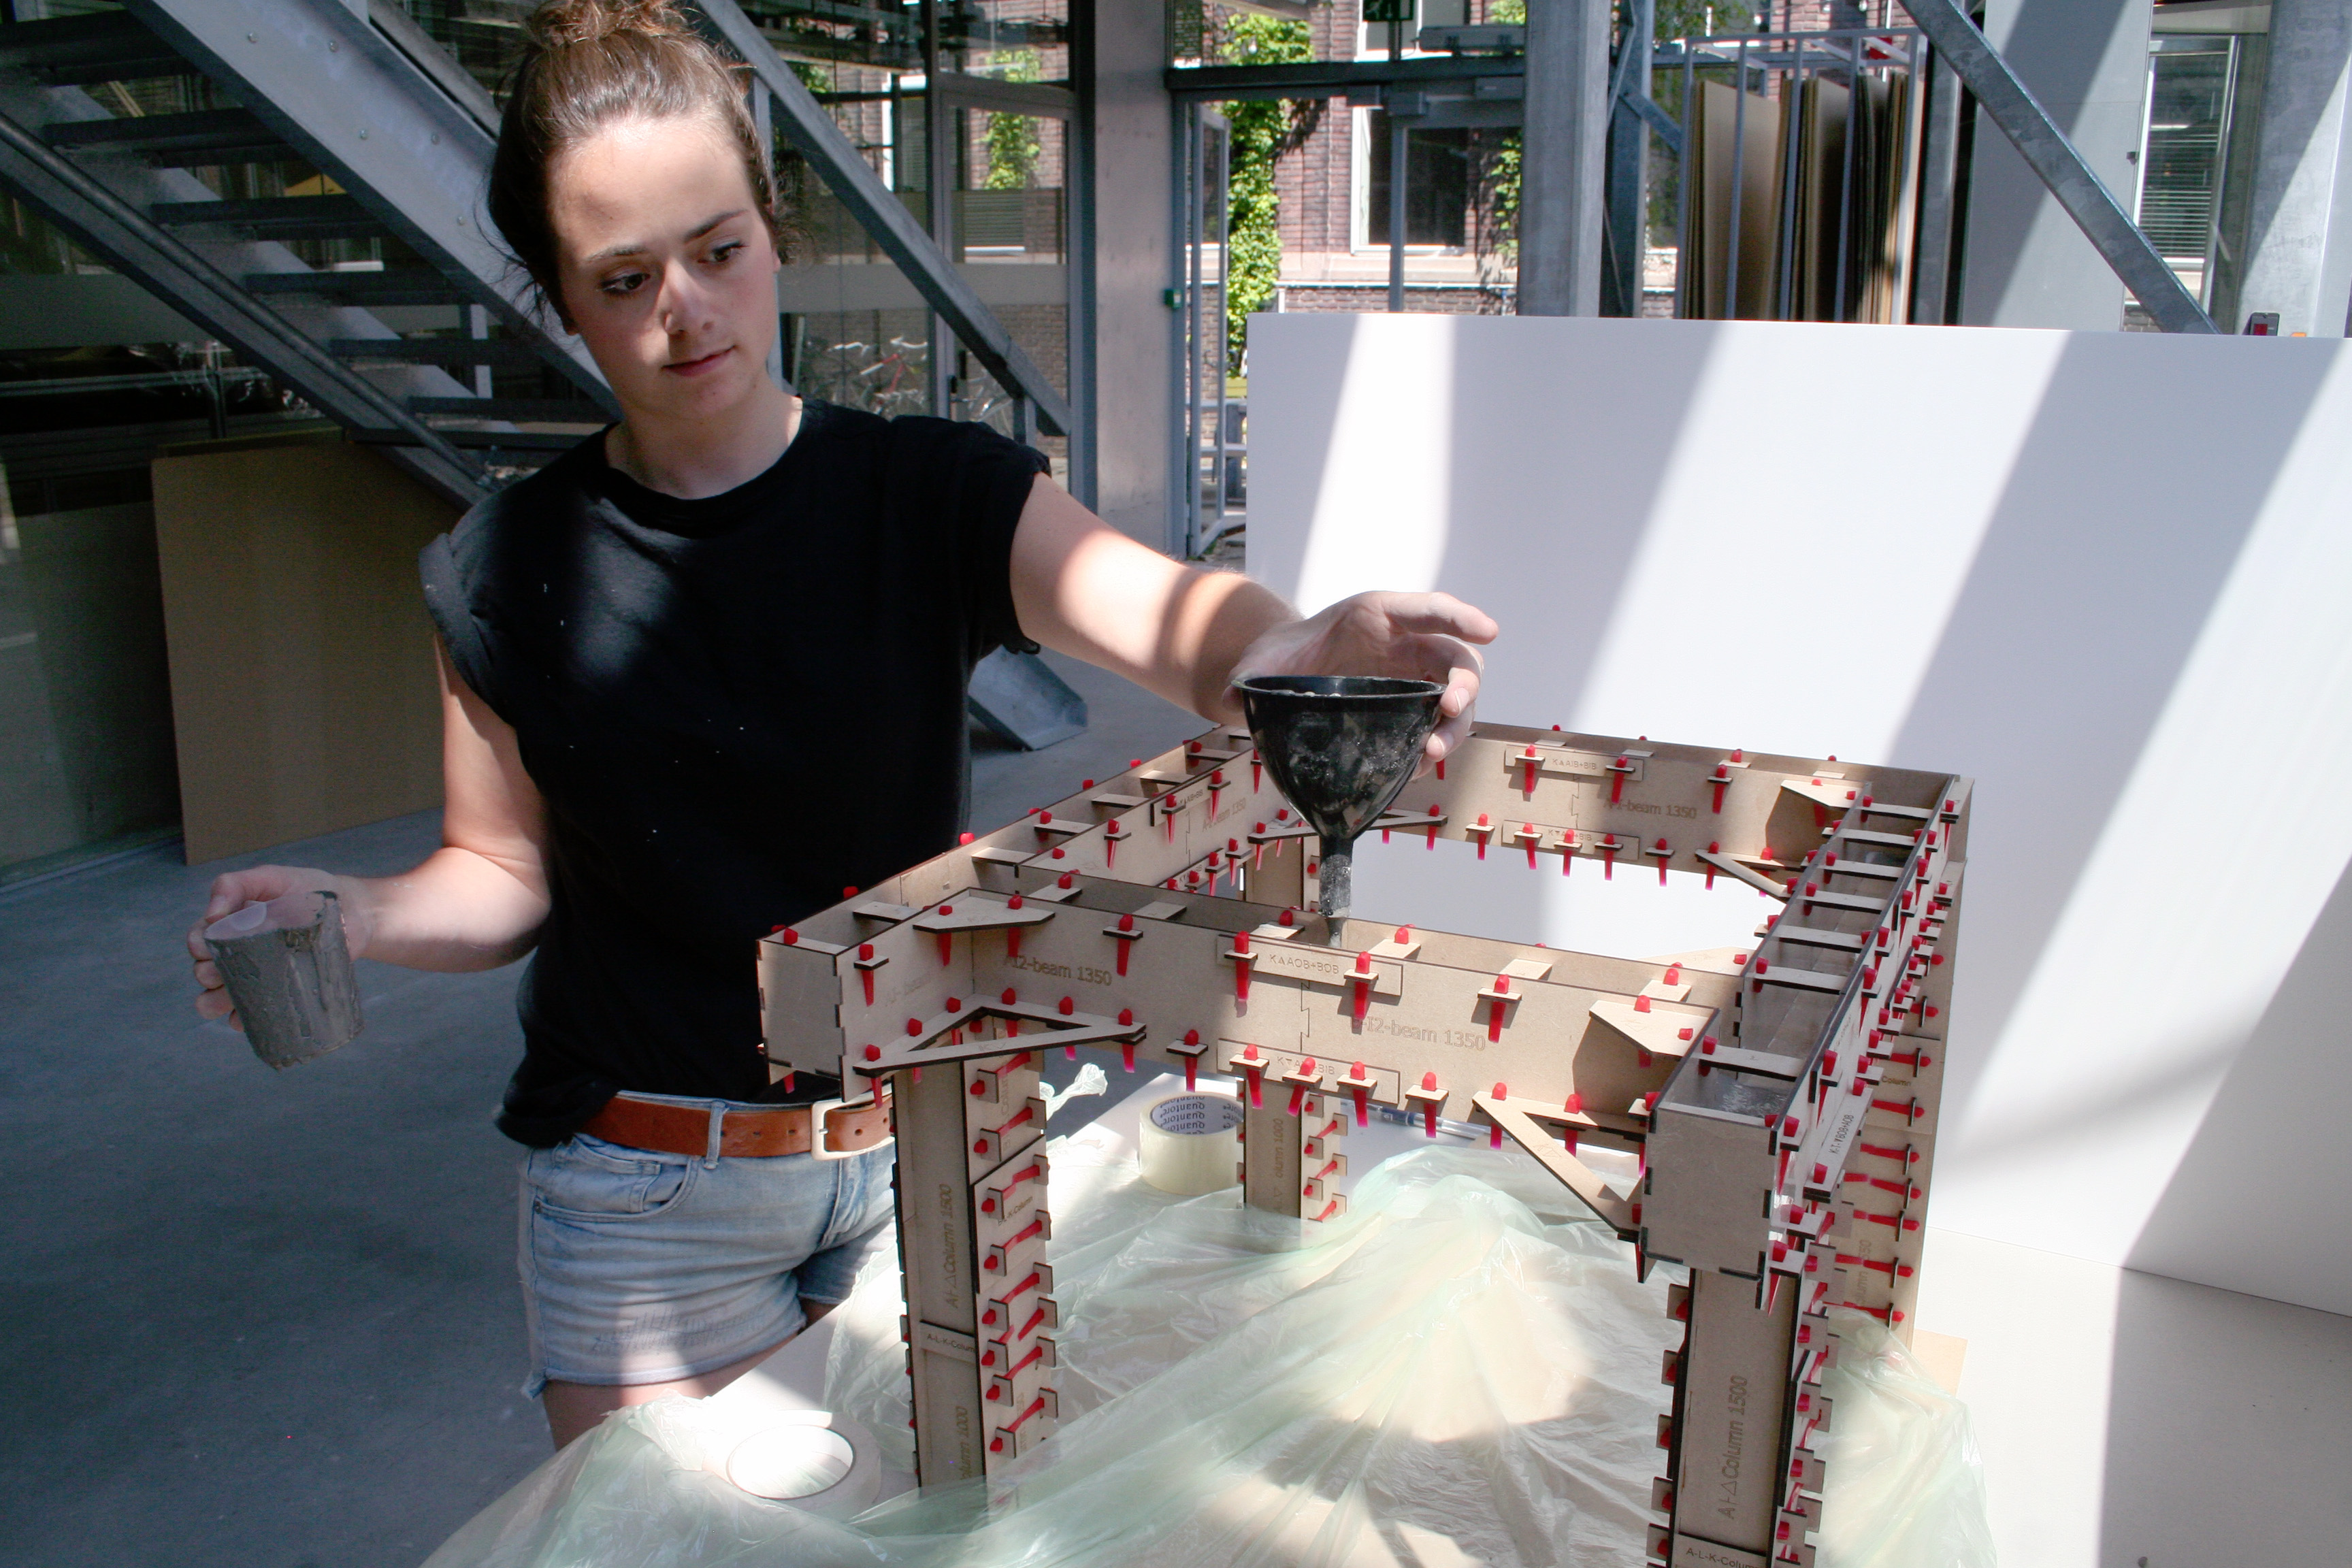
The project set-up has an exceptional design approach and method. During the design process the main design tool is the physical architectural model. The aim of the design course is to systematically integrate construction, design, materialization, detail and logistics. By making a vast amount of models each week, of different scales alongside each other, the plan is tested and developed on every level.
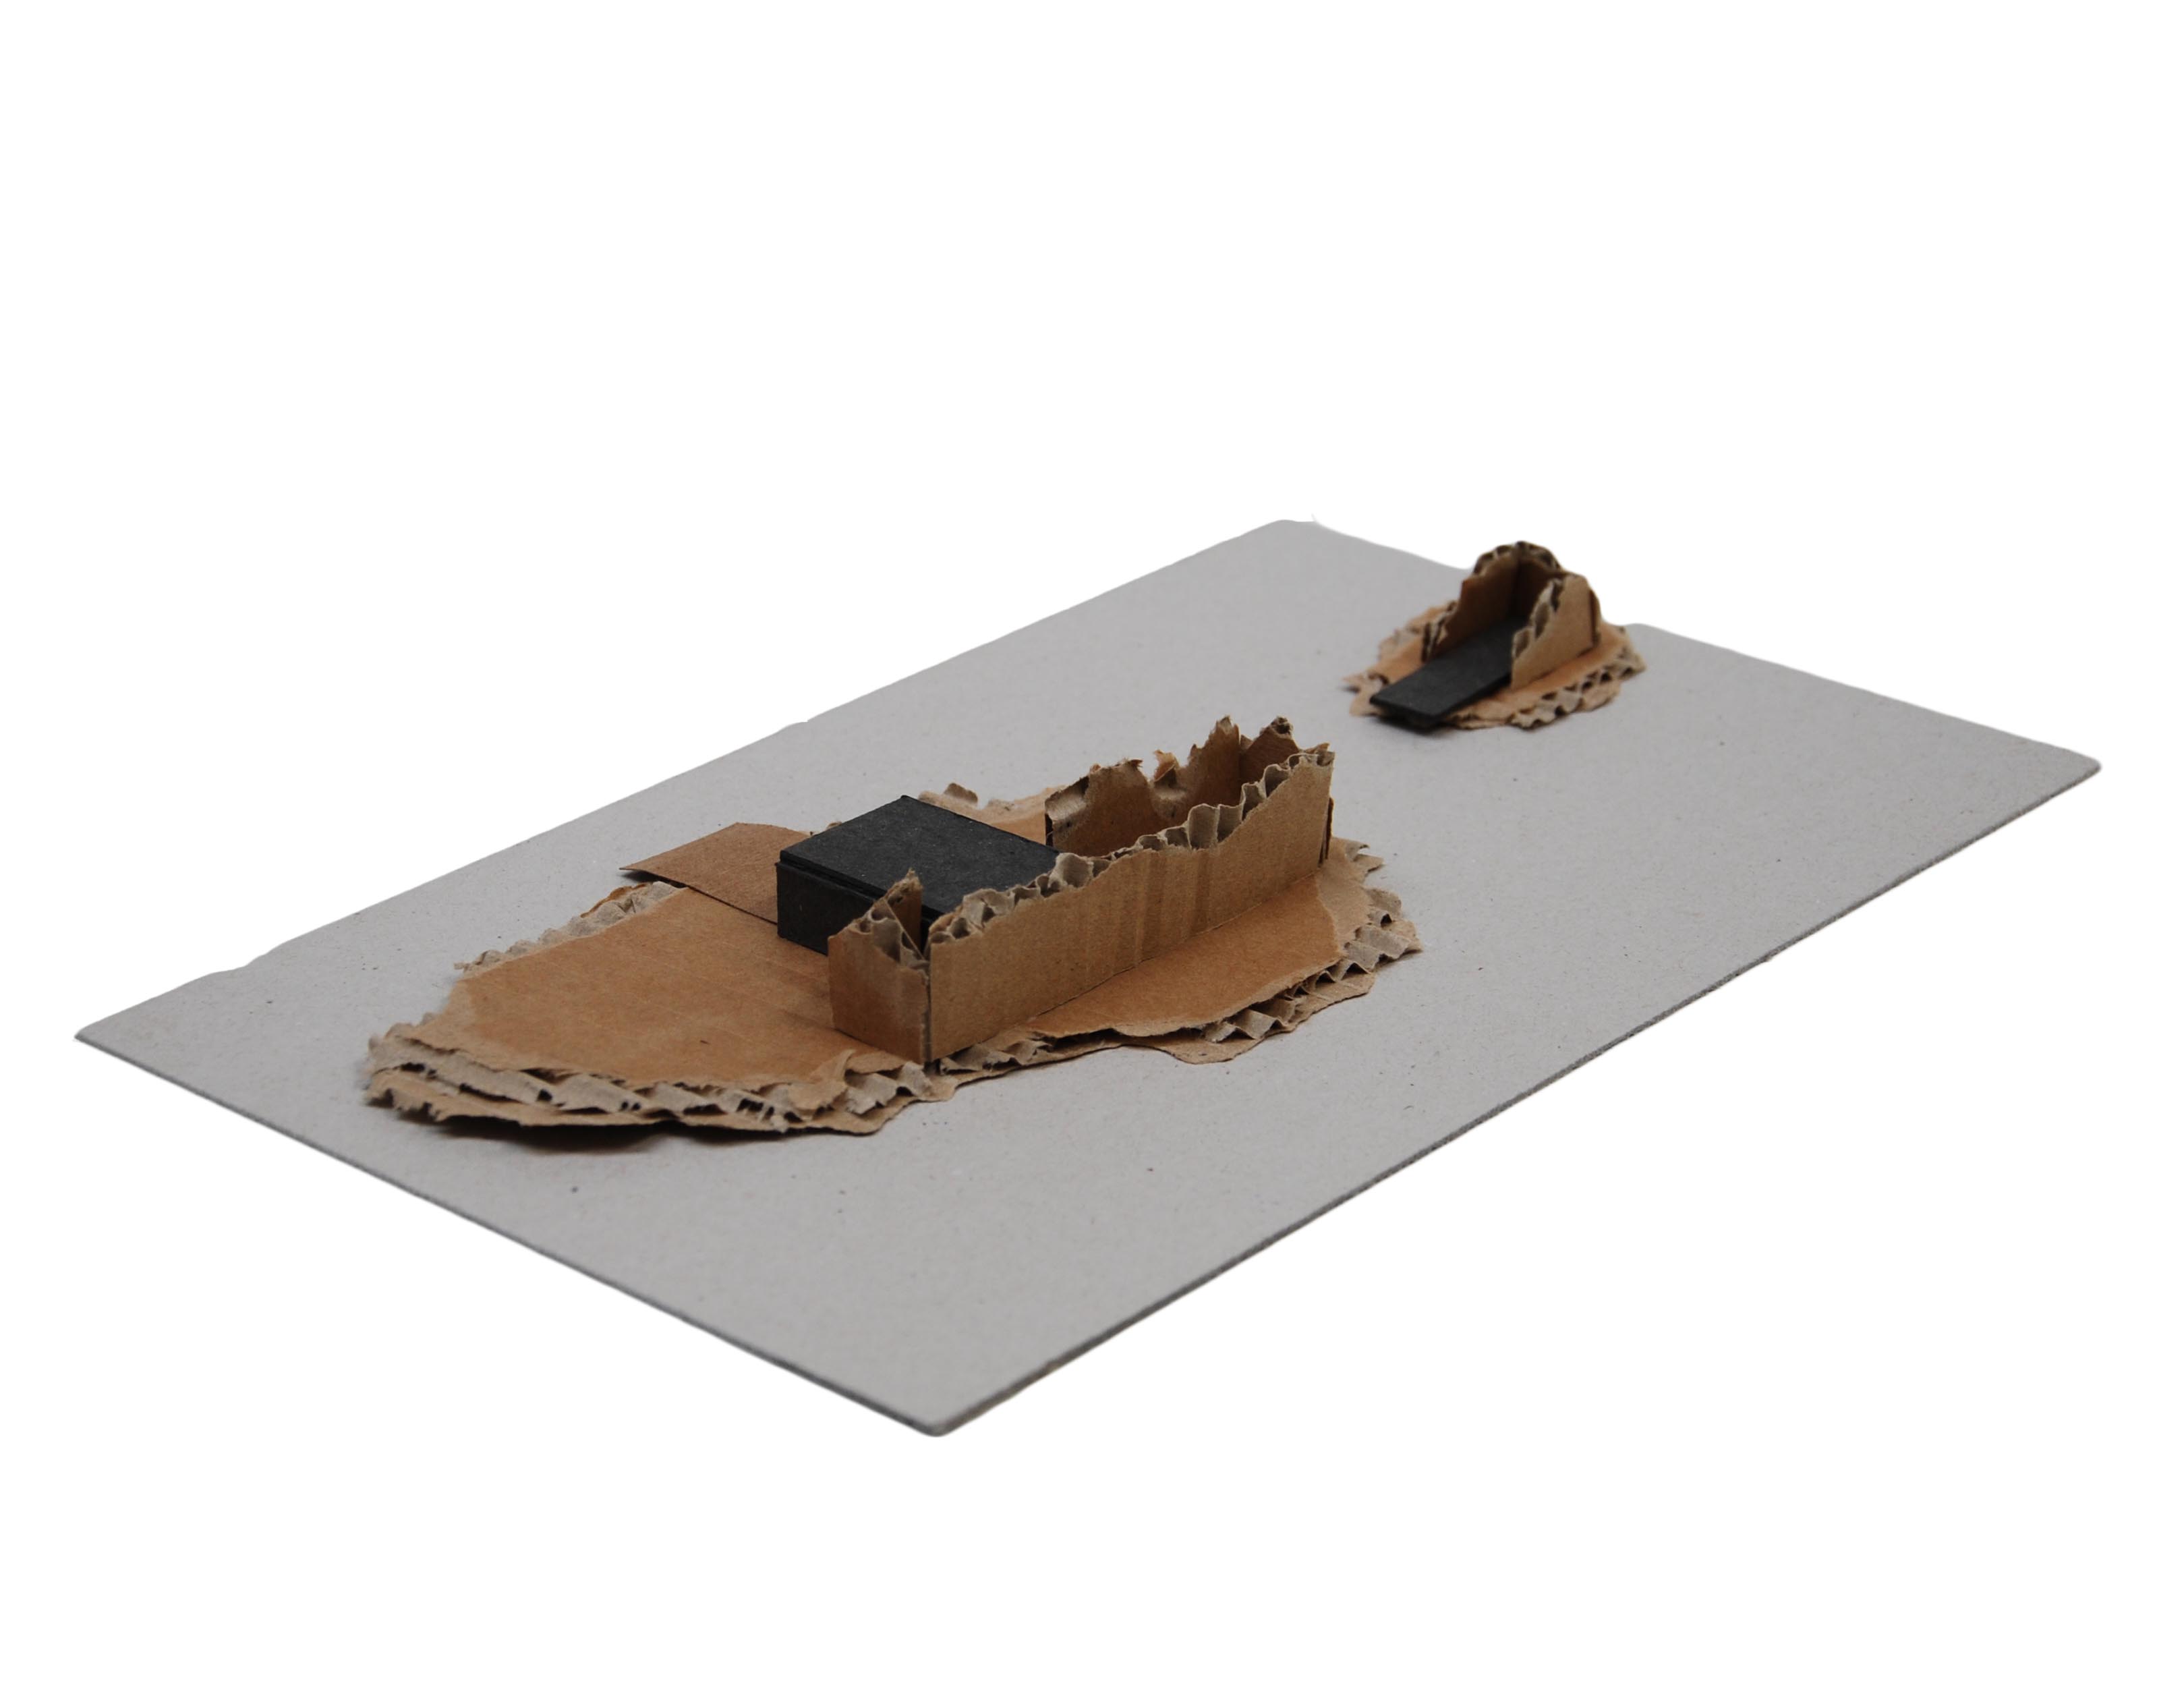
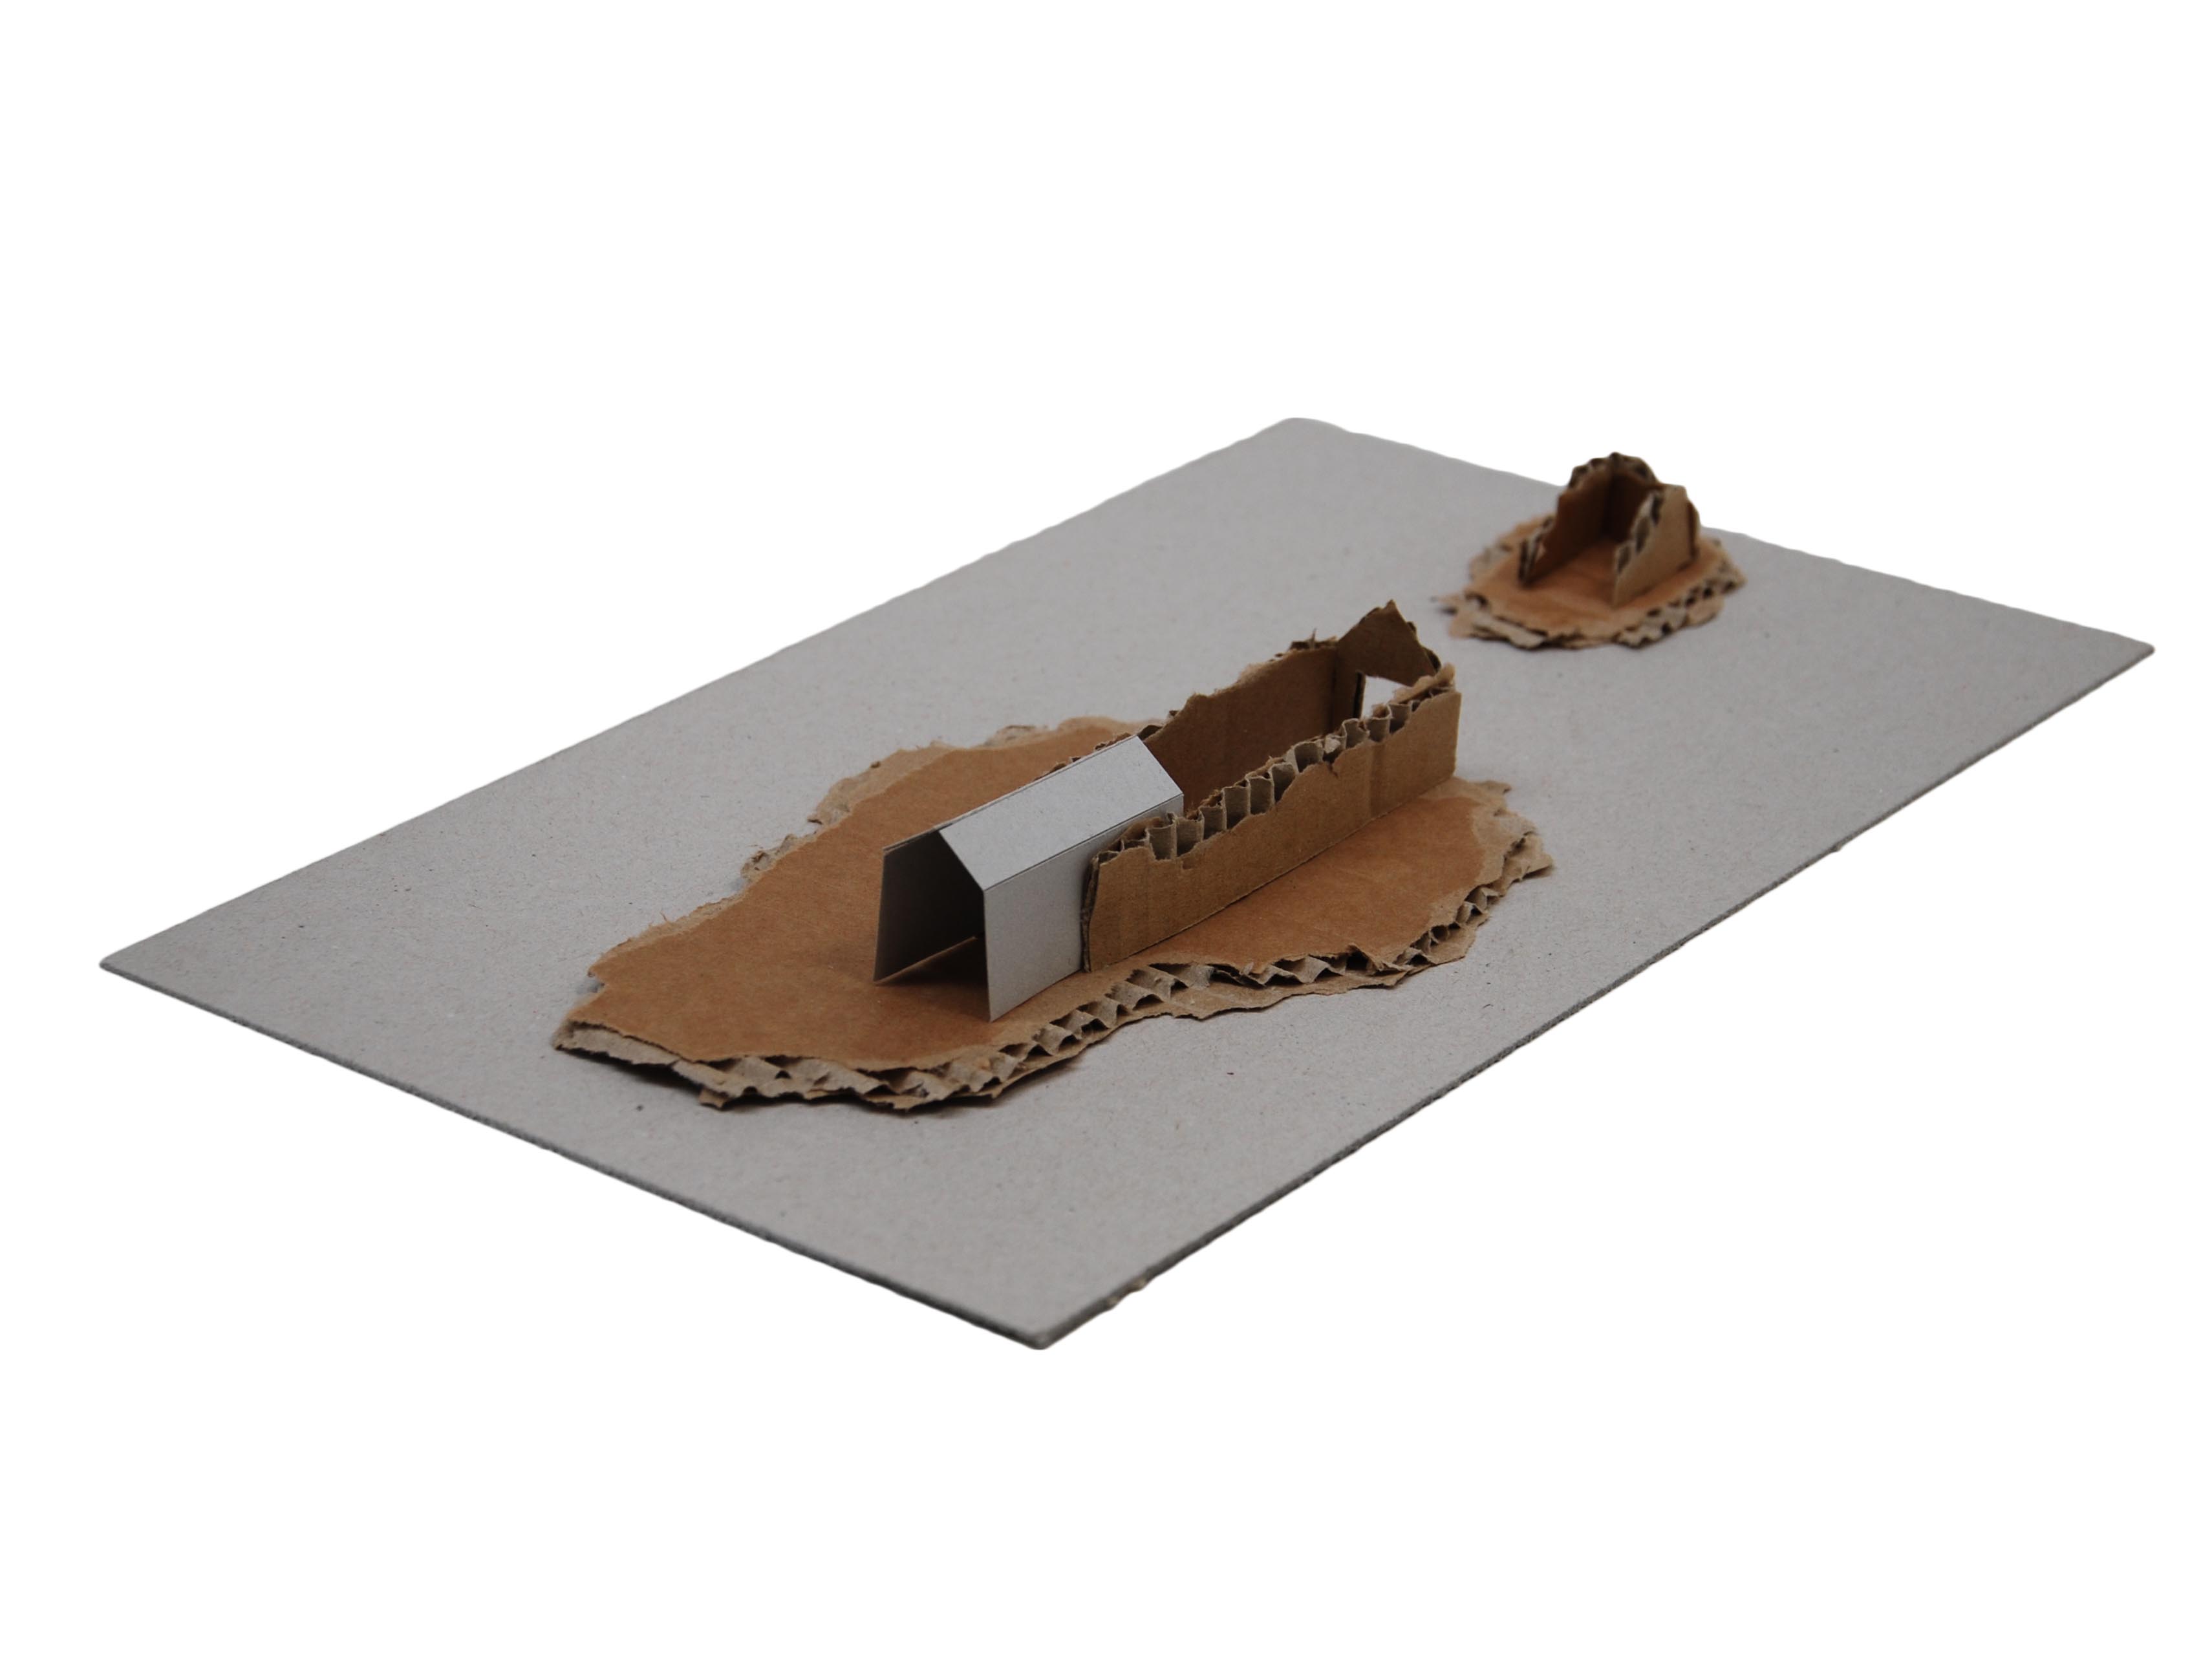
Making the First Sketch Models
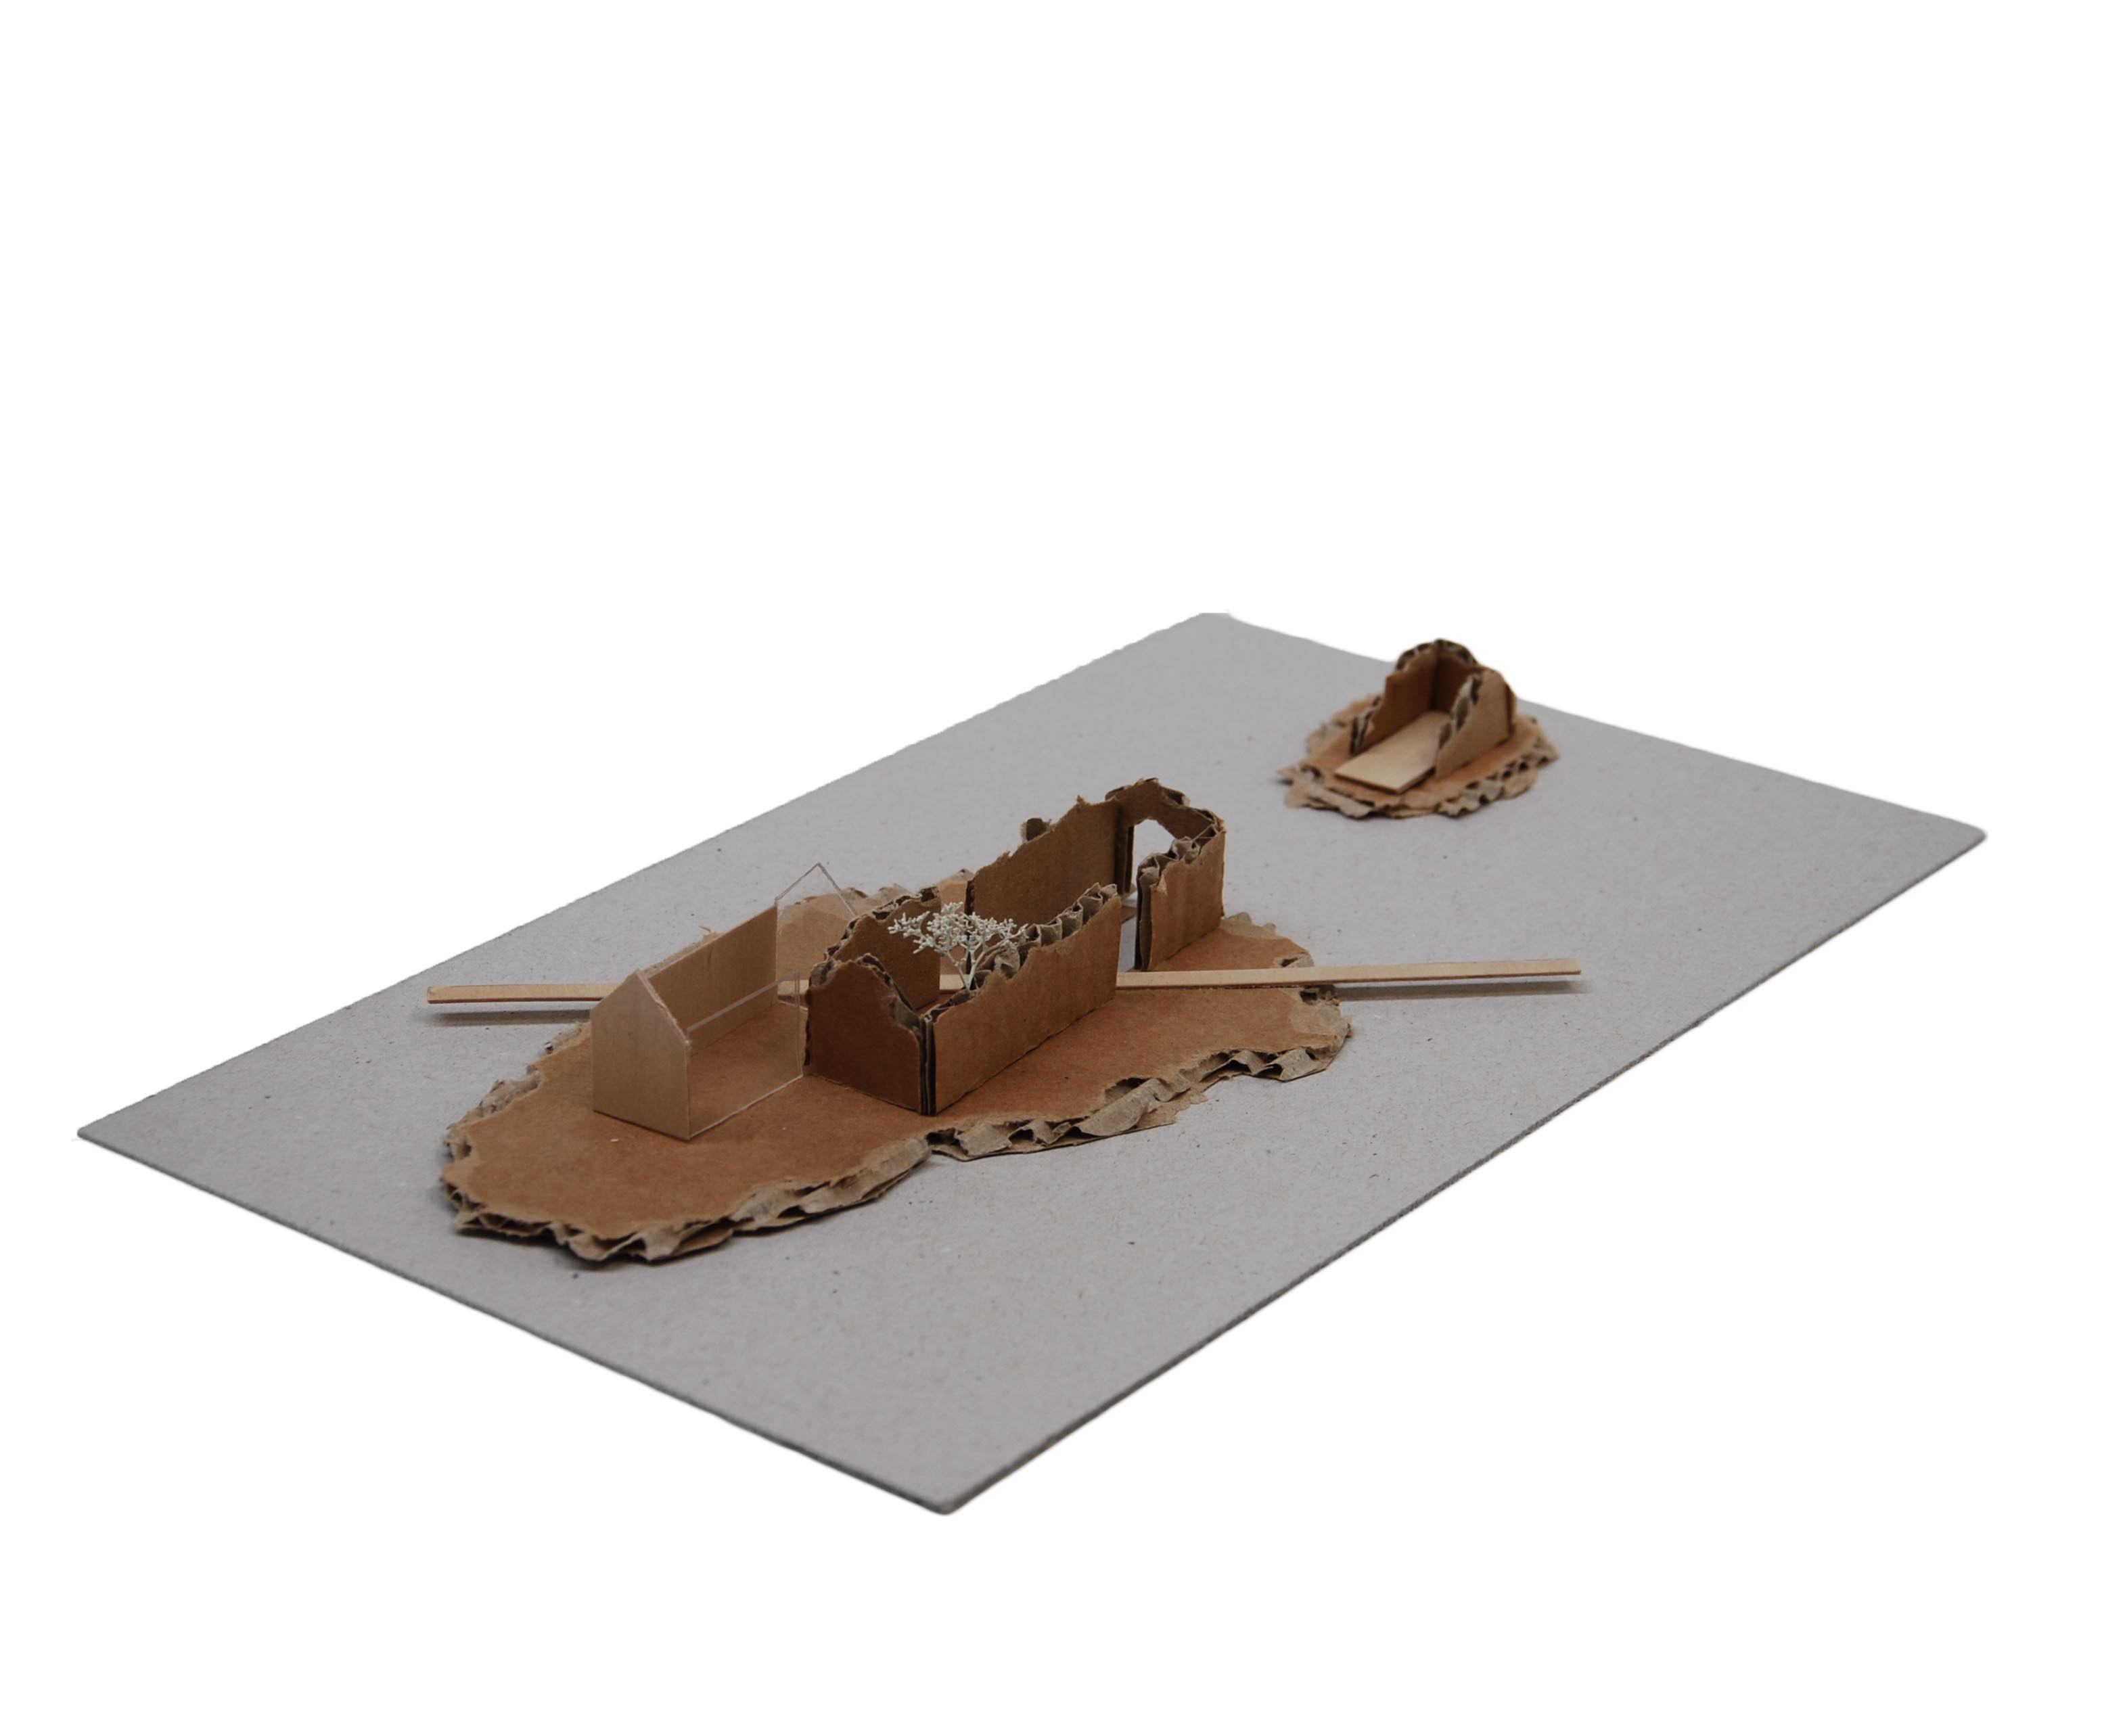
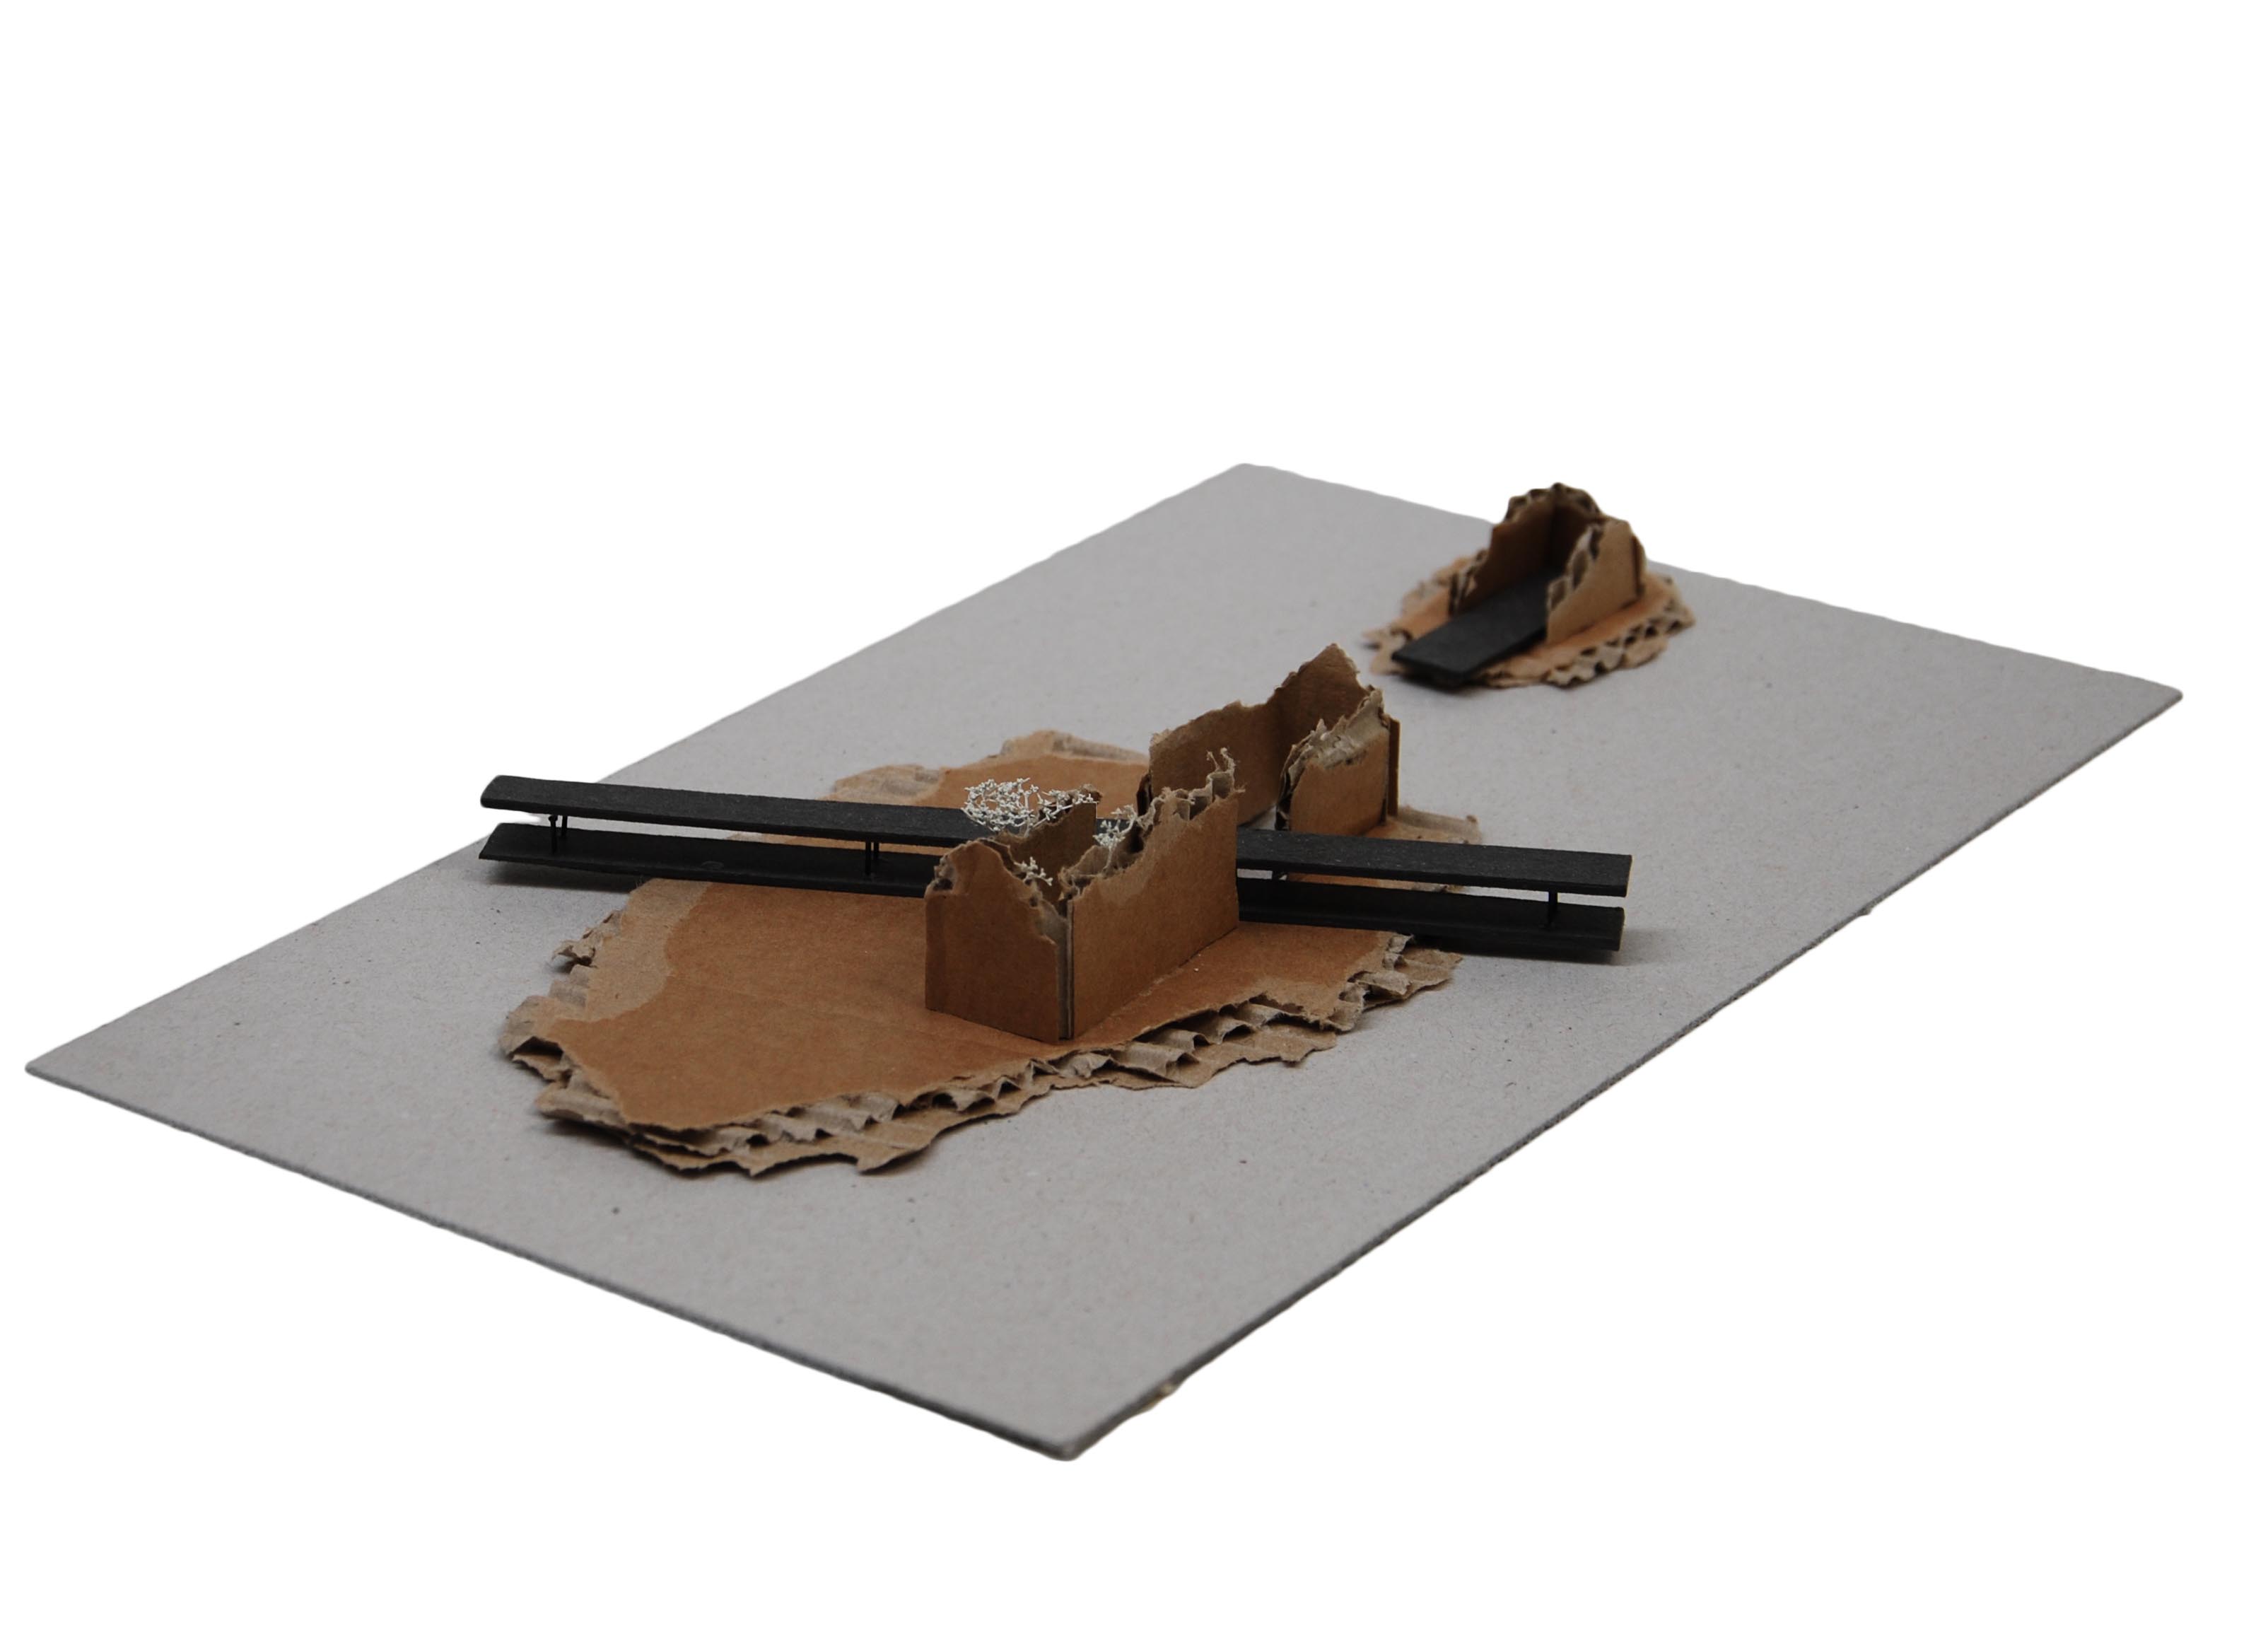
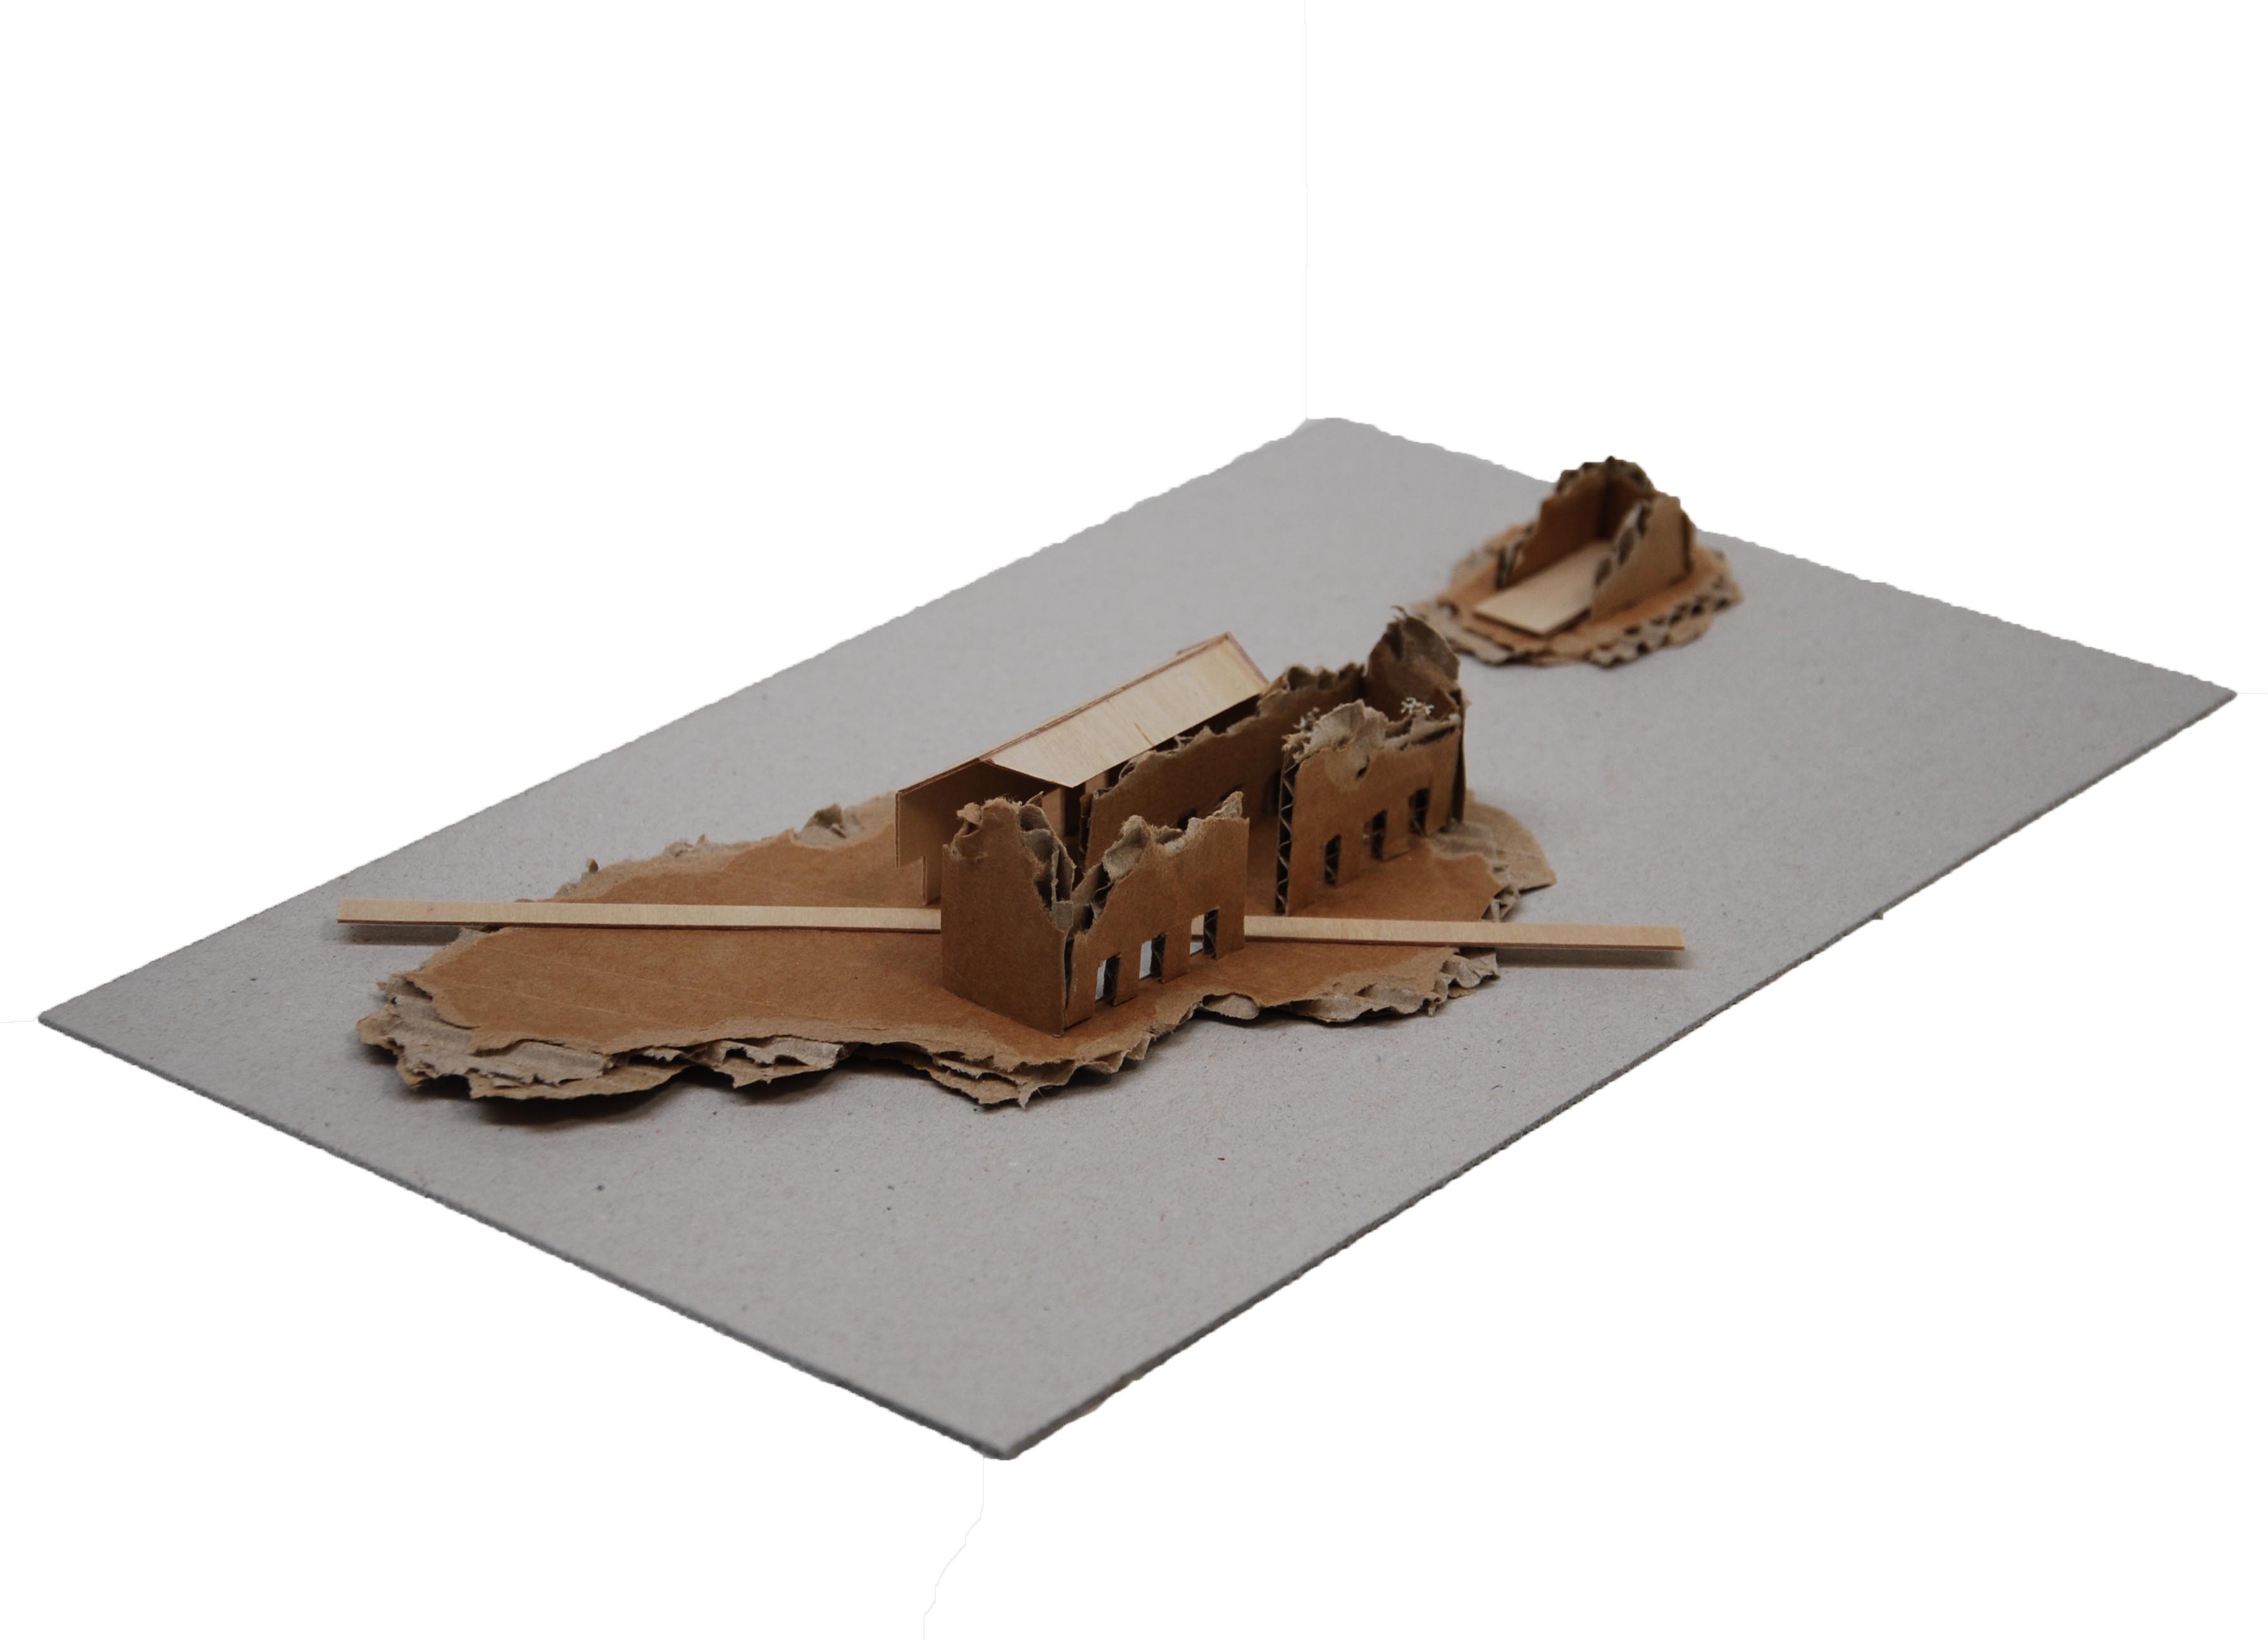
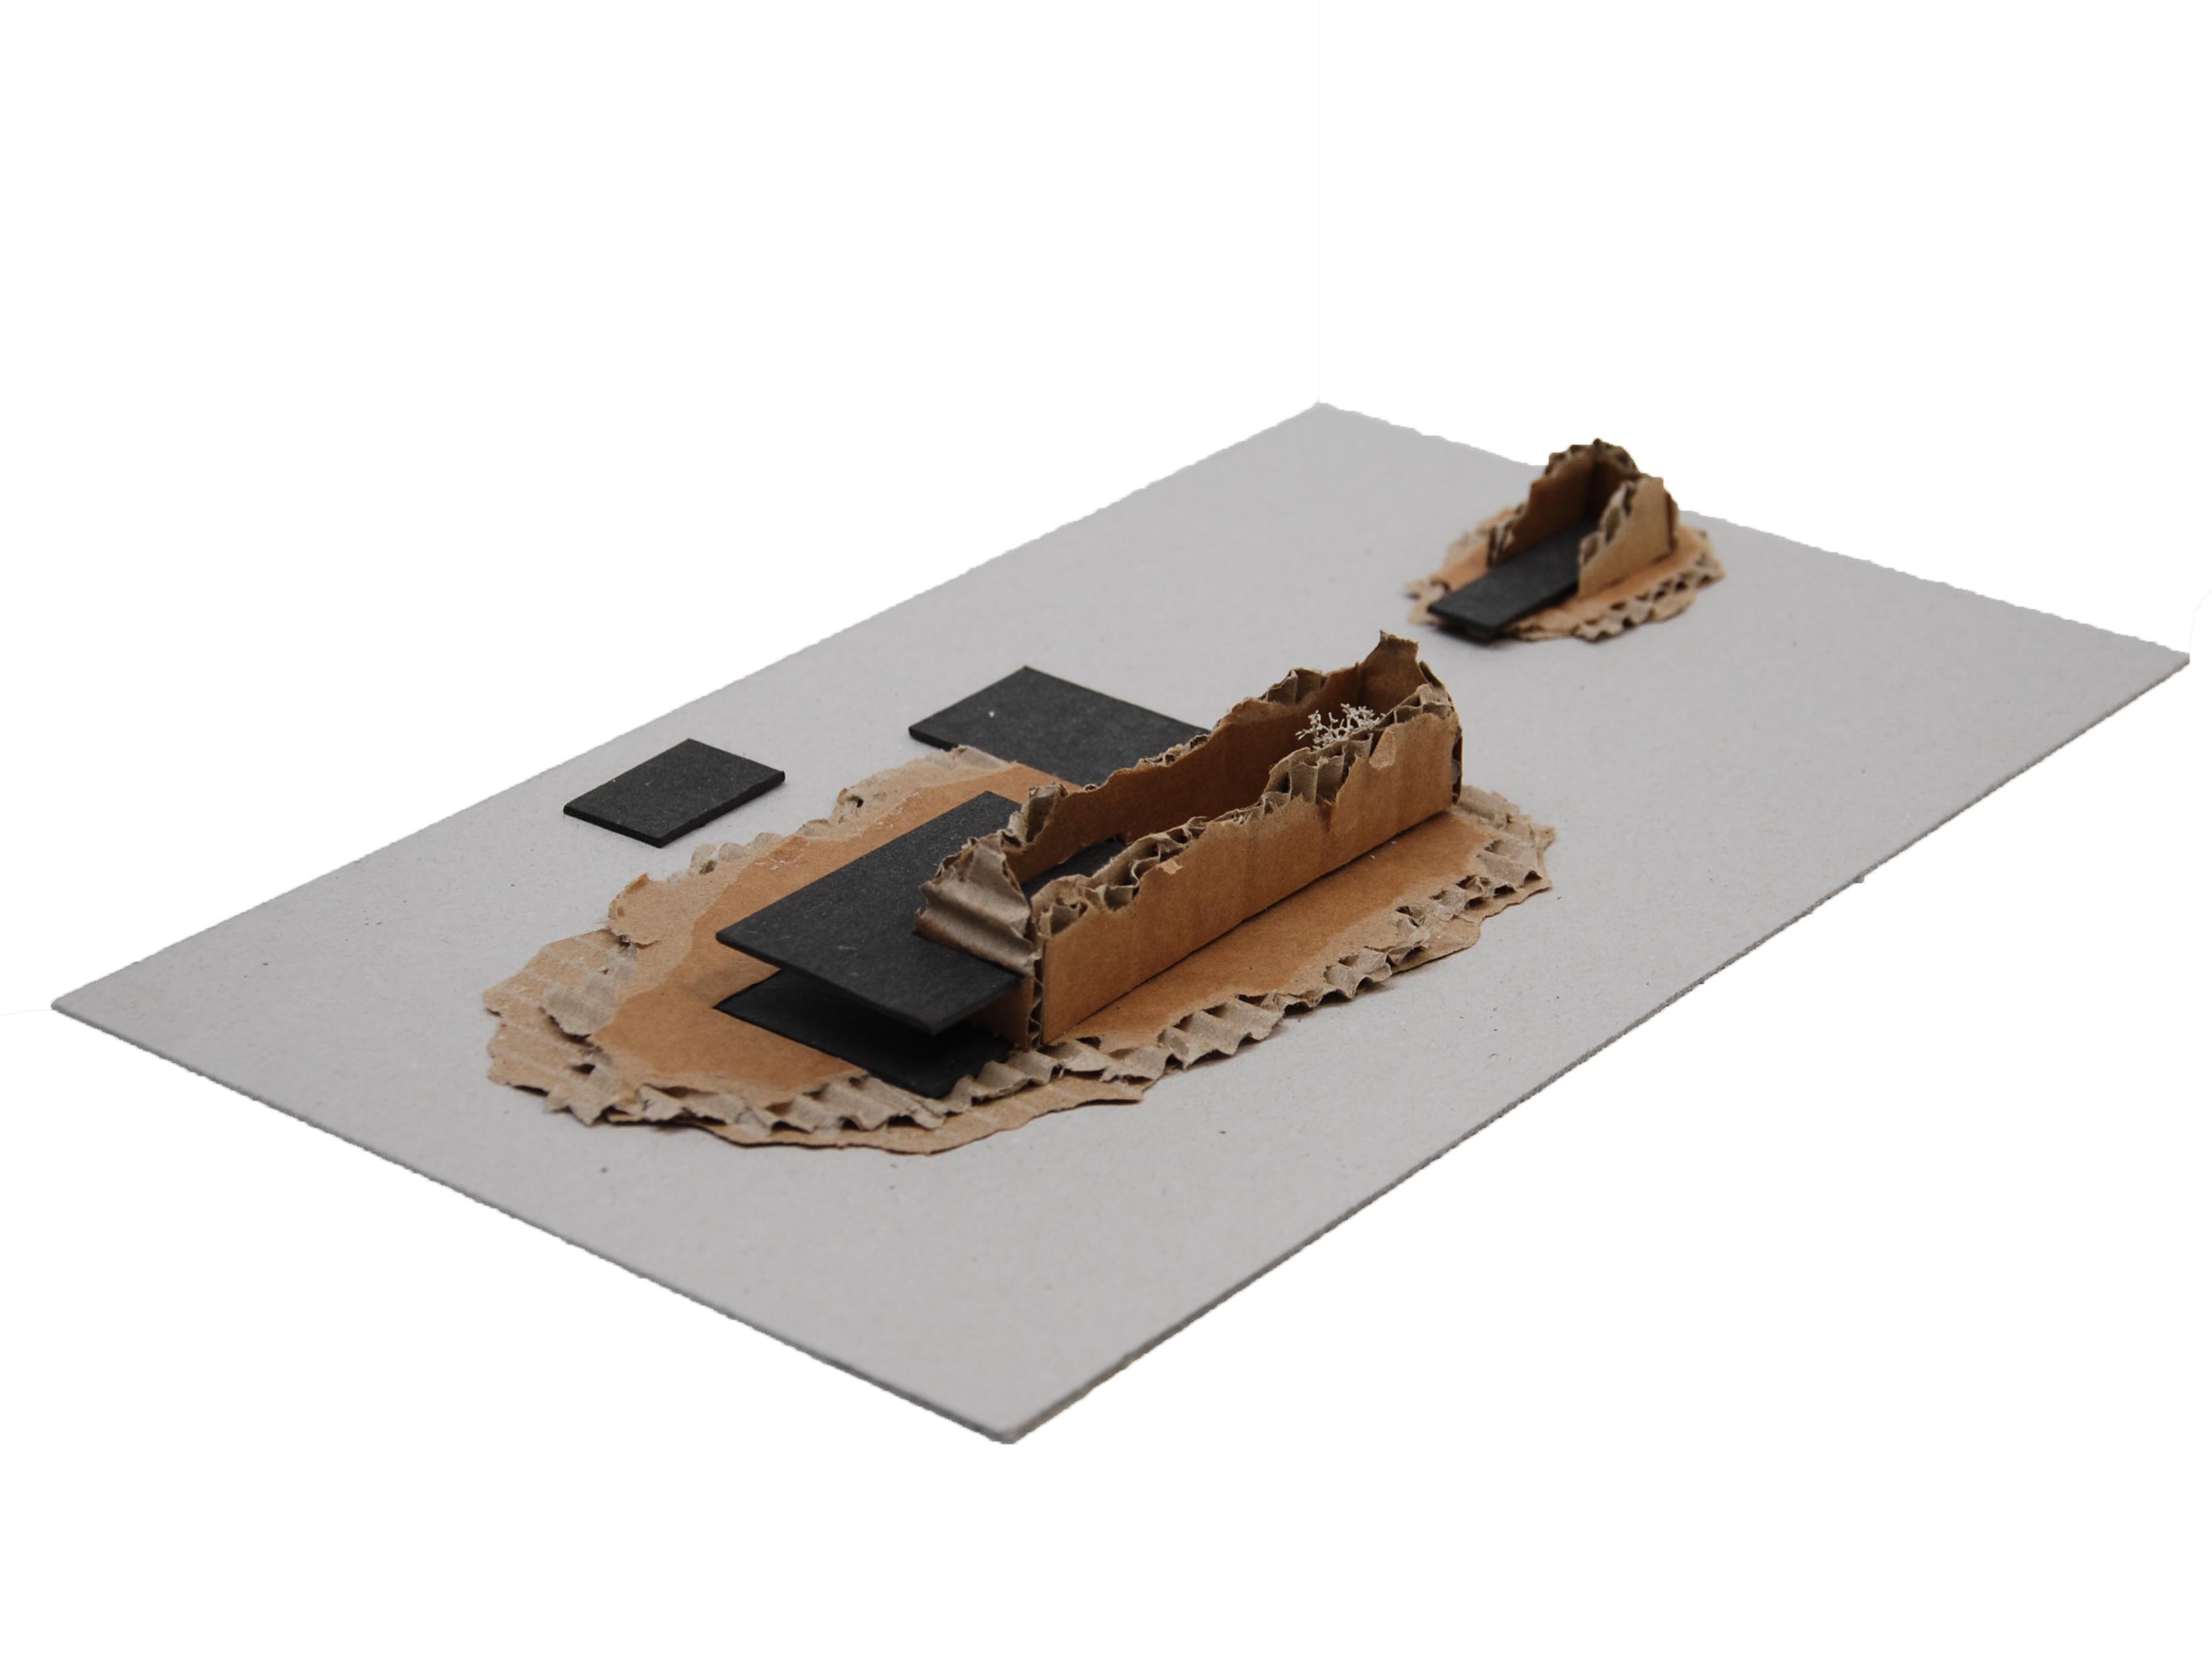
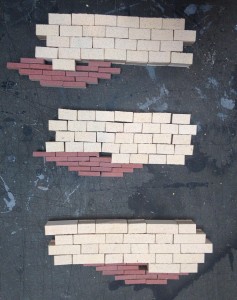
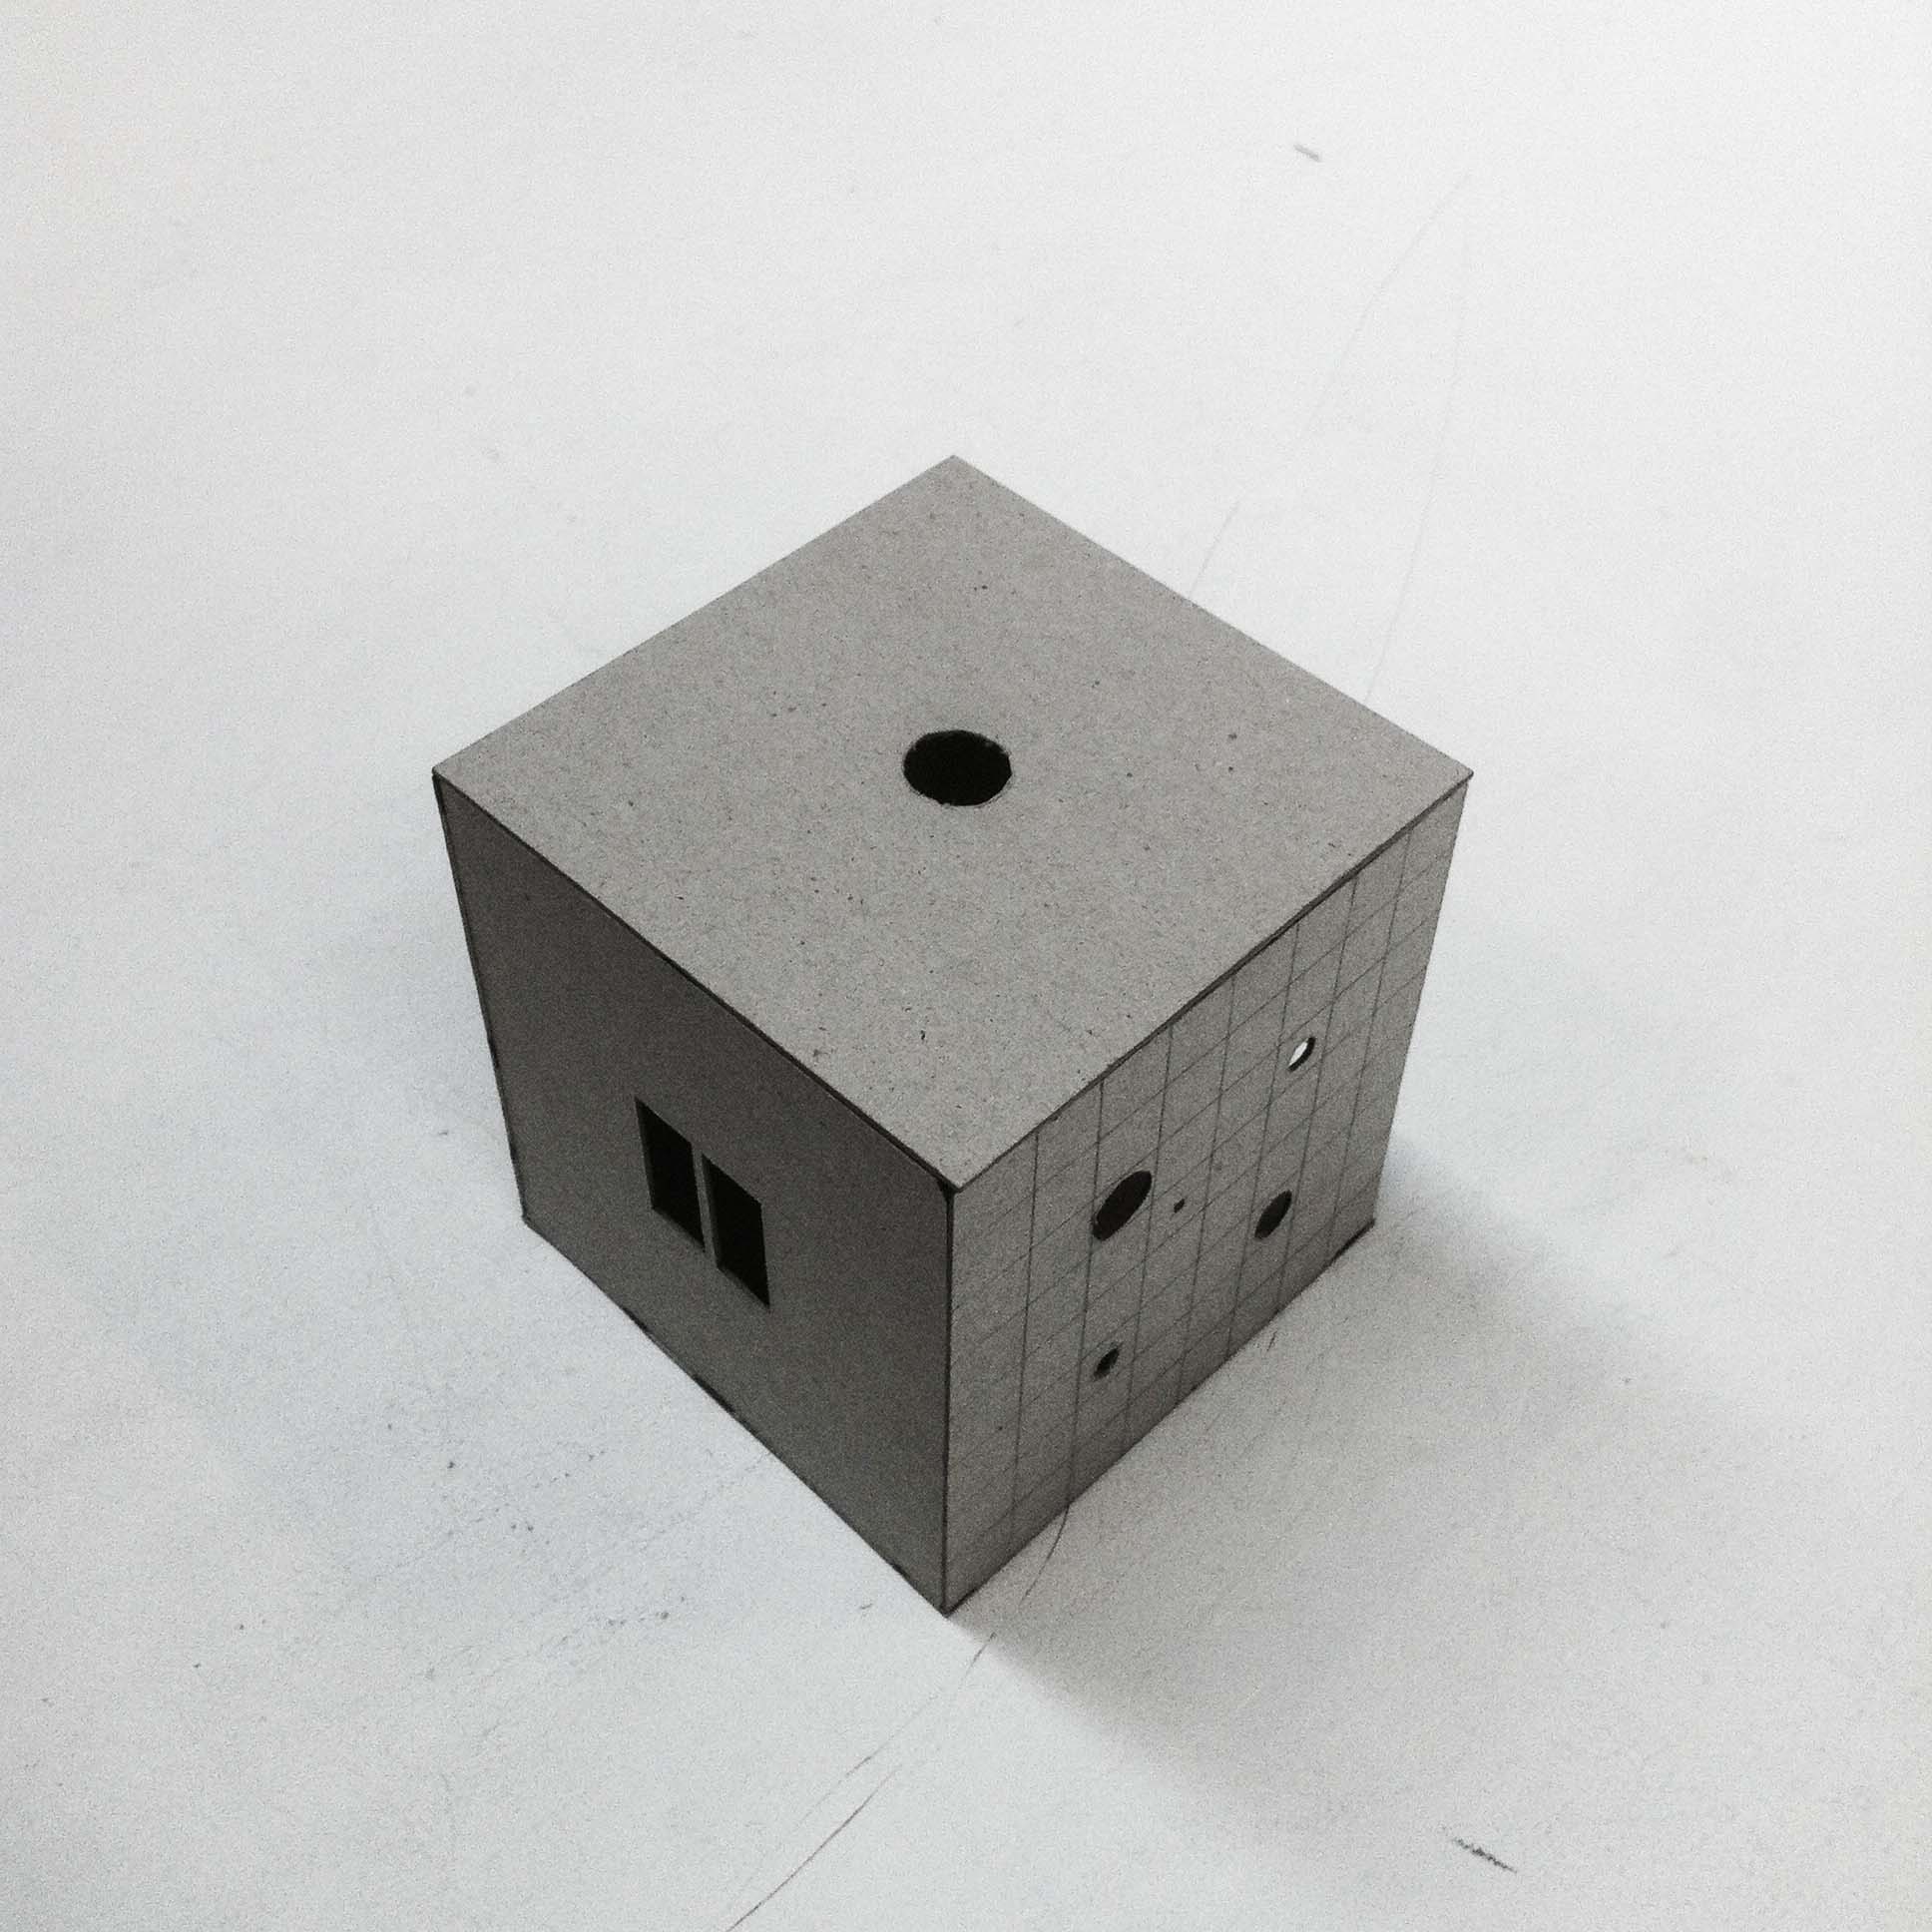
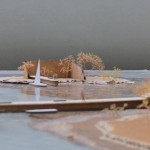
After the introduction of the site and the assignment, some initial ideas are being translated into a series of small models. The models are more or less scaled 1:500. I made three series of three models. They all explore composition, position and some first thought about materialisation and technical solutions.
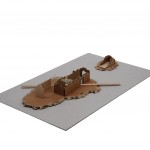

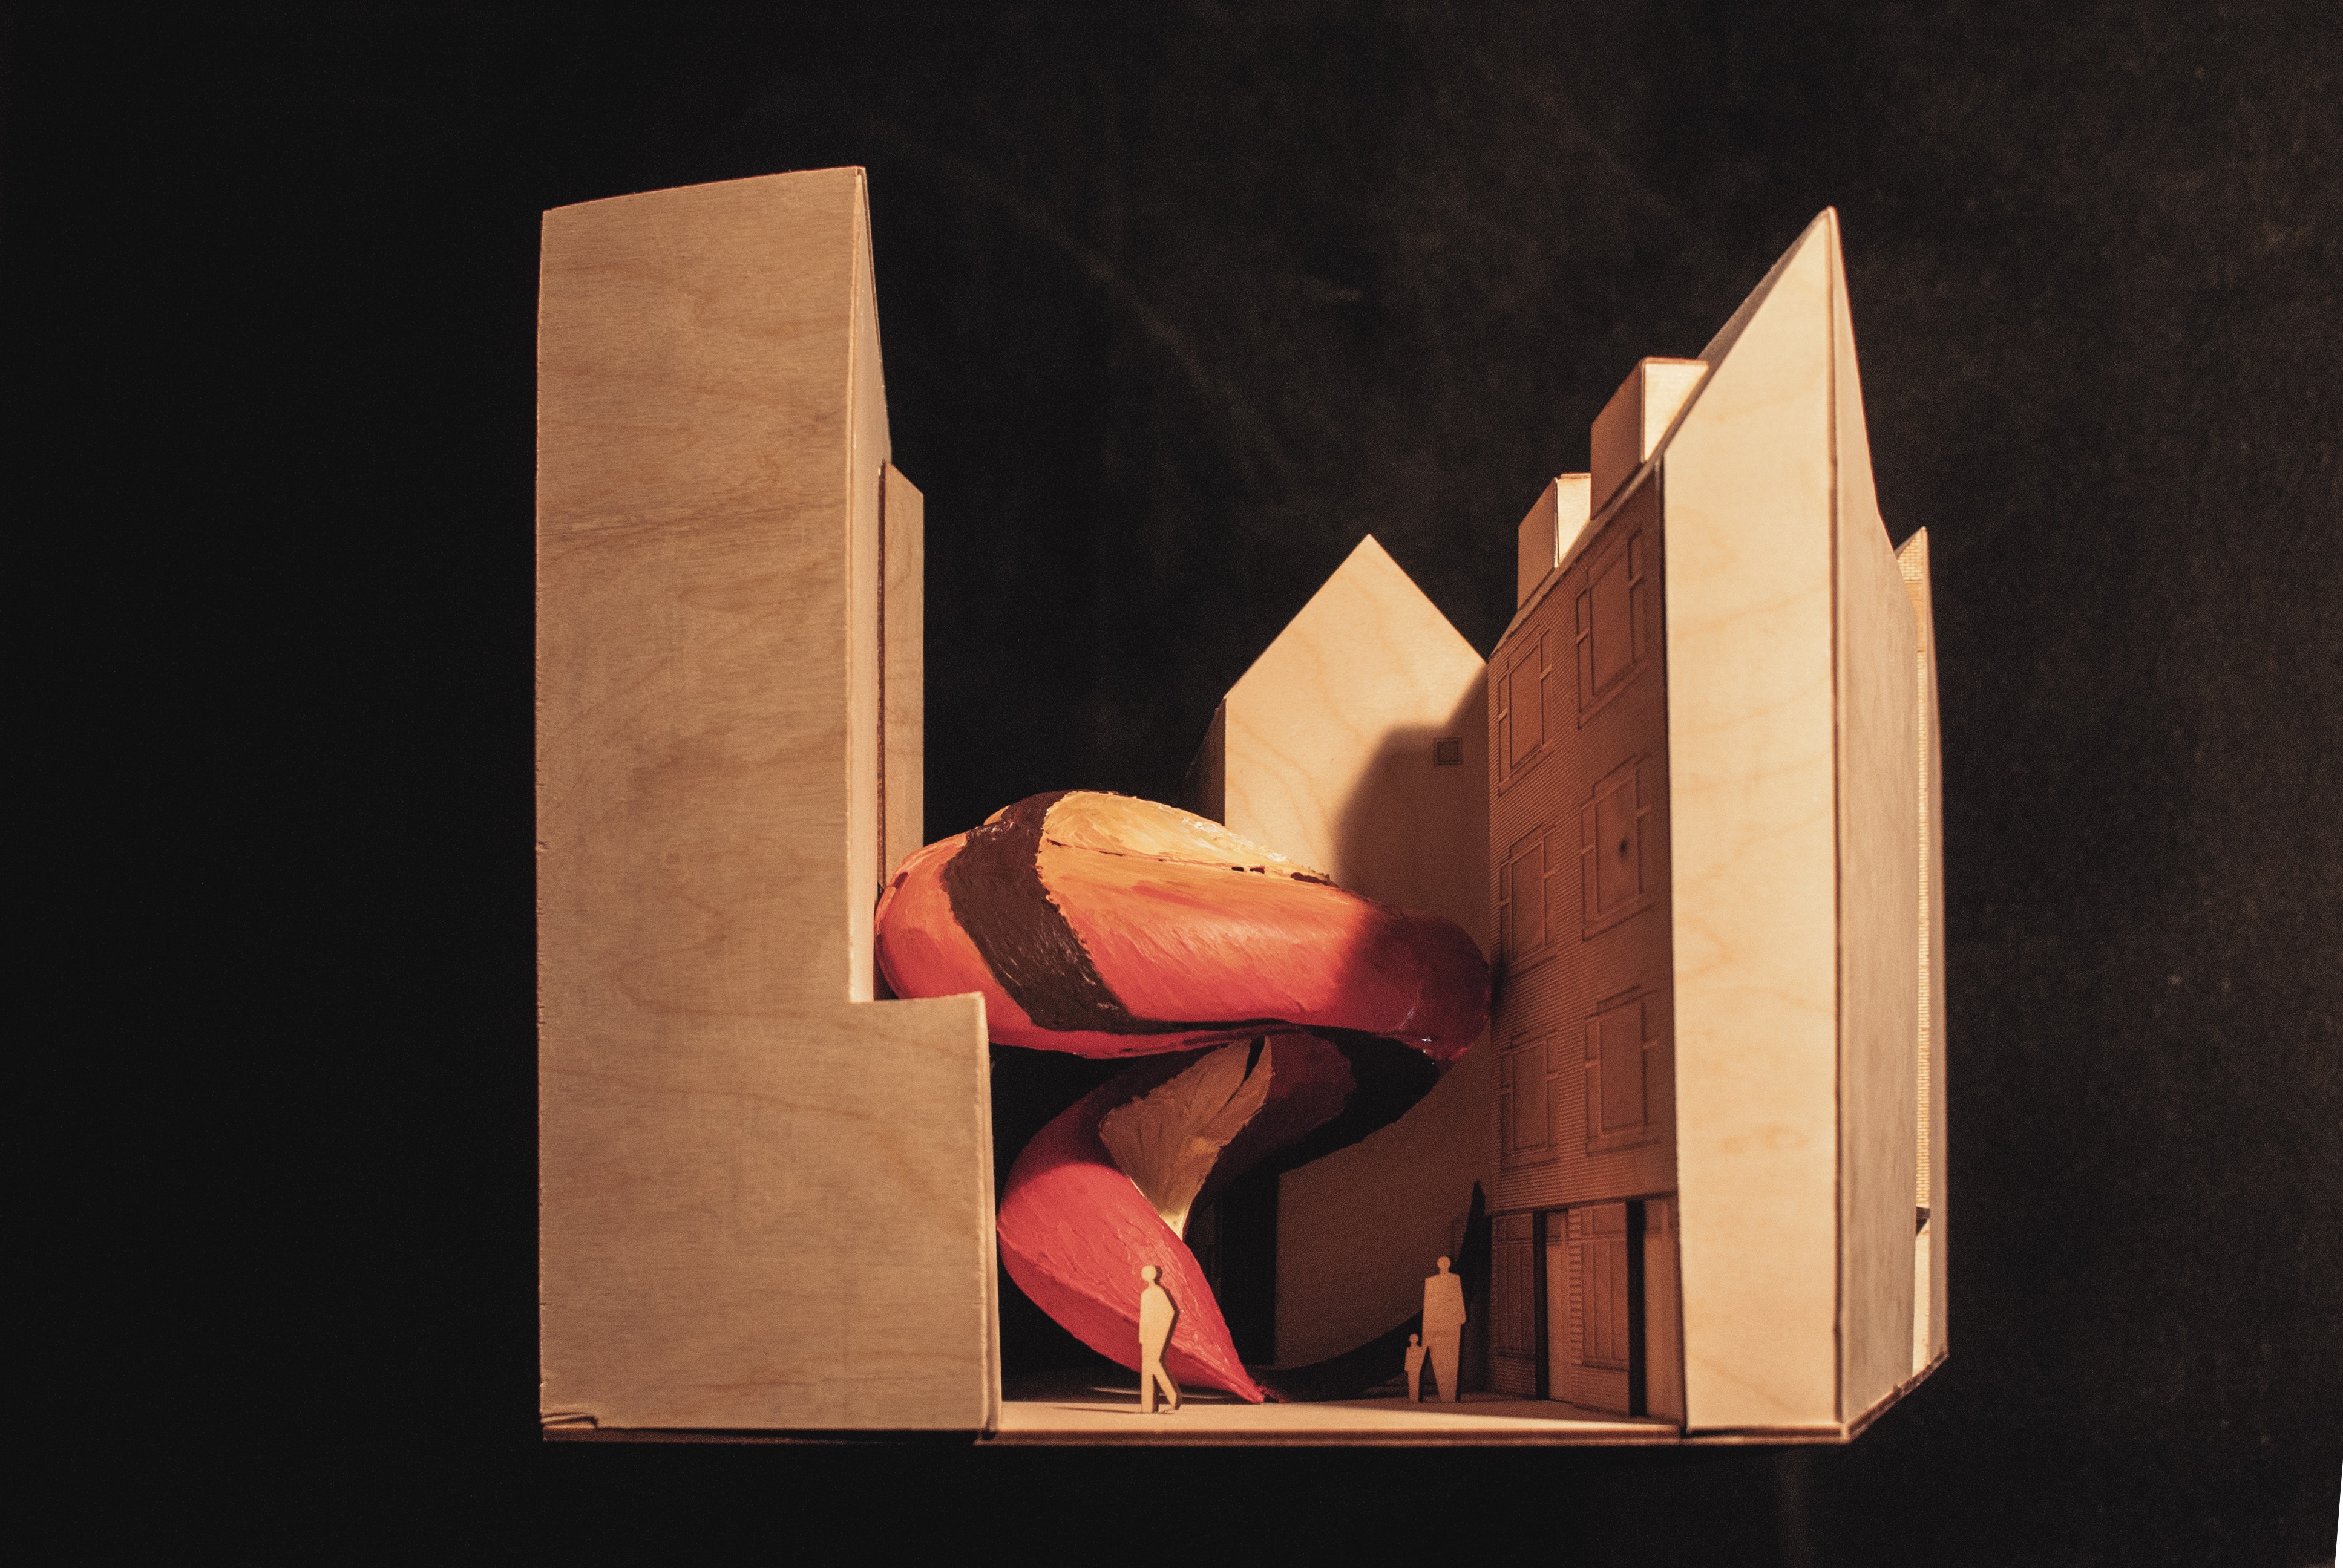
The first series of models explores the idea of a diagonal element within the composition. The second series of models explores a more crude implementation of a new building mass. The third series of models is based on an interest for a potential space between the old ruin wall and the
new wall of the house.
Exploration of Site & Composition

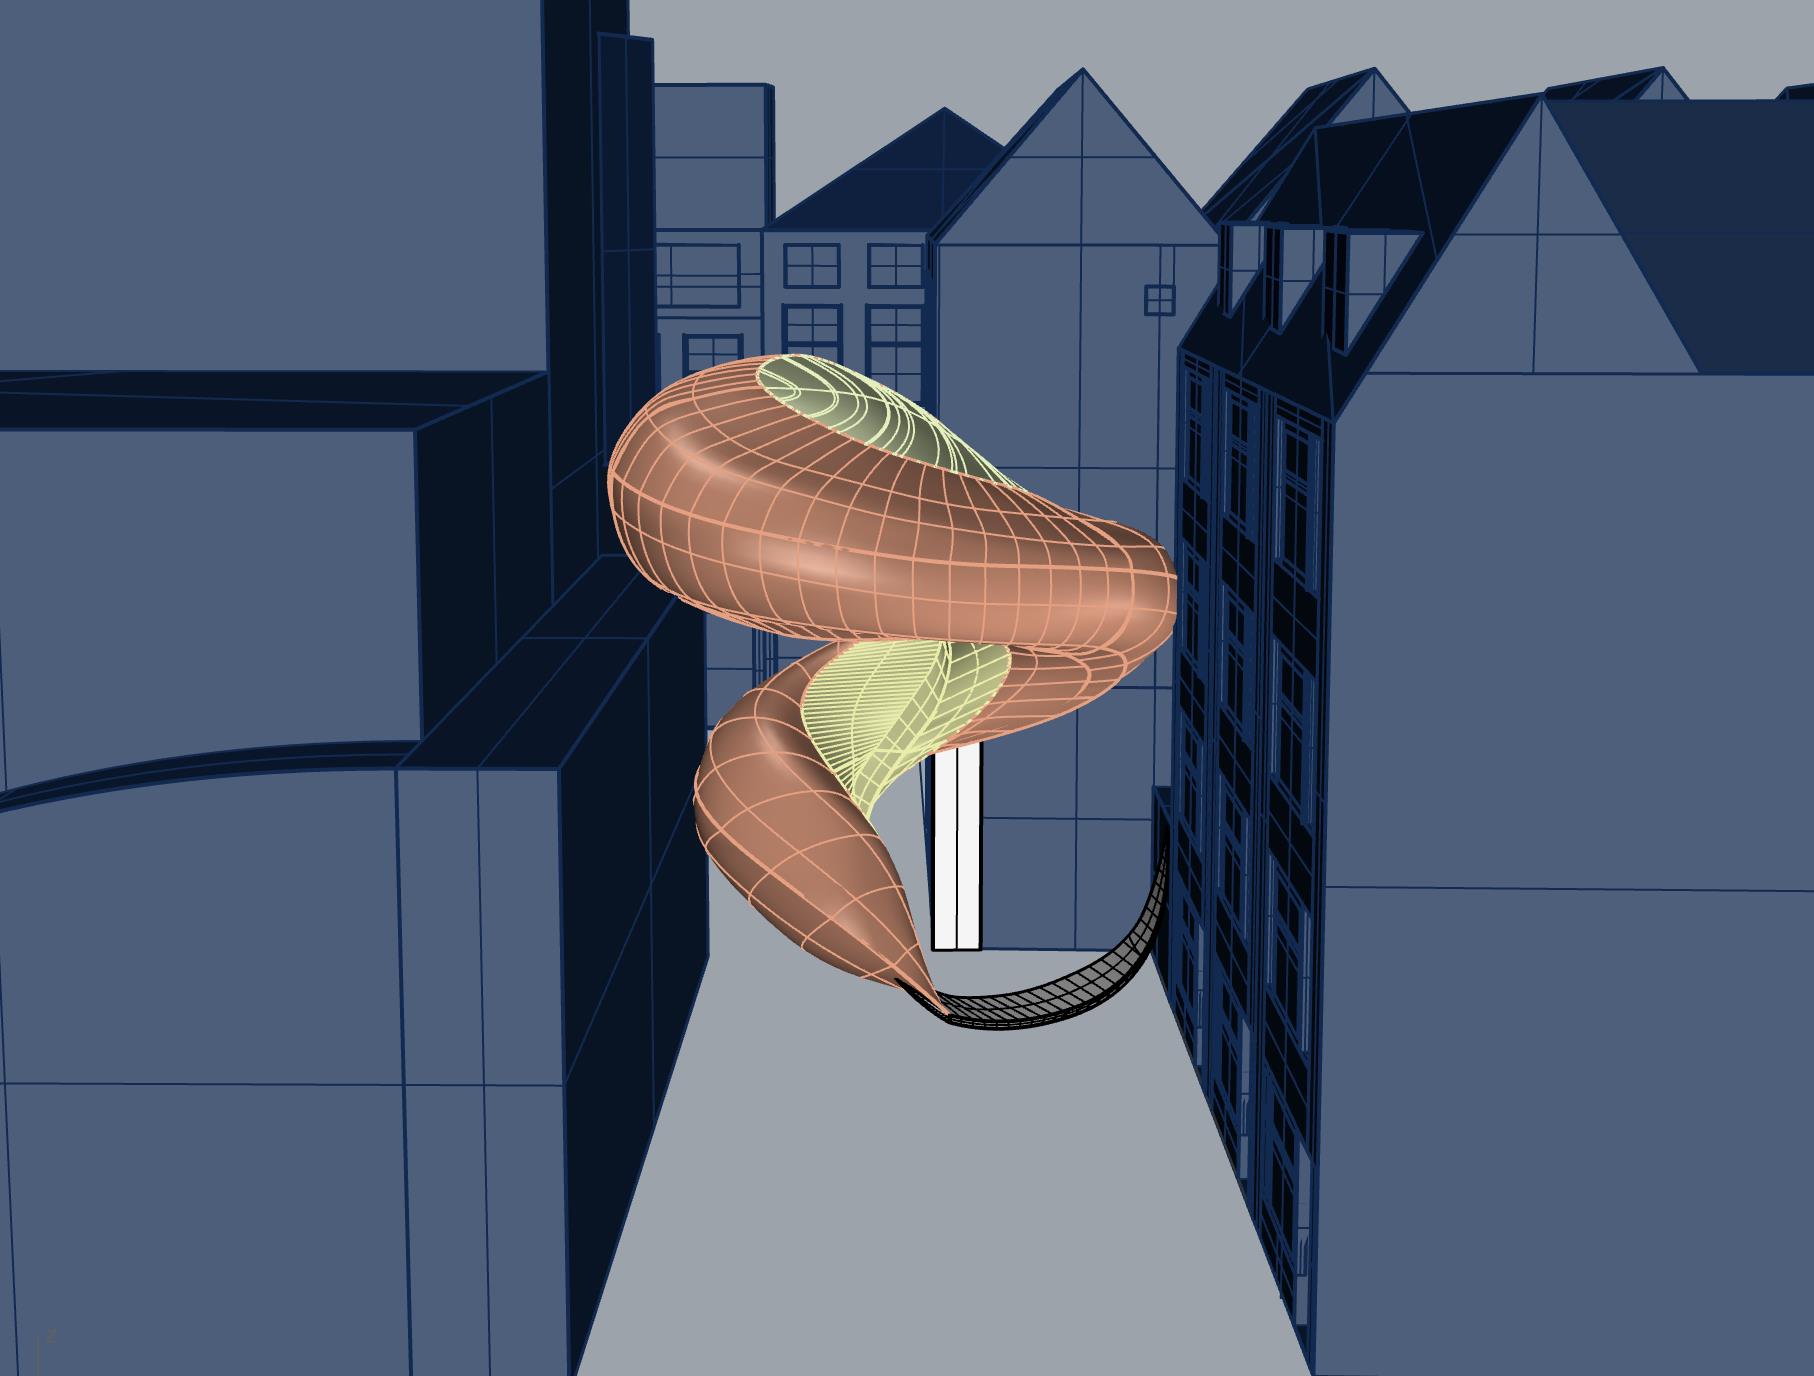
Exploration of the Passage

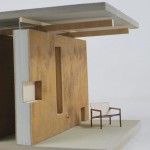
The line between interior & exterior
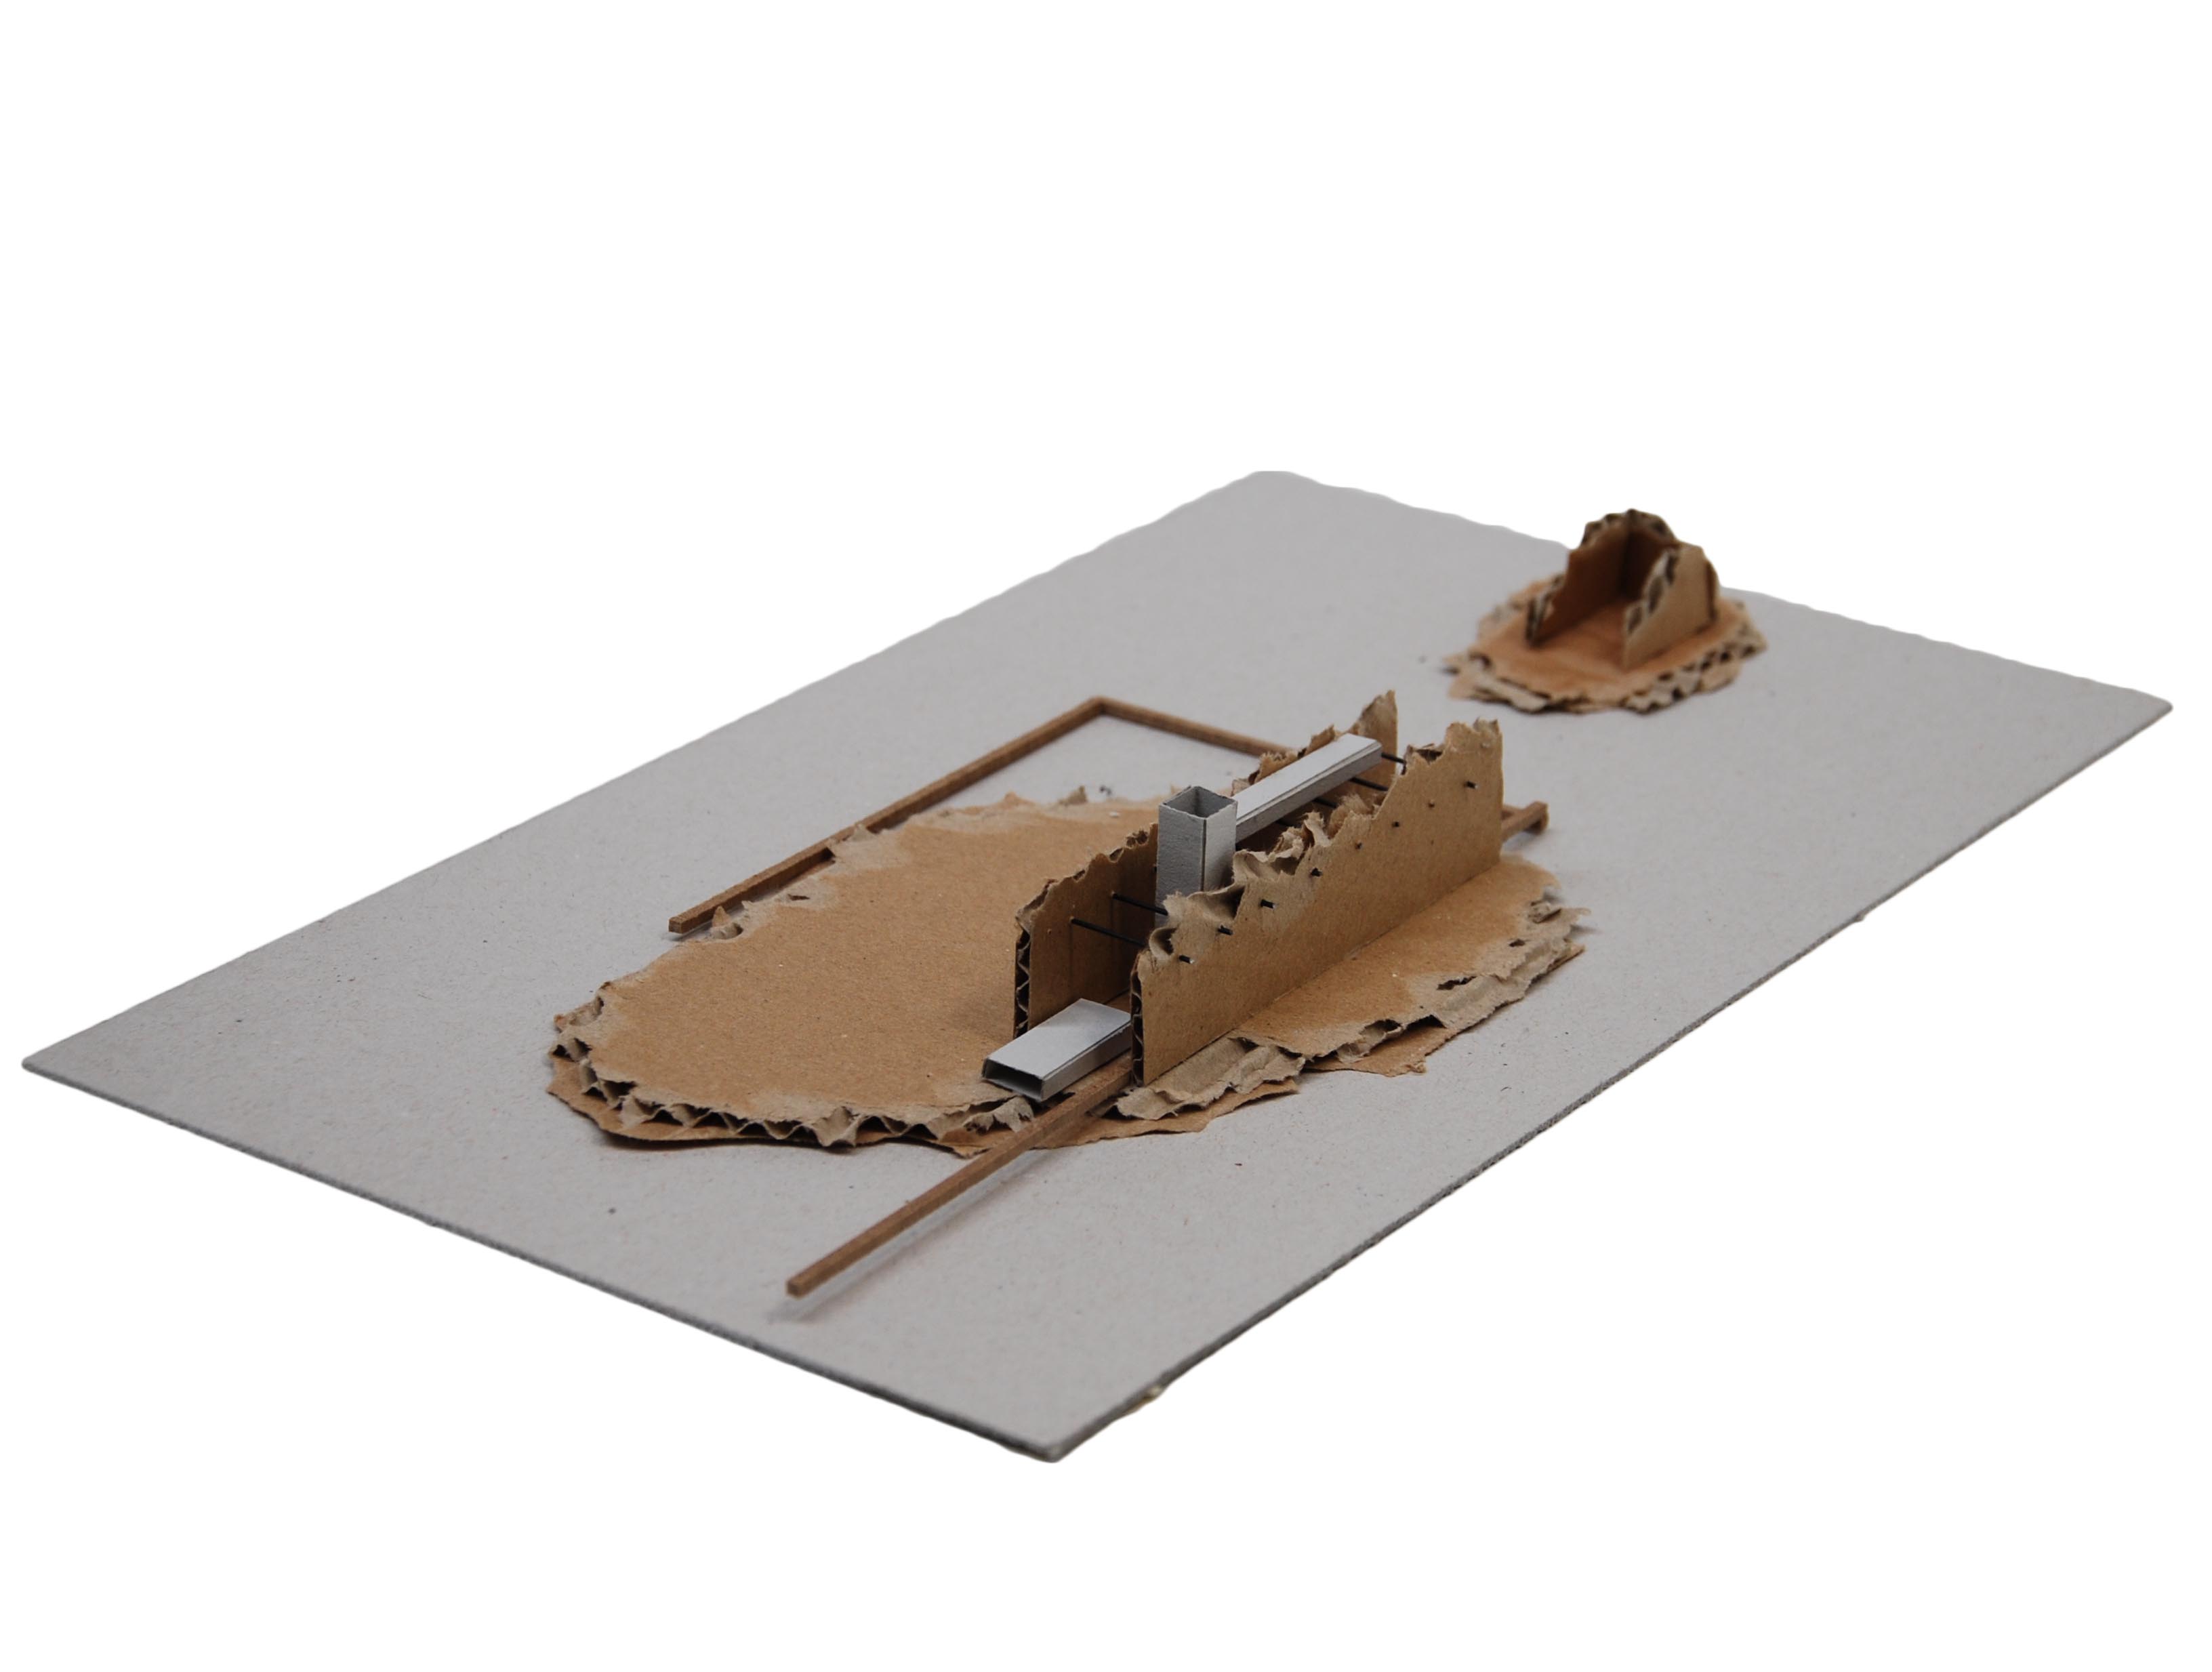
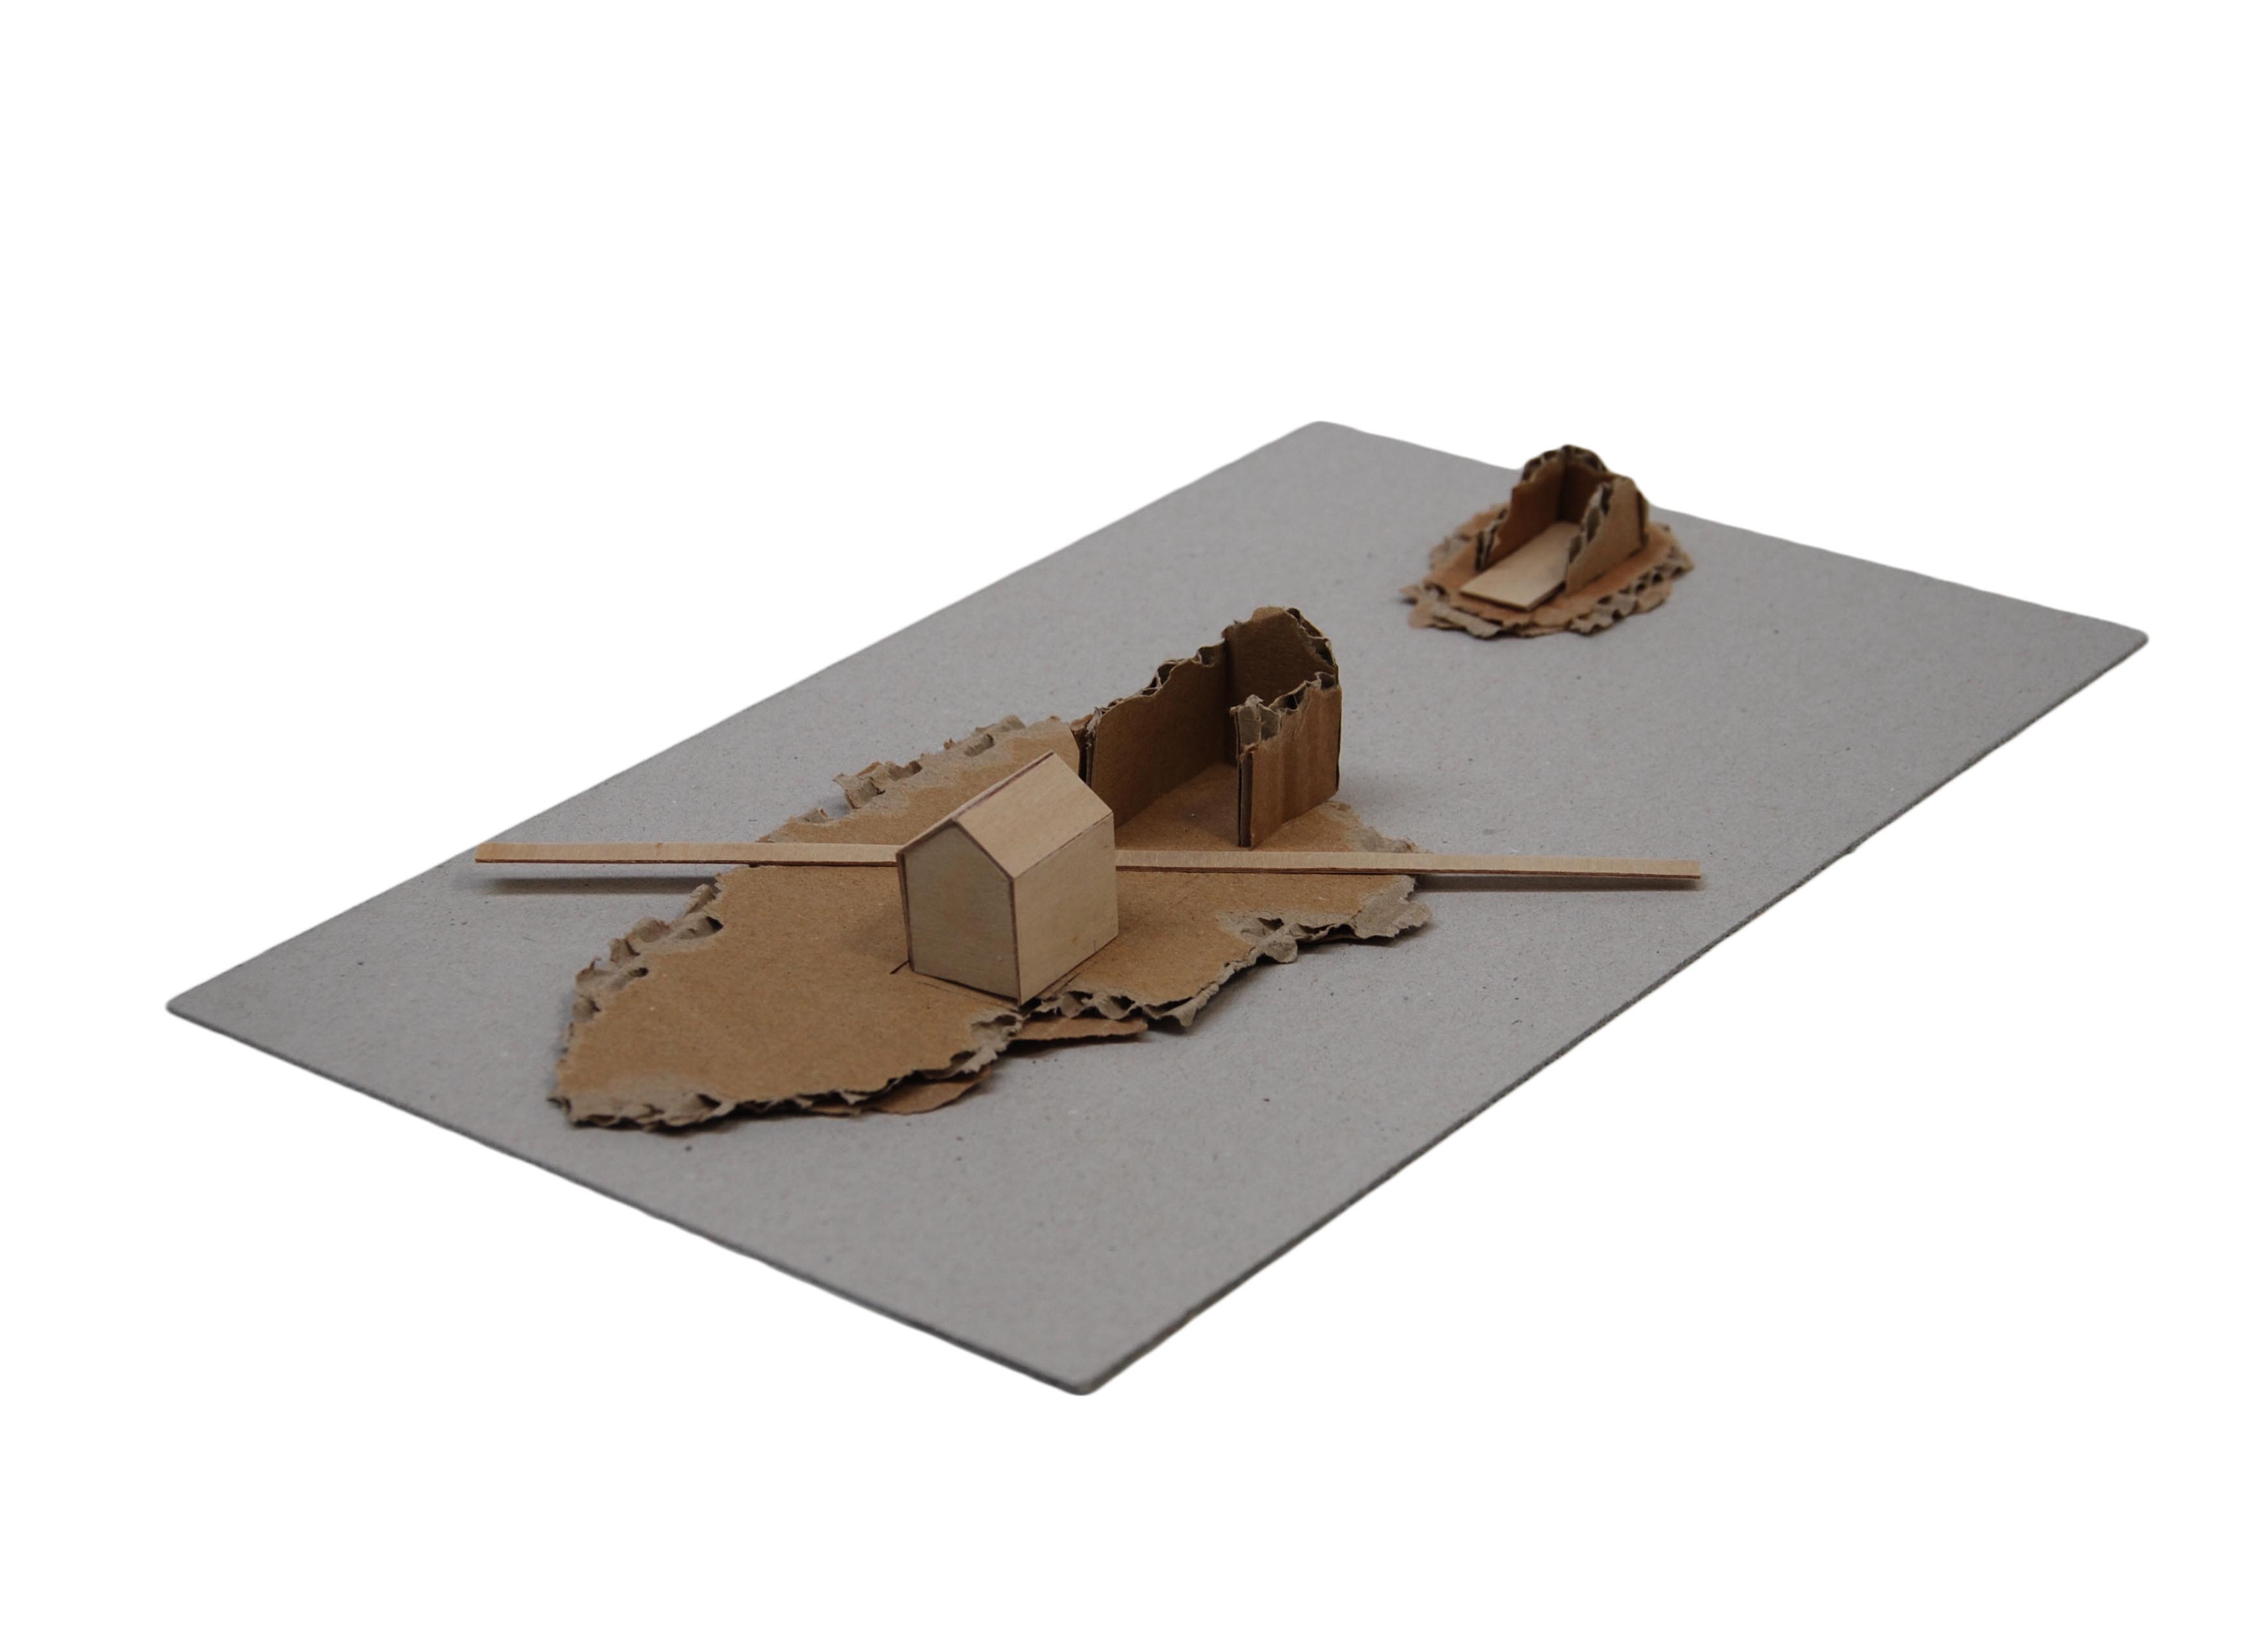
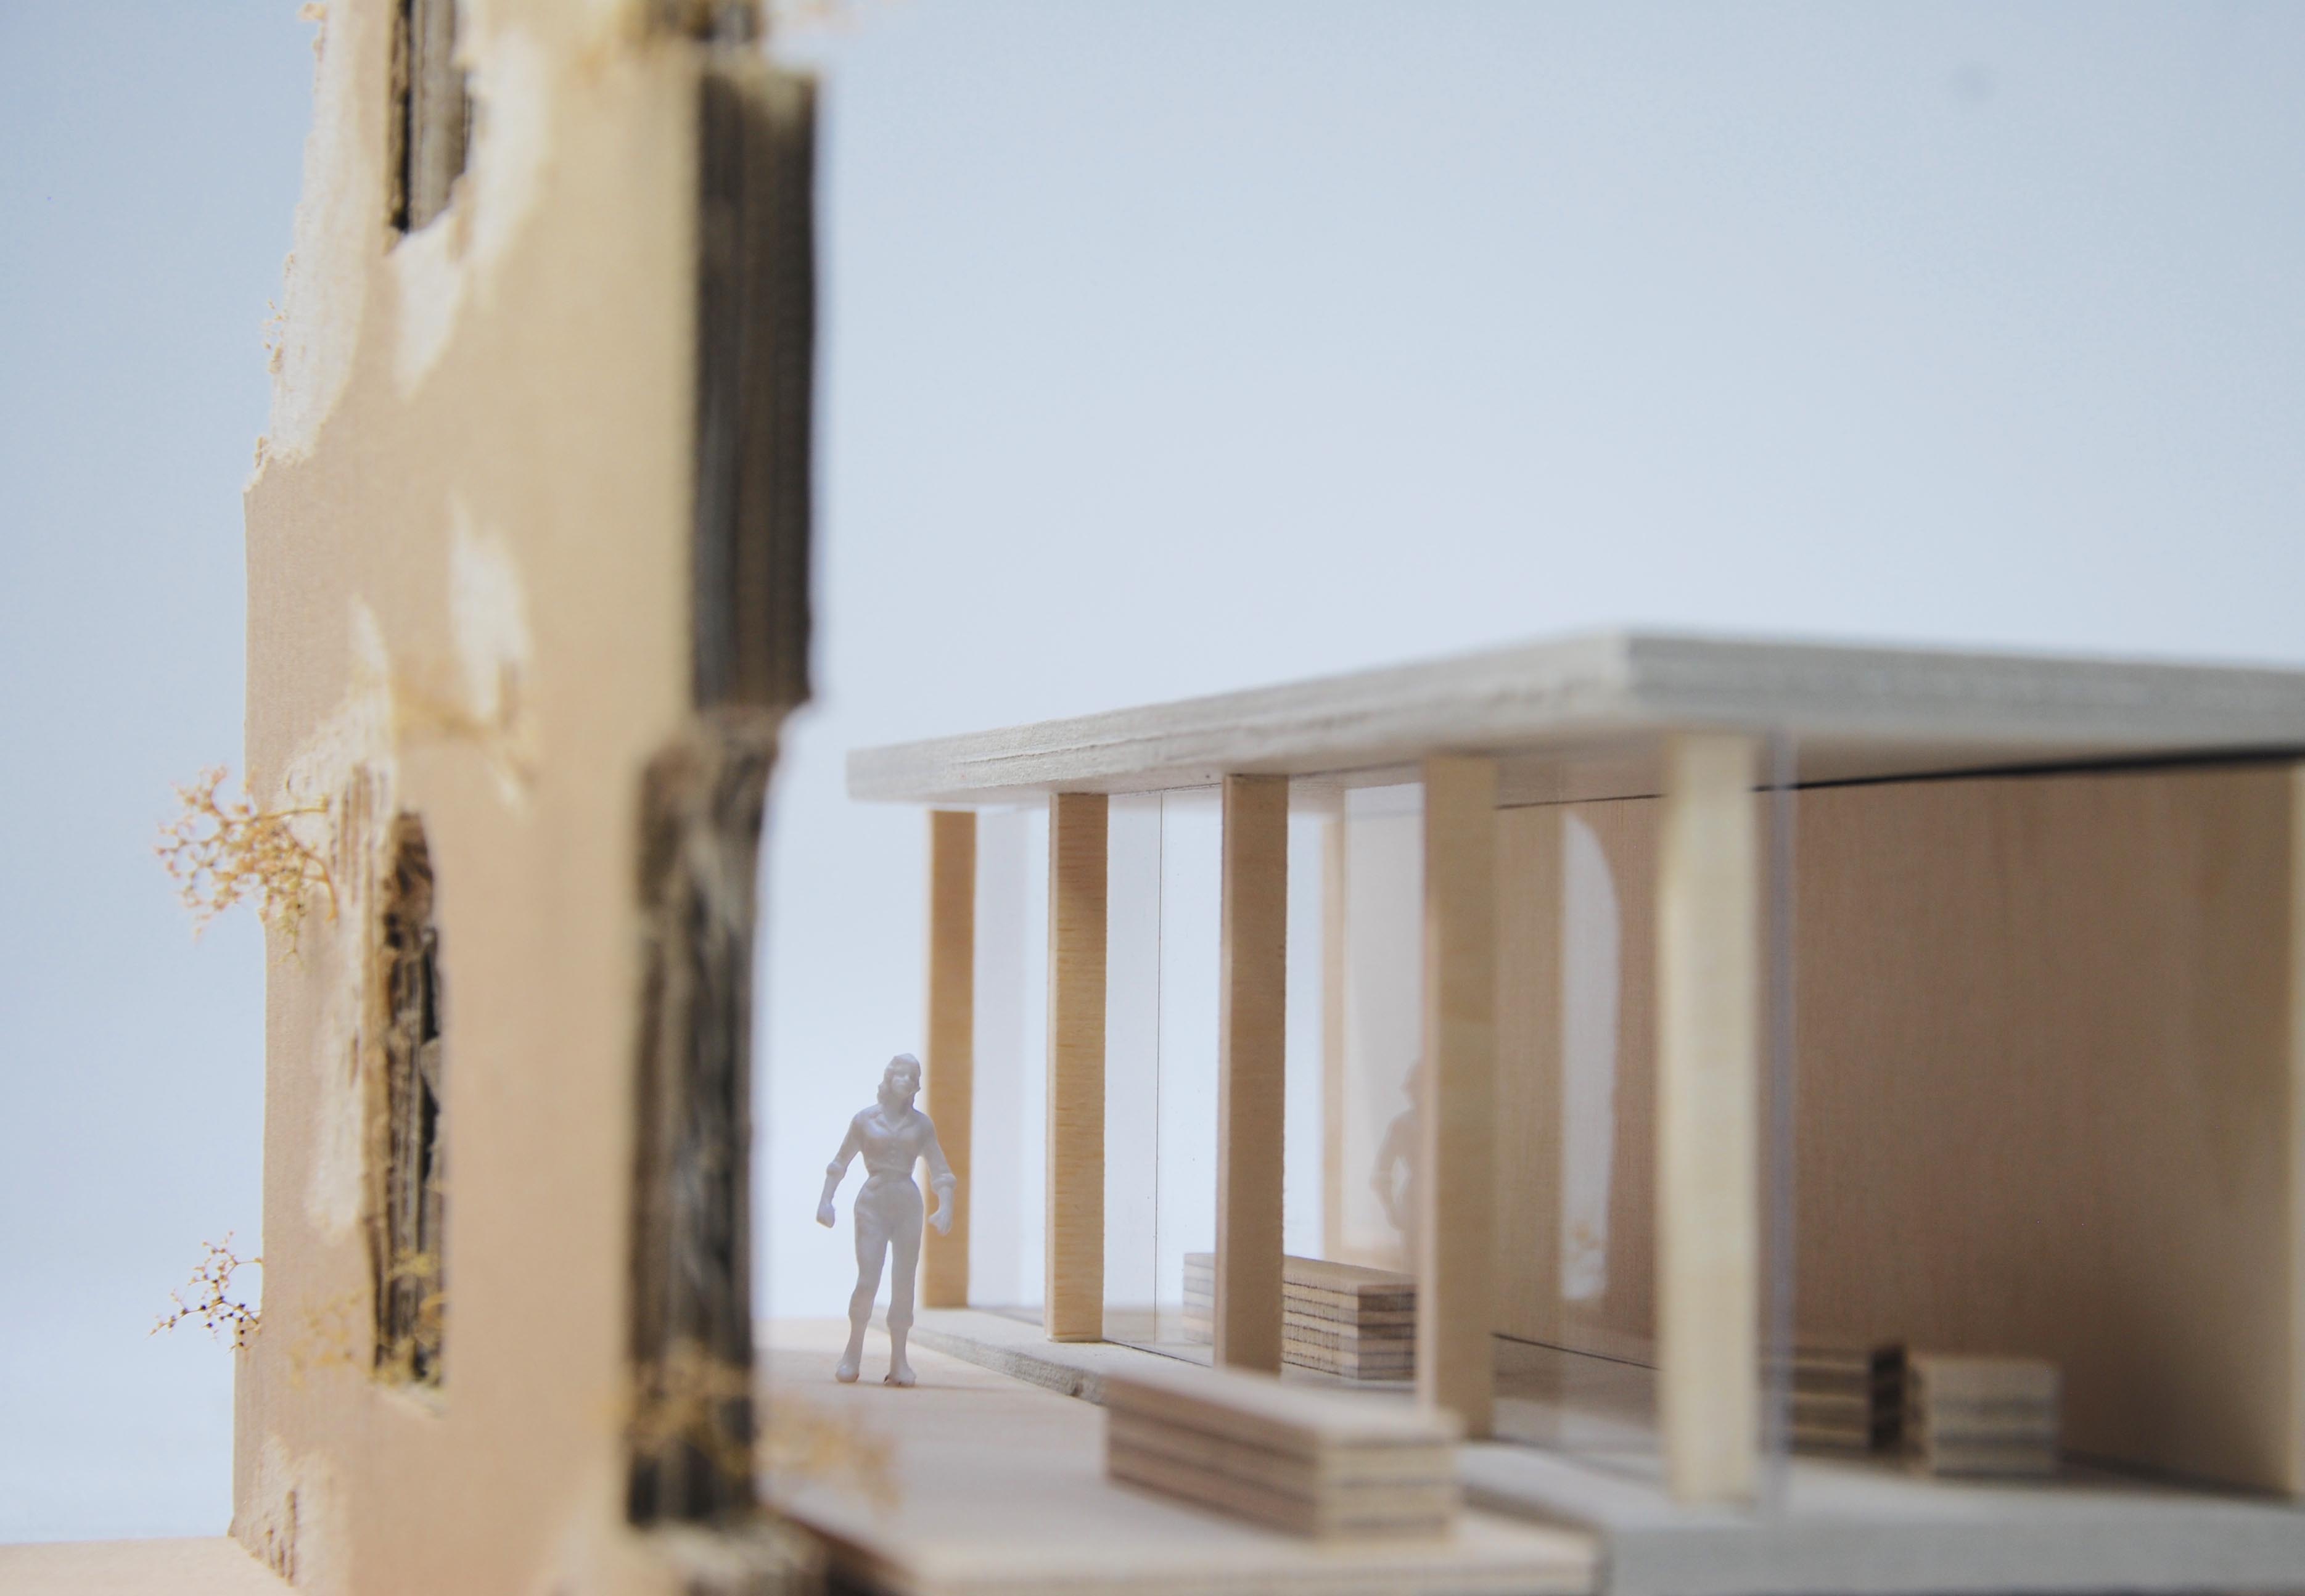
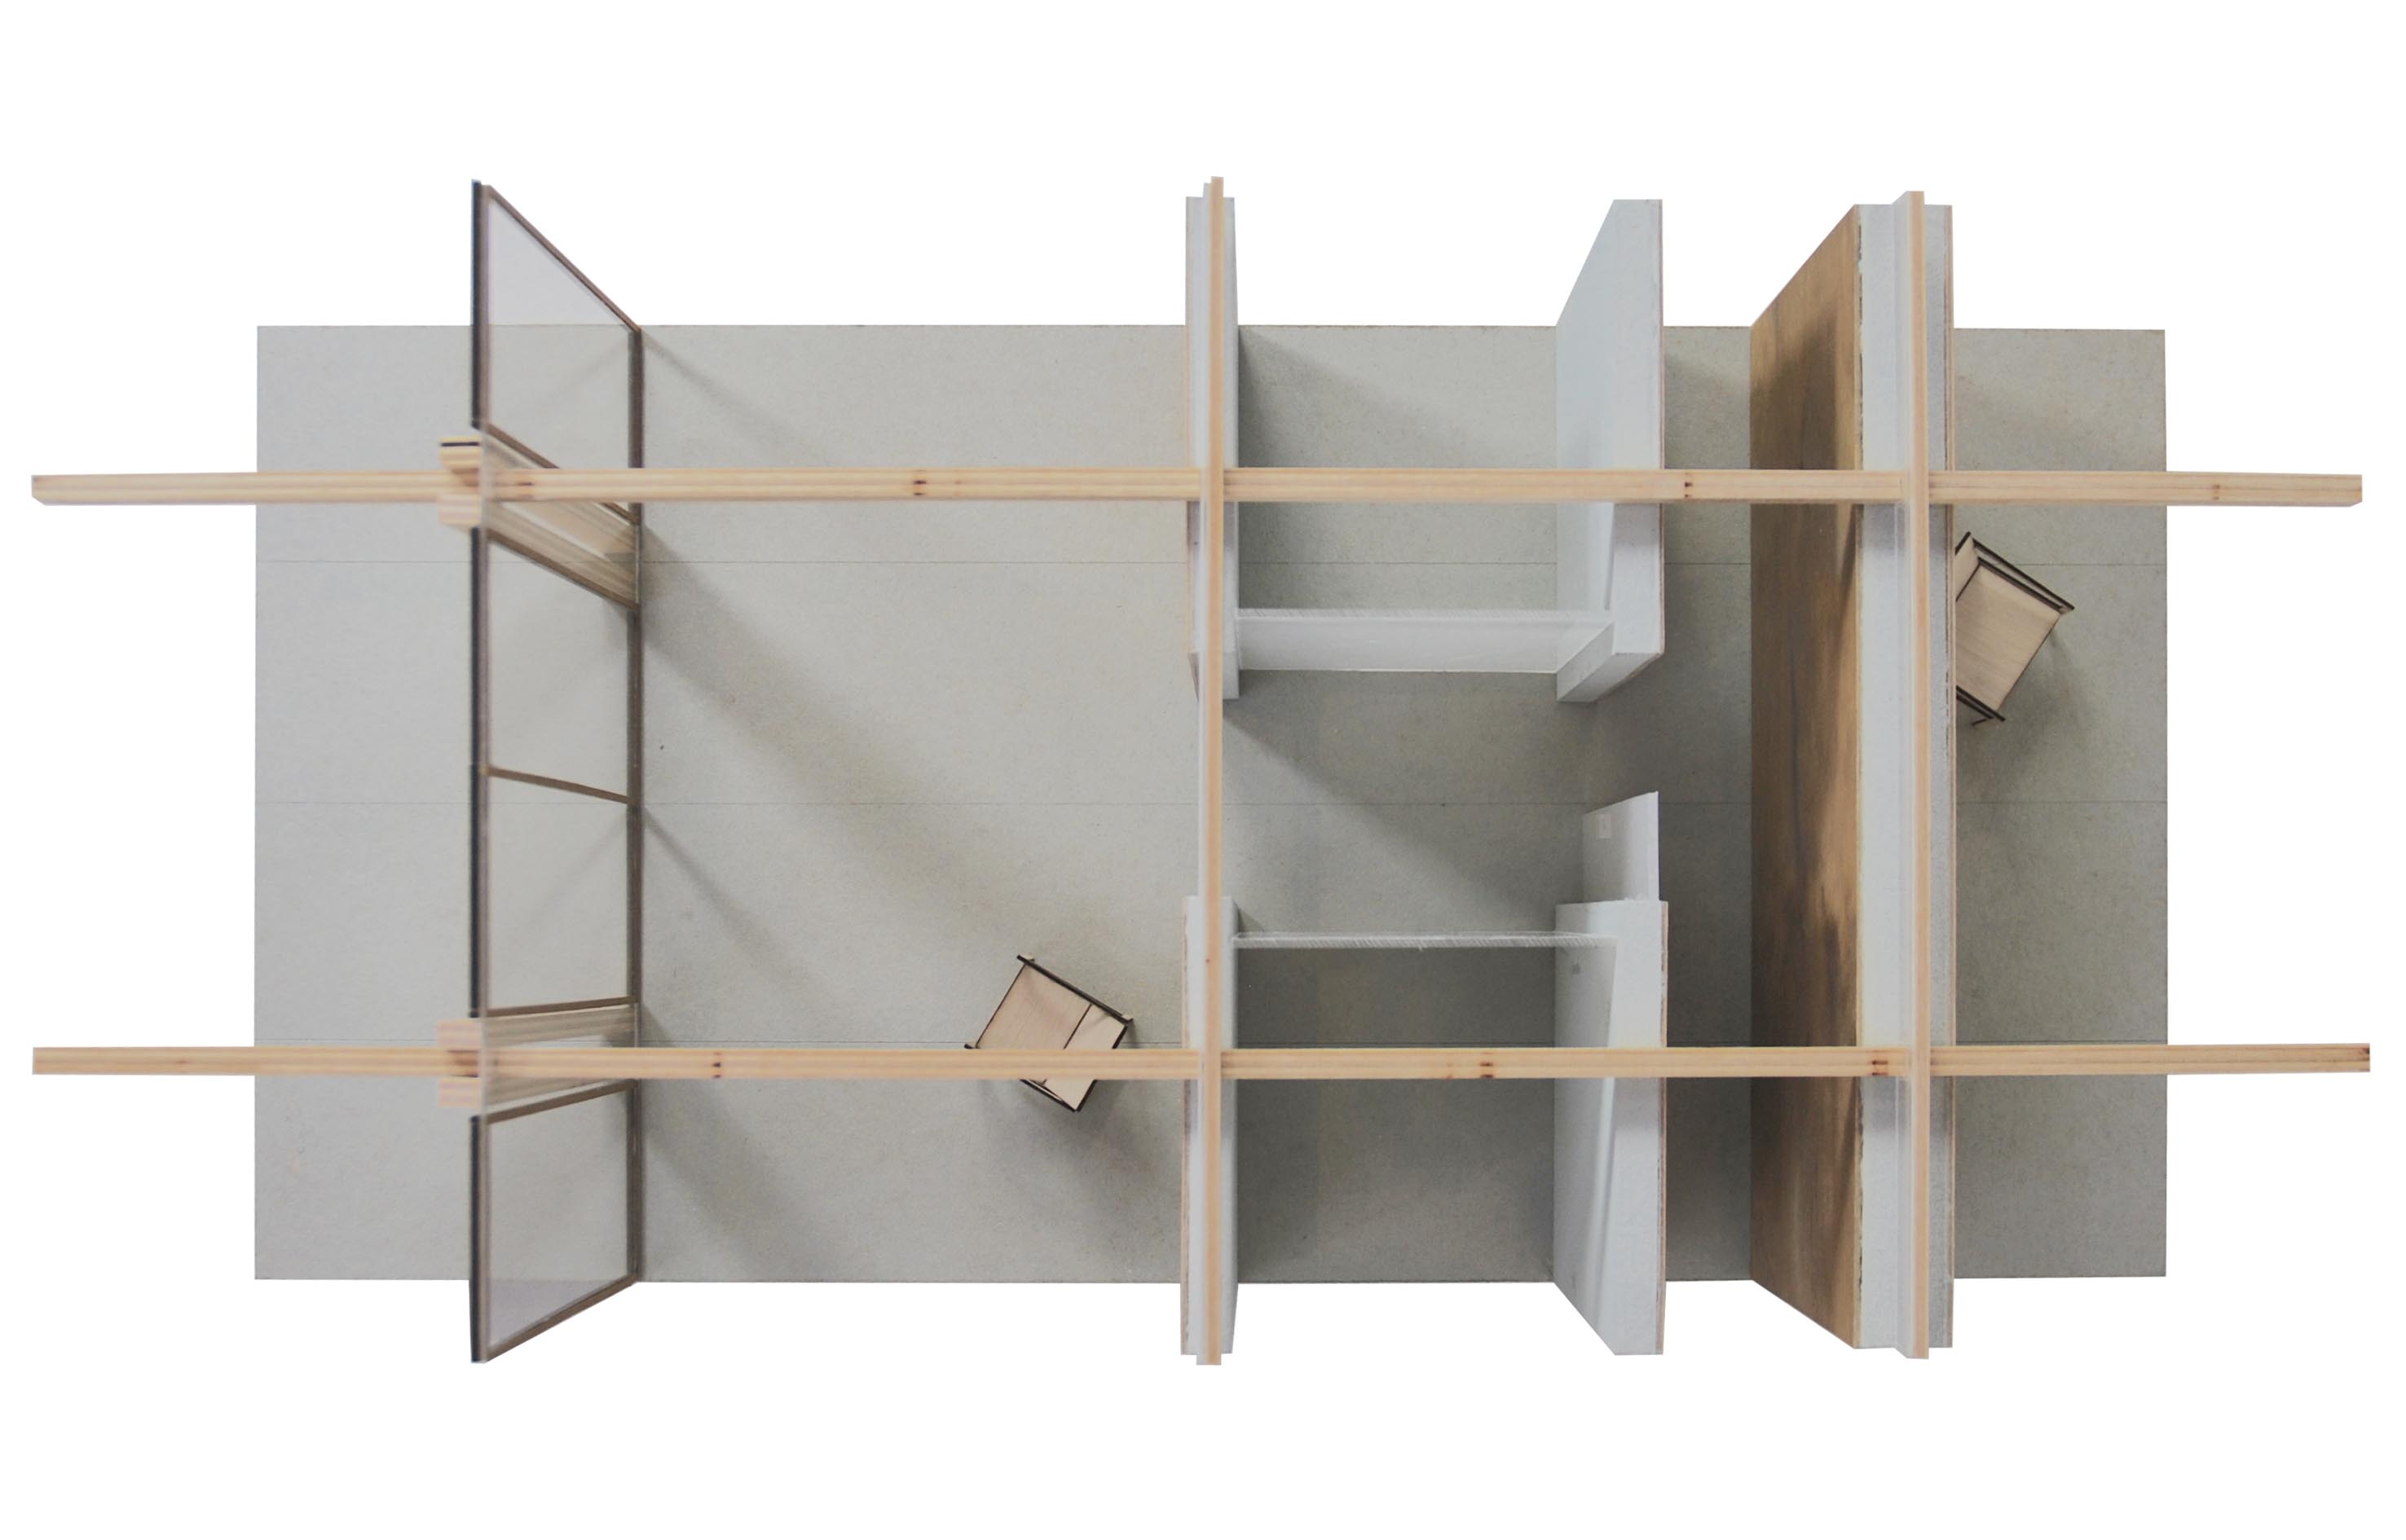
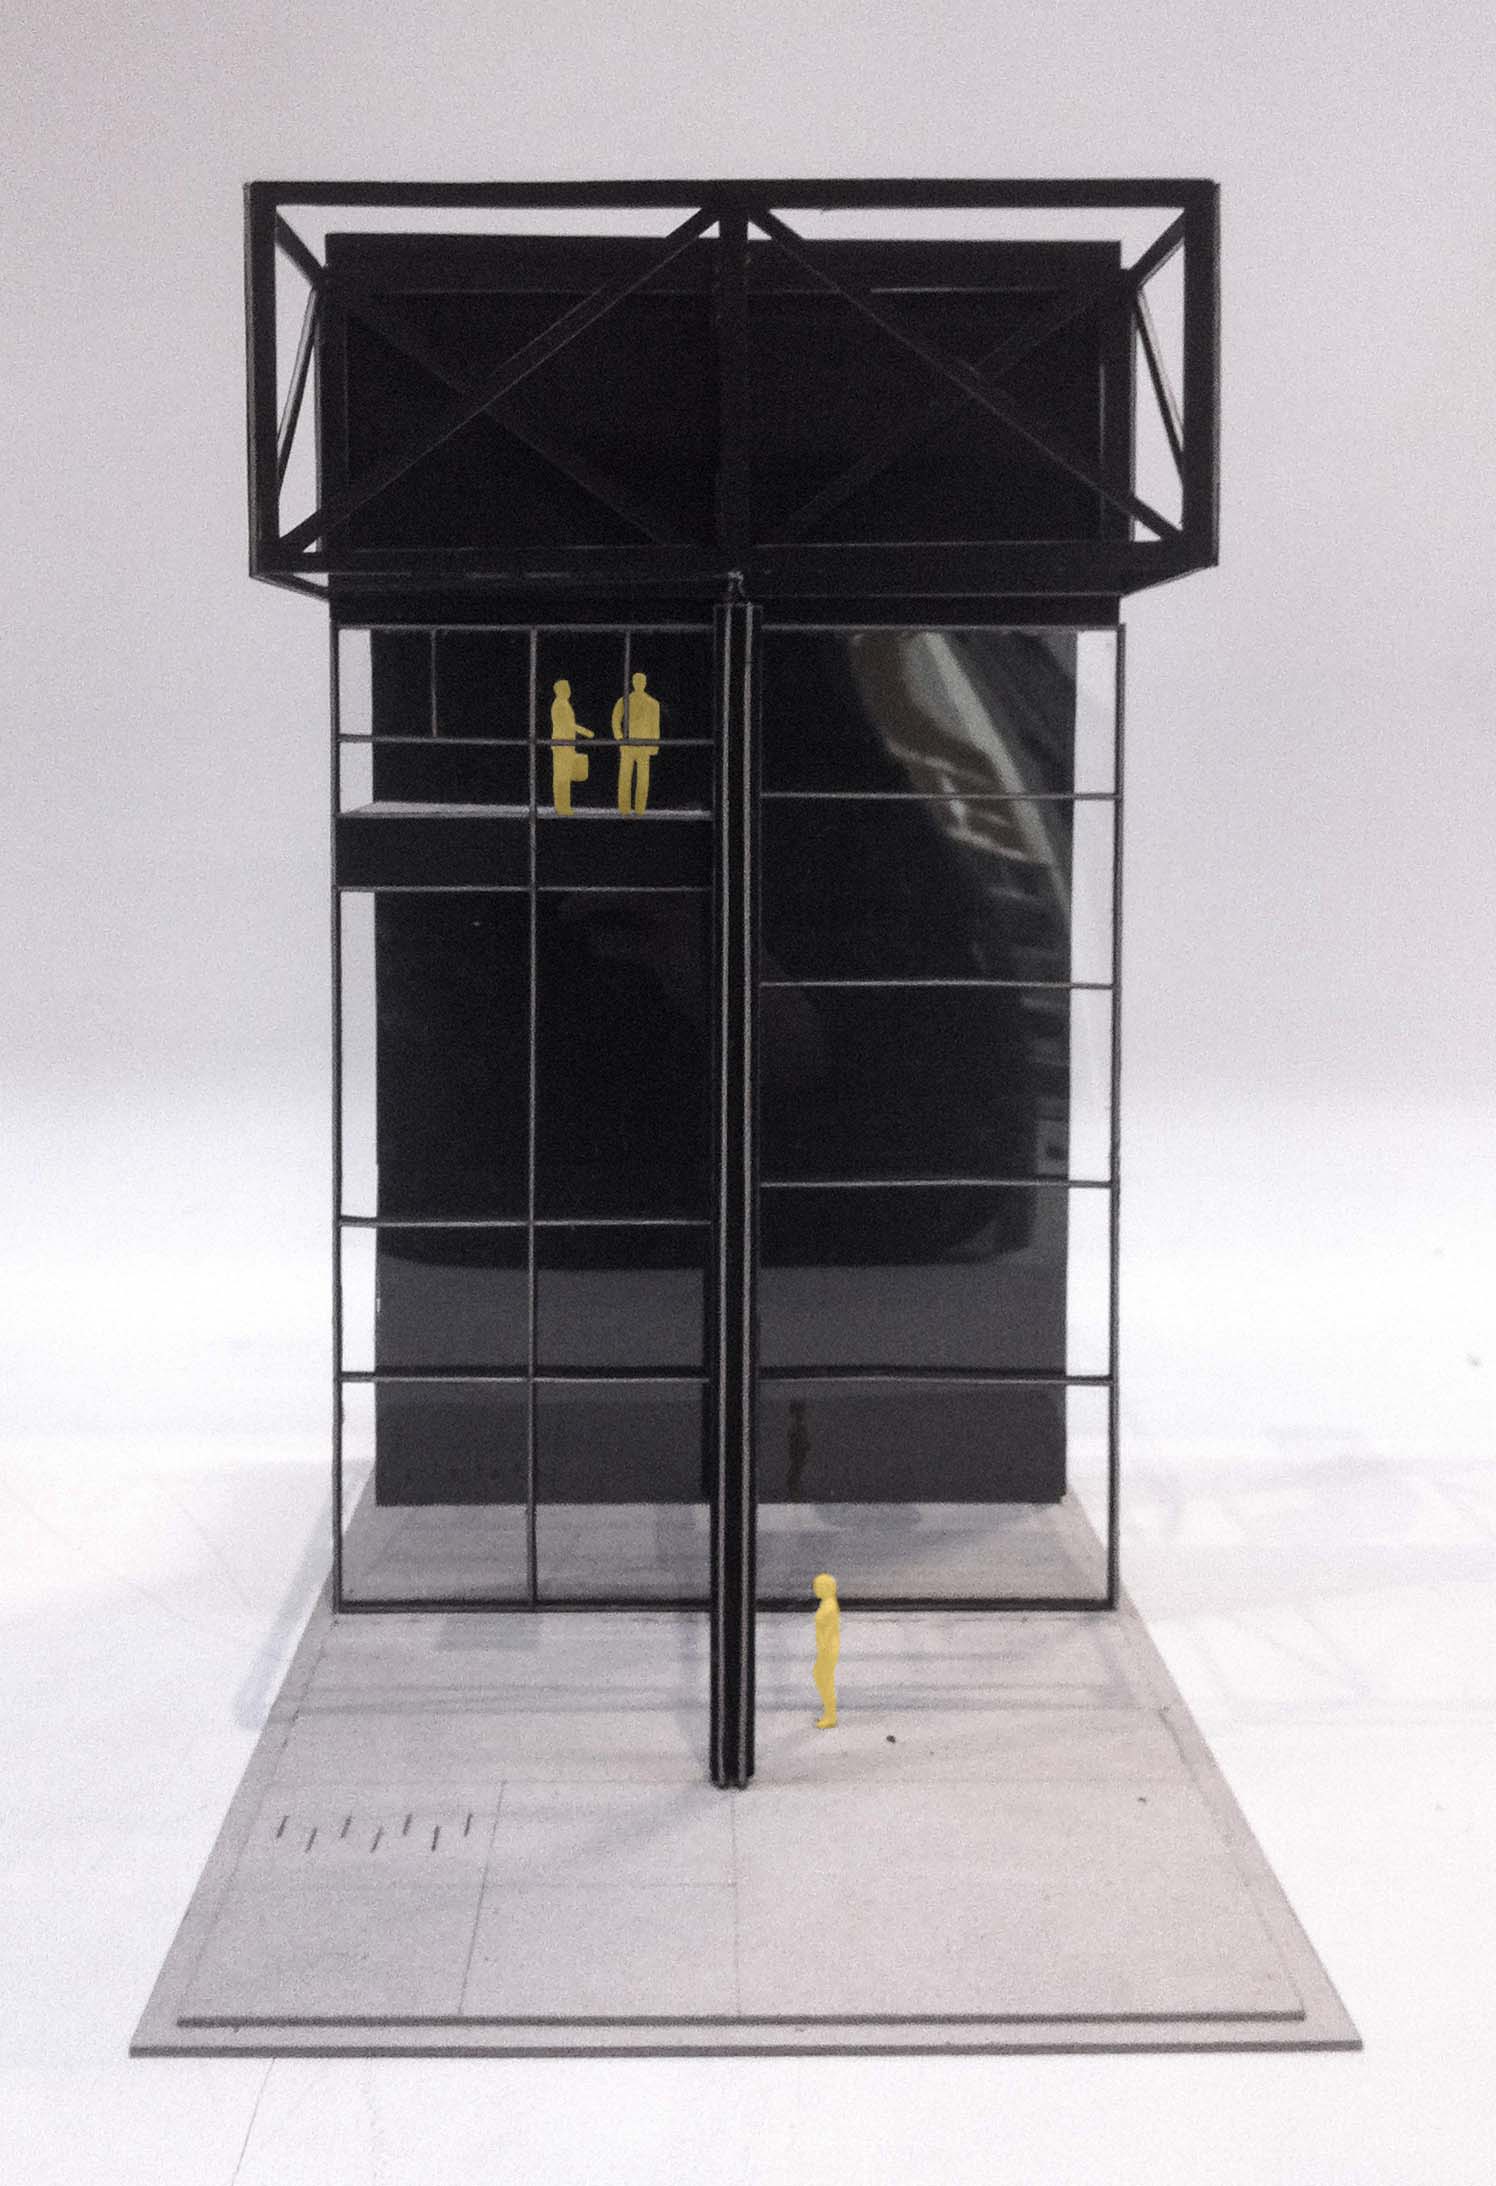
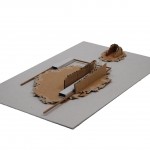
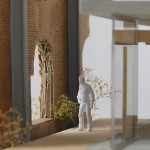
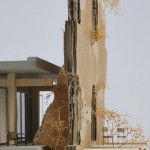
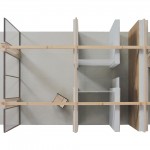
In the third week I continued exploring both the ensemble and the building layout using the 1:200 model. I focused on the placement of the façade in combination with the outlines of the roof and floor in order to explore the transition from the exterior into the interior.

Exploration of the Section

The line between interior & exterior
In the third week I continued exploring both theensemble and the building layout using the 1:200 model. I focused on the placement of the façade in combination with the outlines of the roof and floor in order to explore the transition from the exterior into the interior.

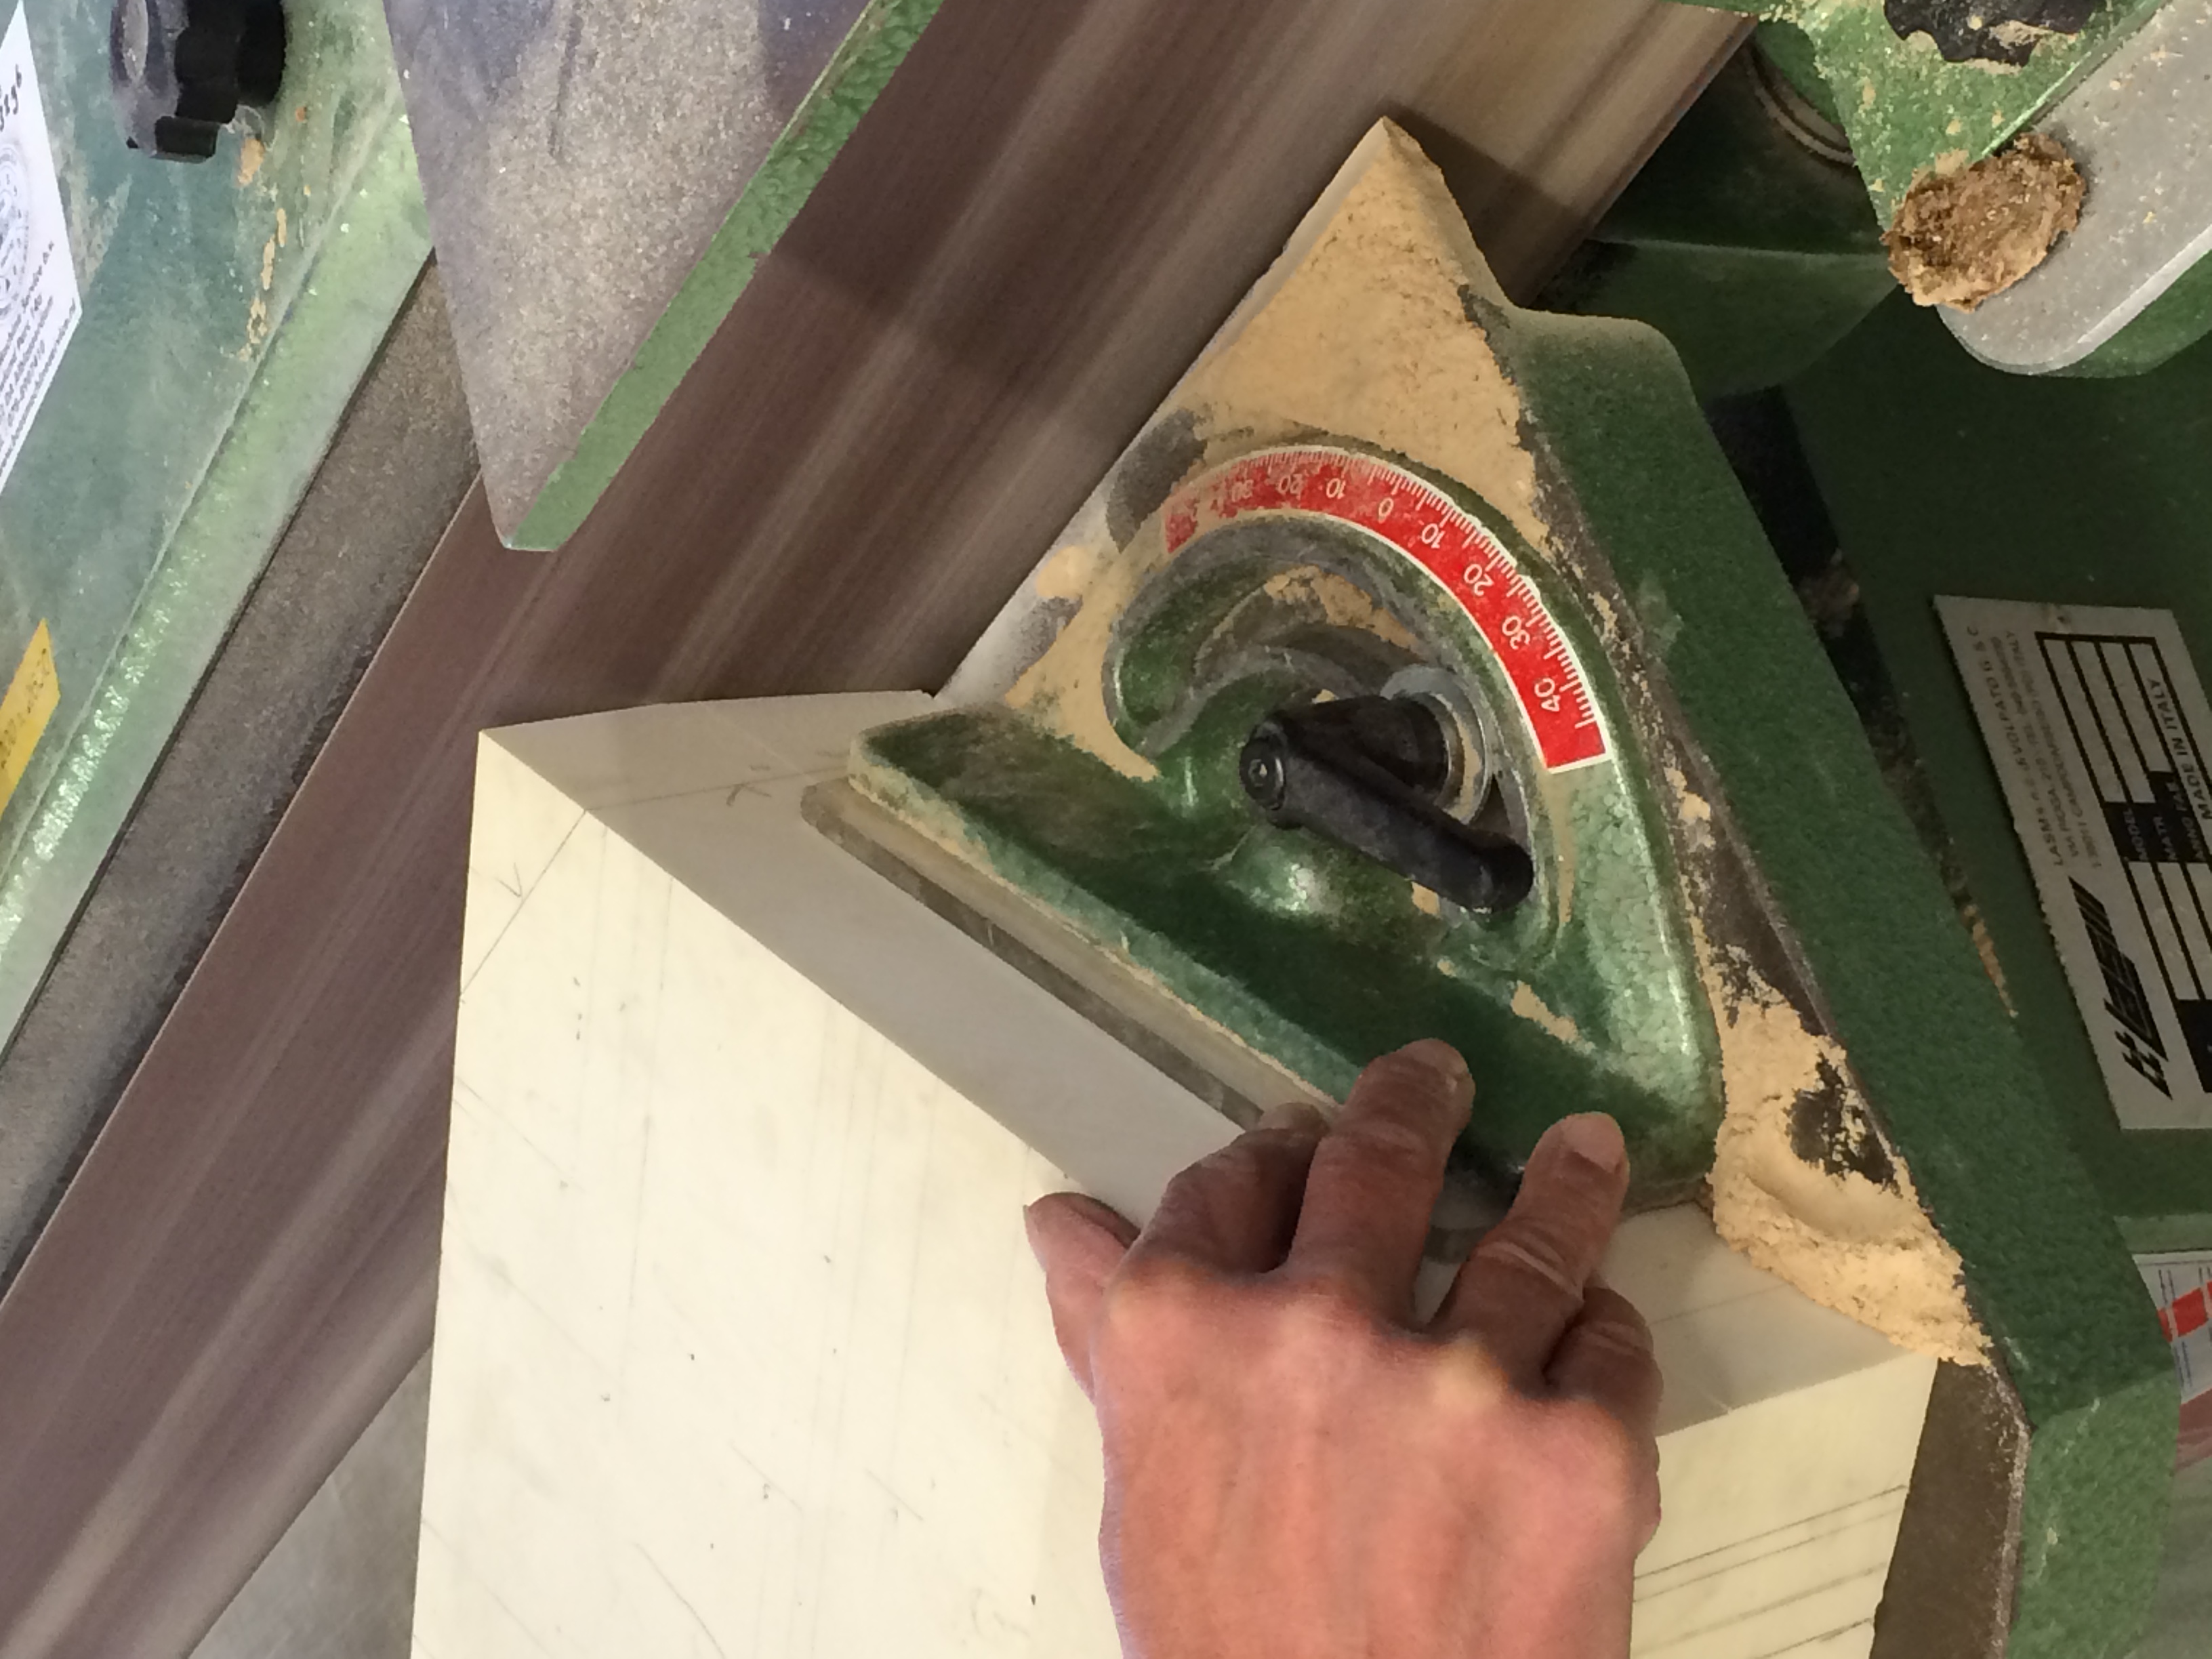
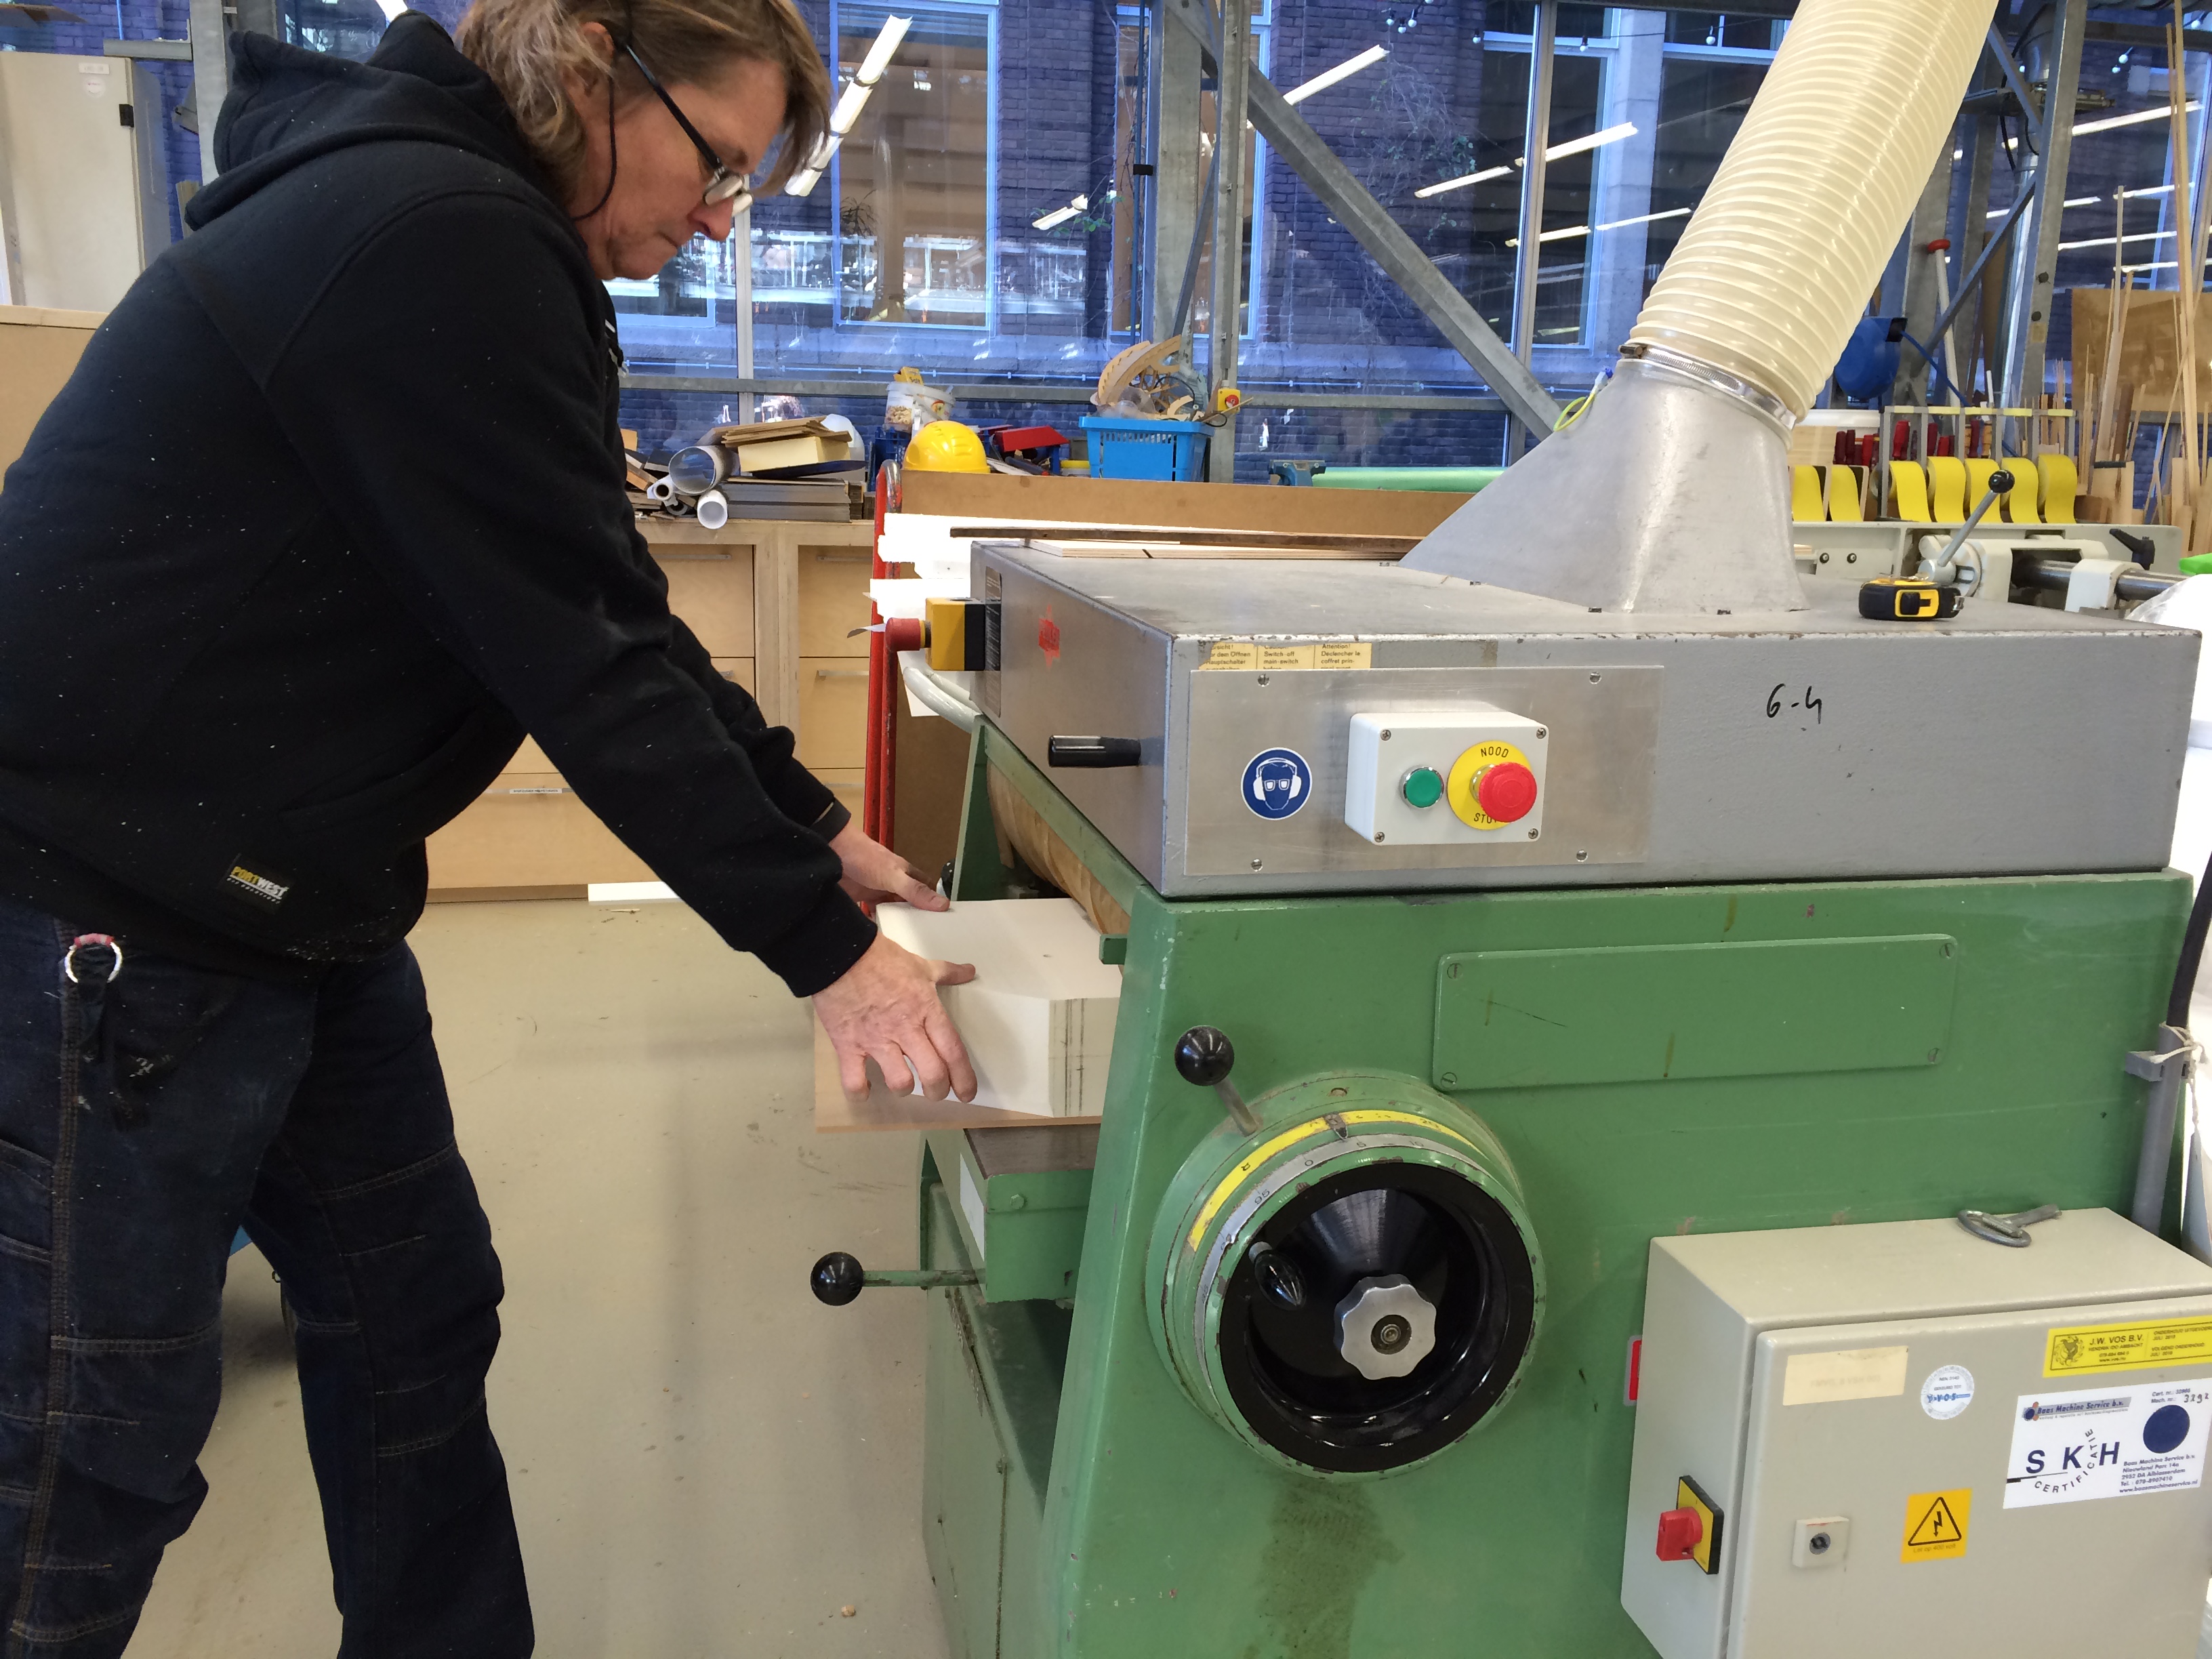
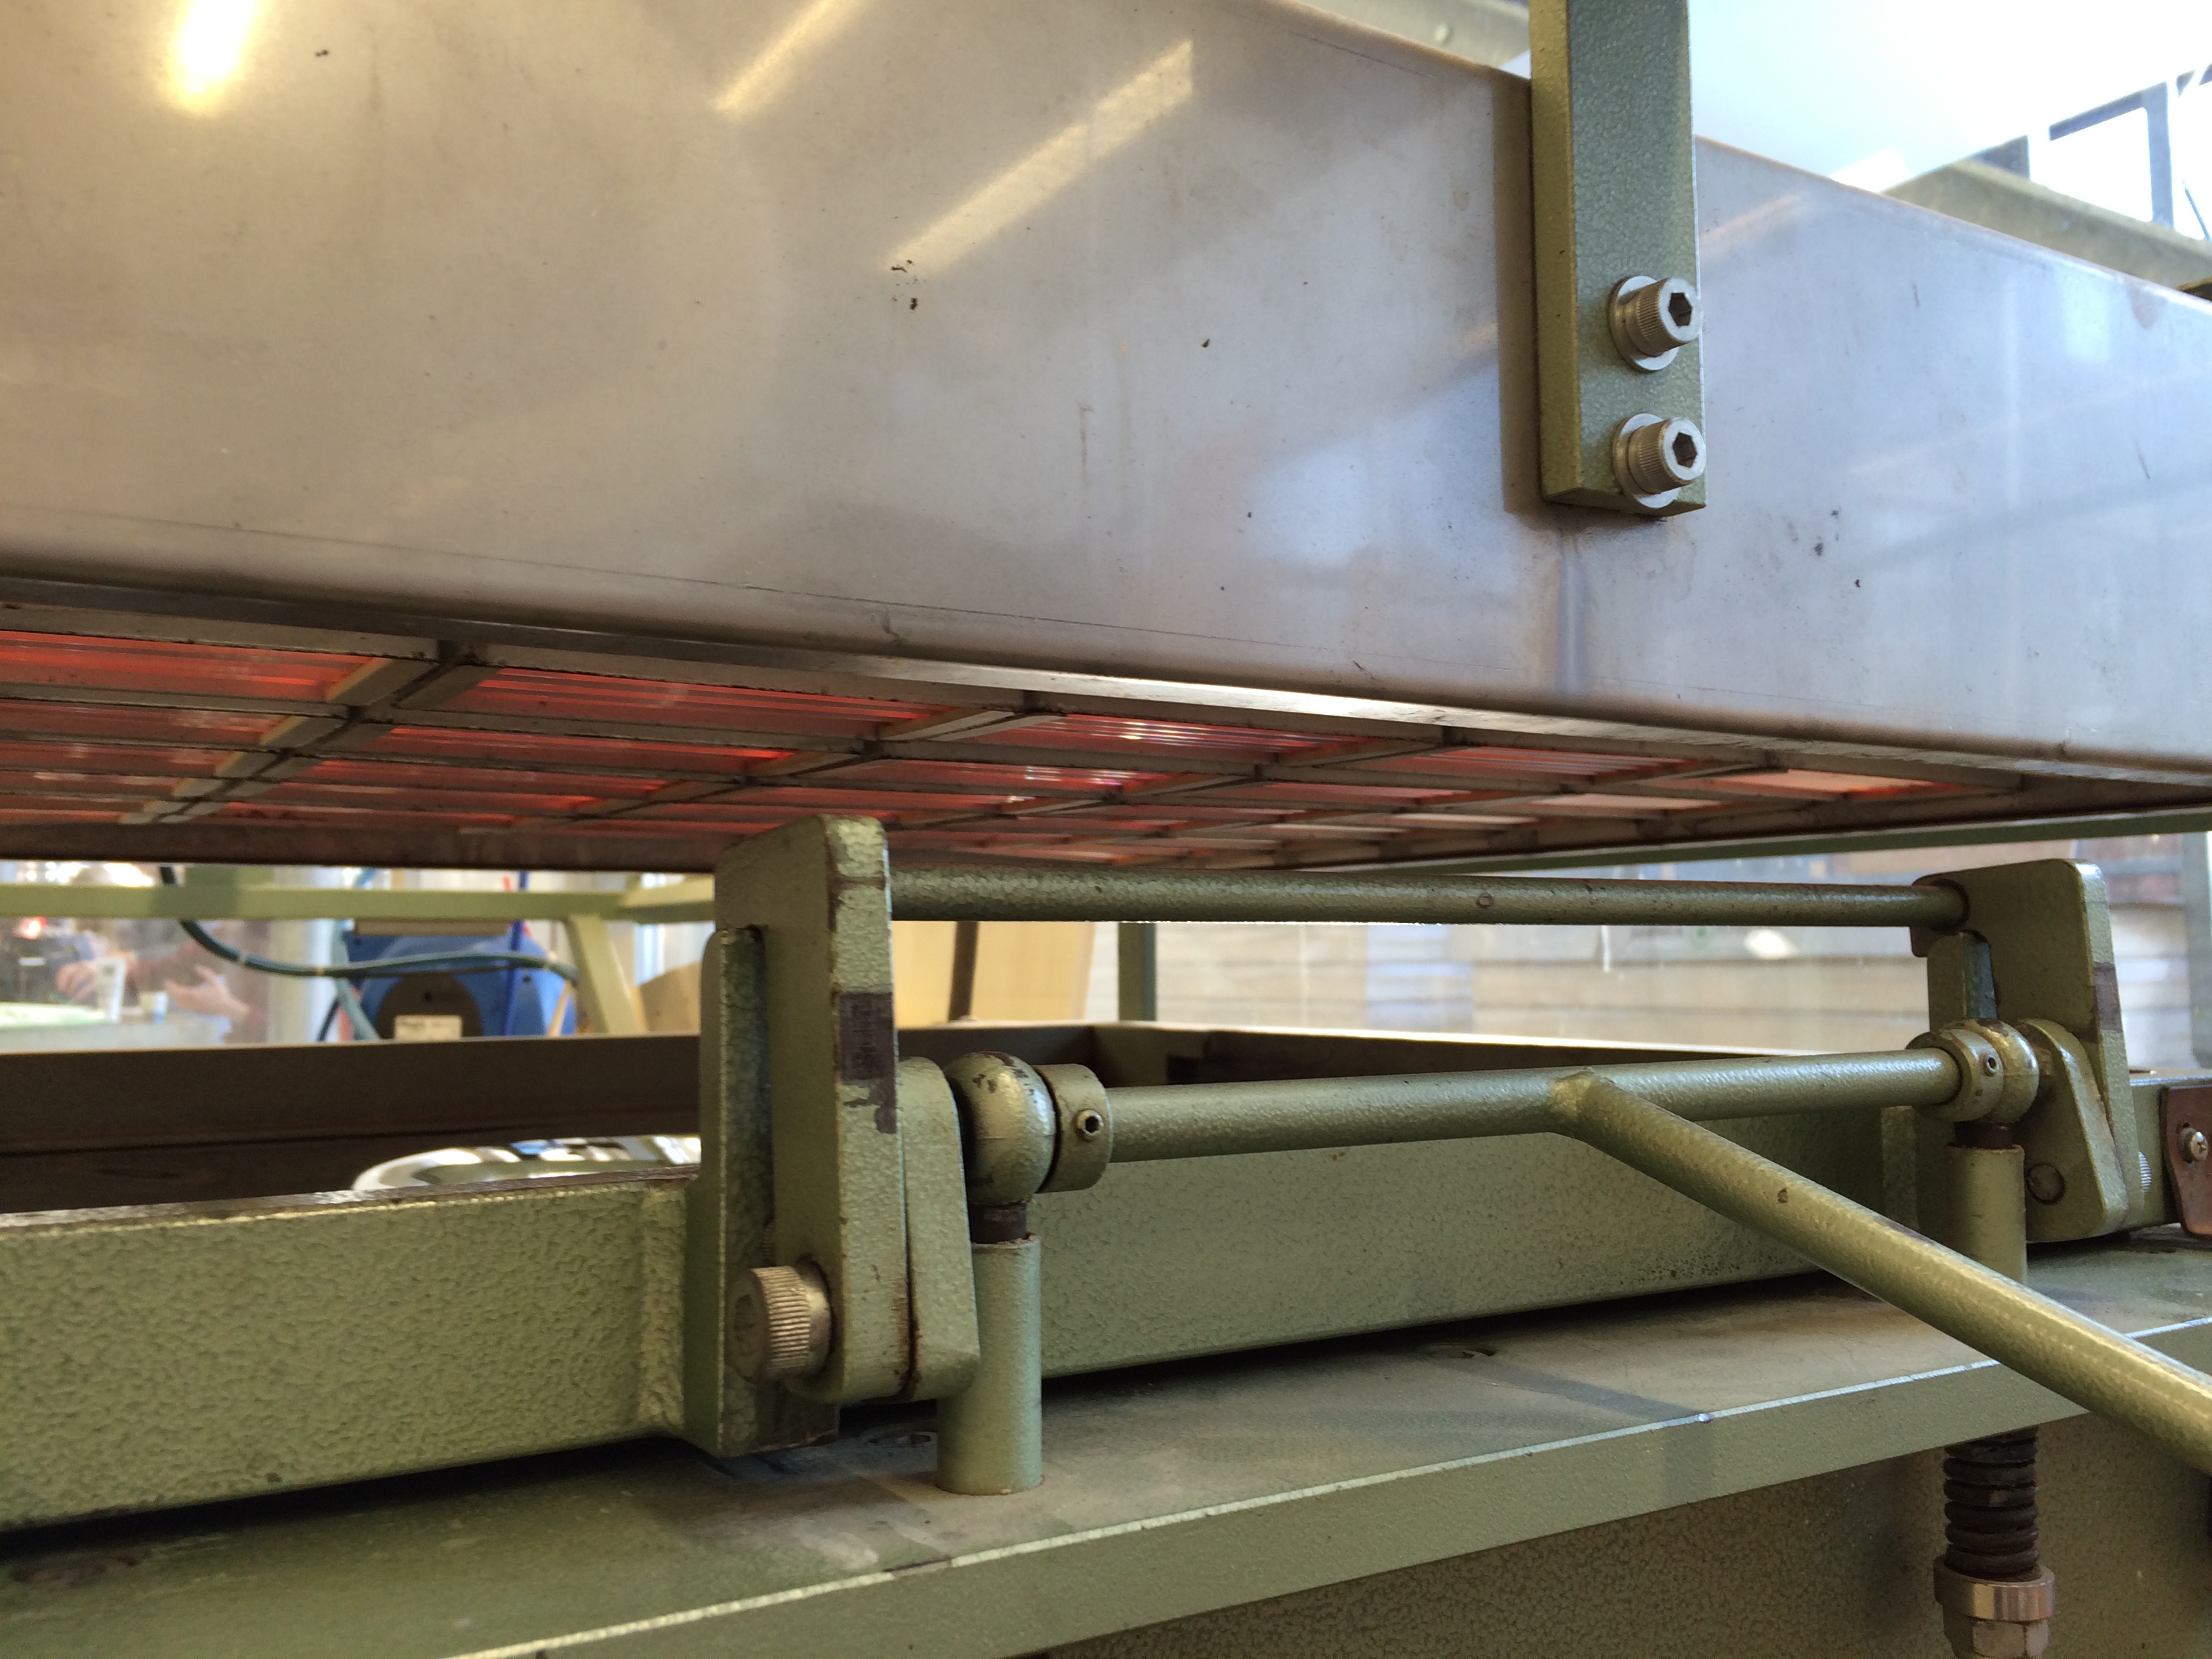
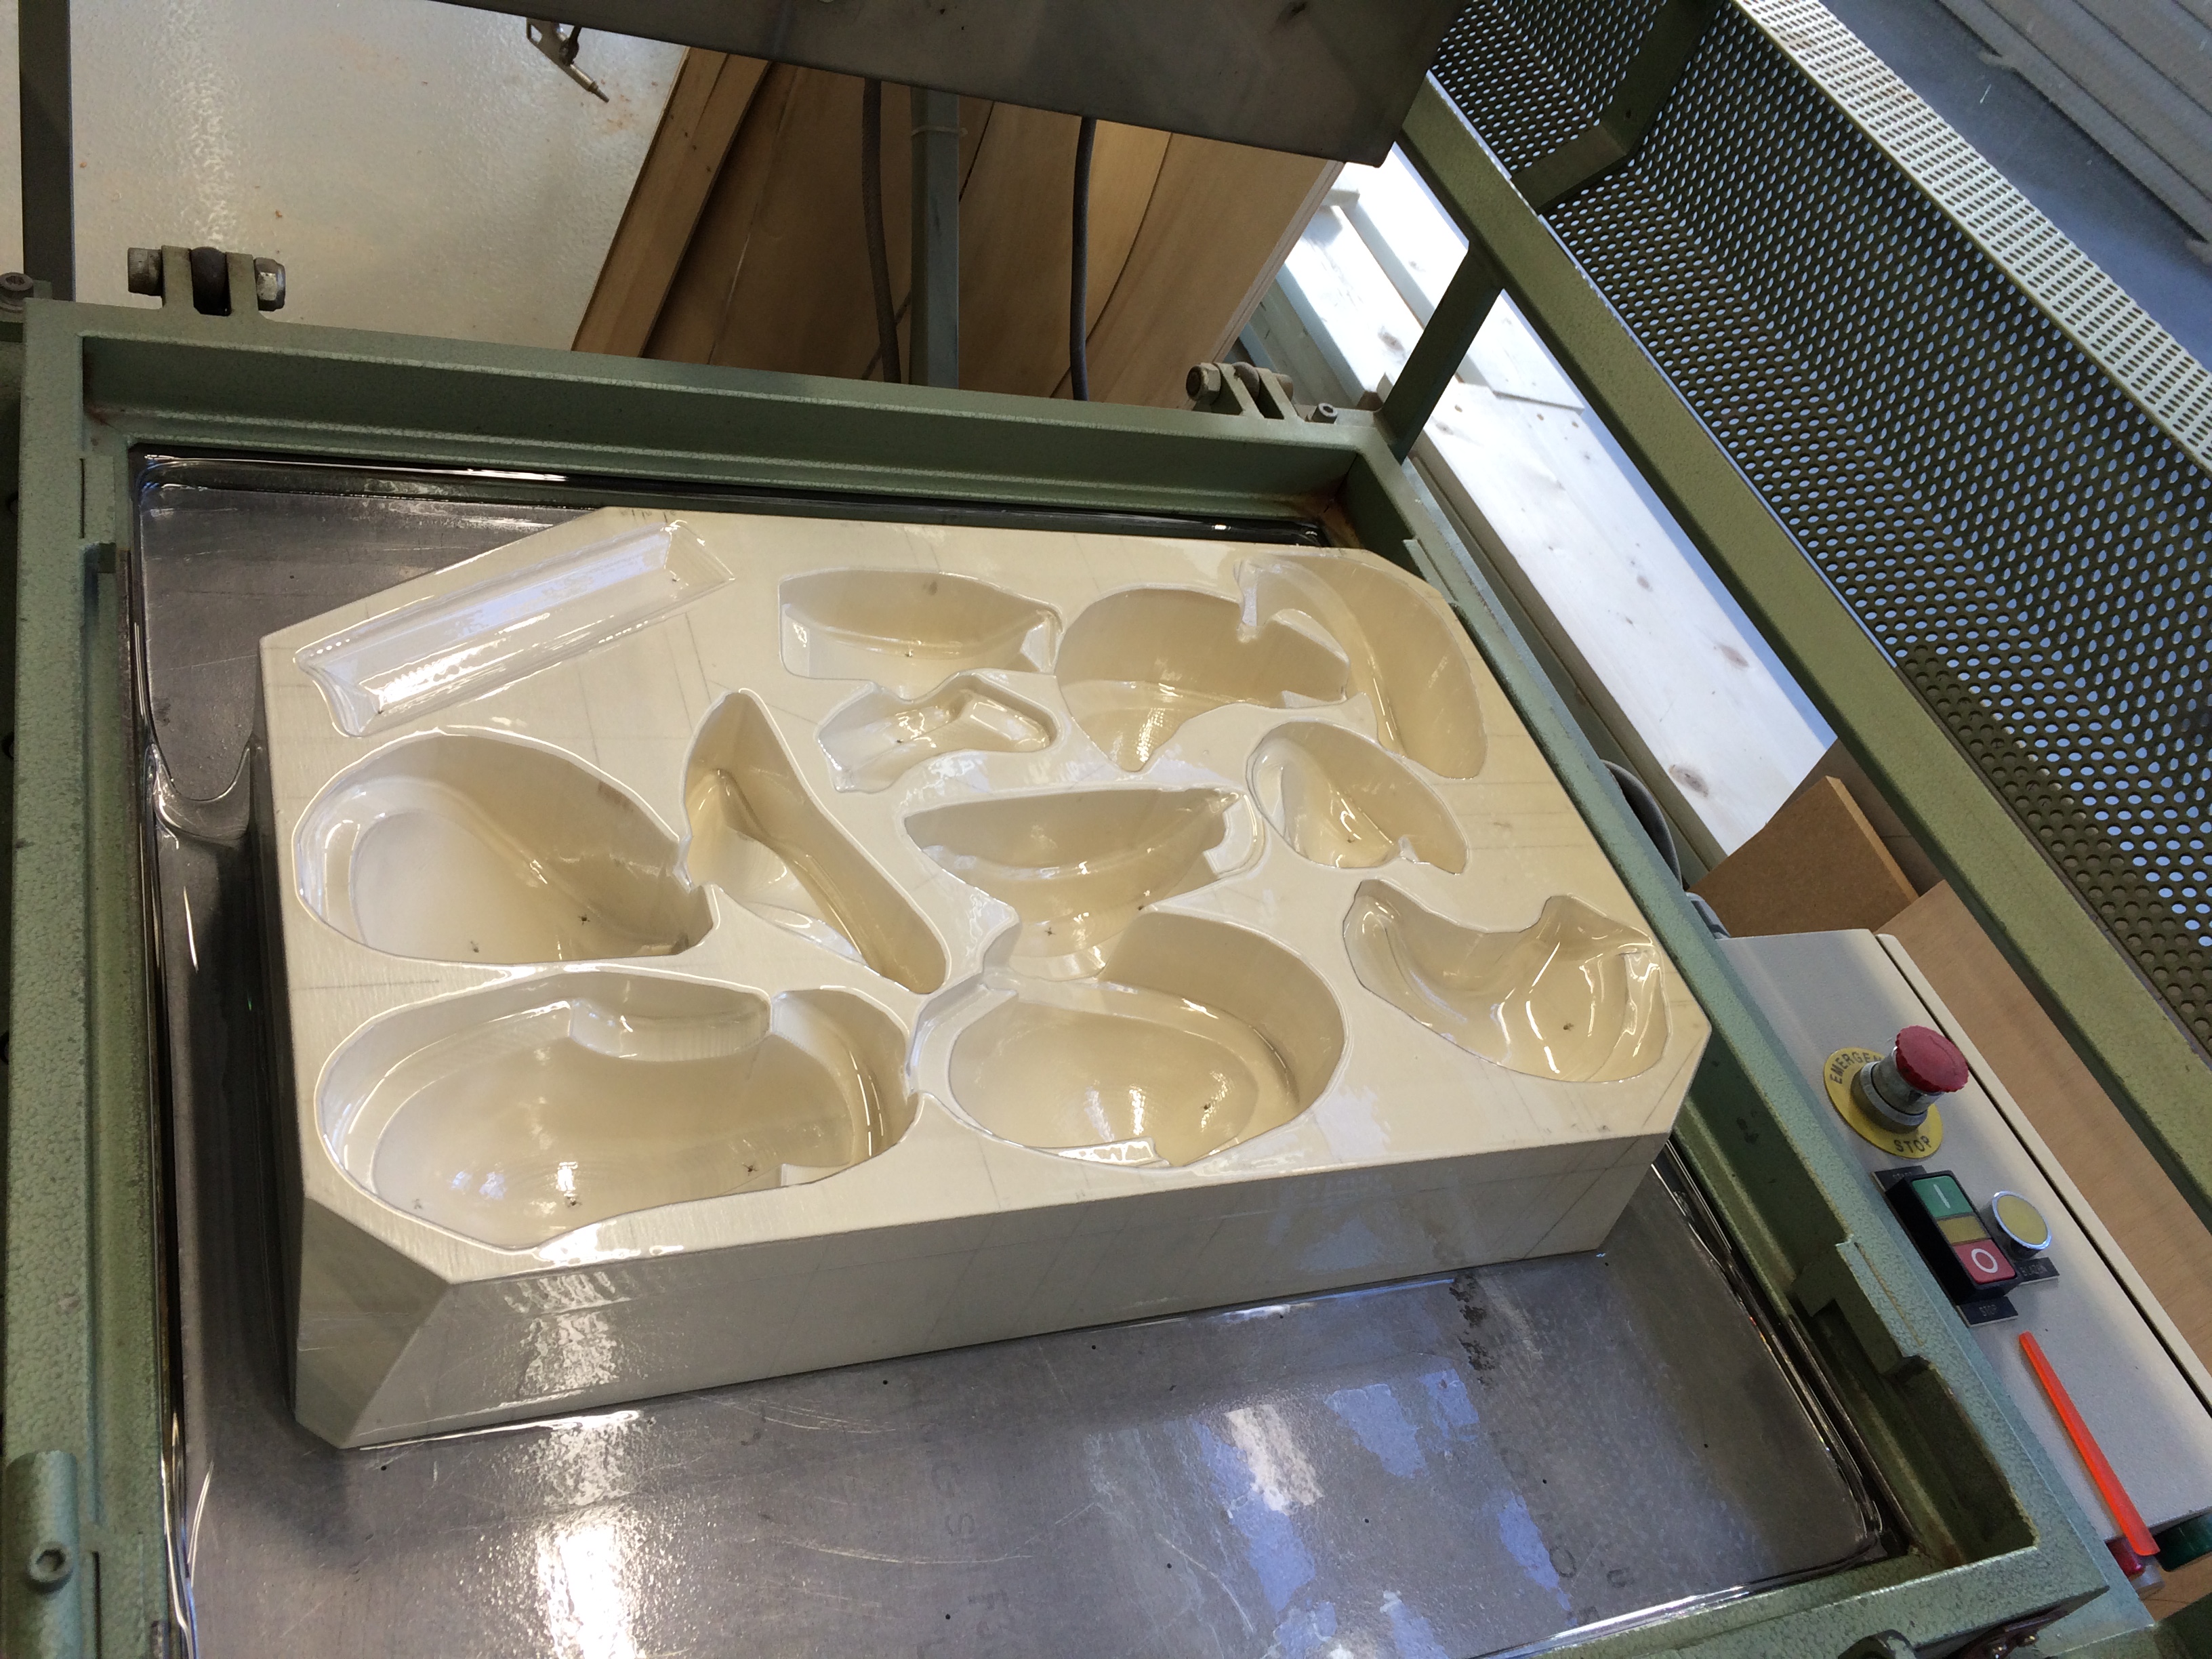
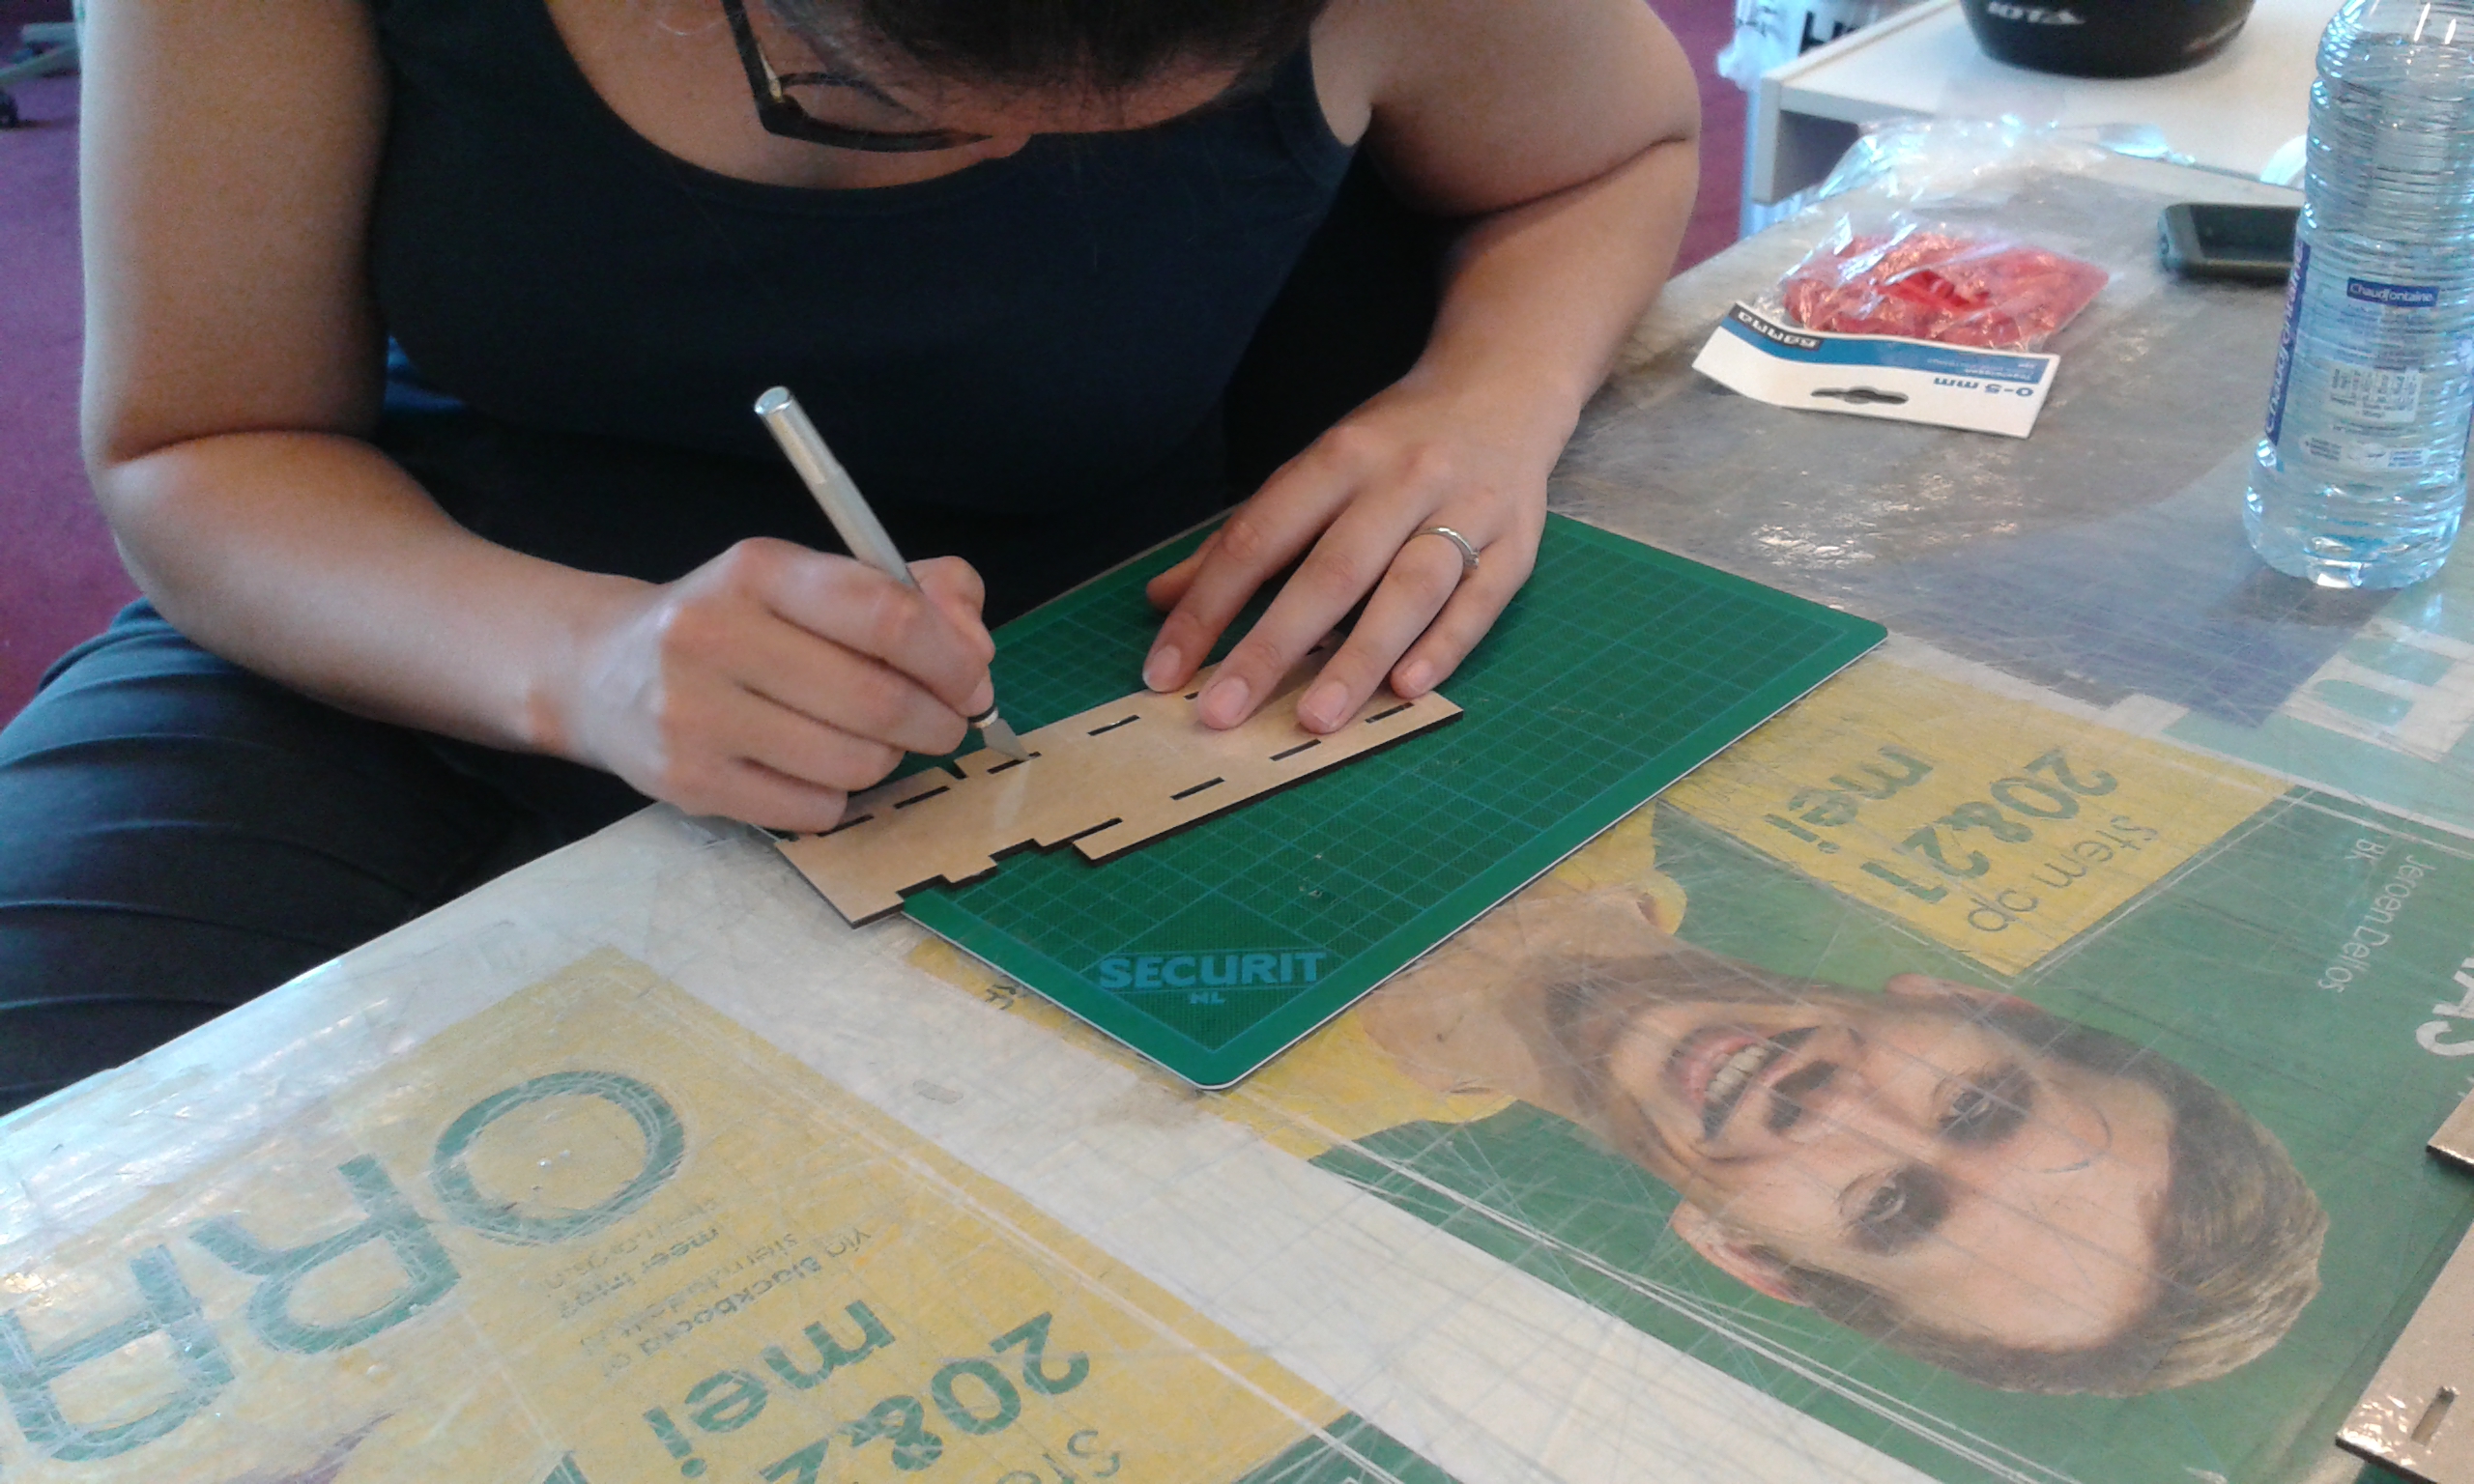
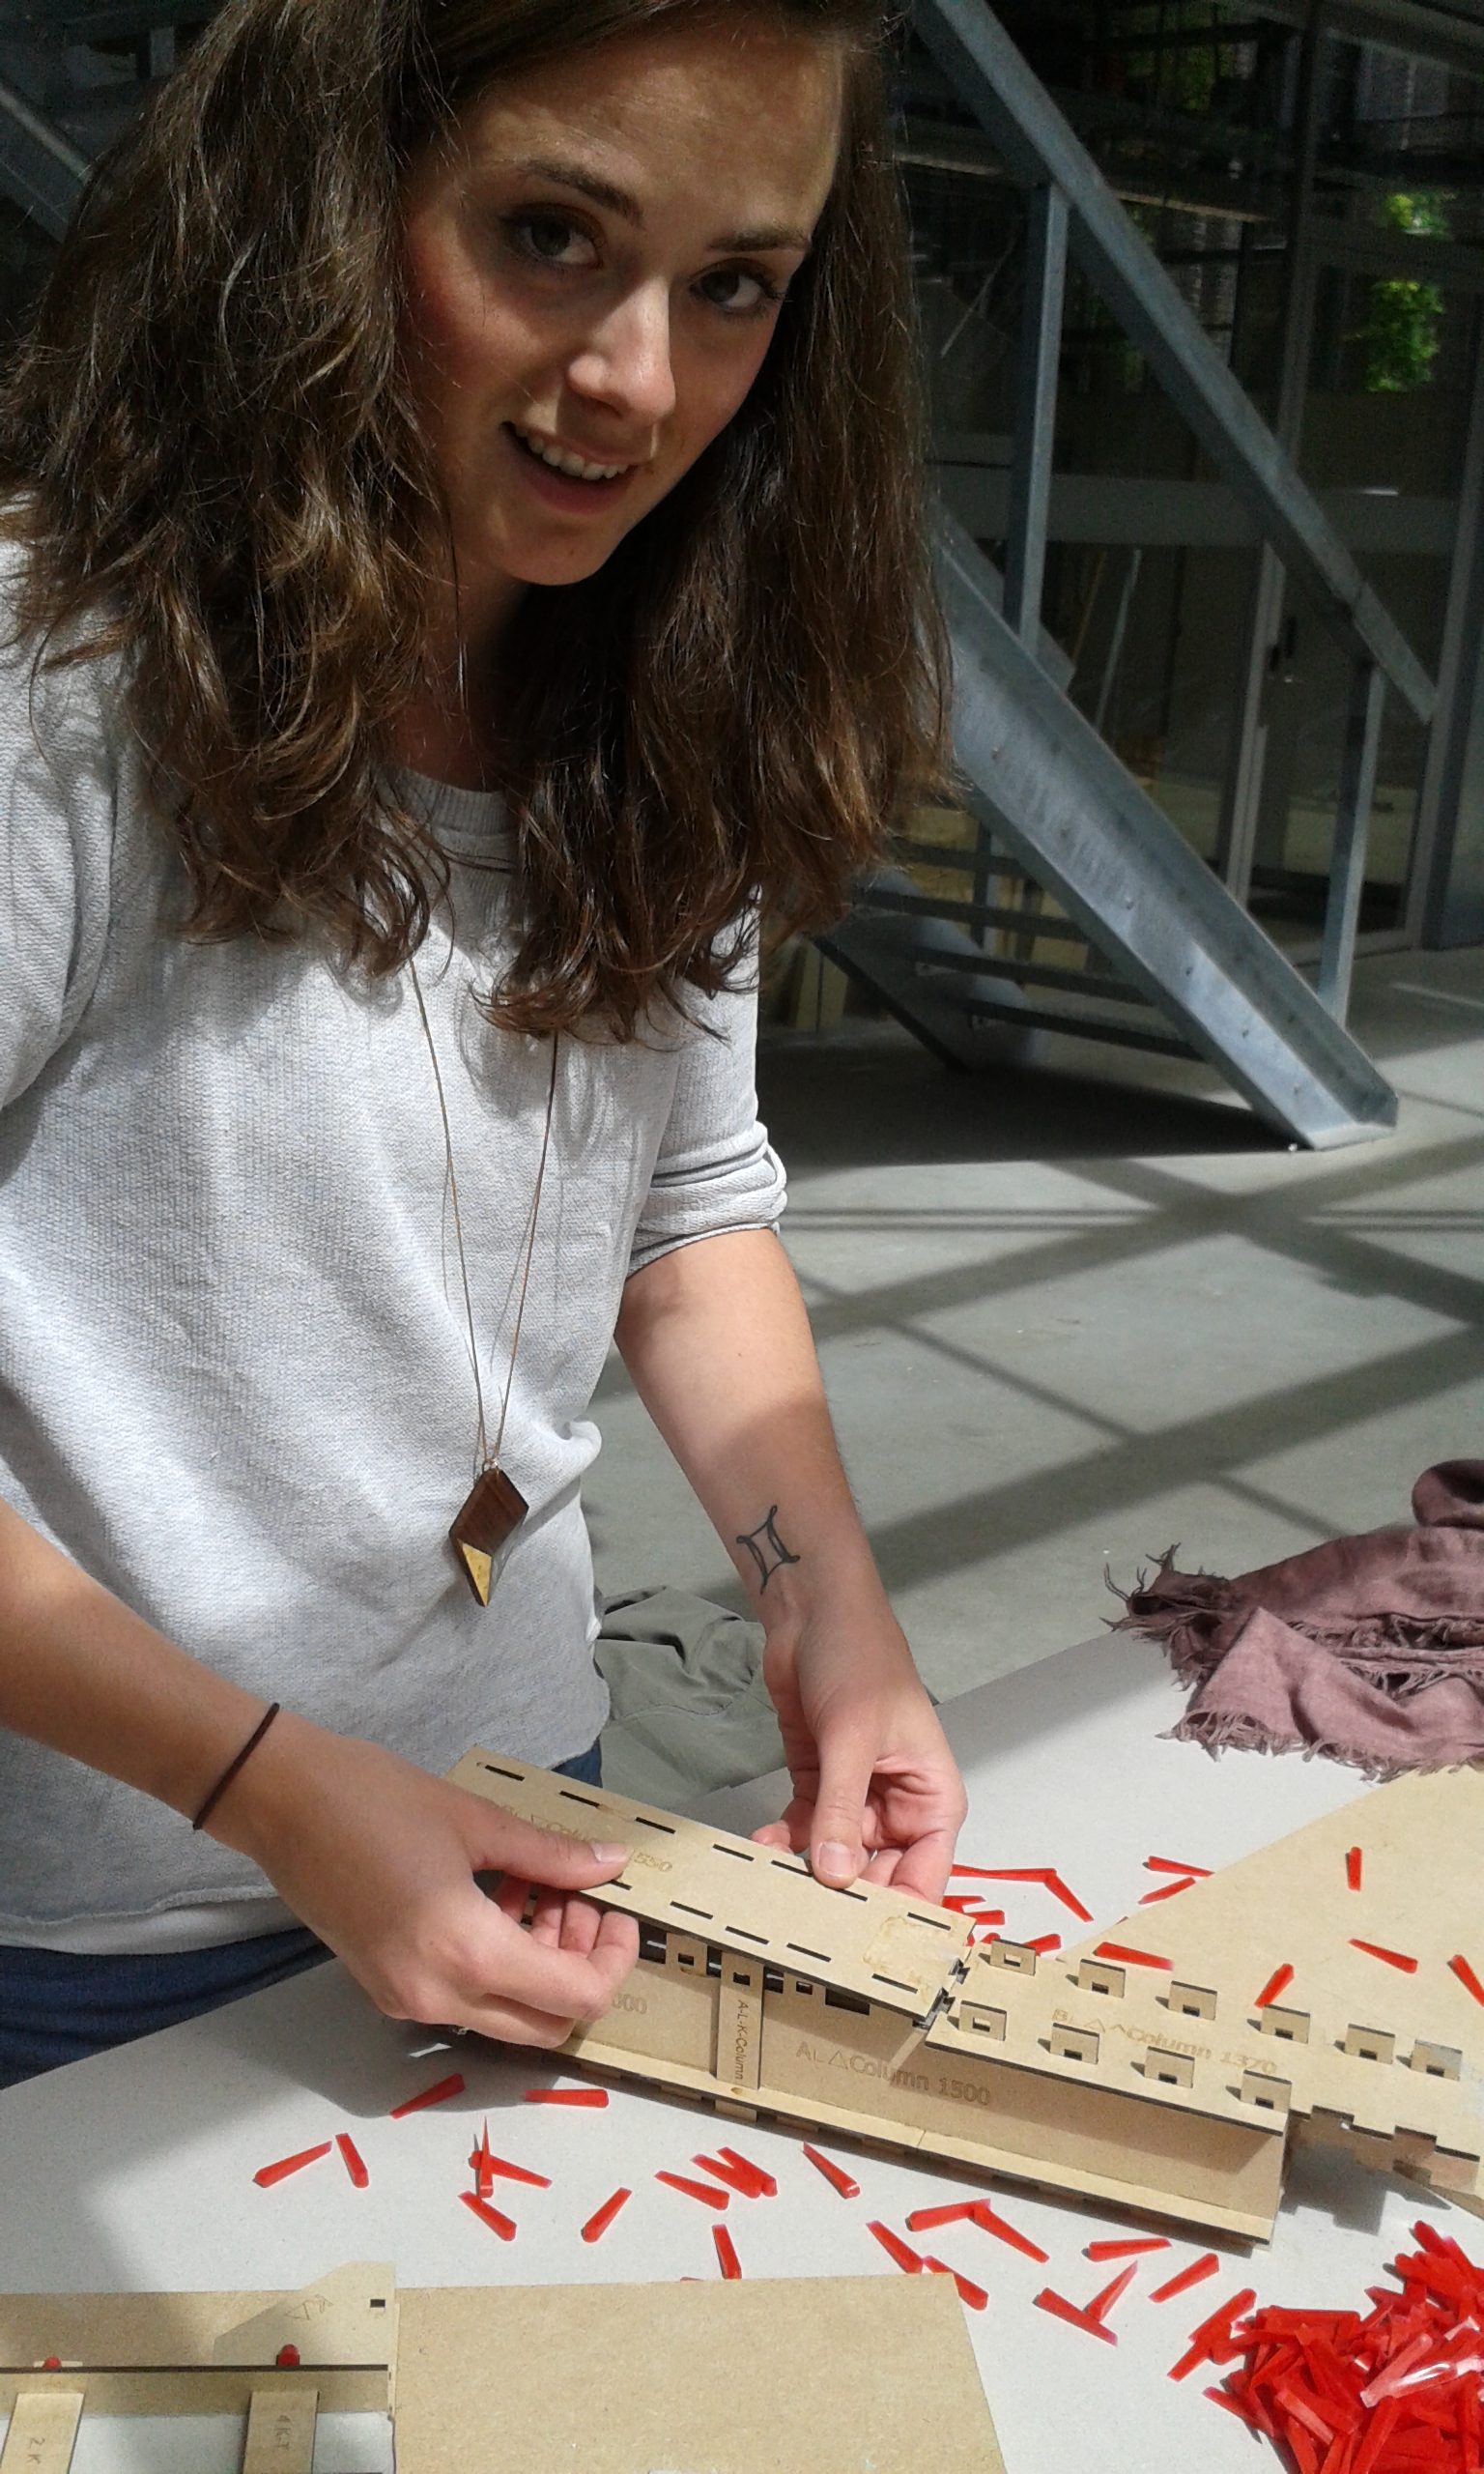
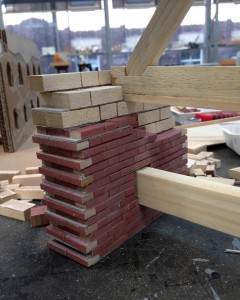
Testing model making techniques
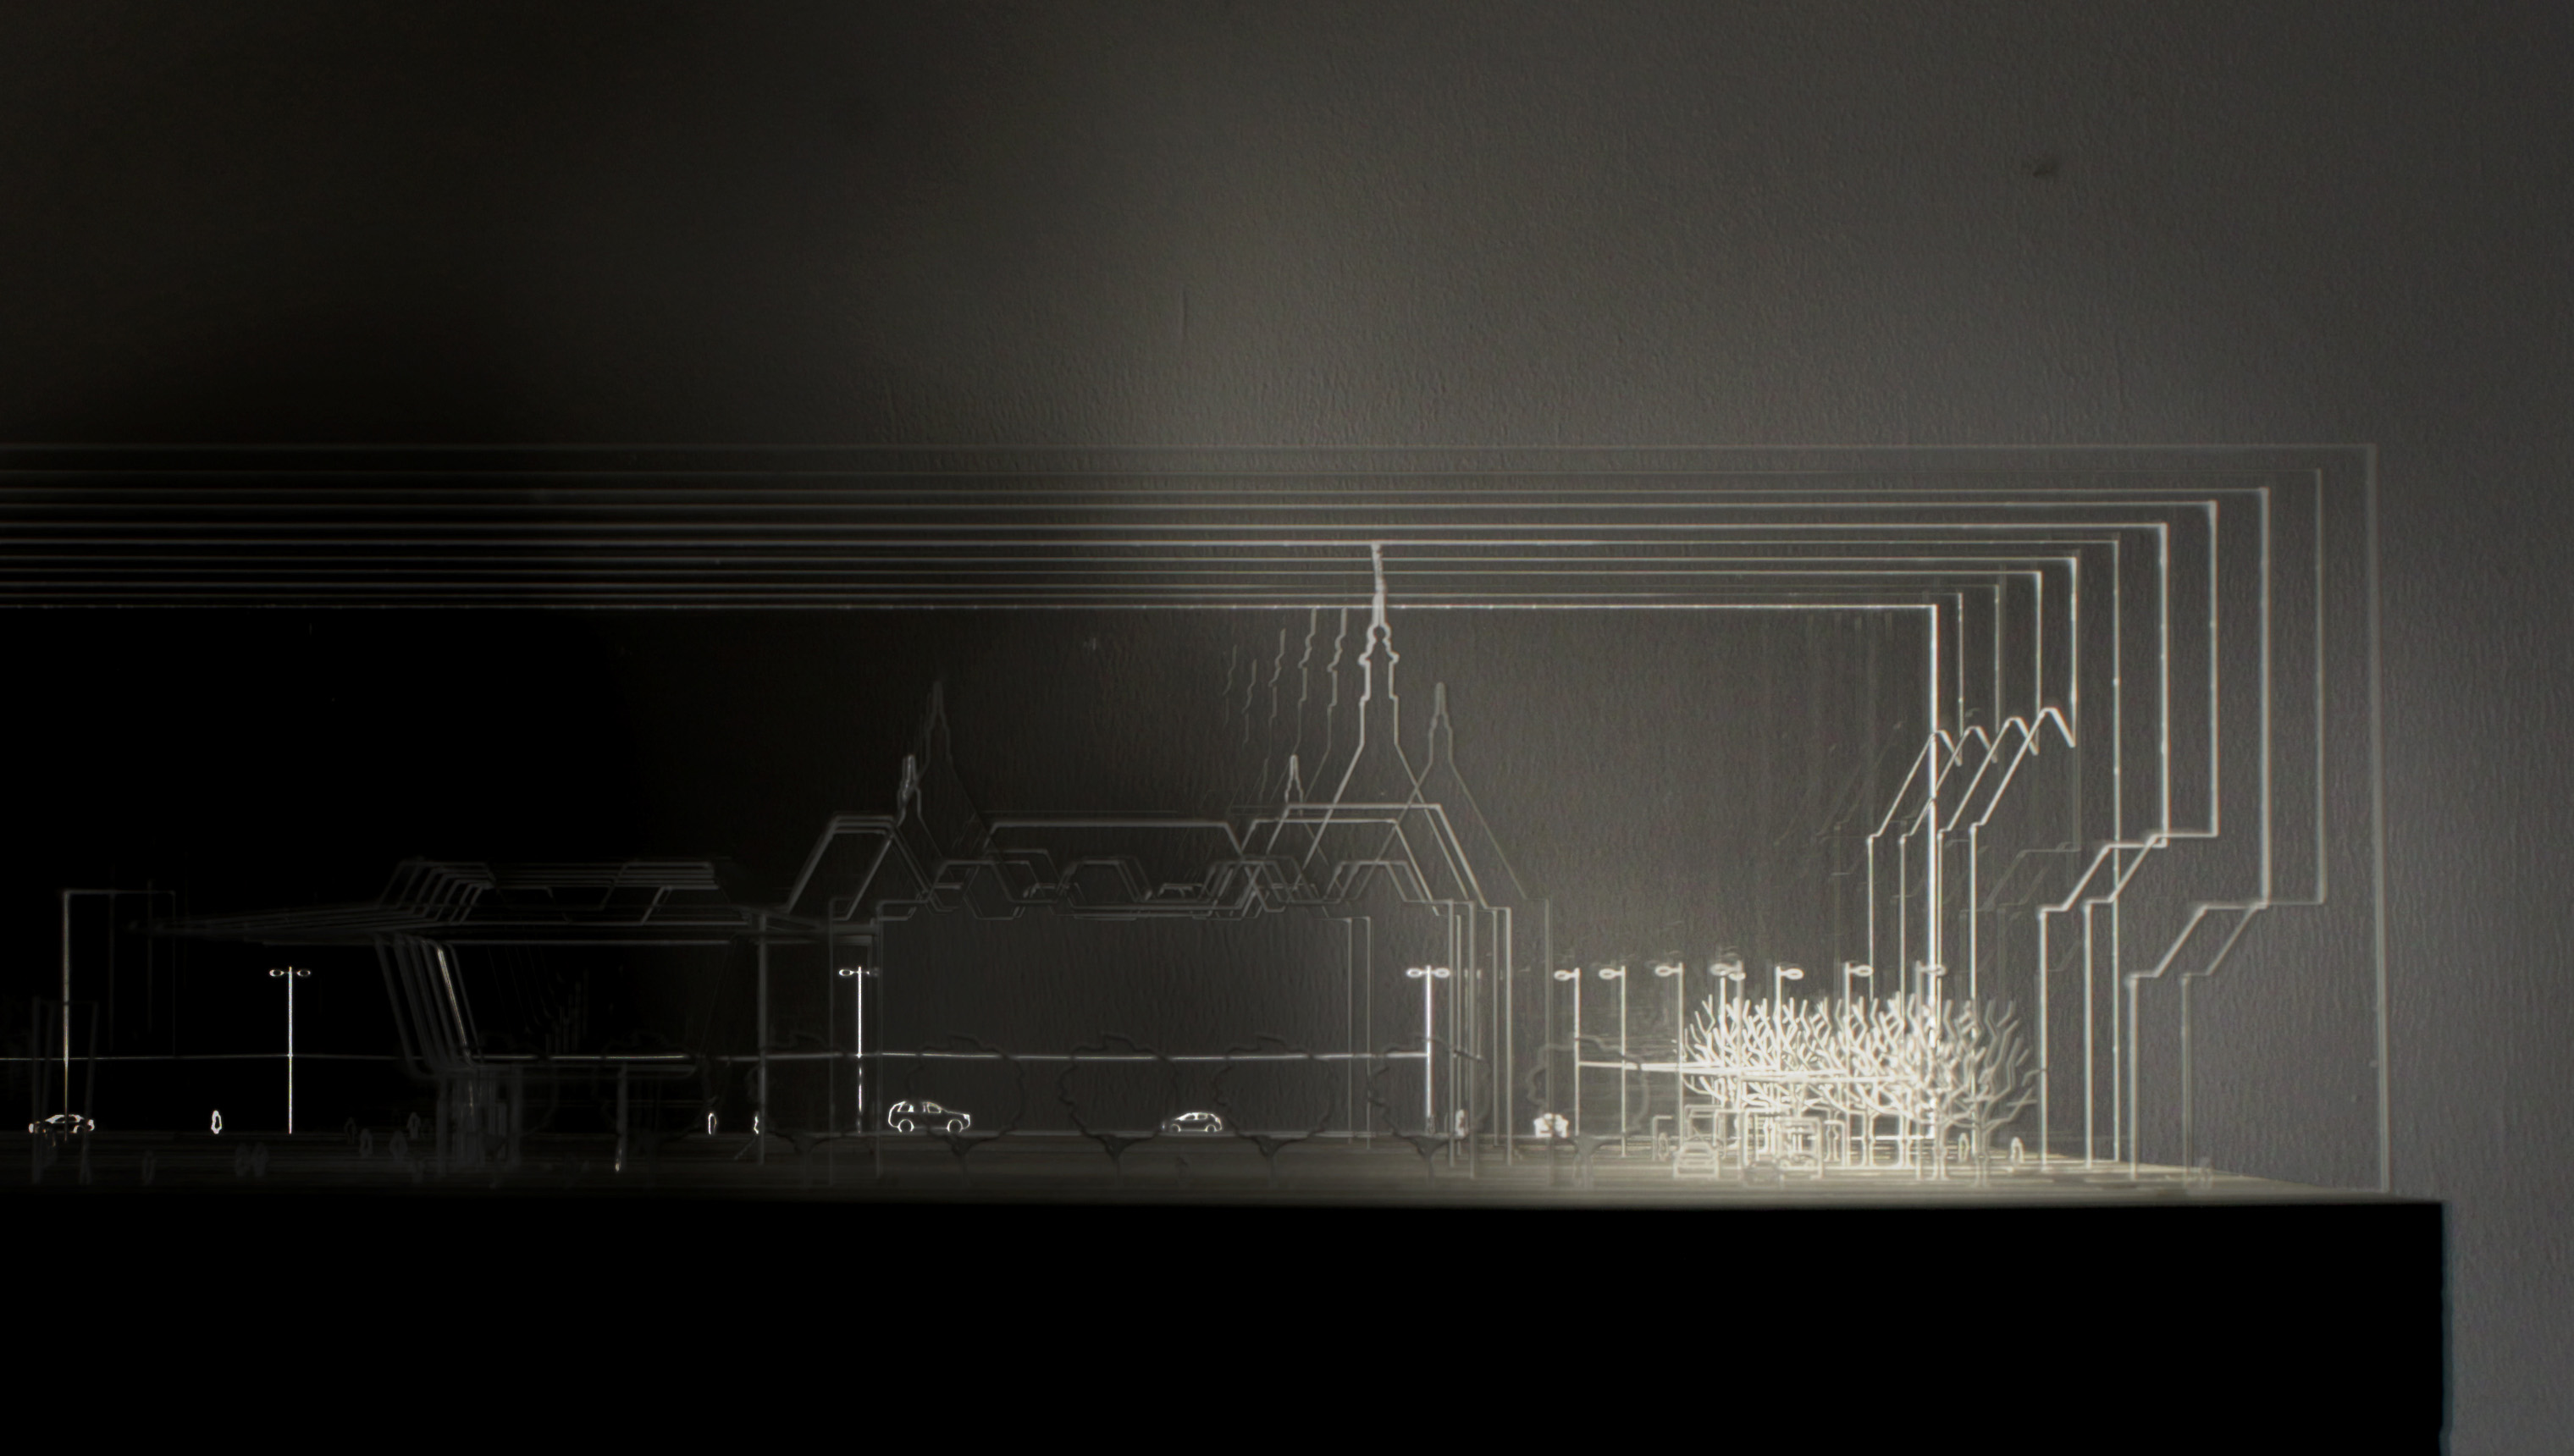
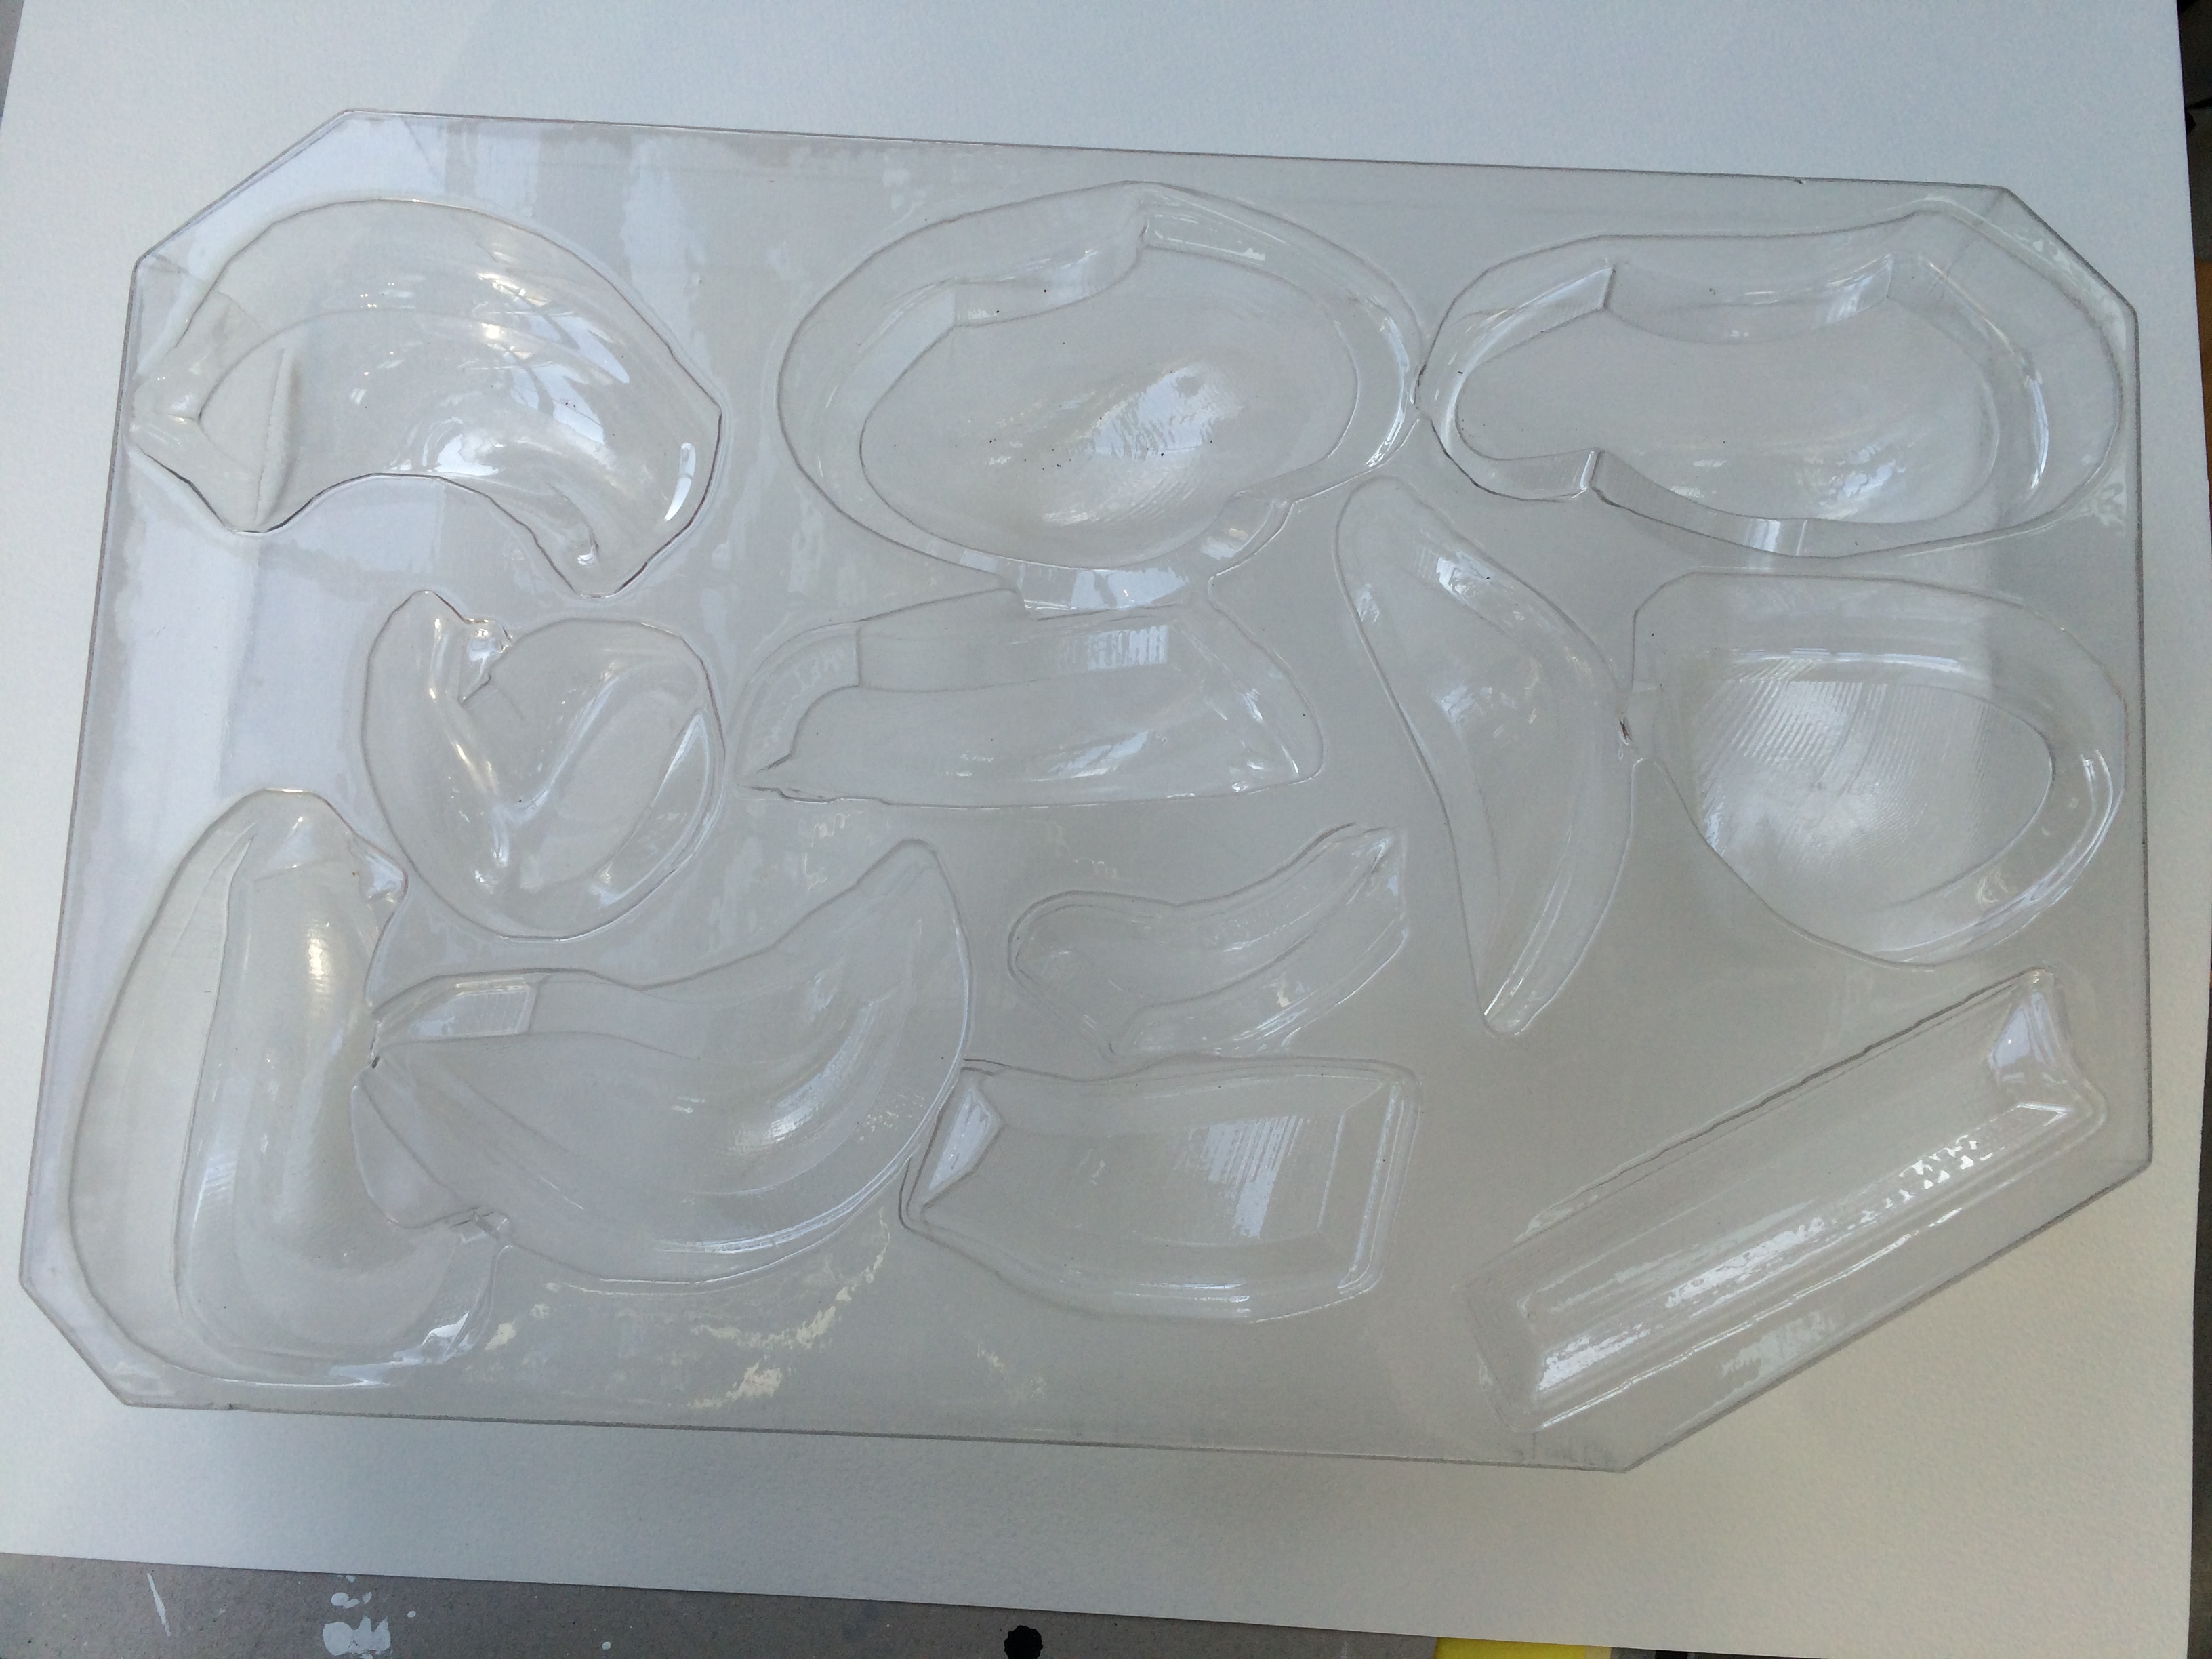
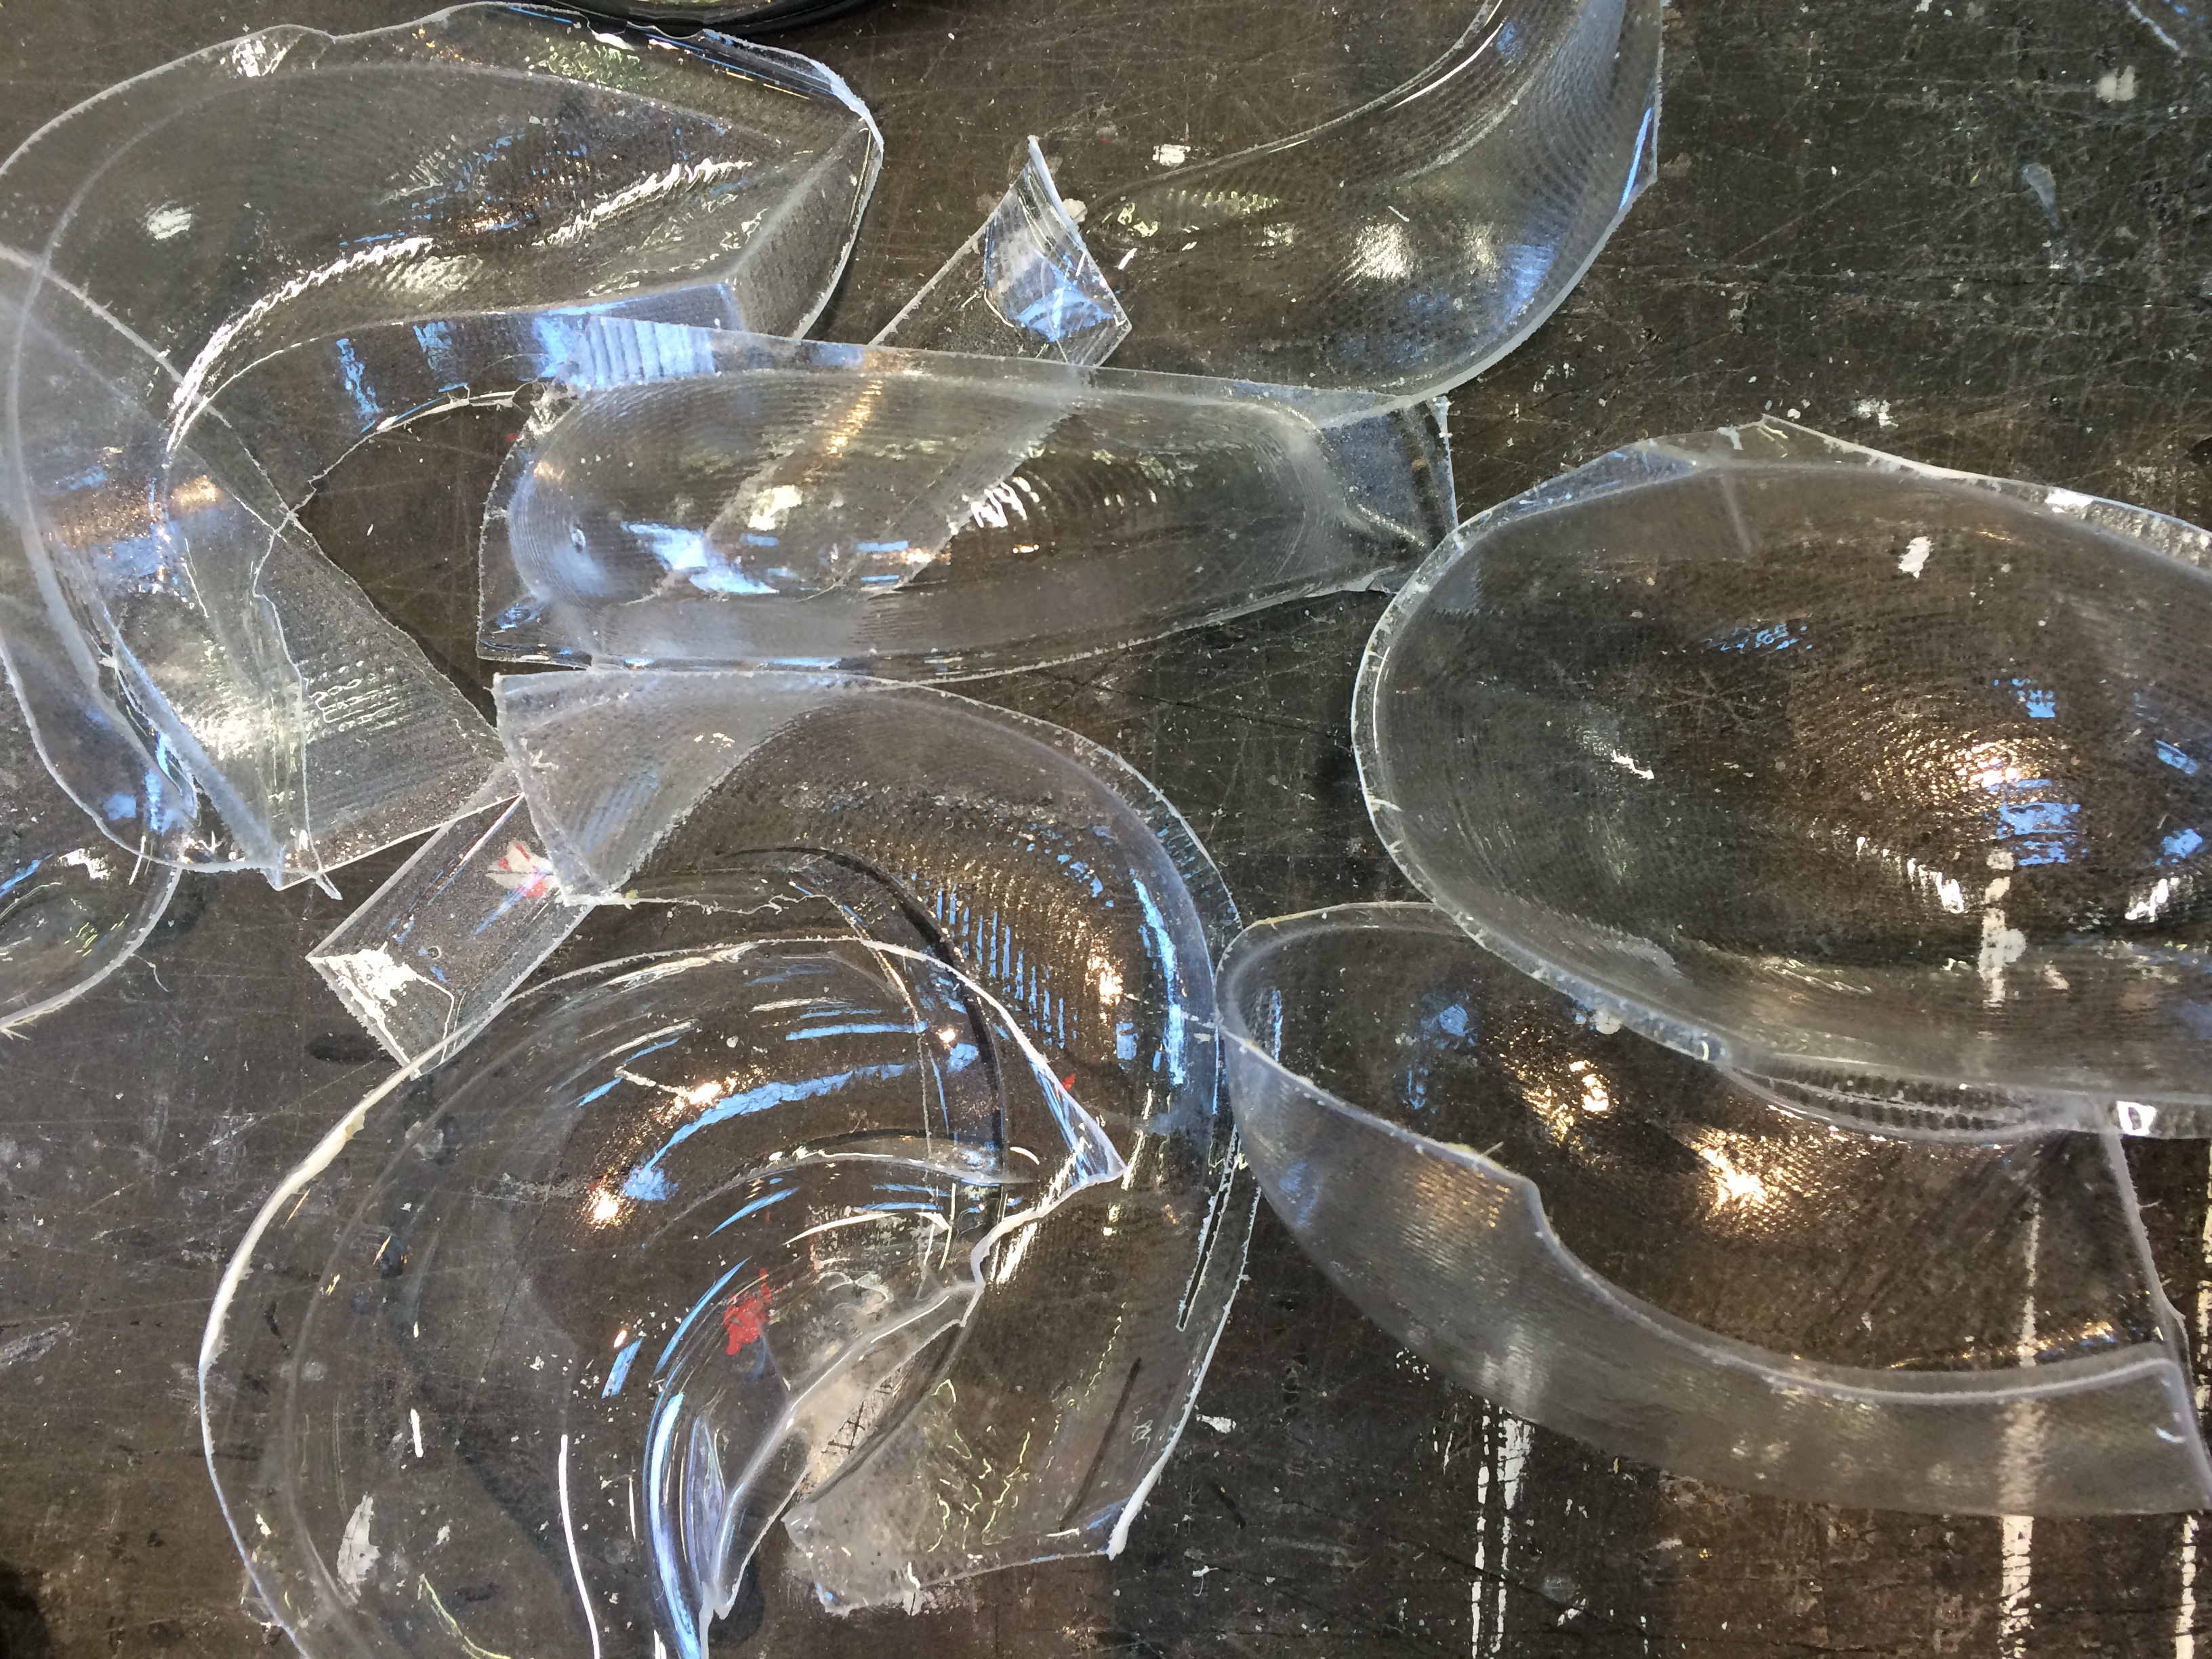
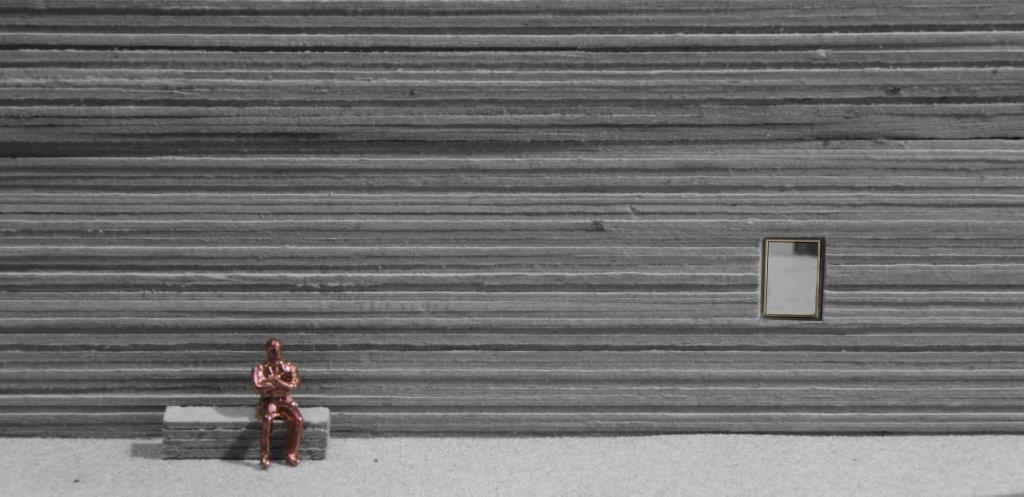
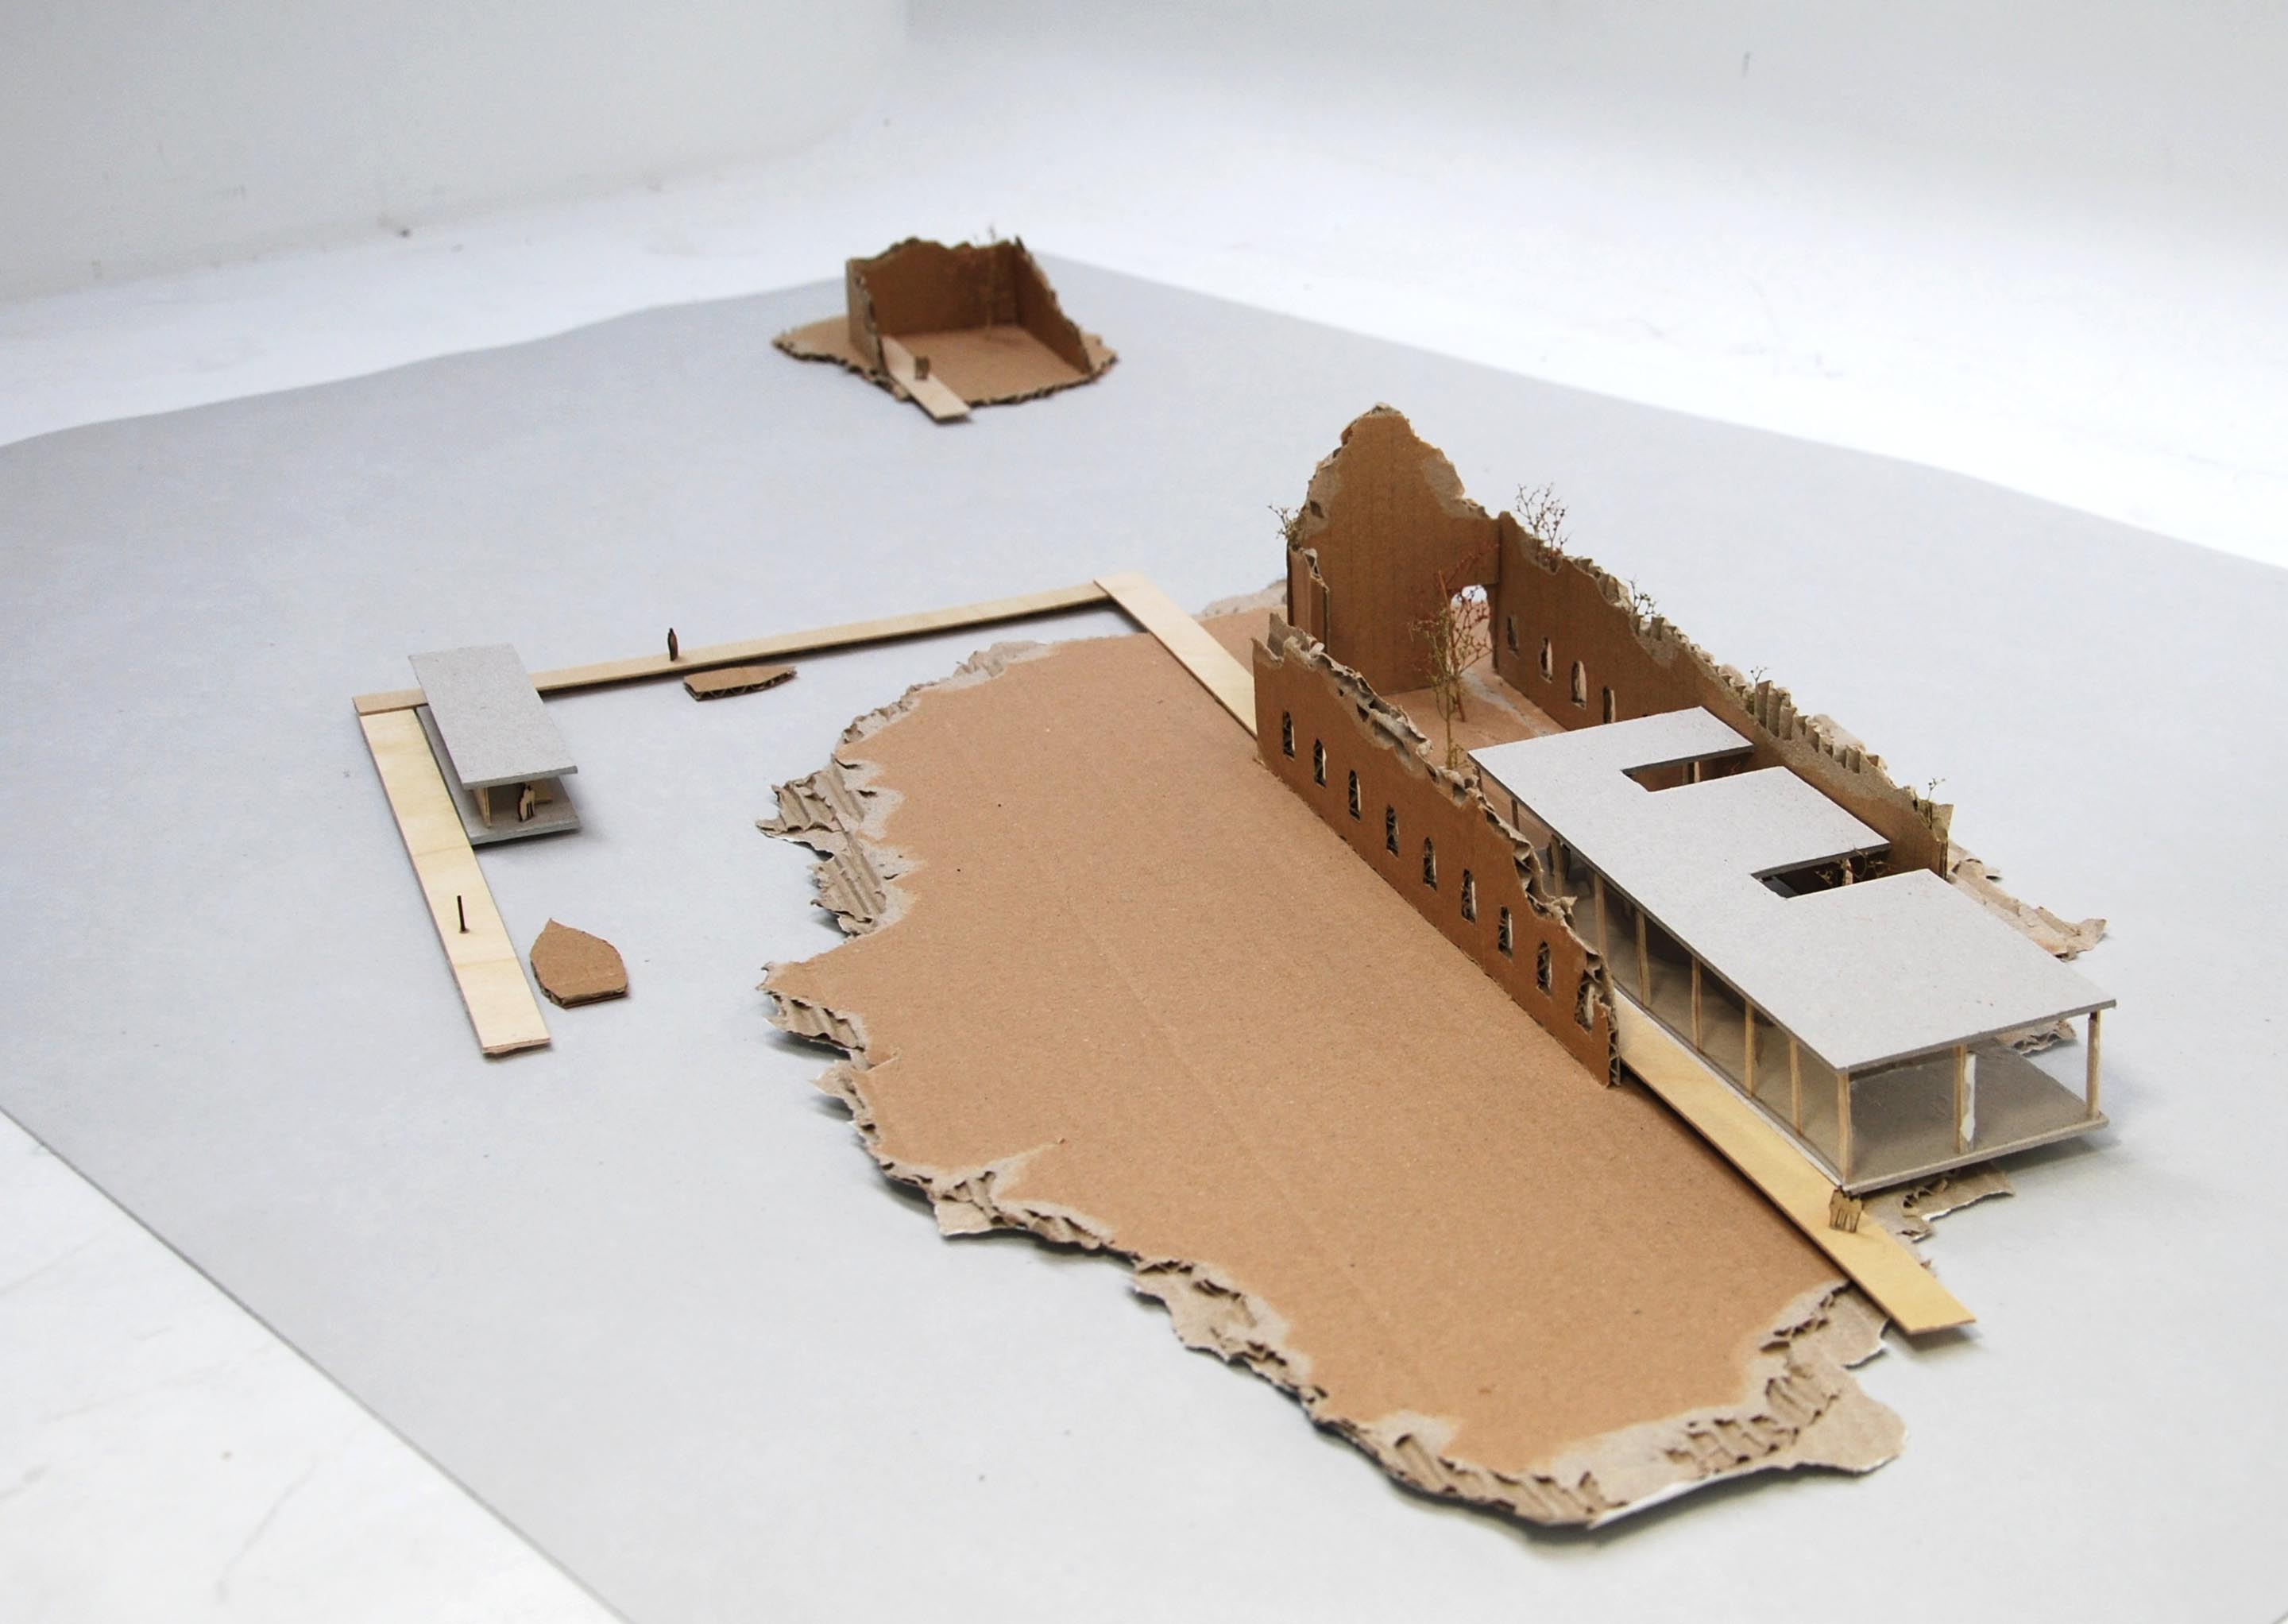
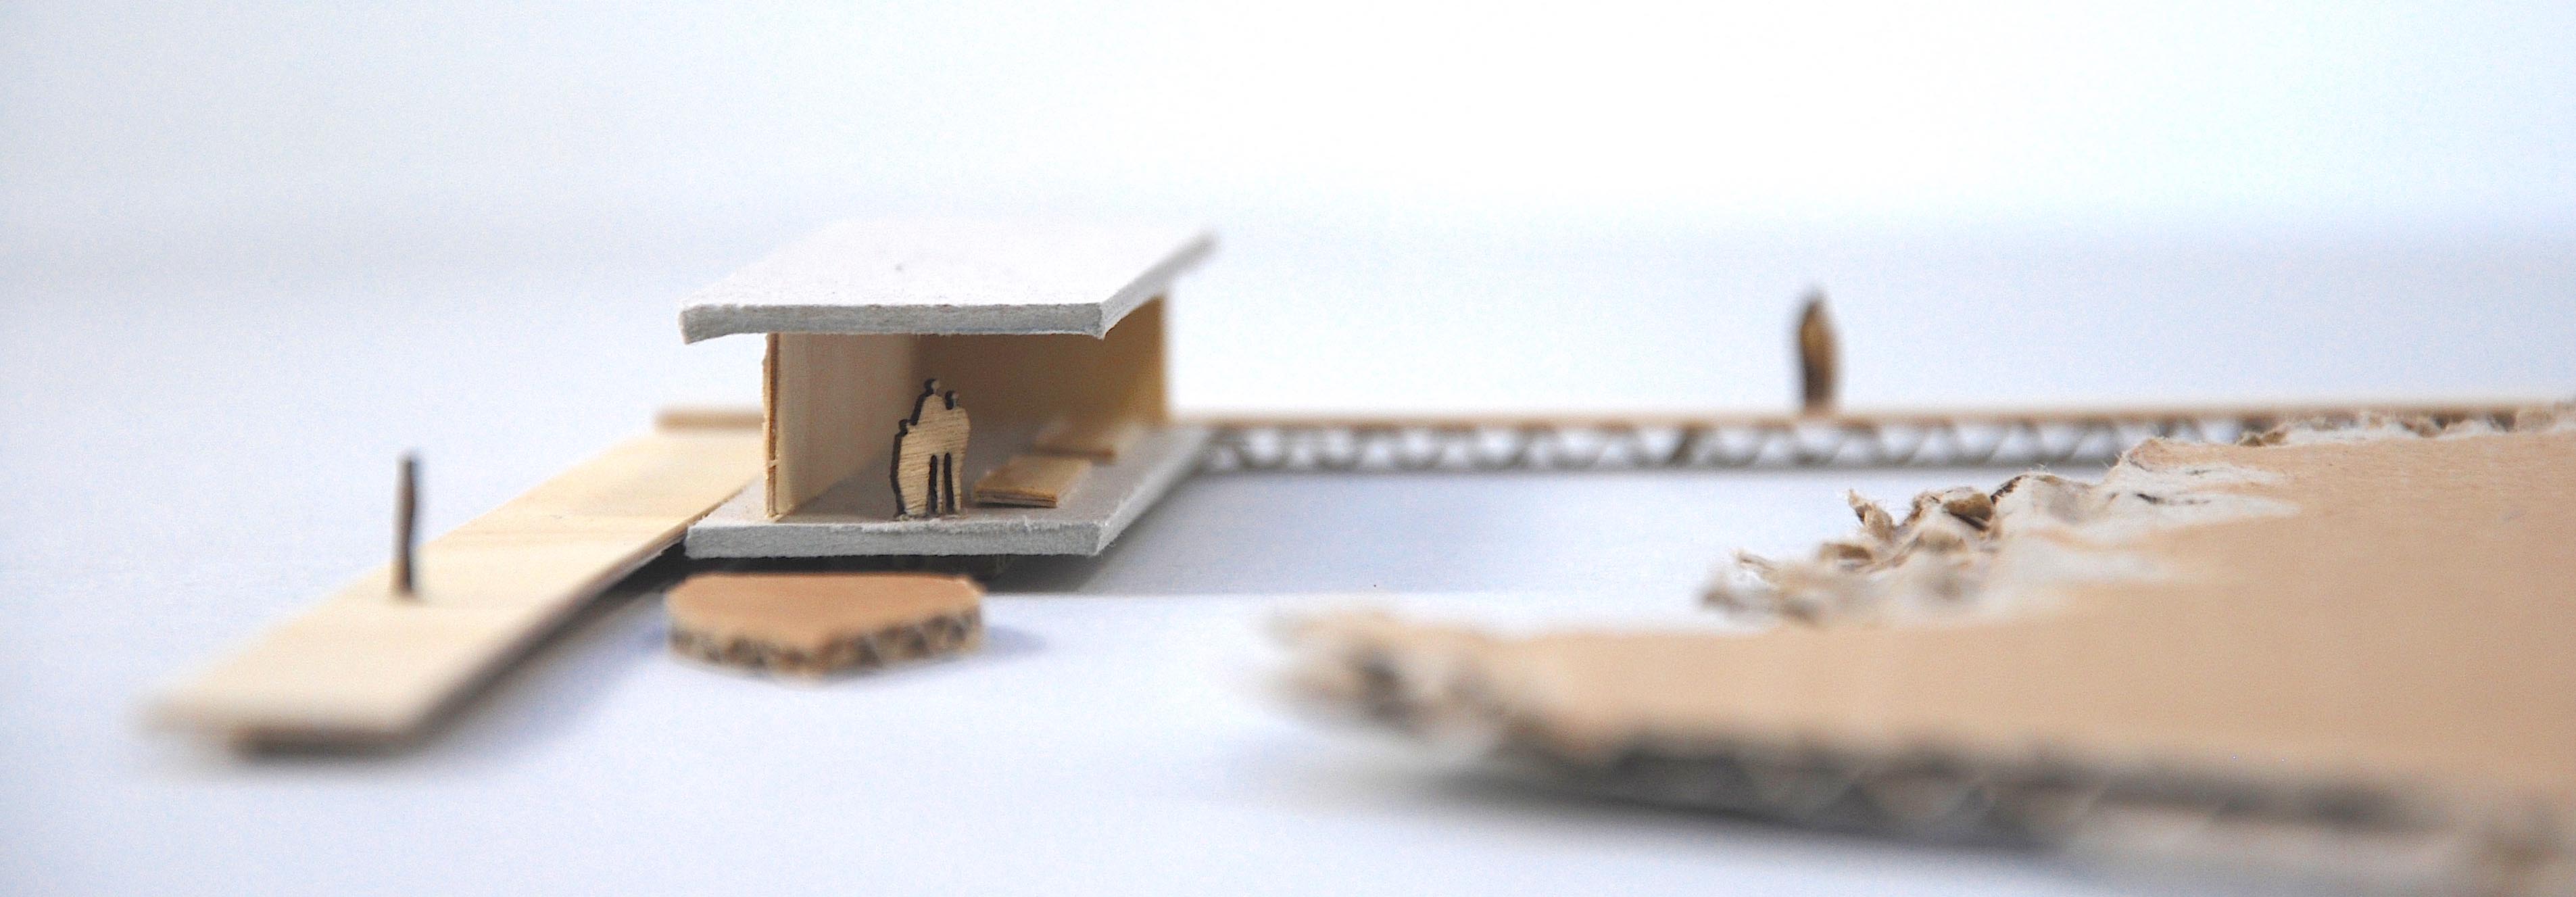
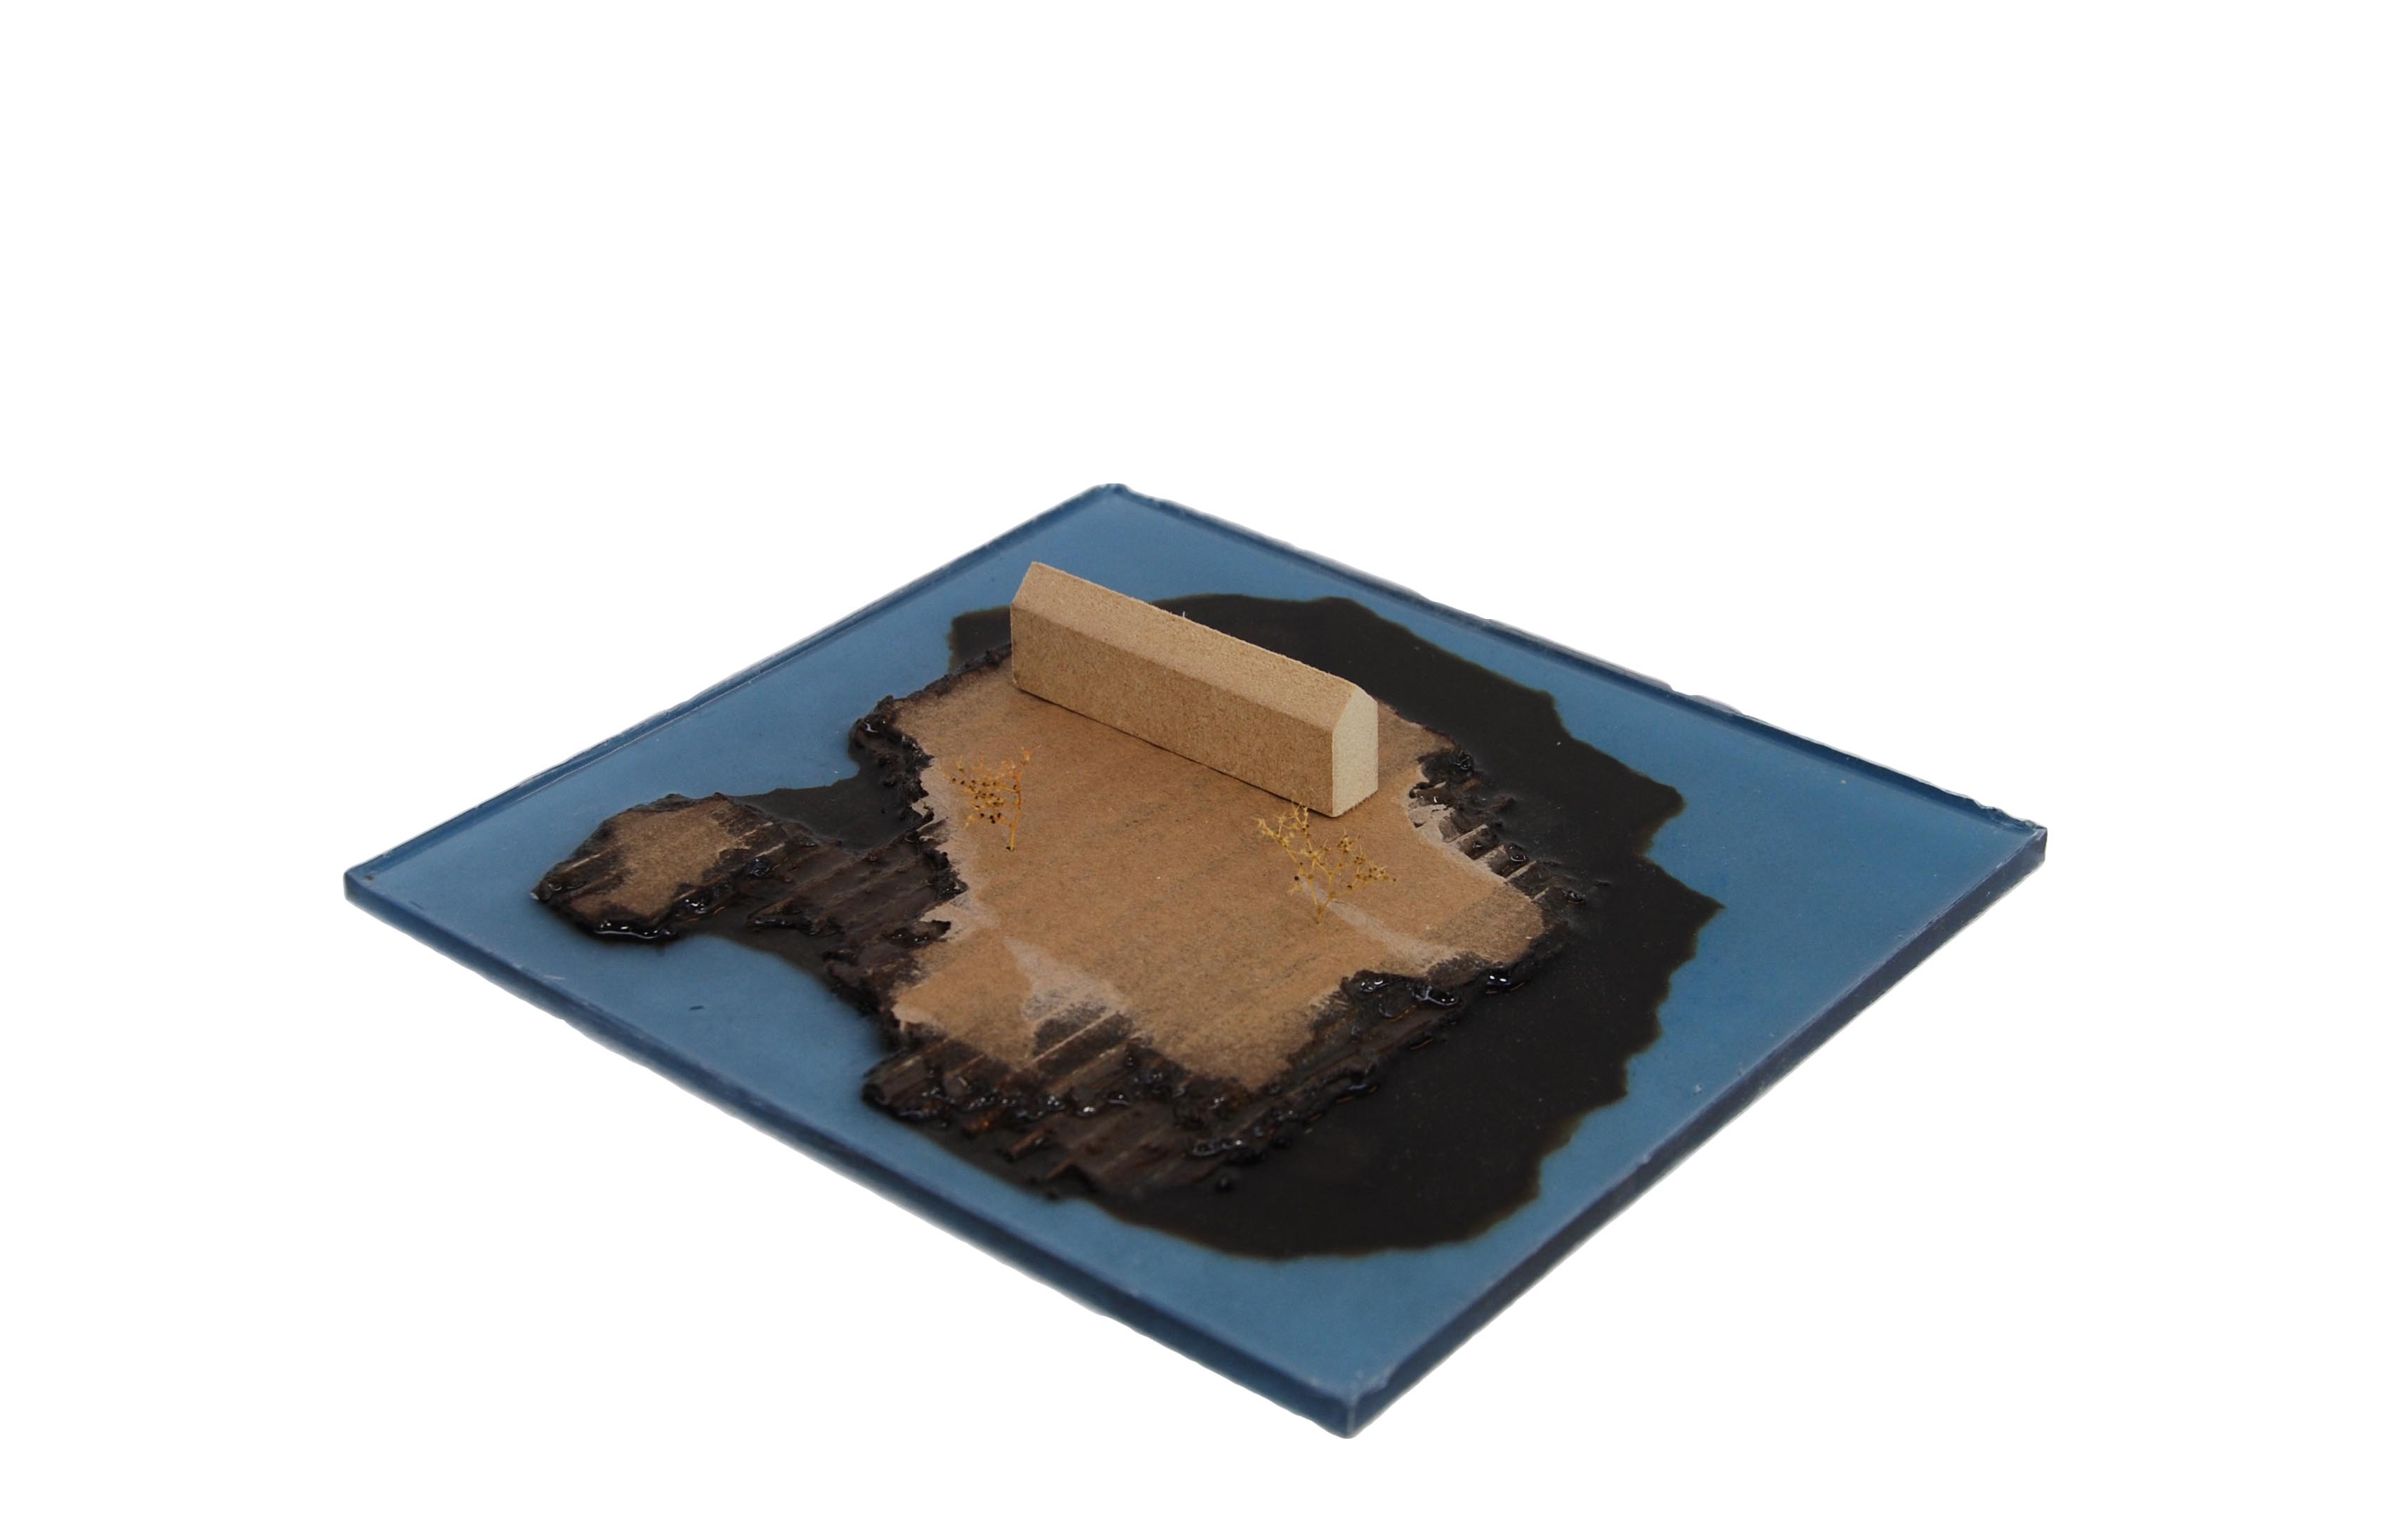
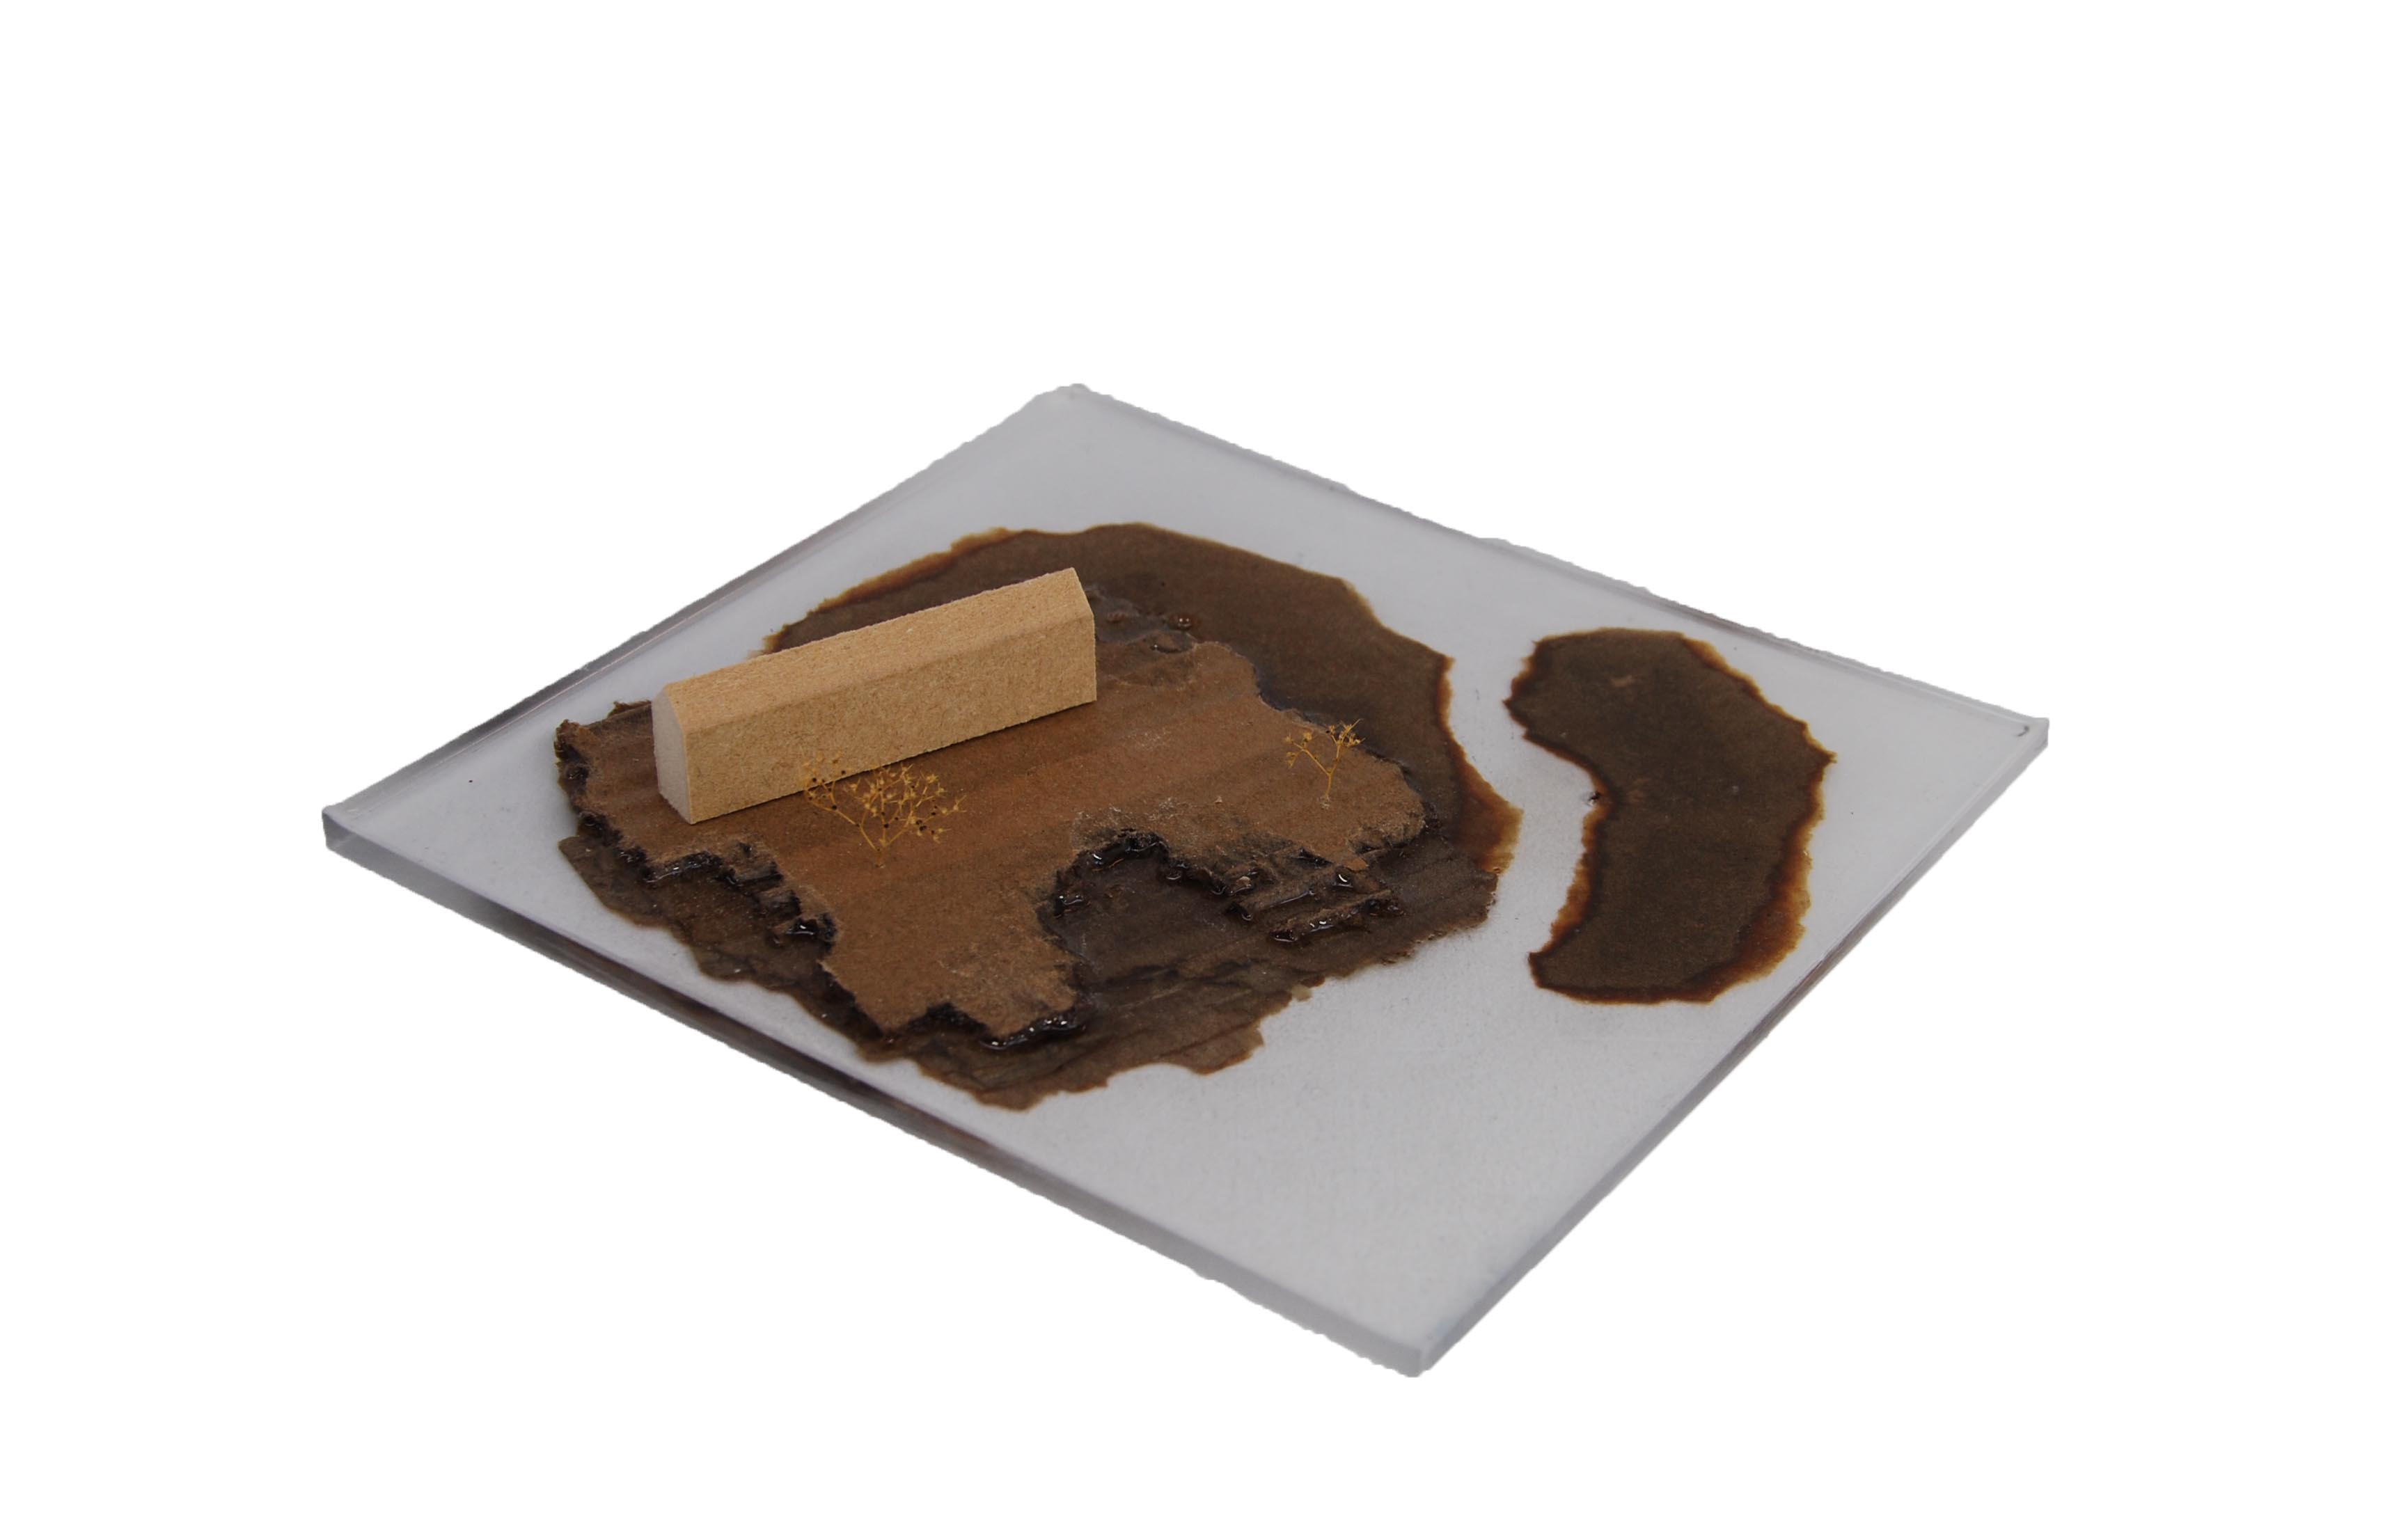
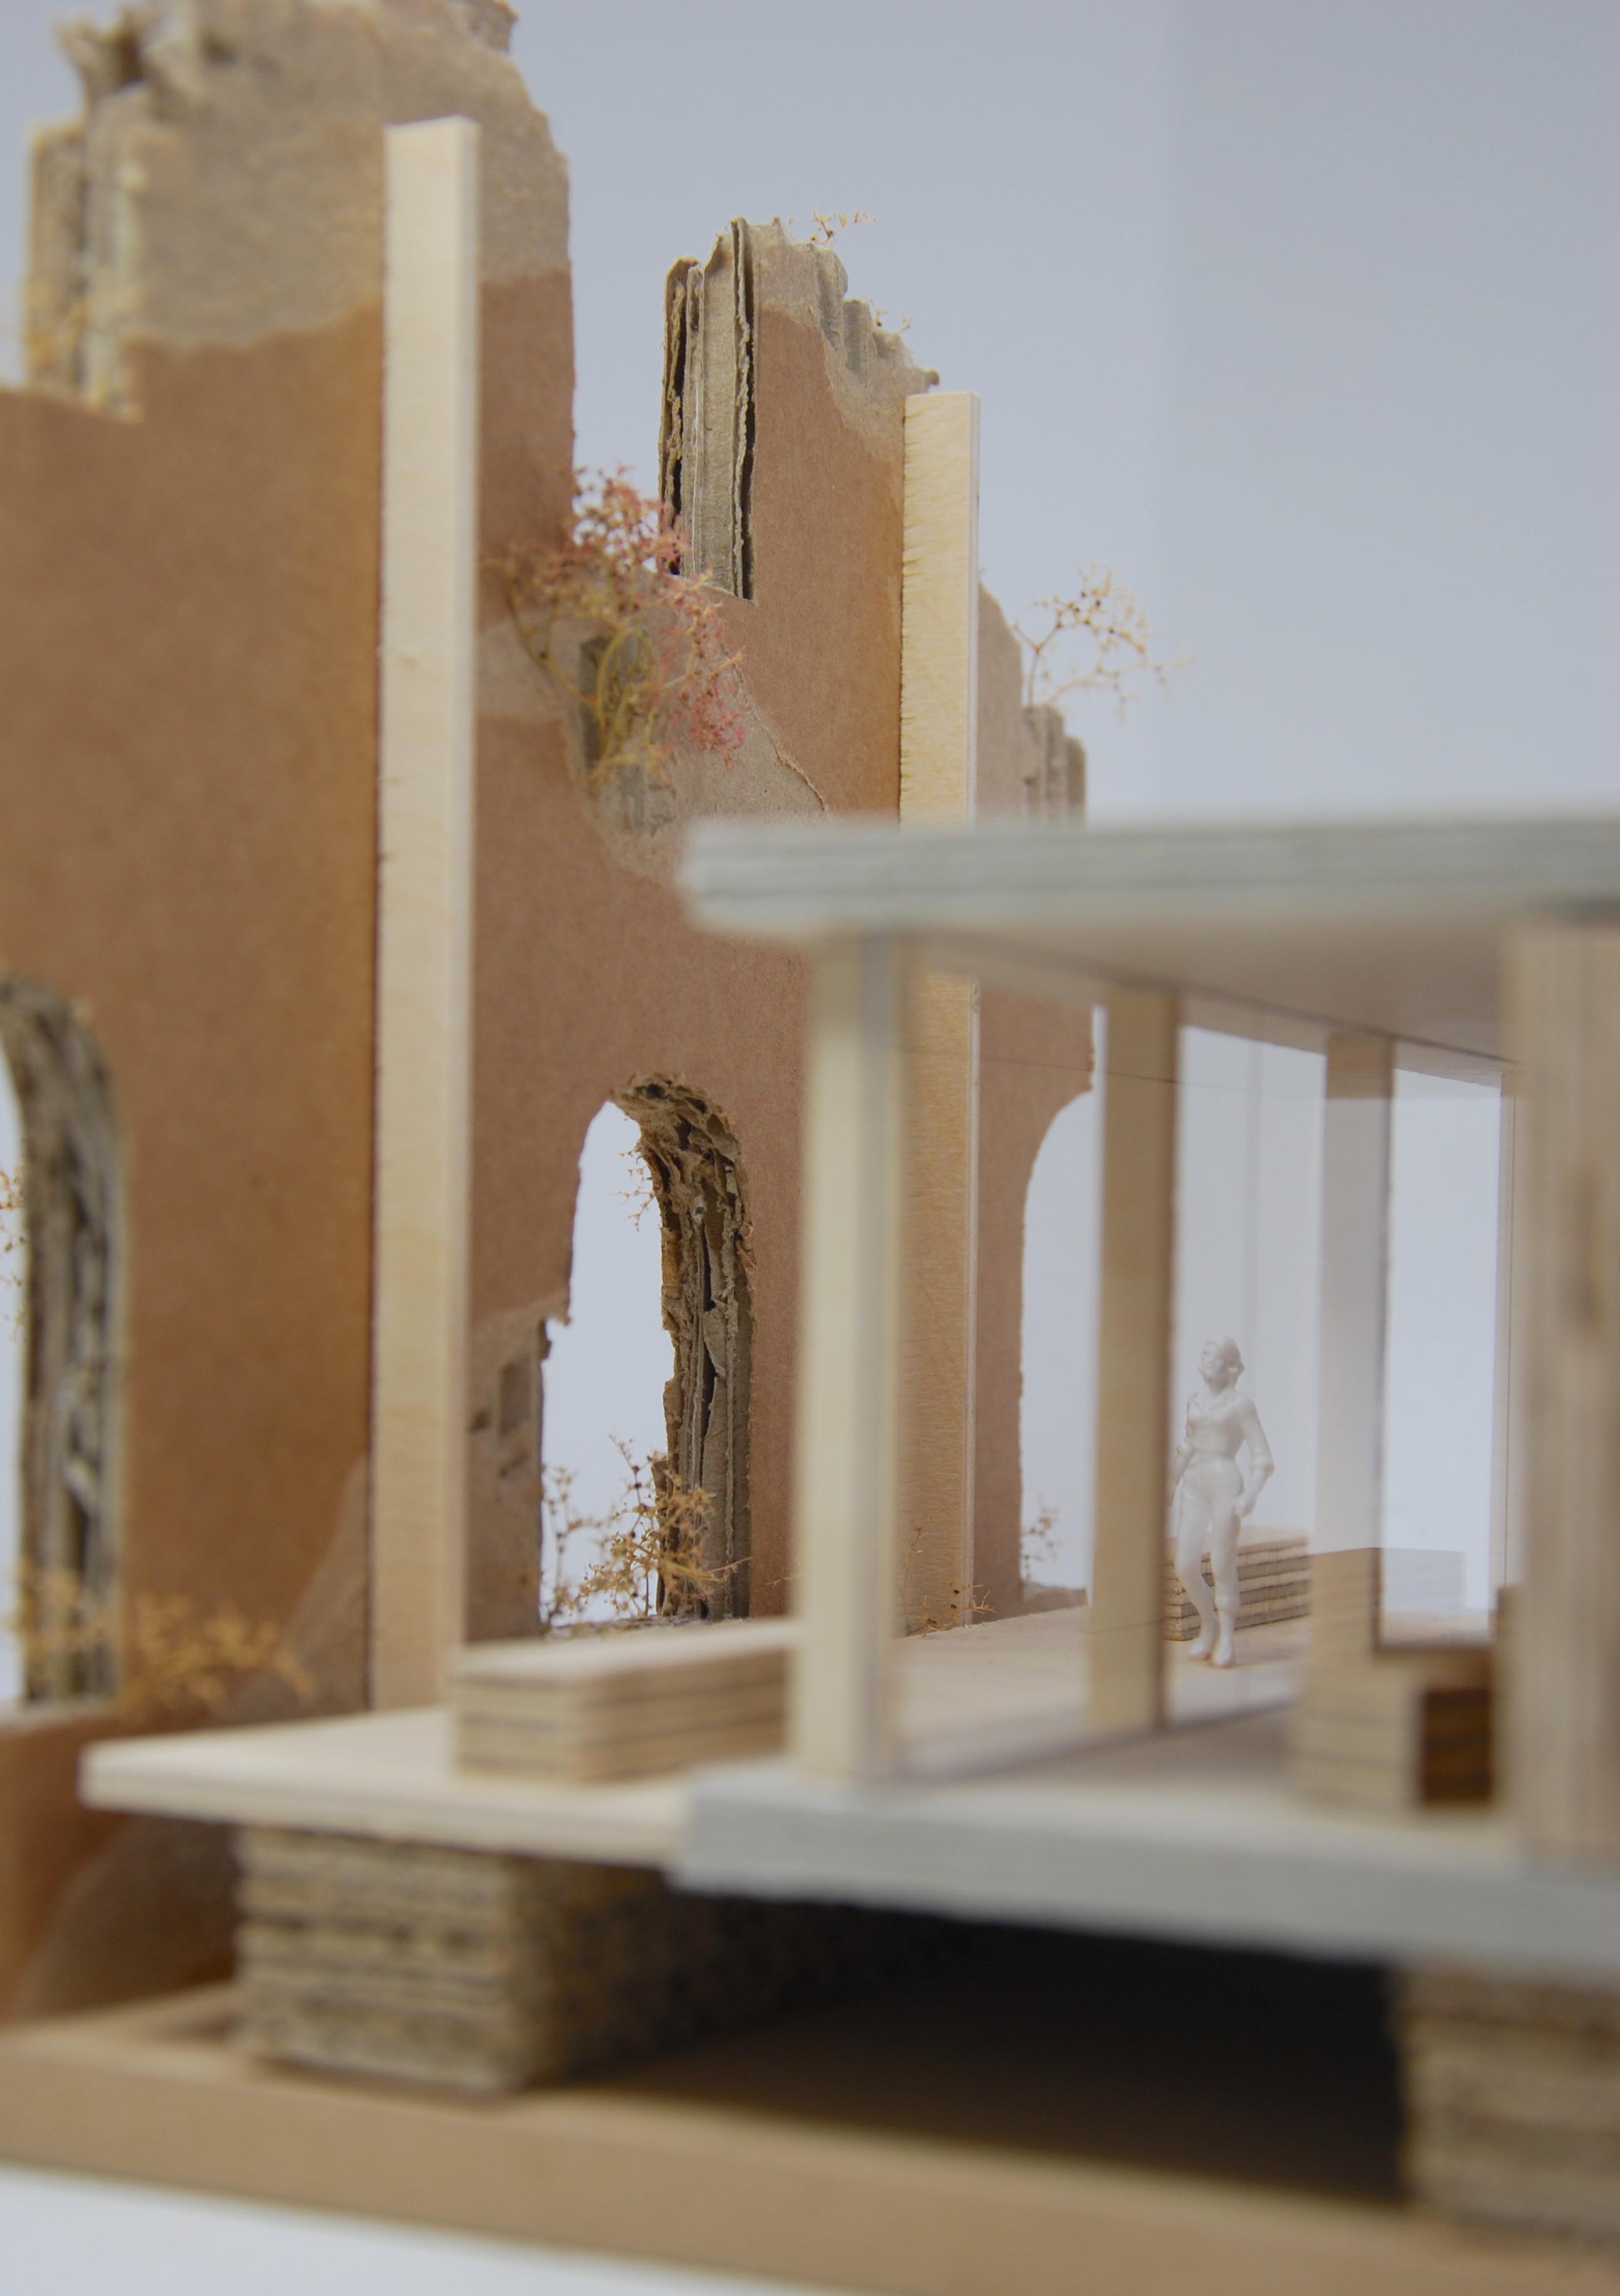
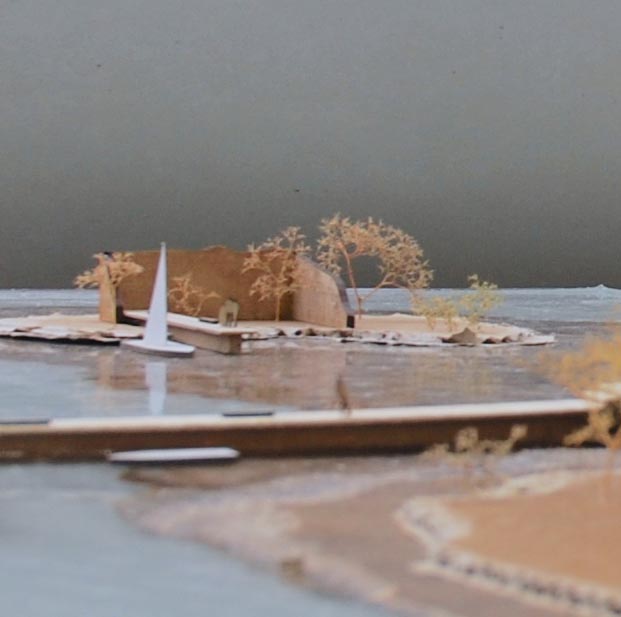
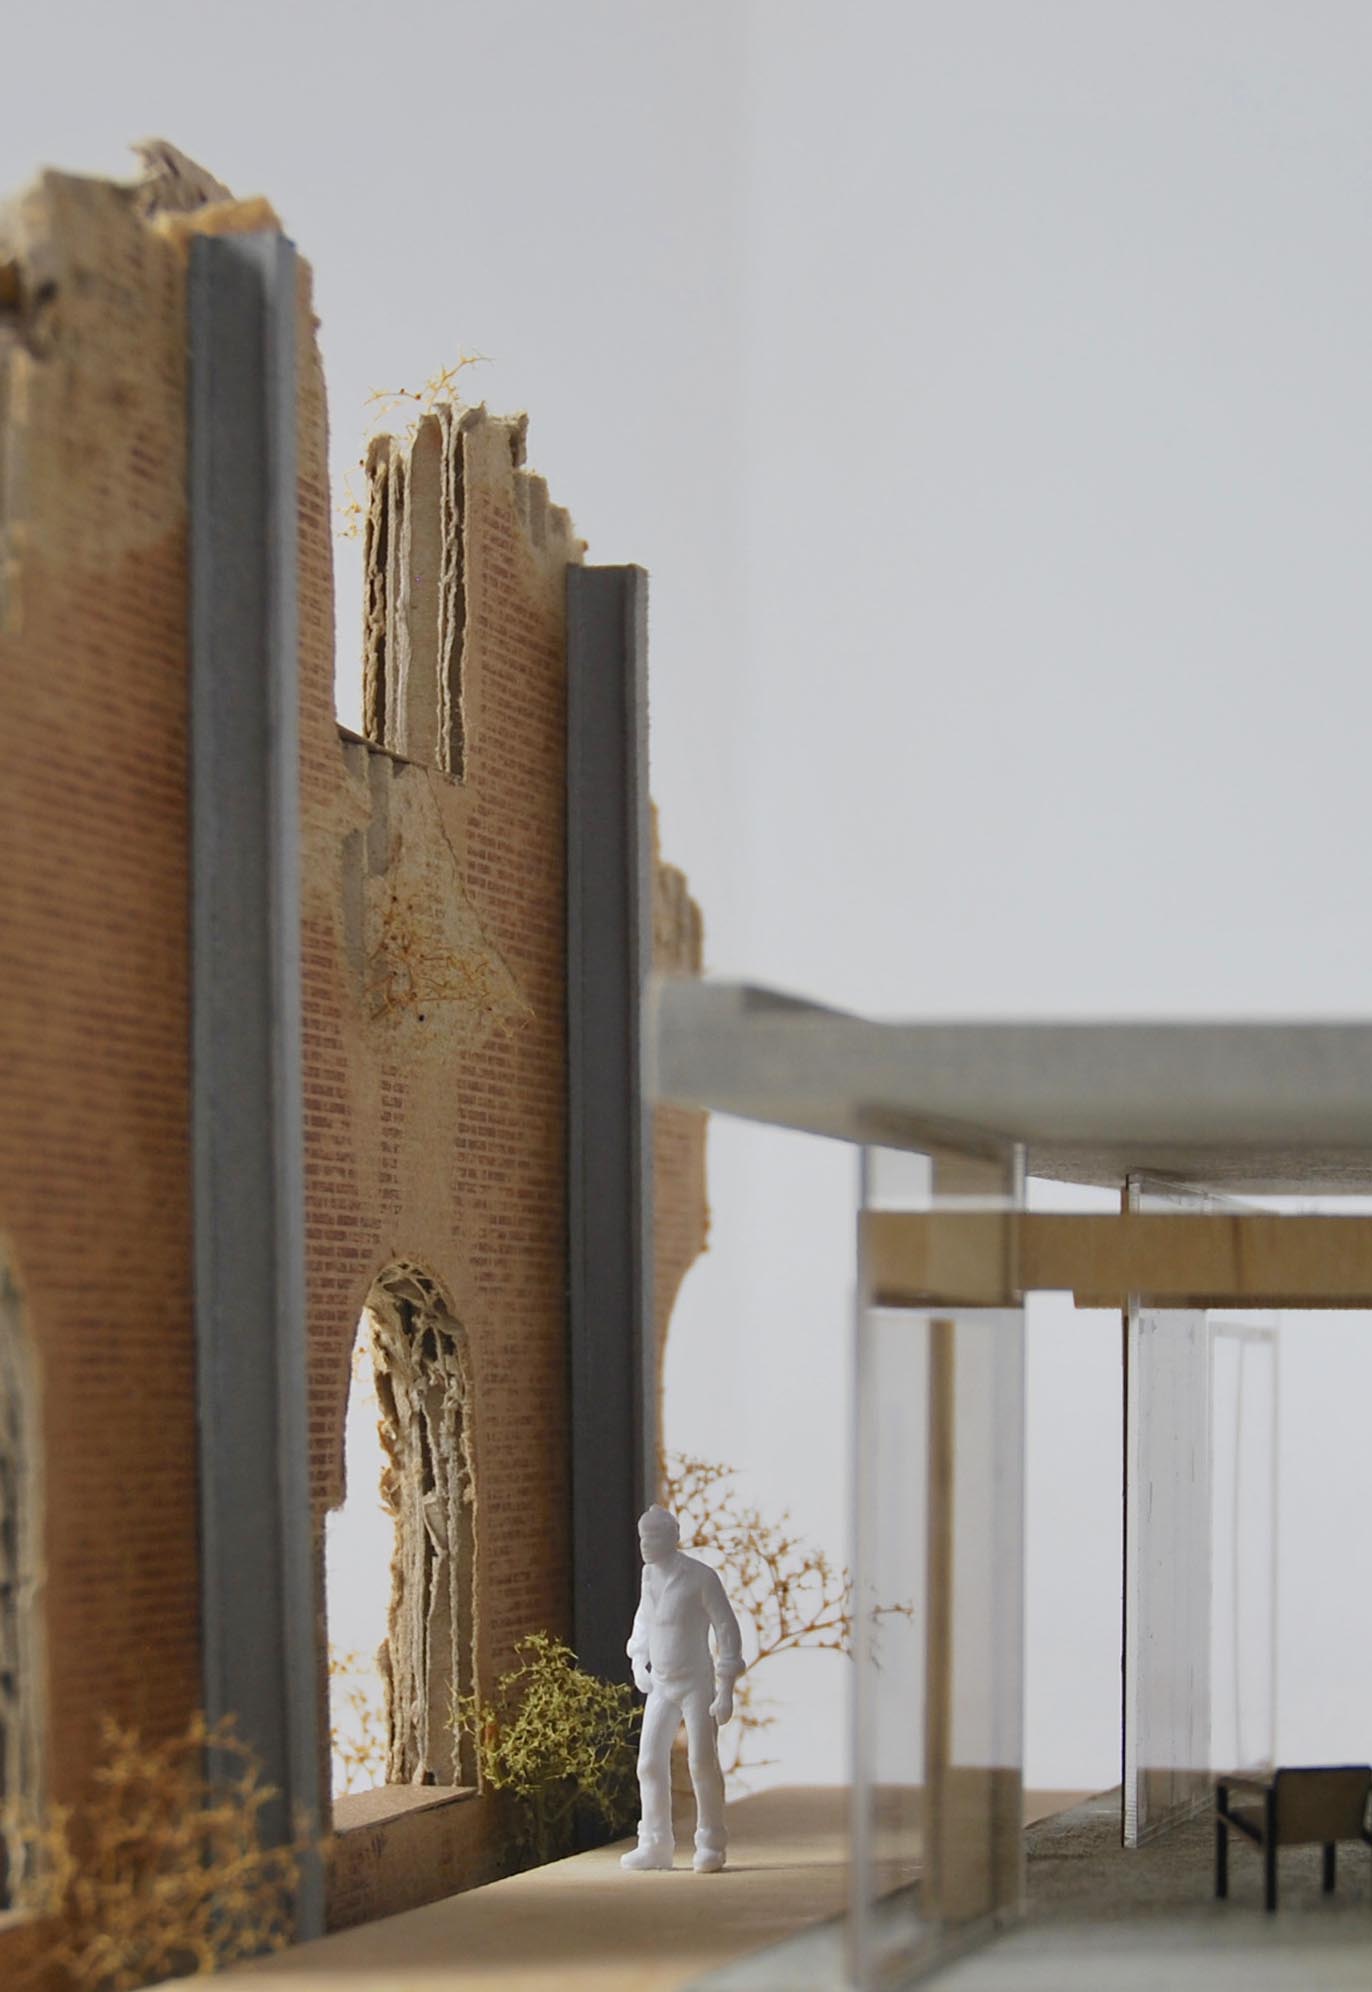
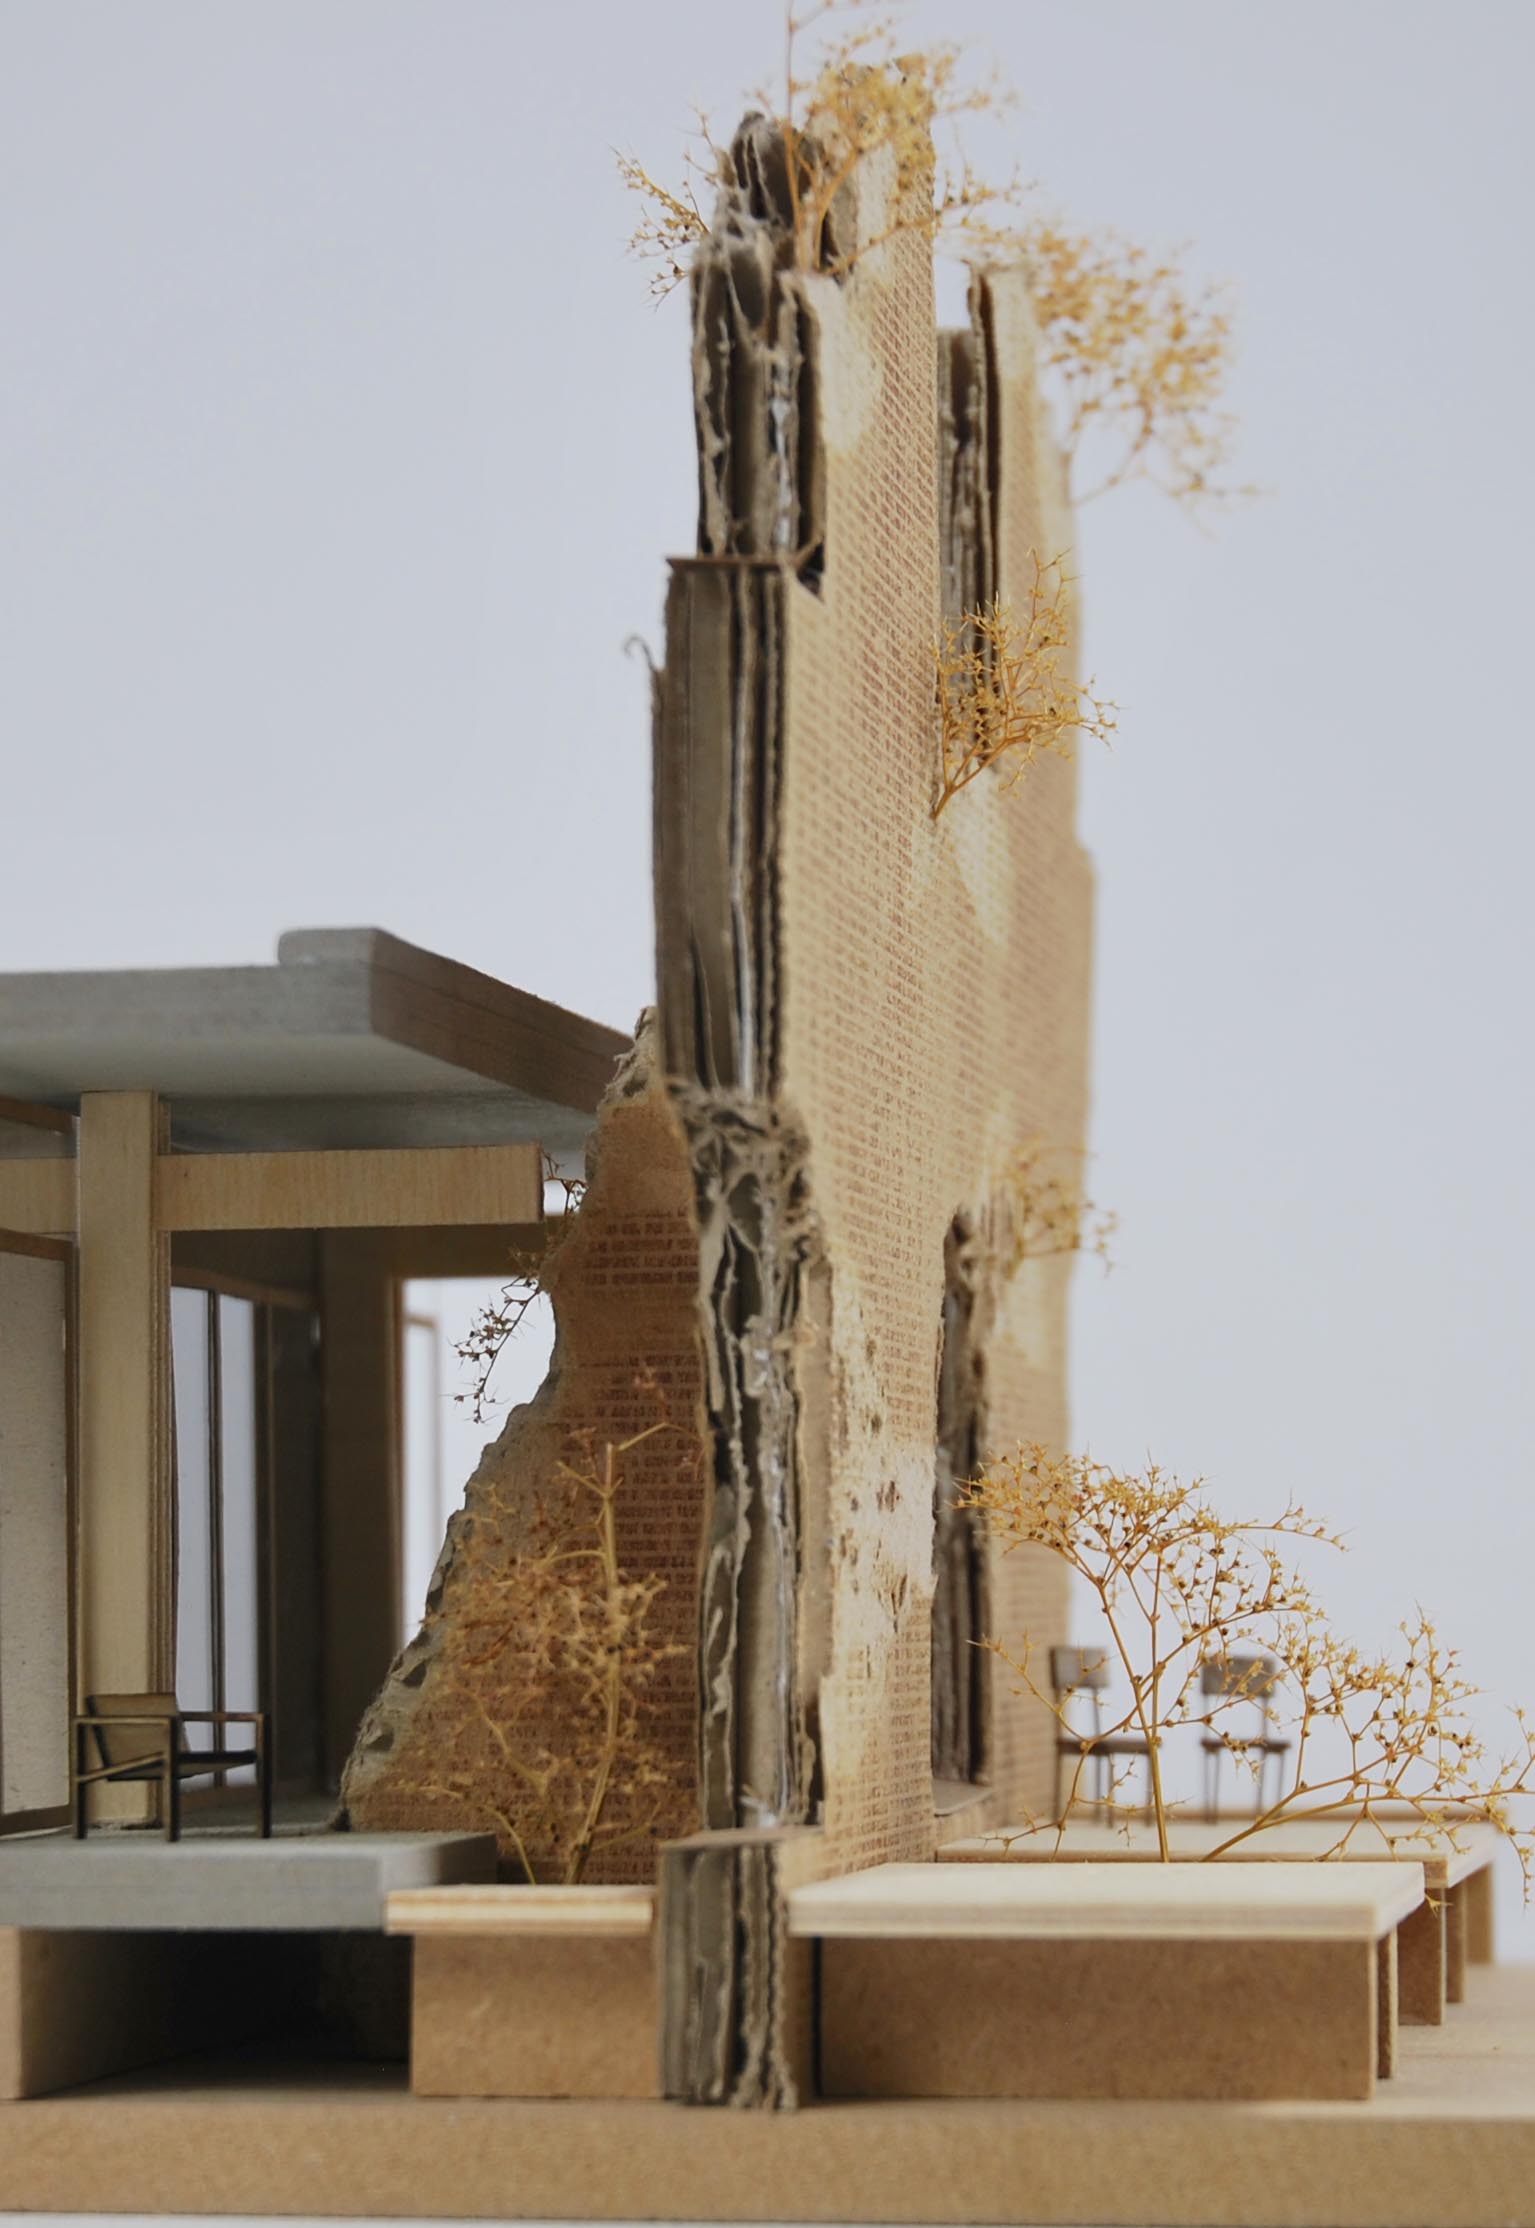
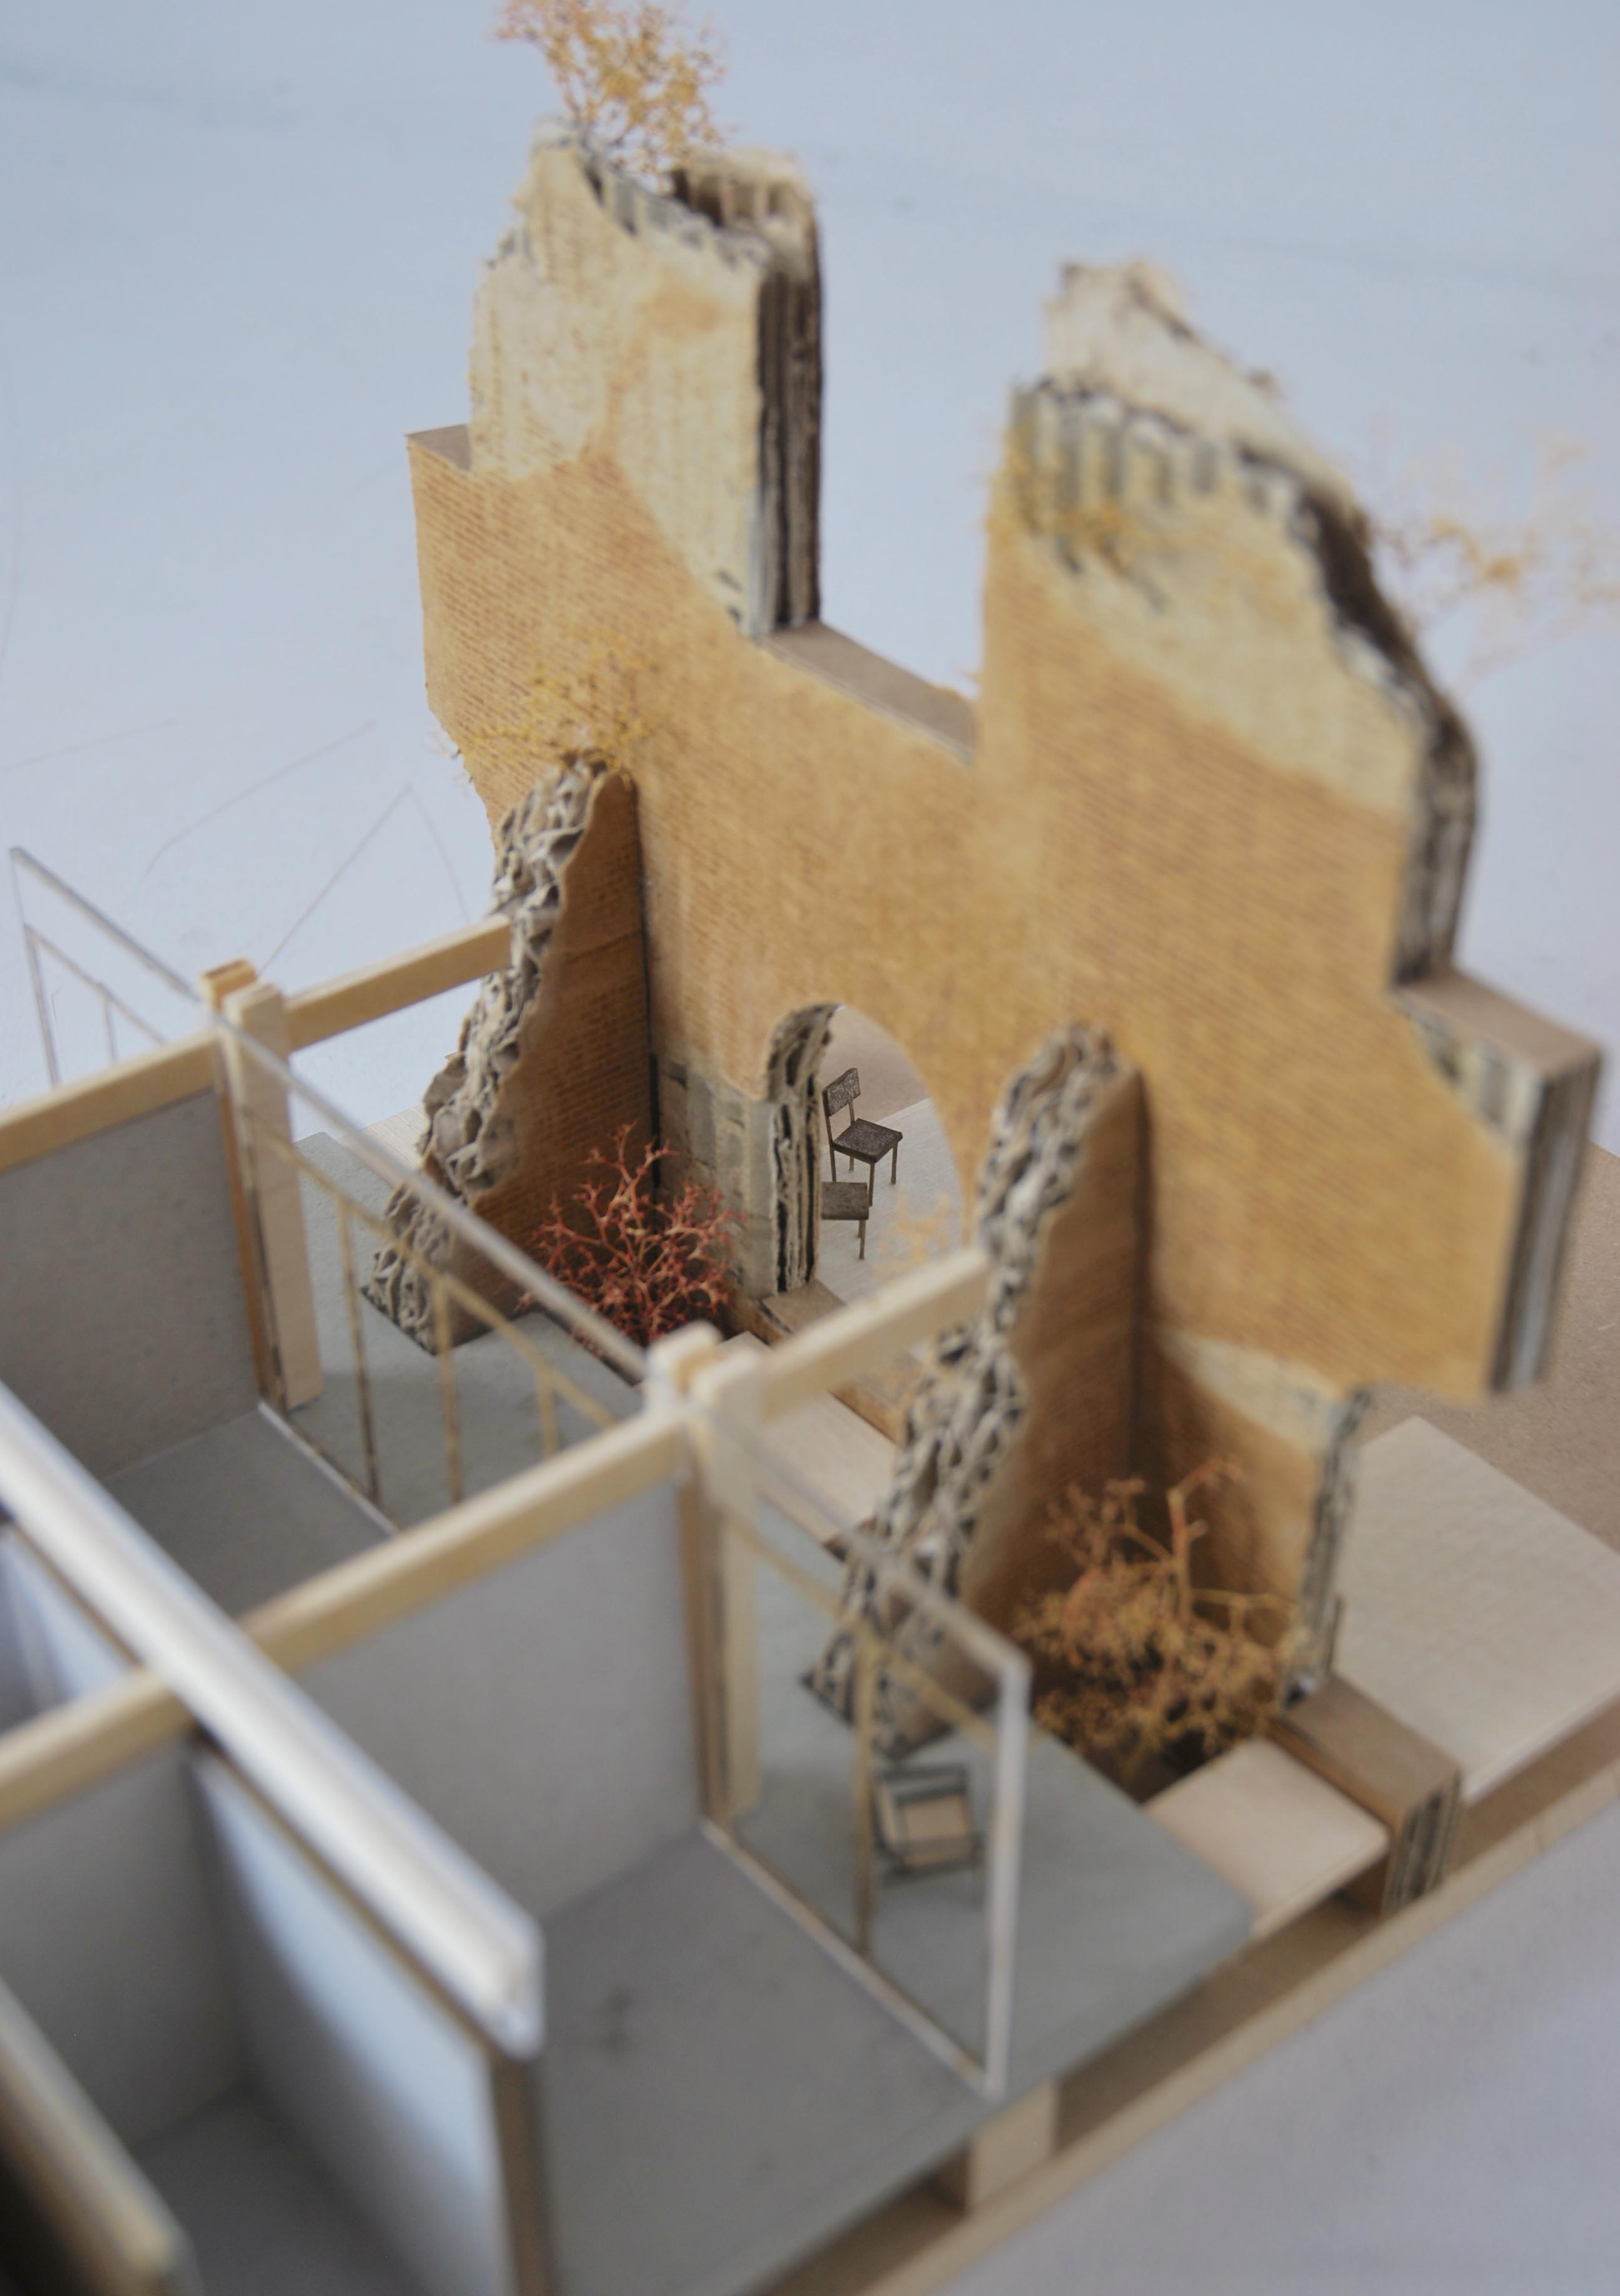
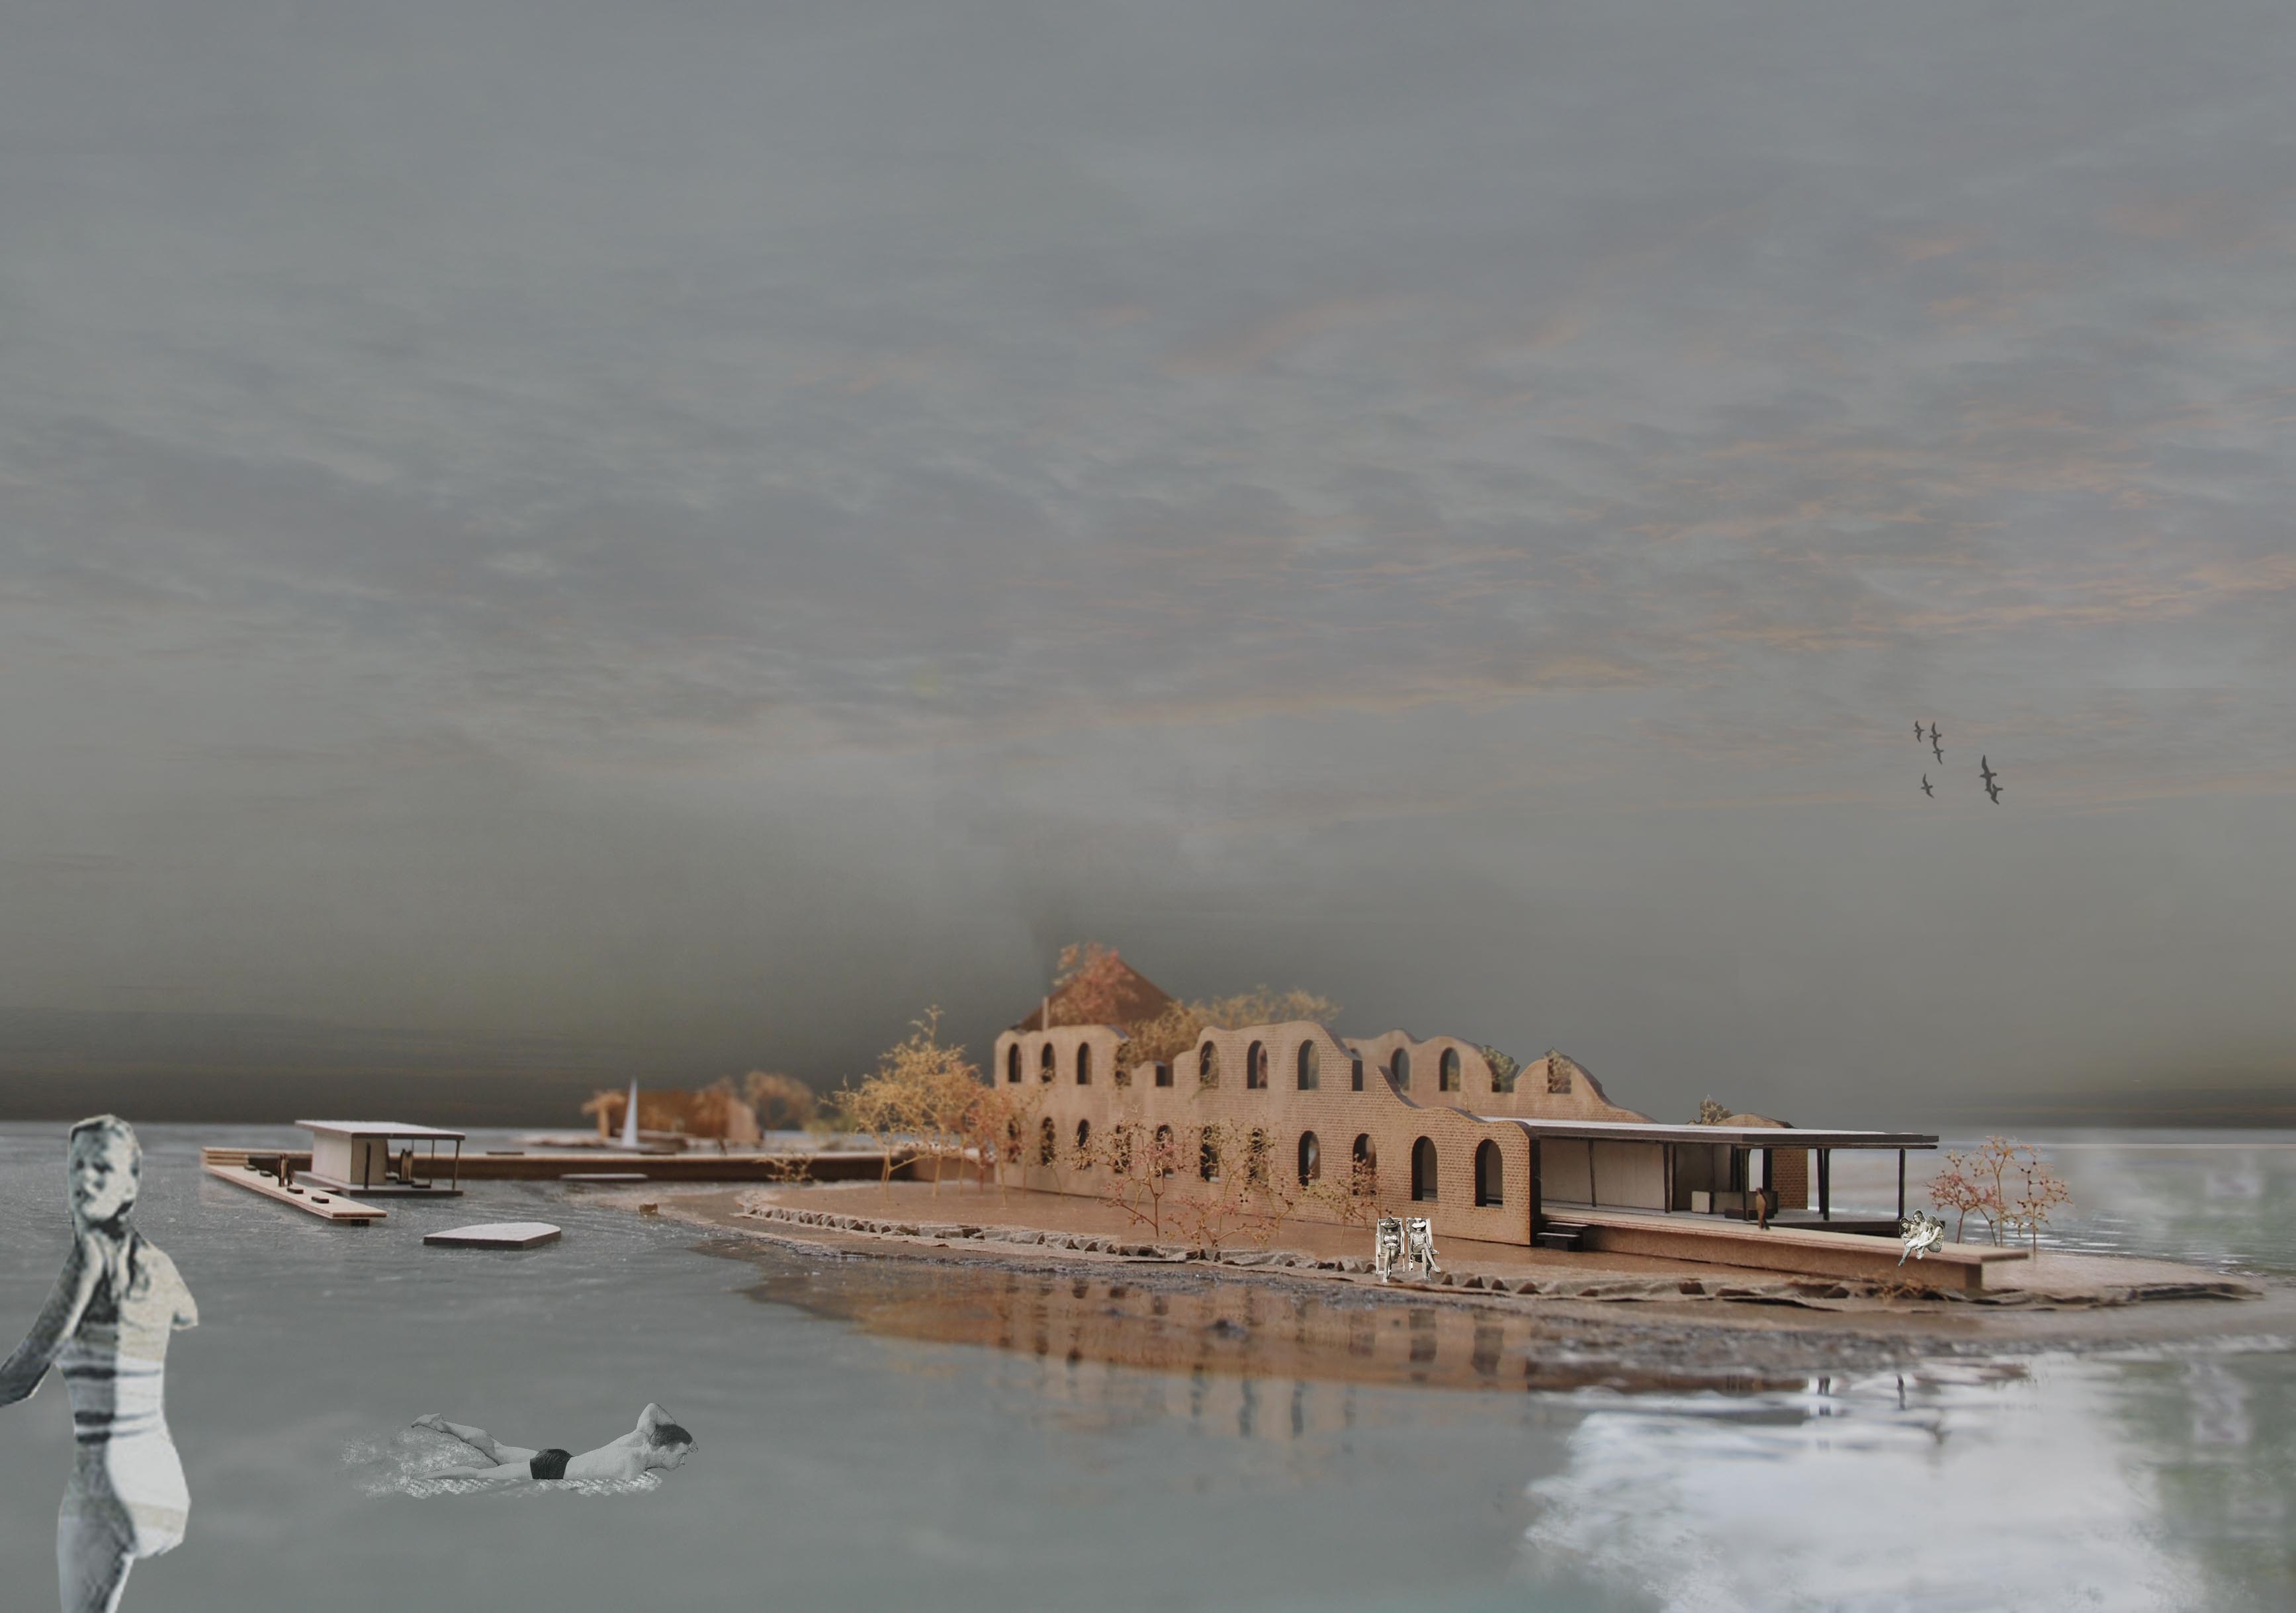
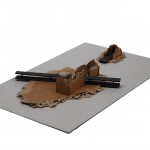
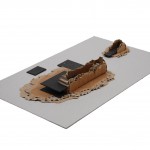
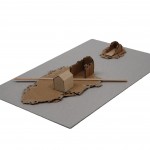
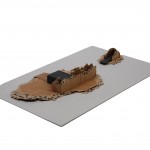
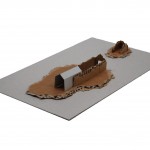
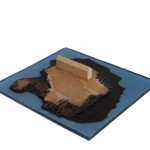
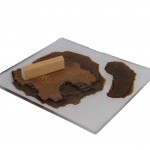
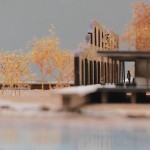
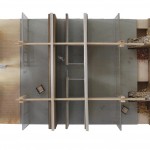
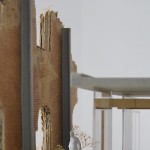
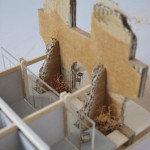
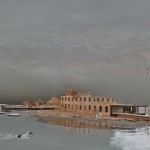
As we are approaching the production time of the final presentation models, I have to make some decisions about the aesthetic, atmosphere and technique that fit the model that will represent my design. For the 1:200 model concerning the island ensemble, I made some test with cardboard and resin to represent both the landscape and waterscape. The reason I choose for torn cardboard to represent the landscape with its height differences is that the rough edges mimic the rocky shoreline. The choice for resin is based on its liquid appearance and pouring technique.
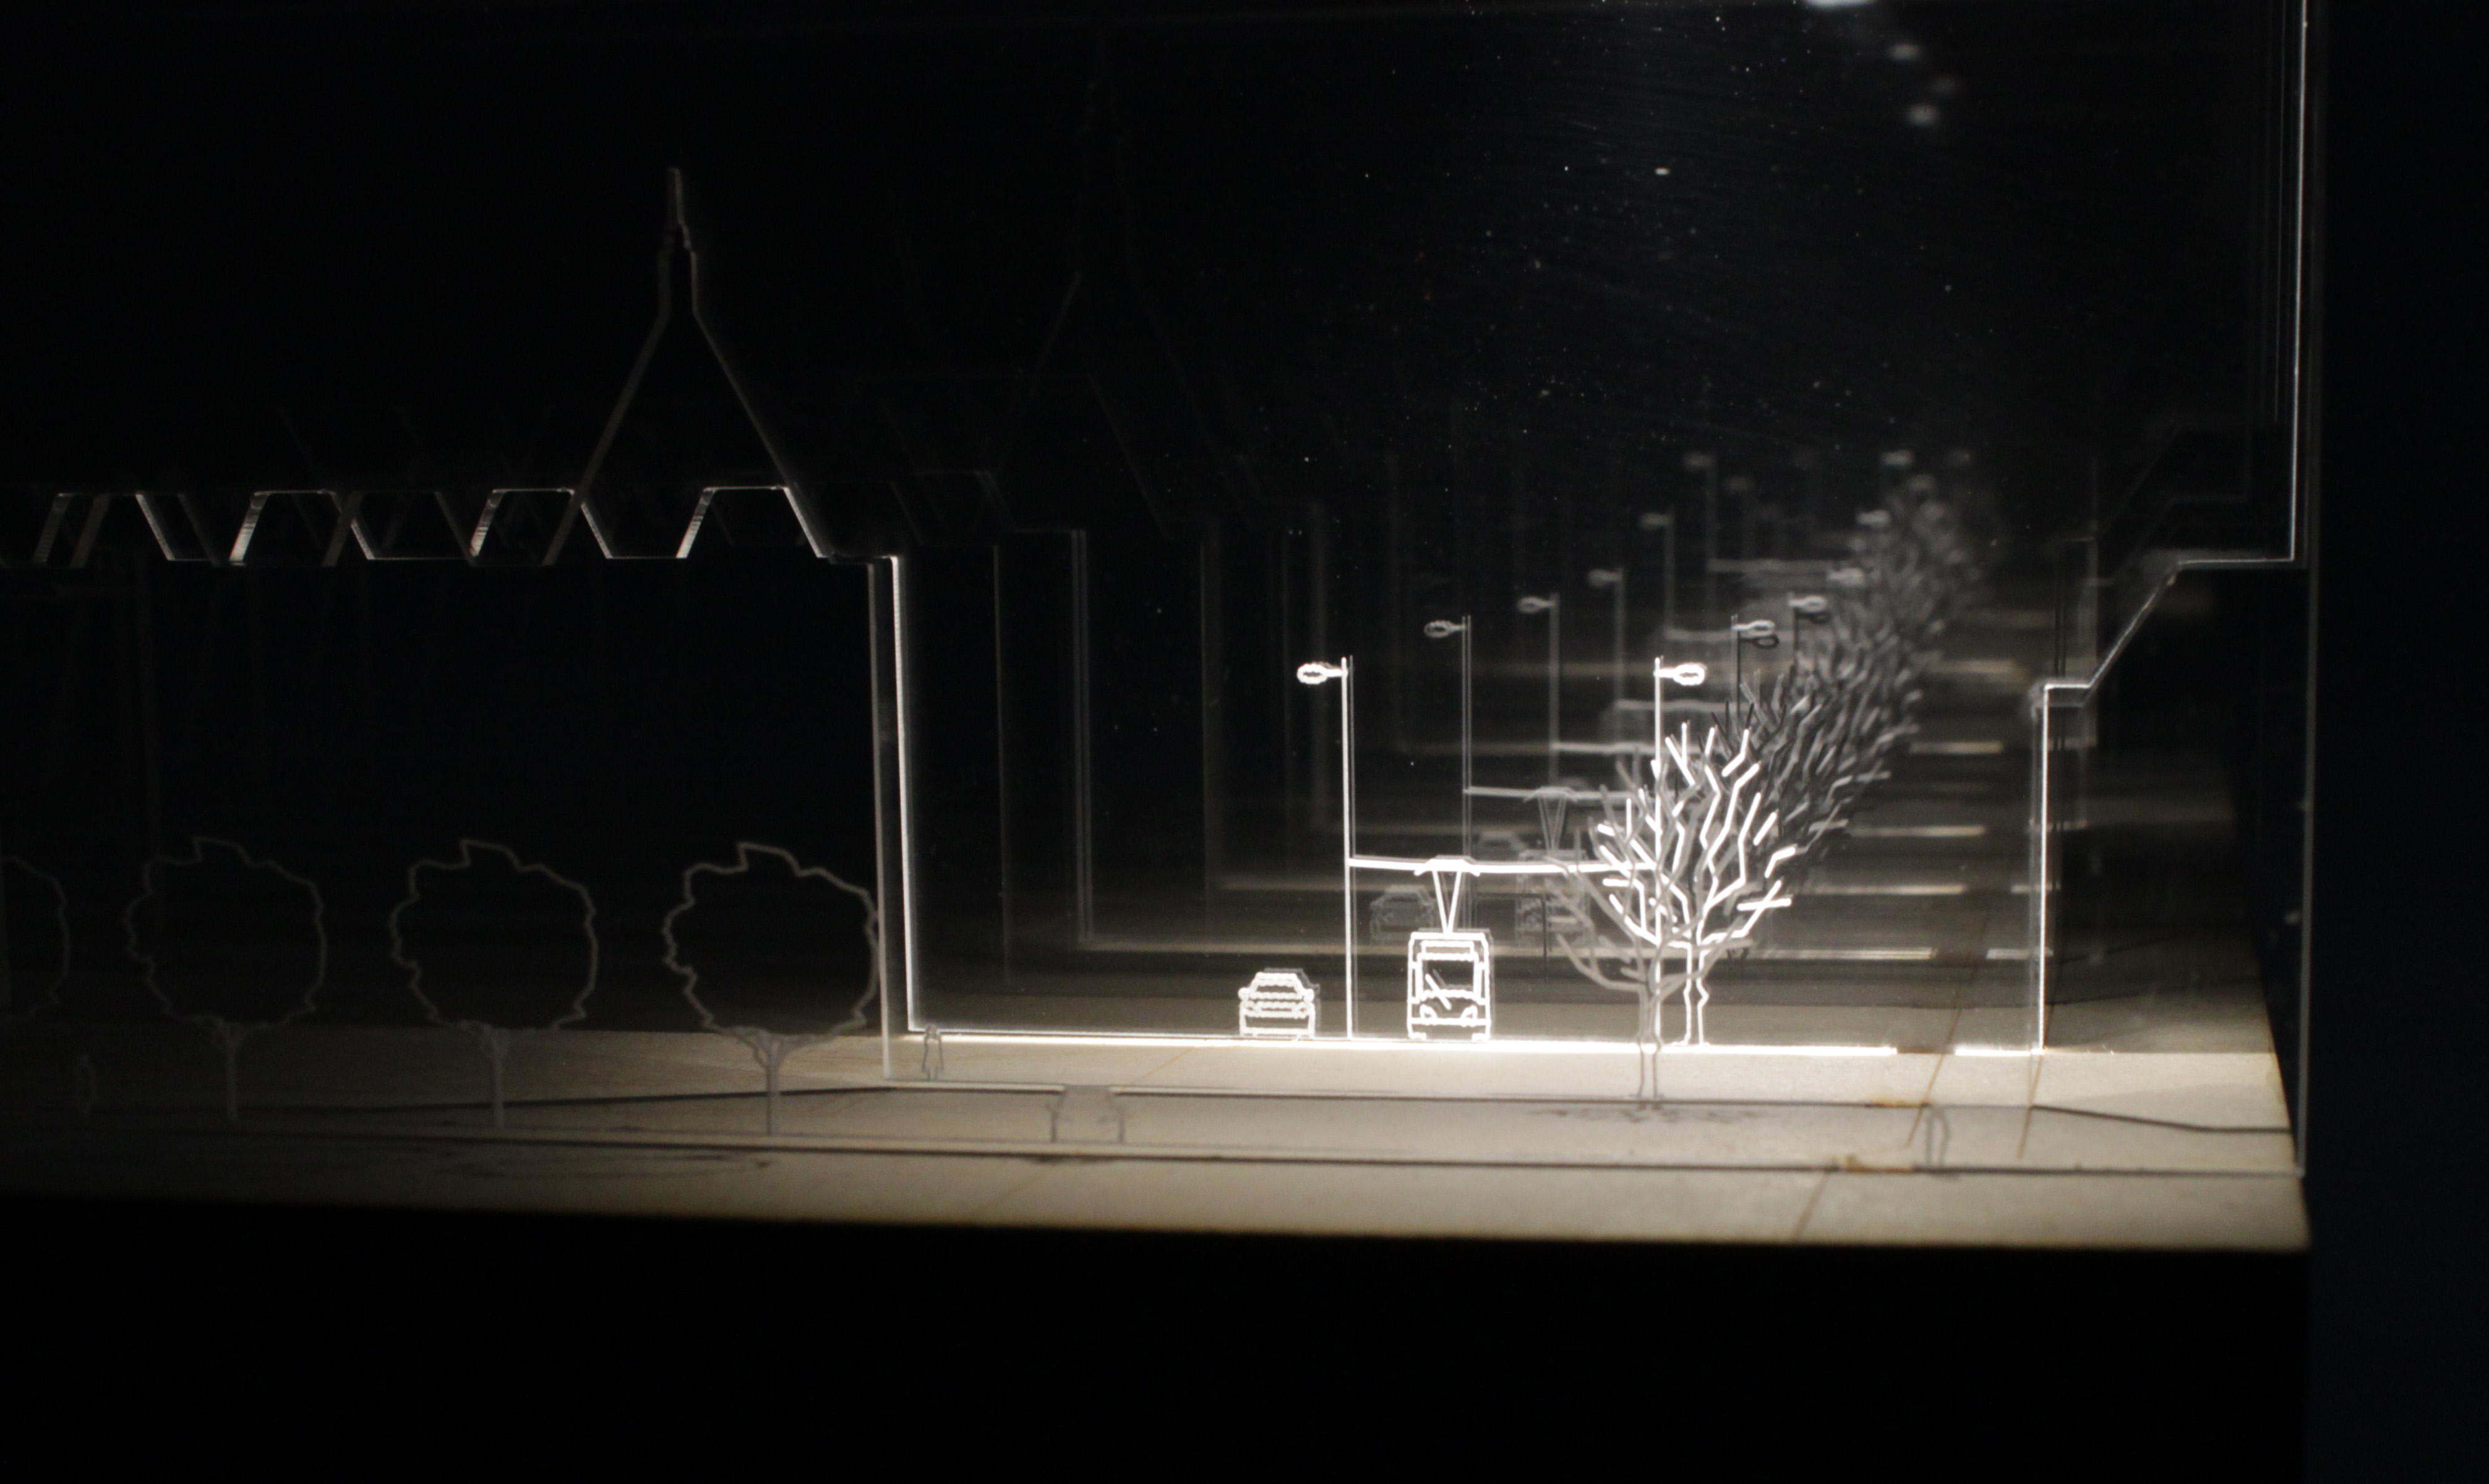
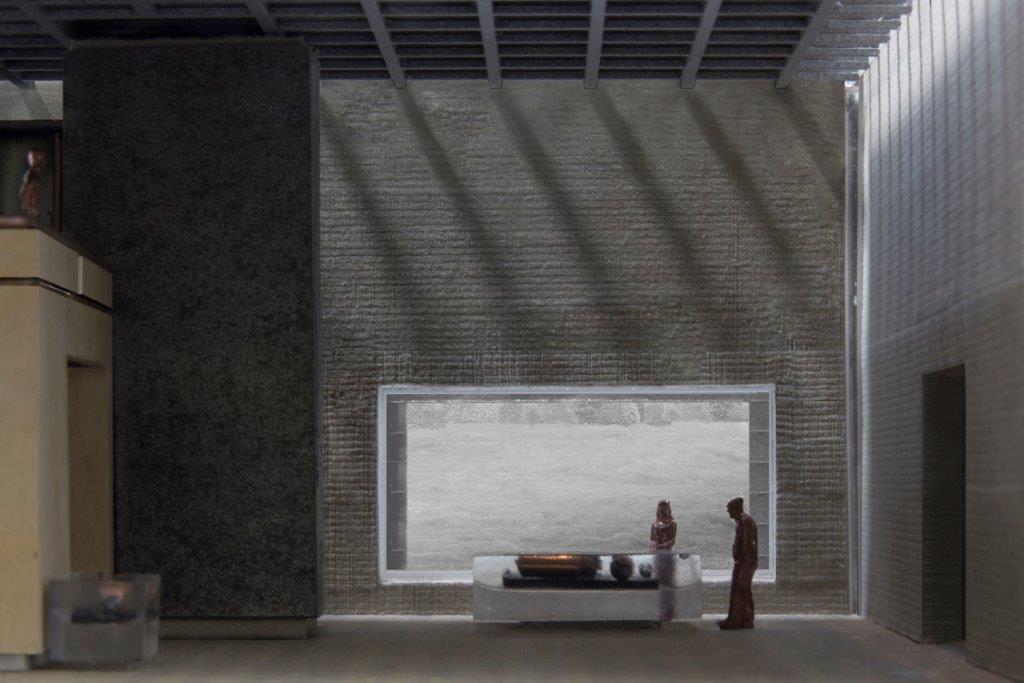
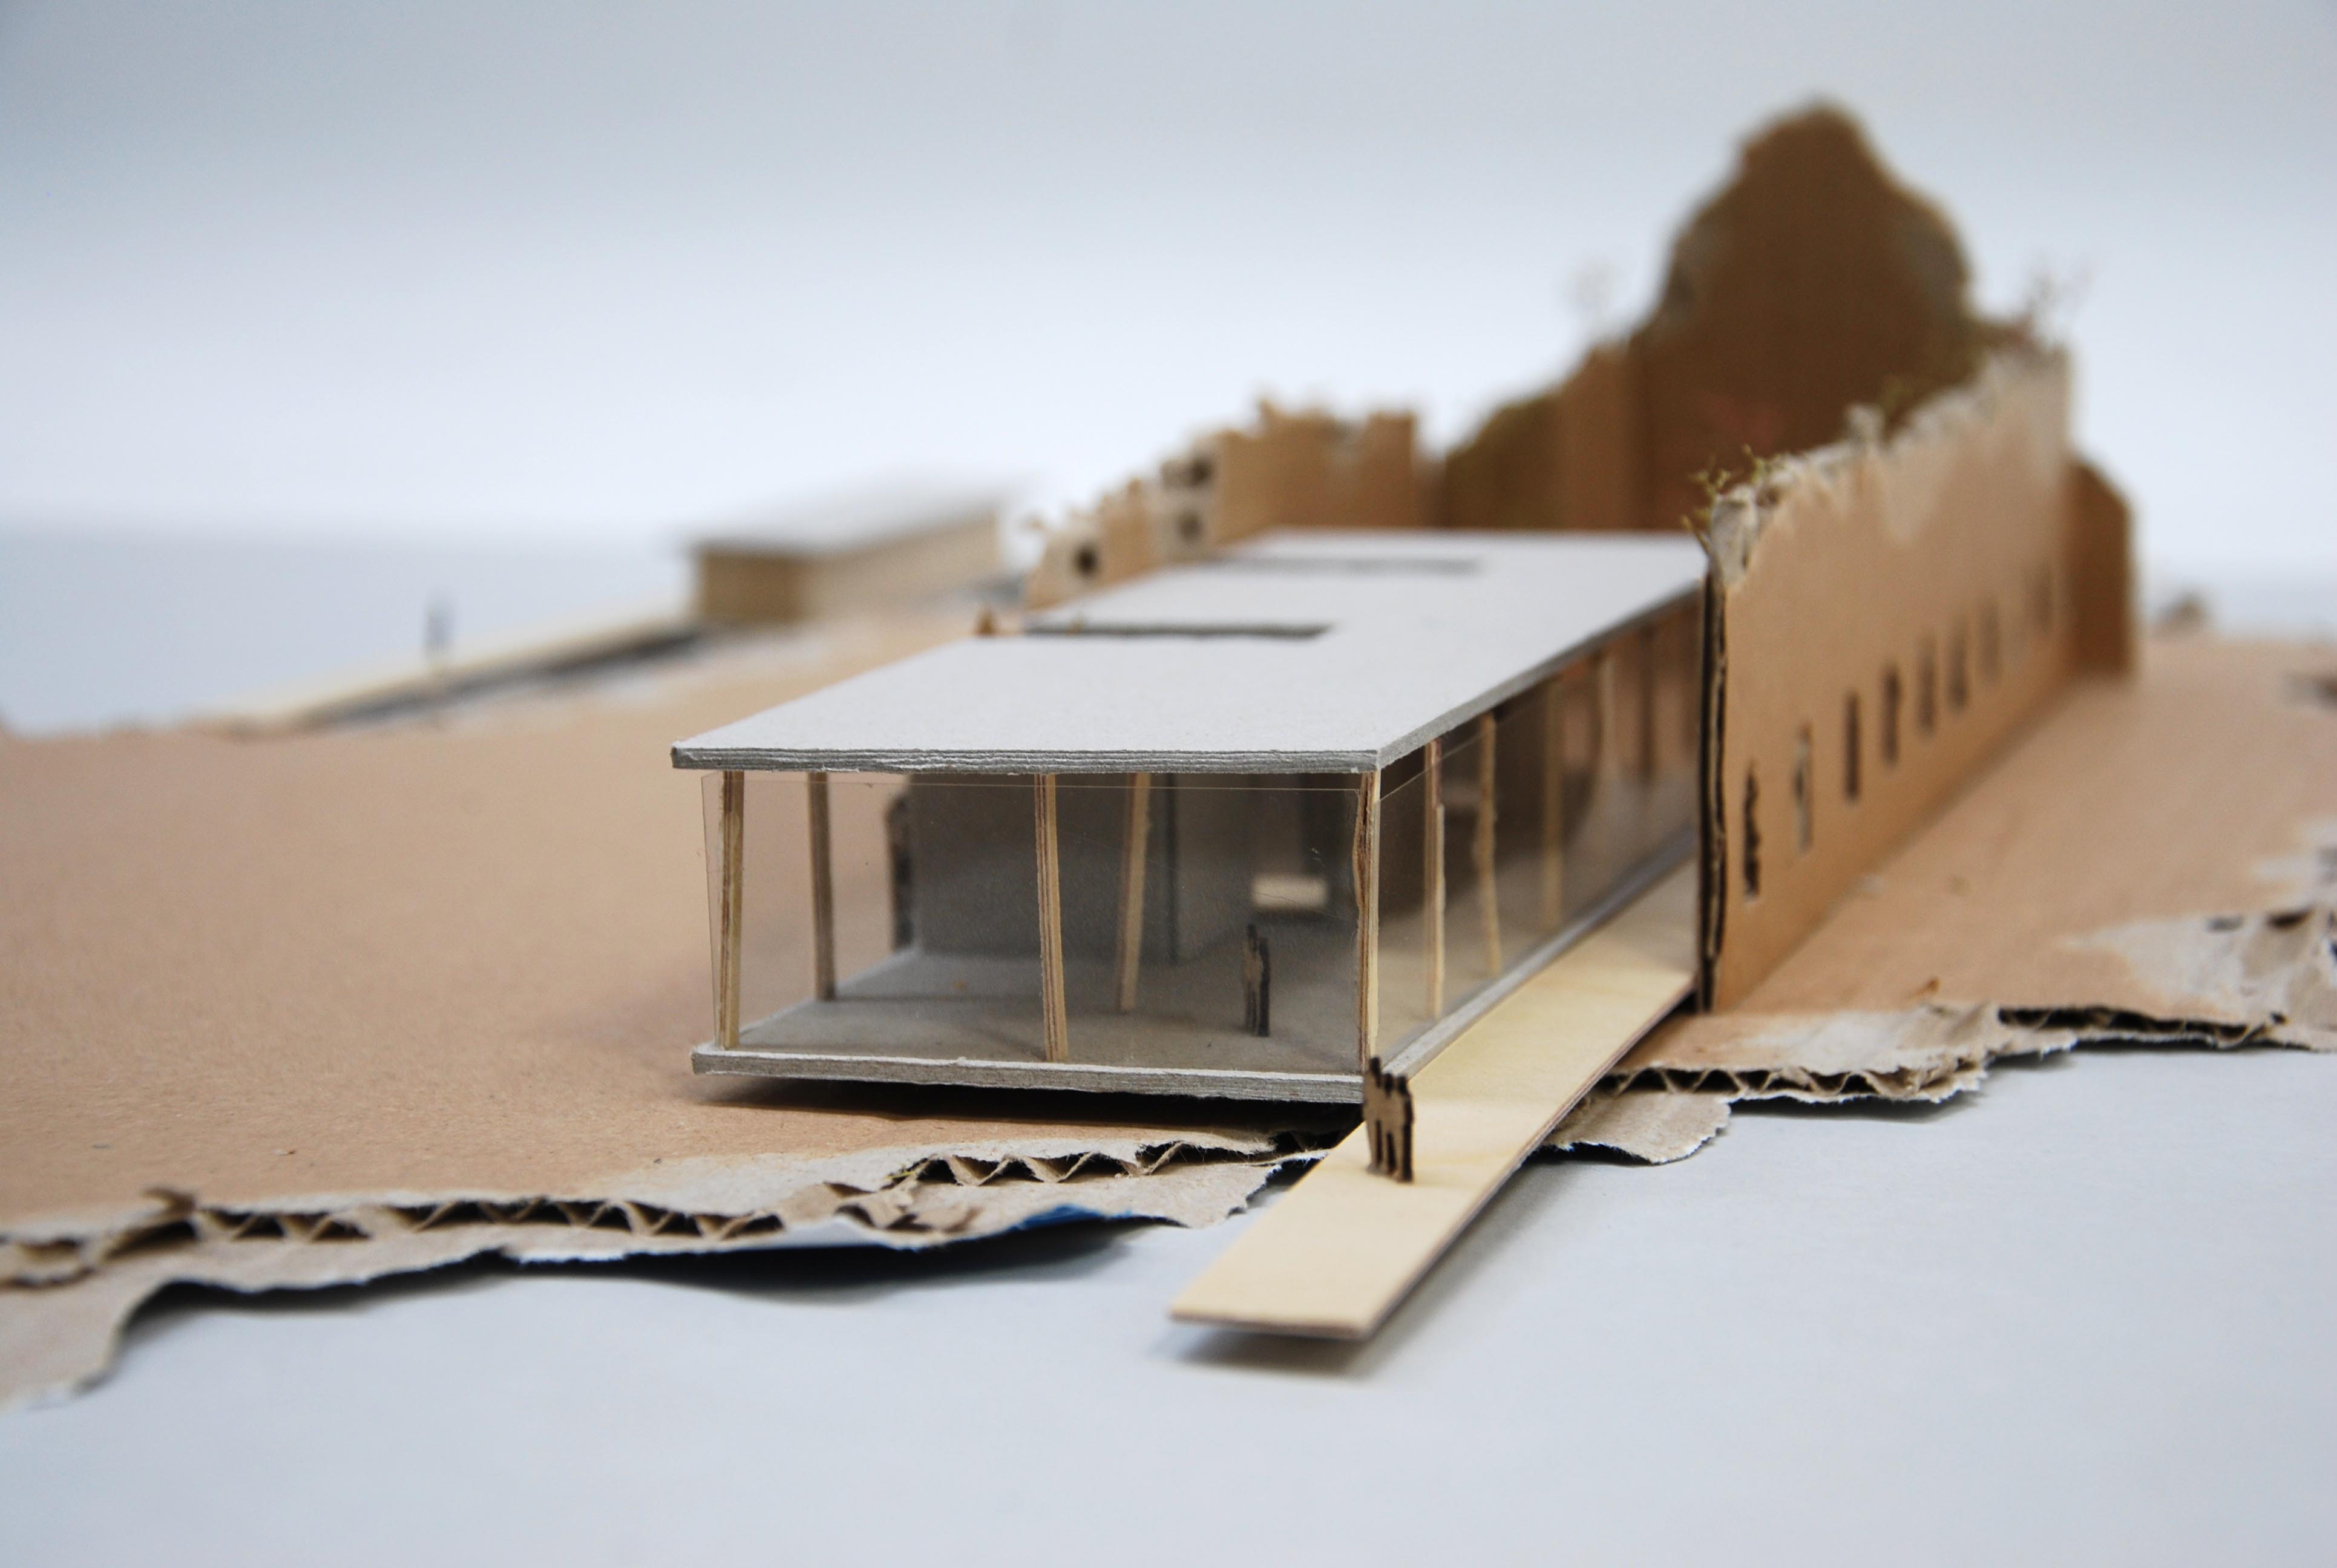
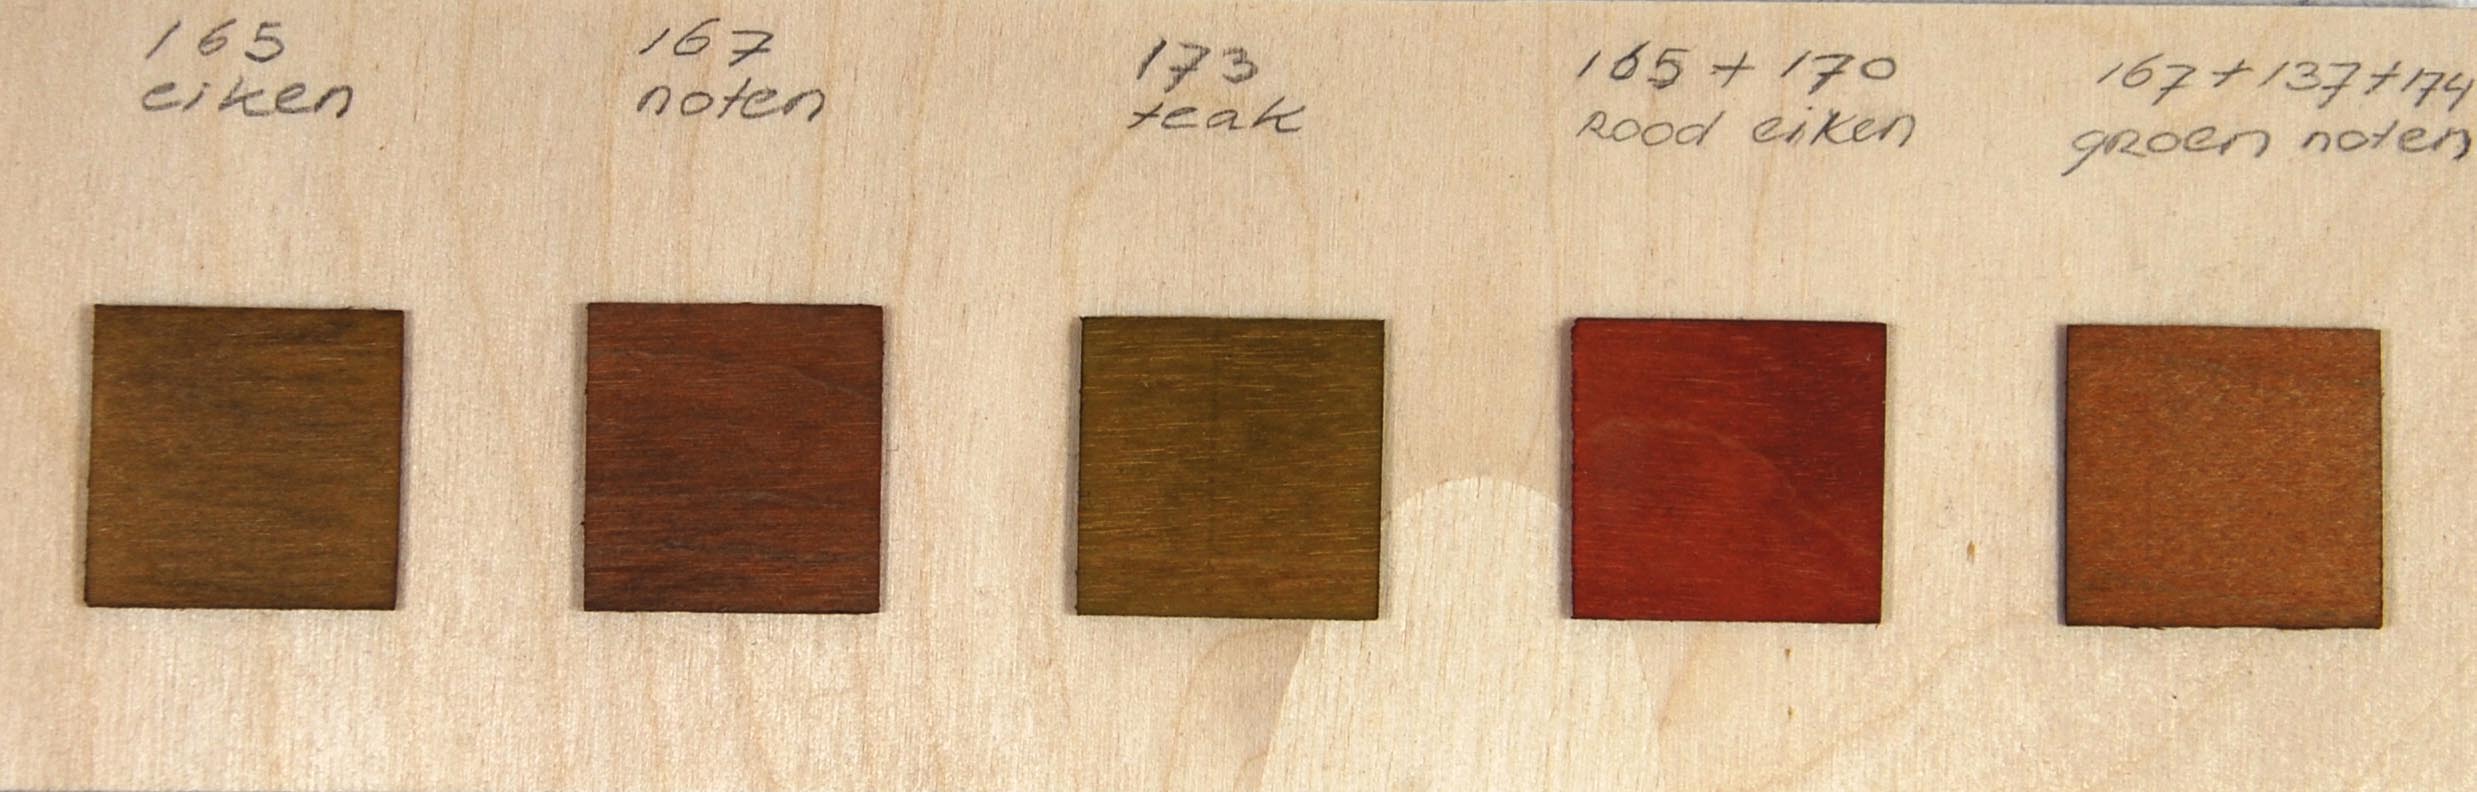
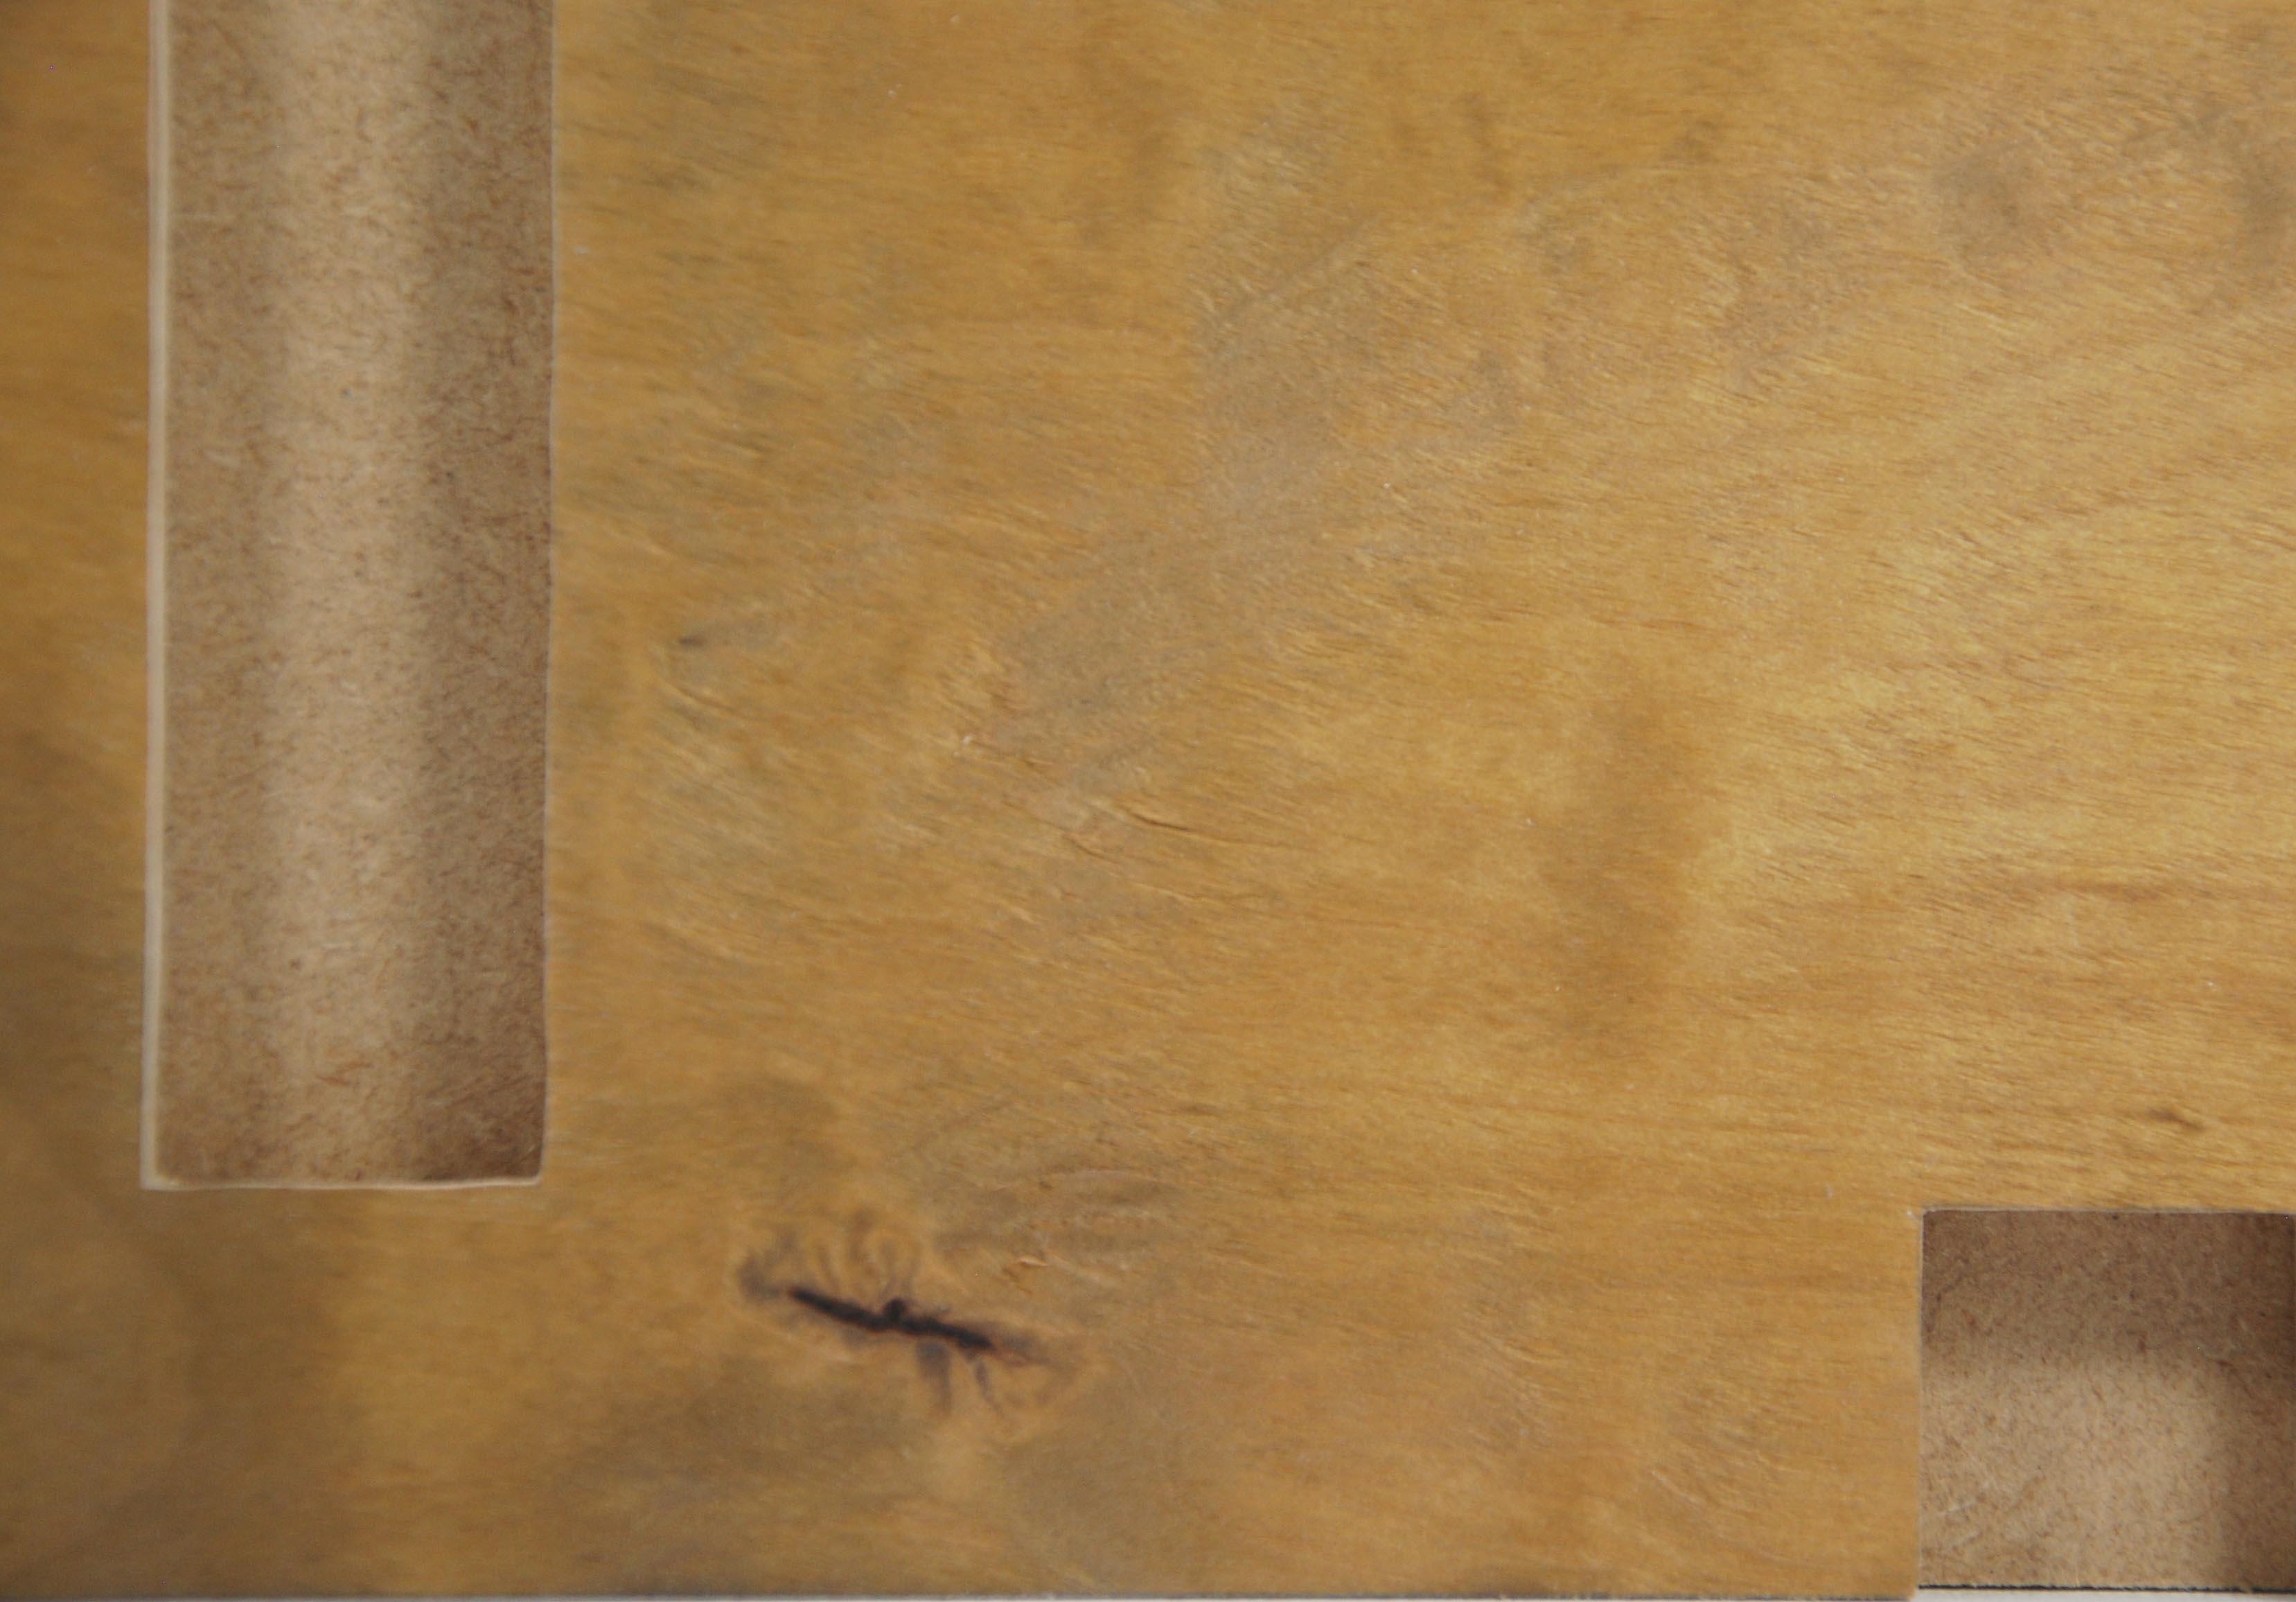
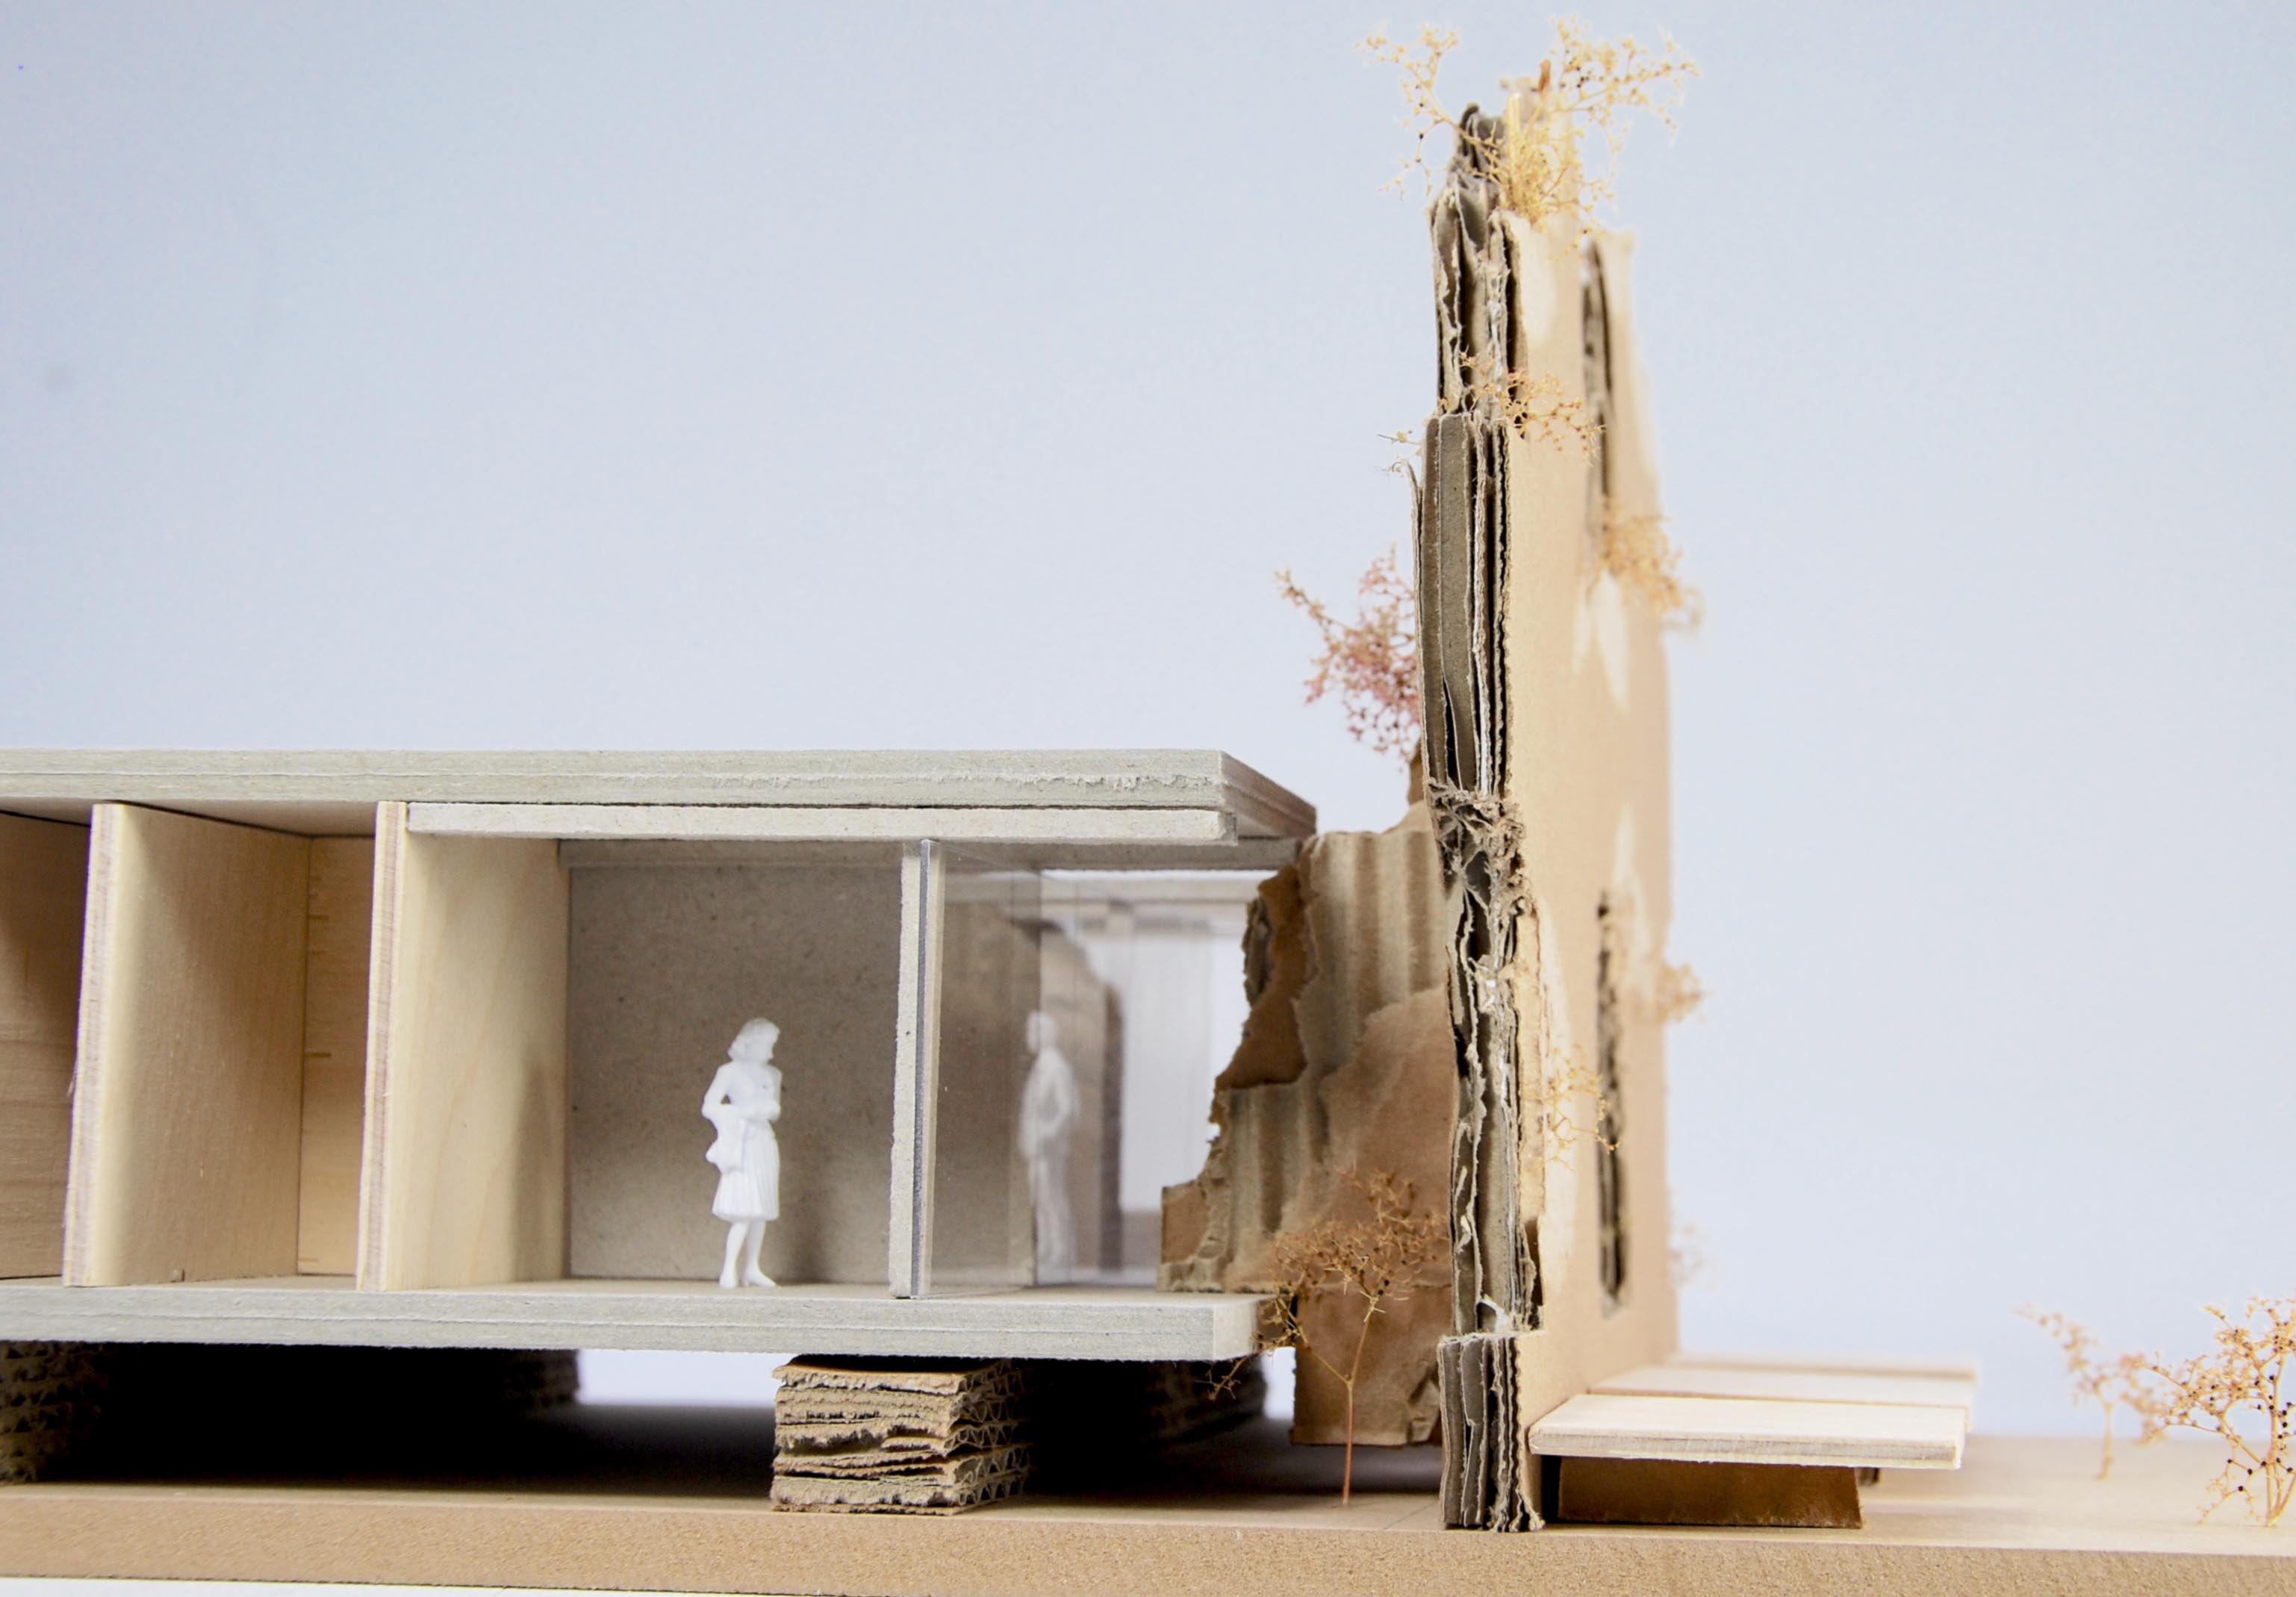
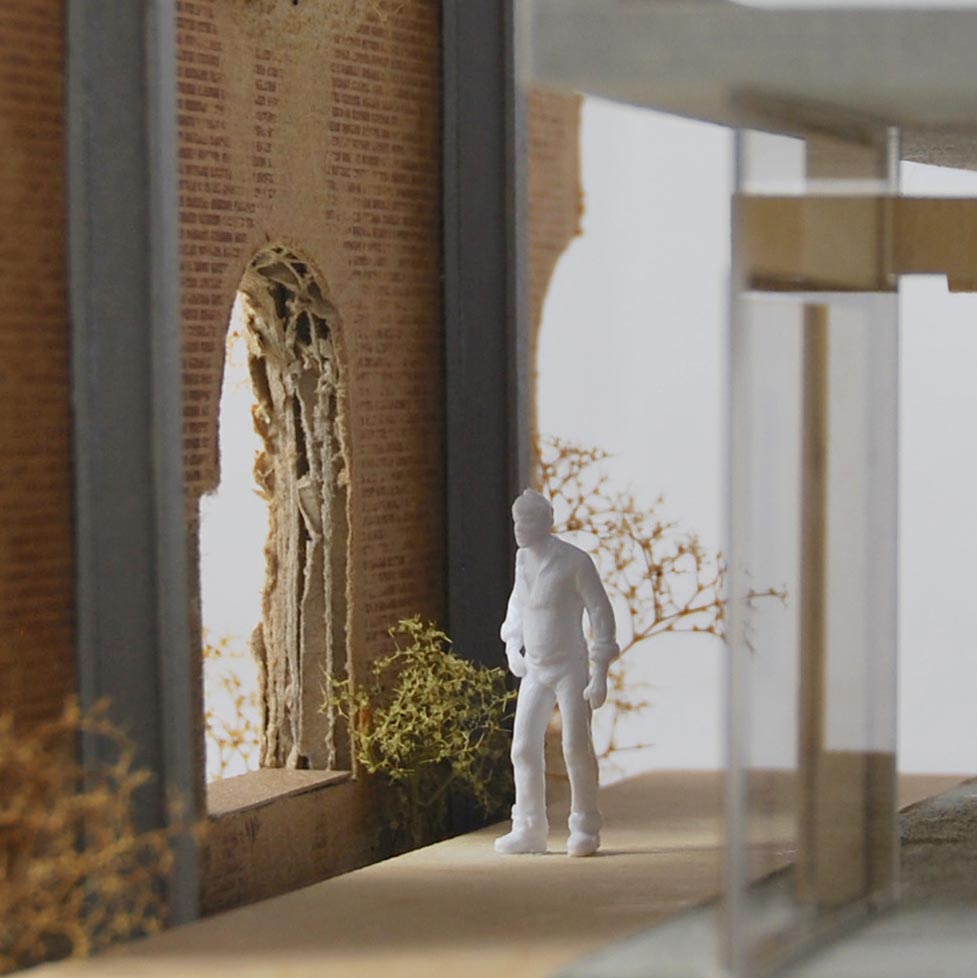
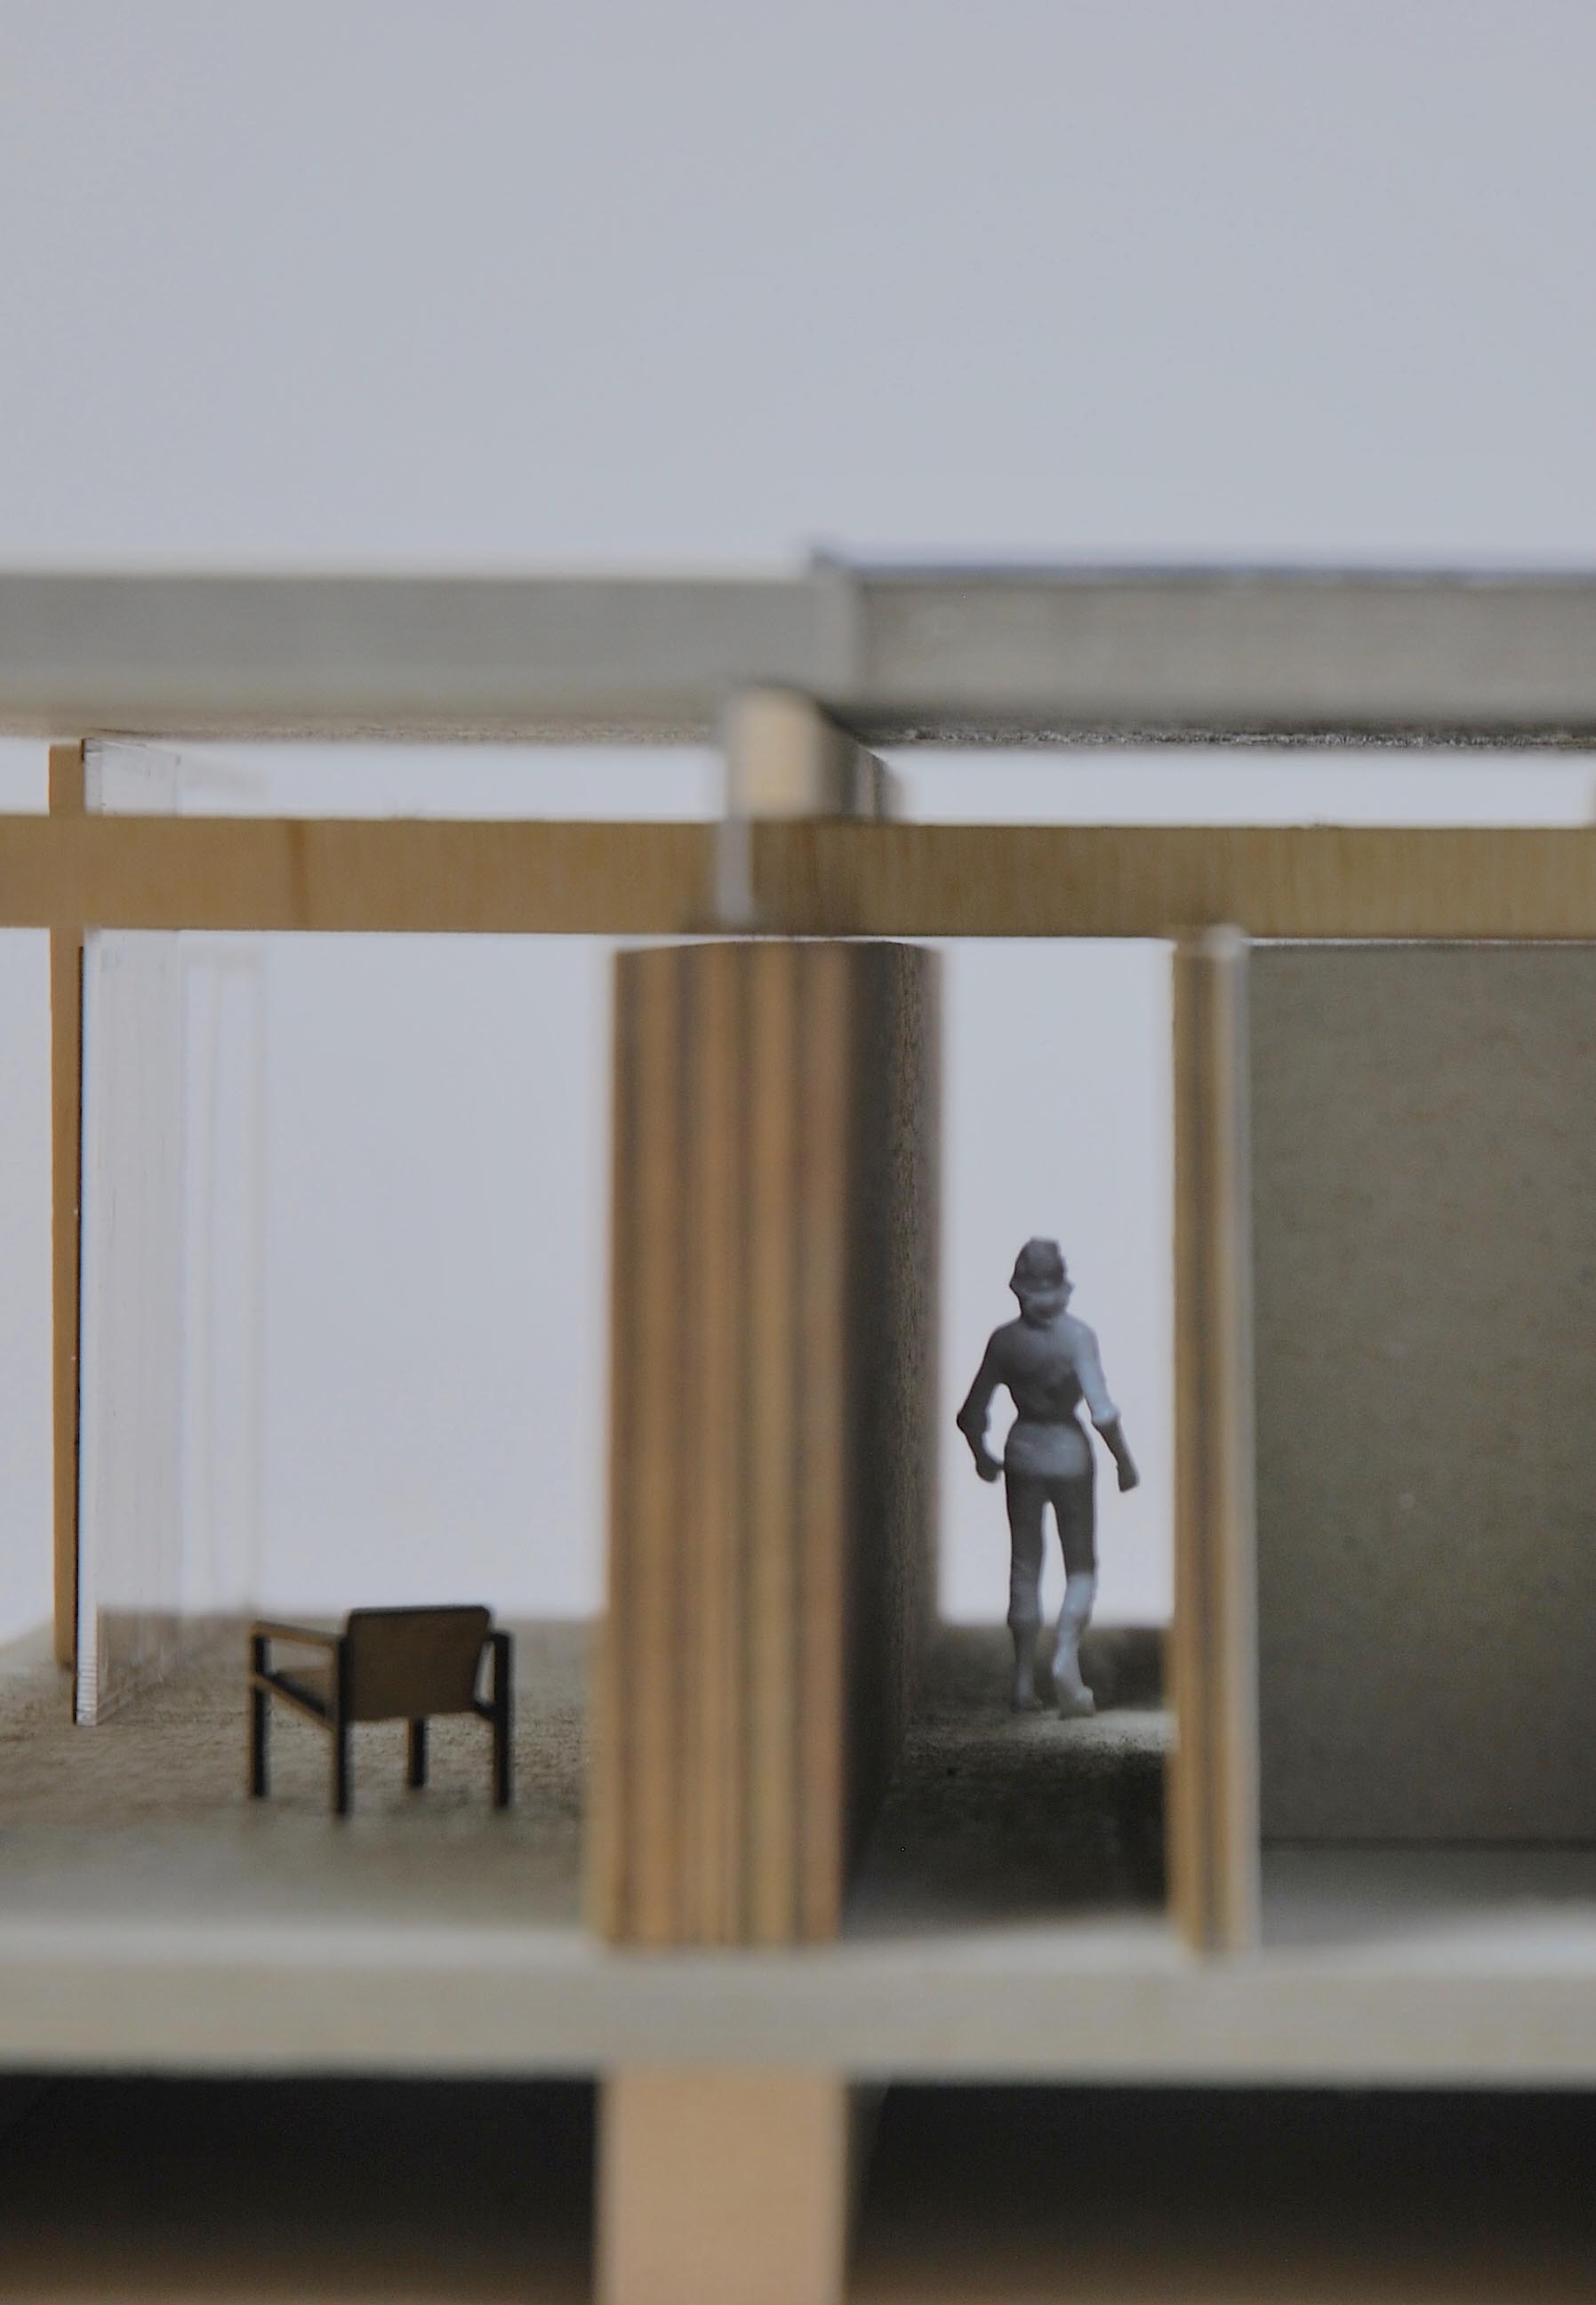
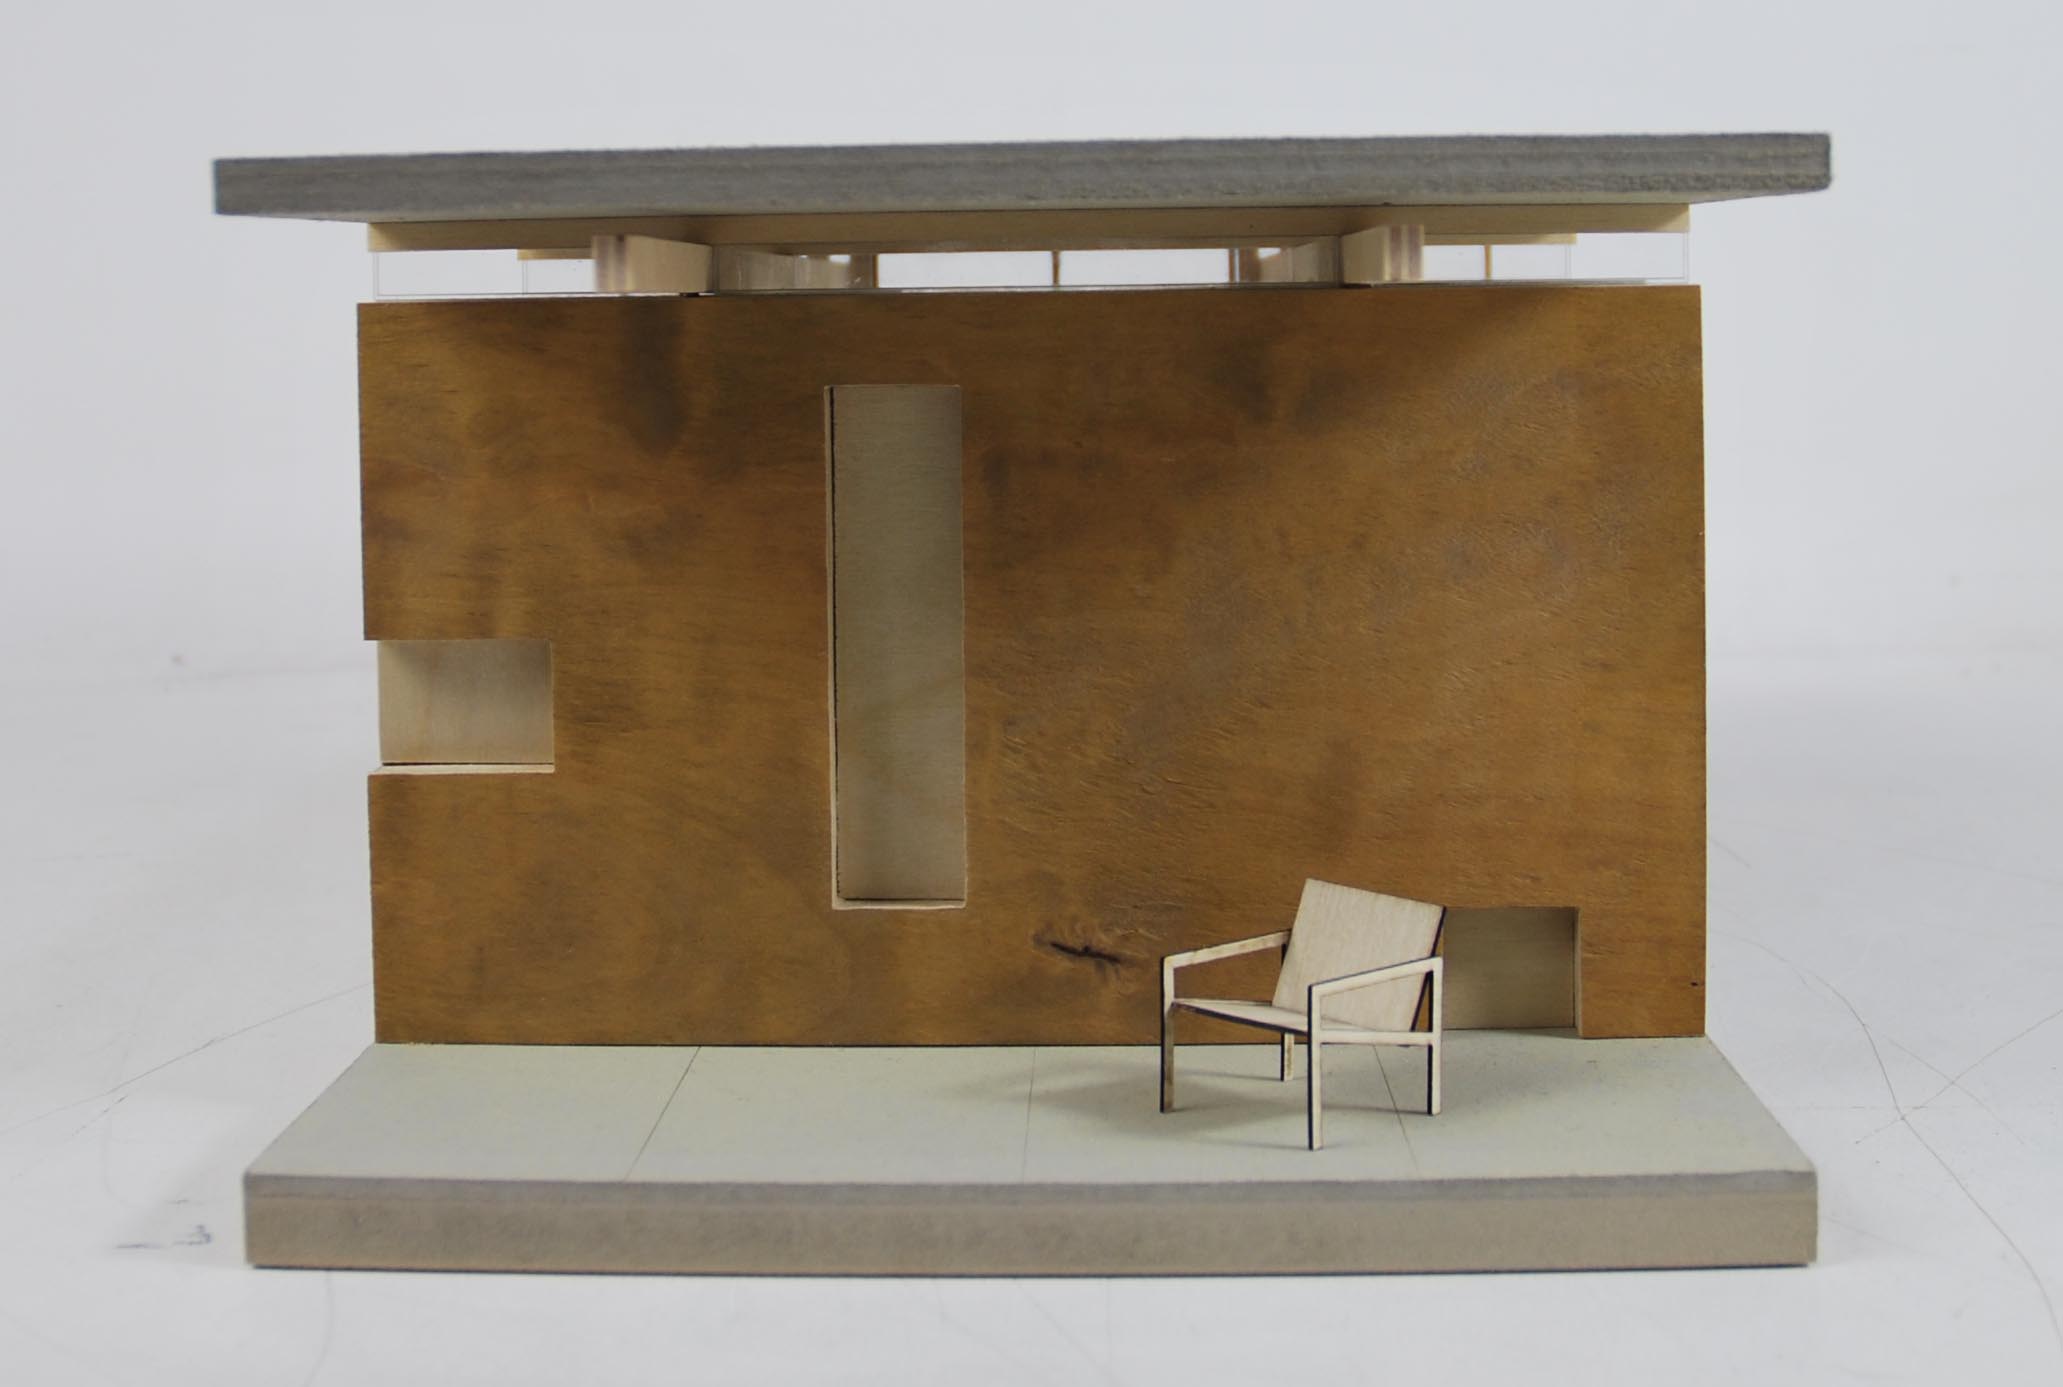
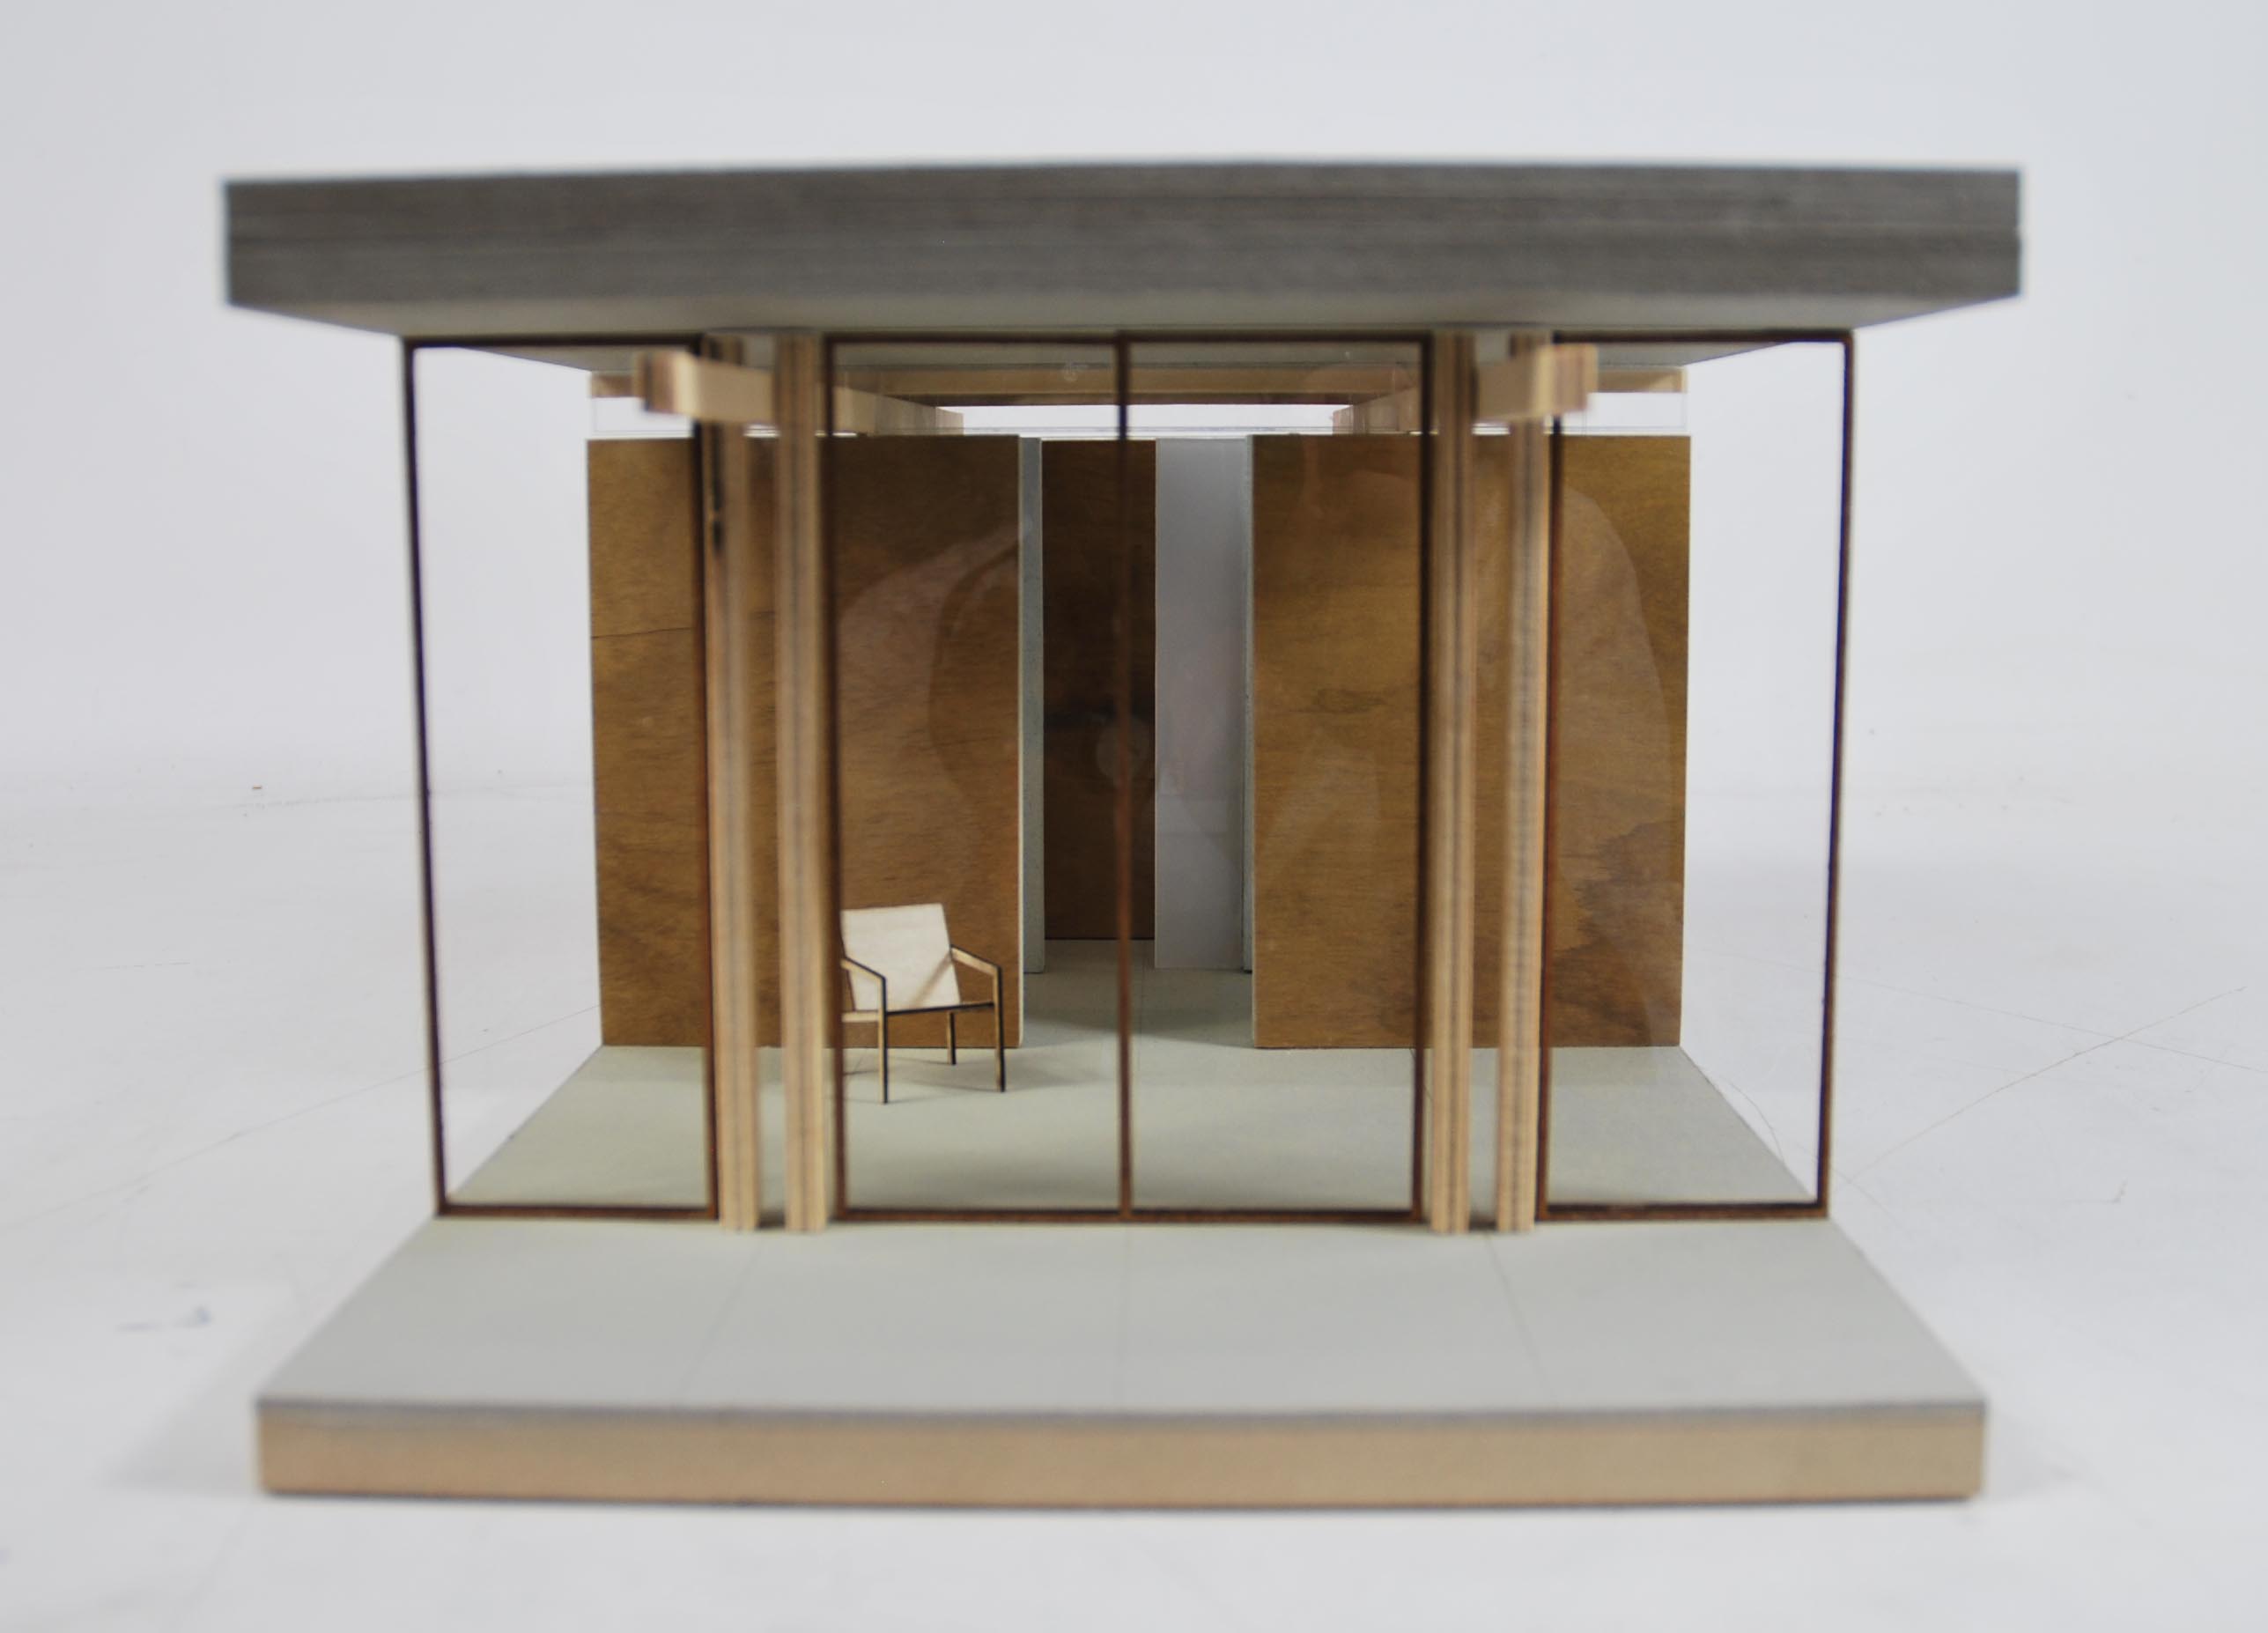
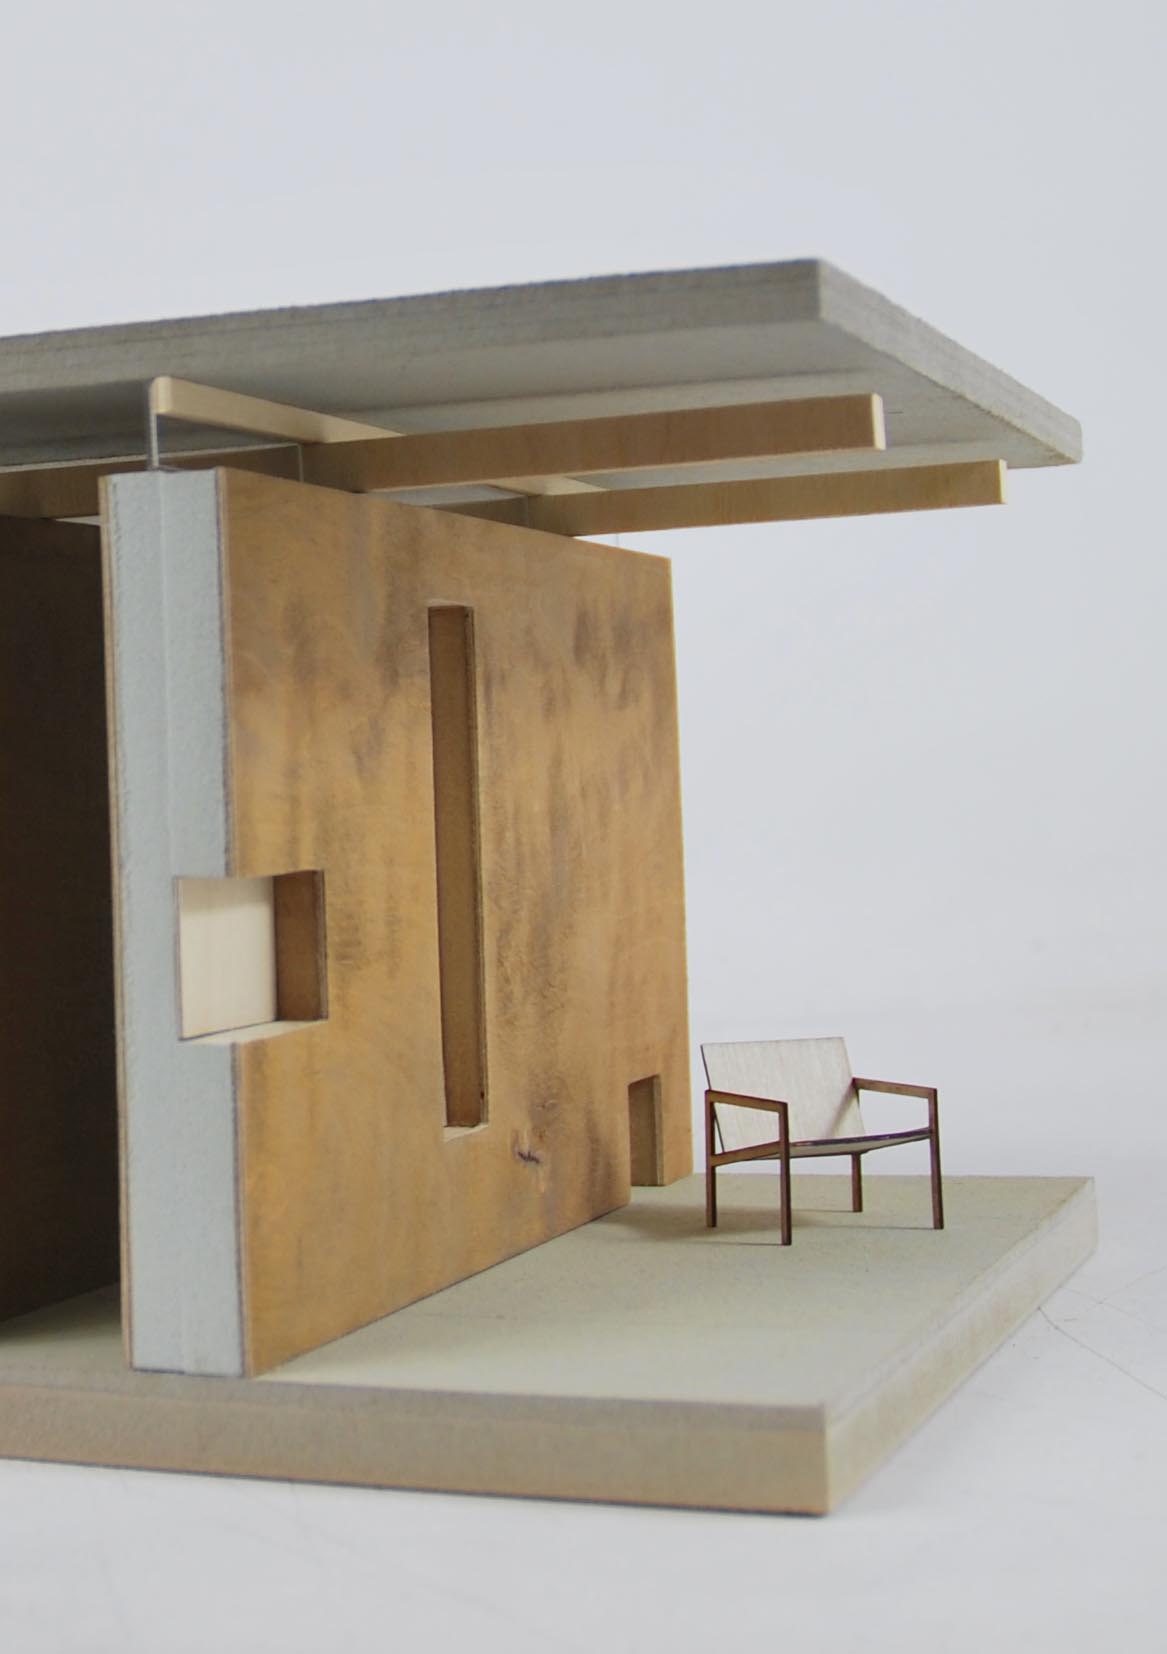
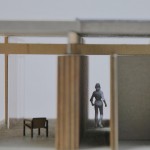
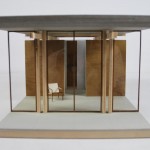
The second test I did is focusing on the 1:50 model where the focal point lays at the atmosphere of the space, which is highly influenced by materiality and light. The test concerns the cladding of an interior wall materialized from a darker warm wood.

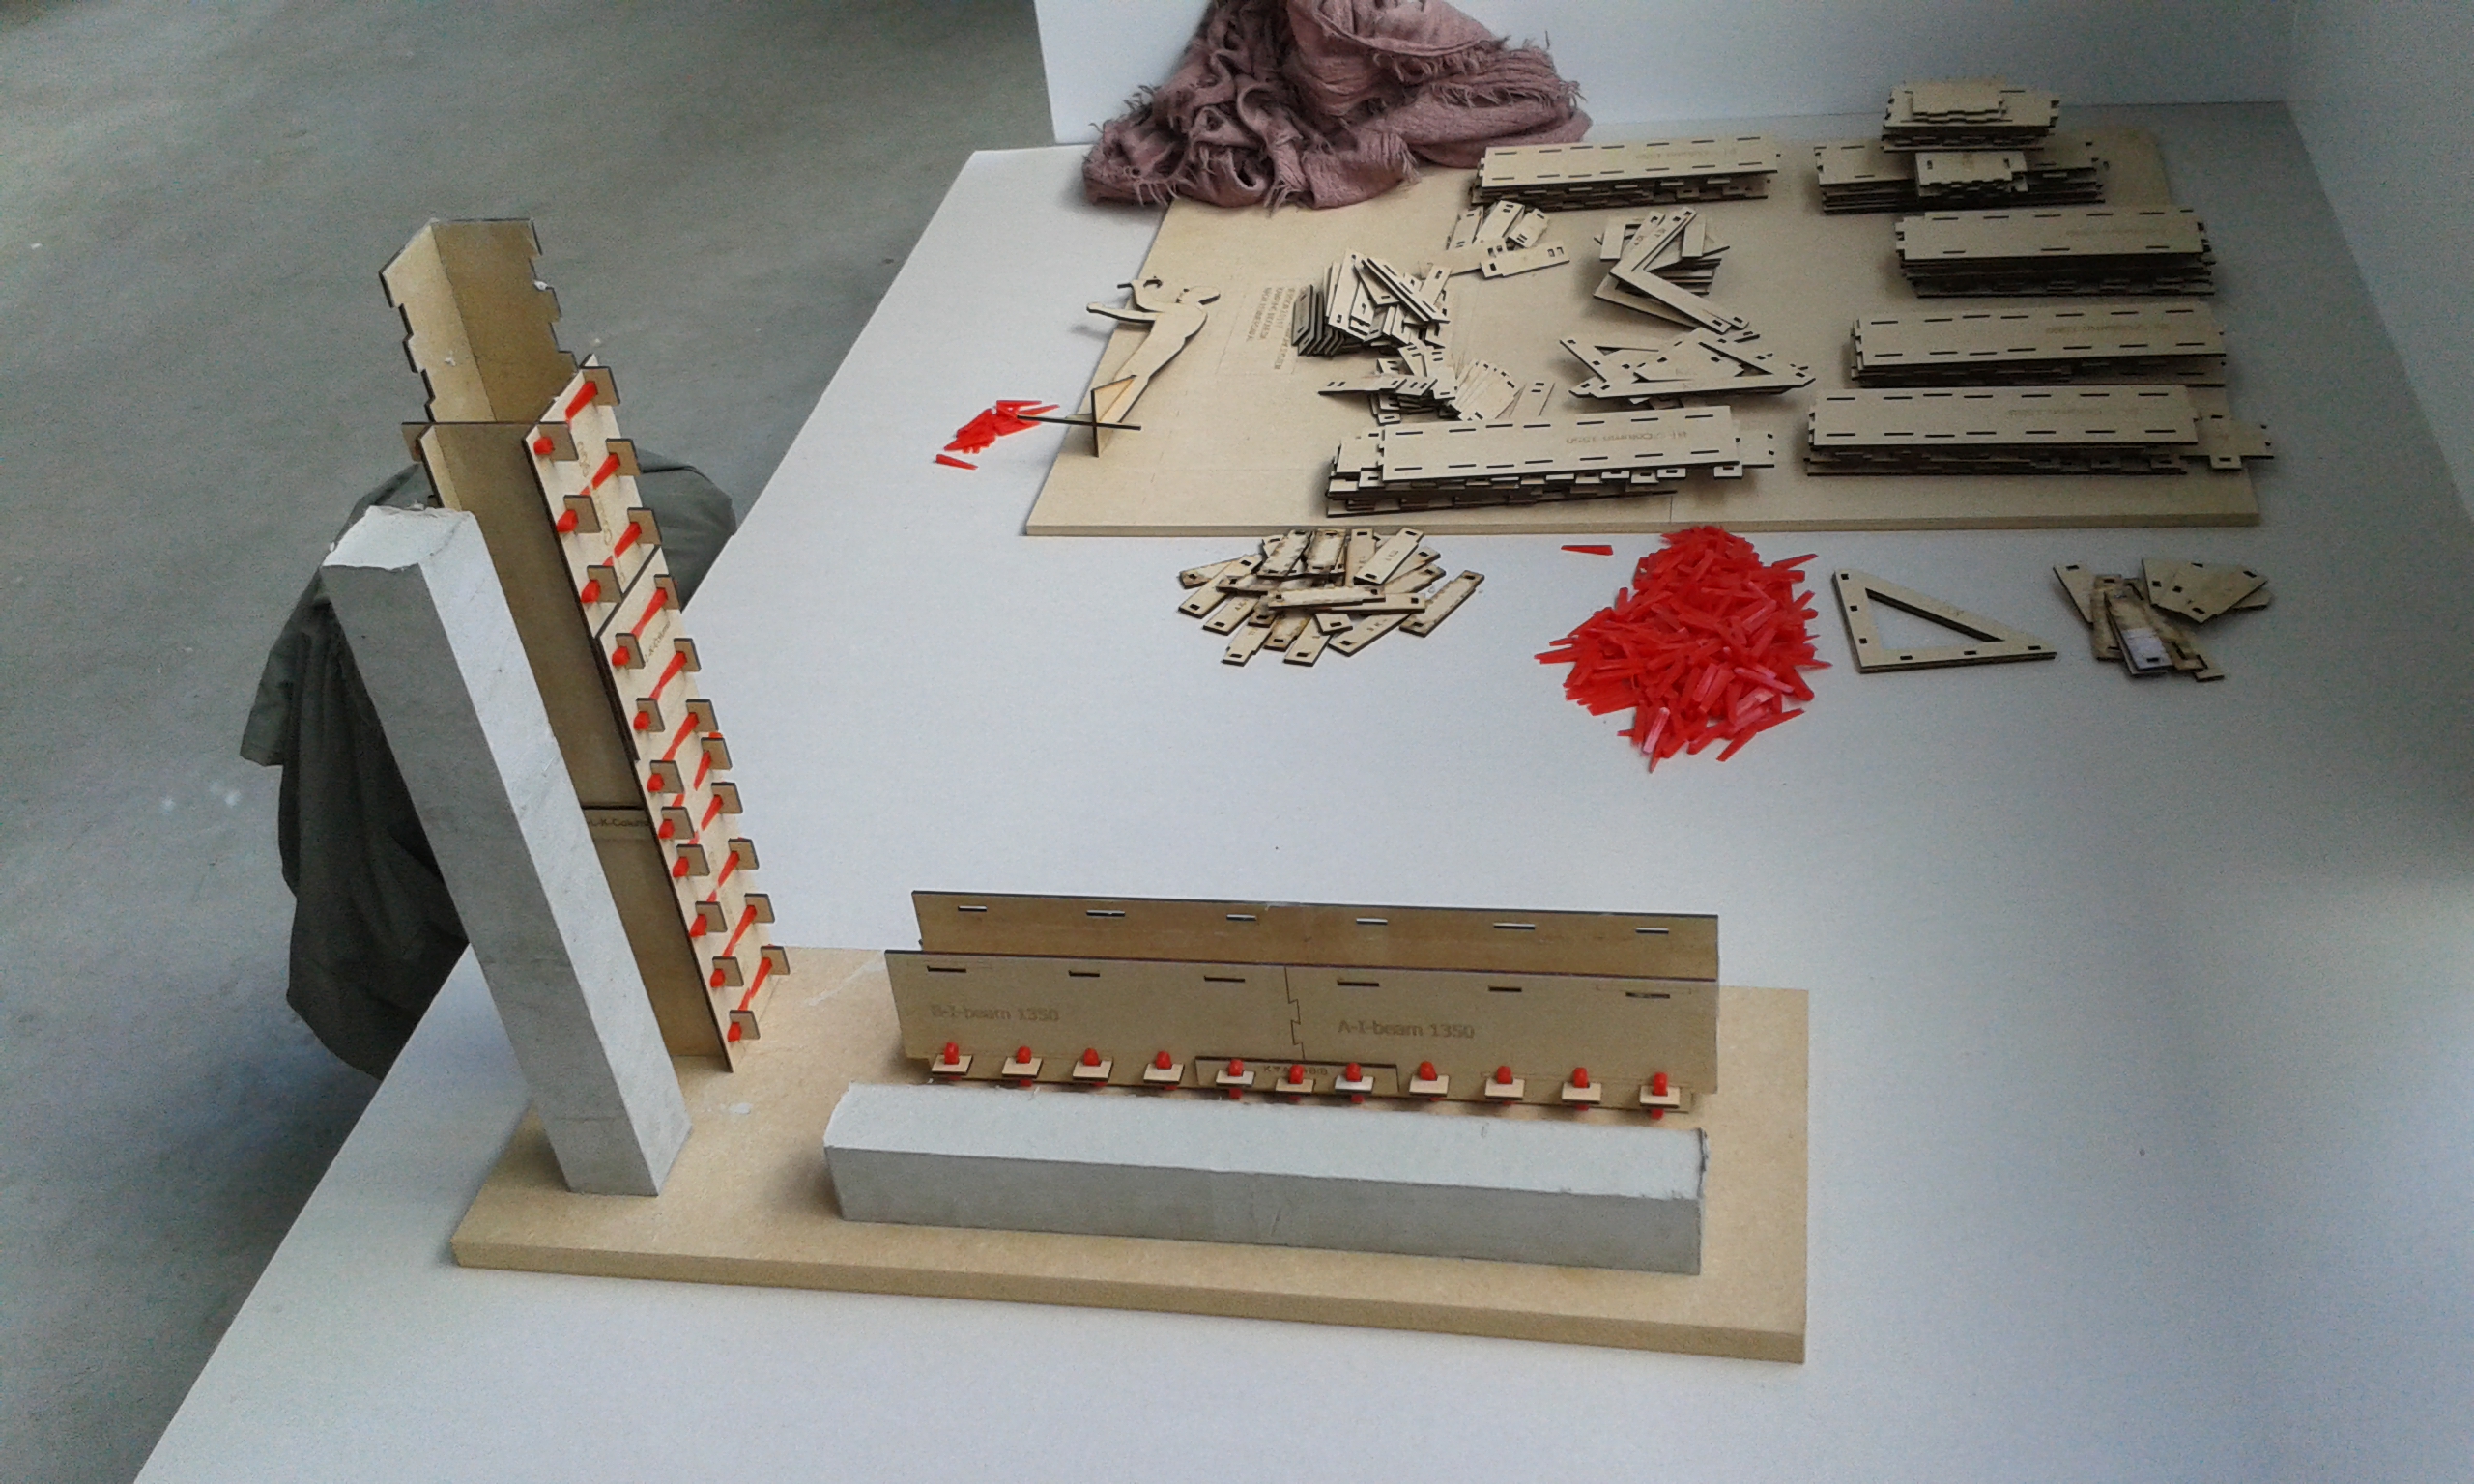
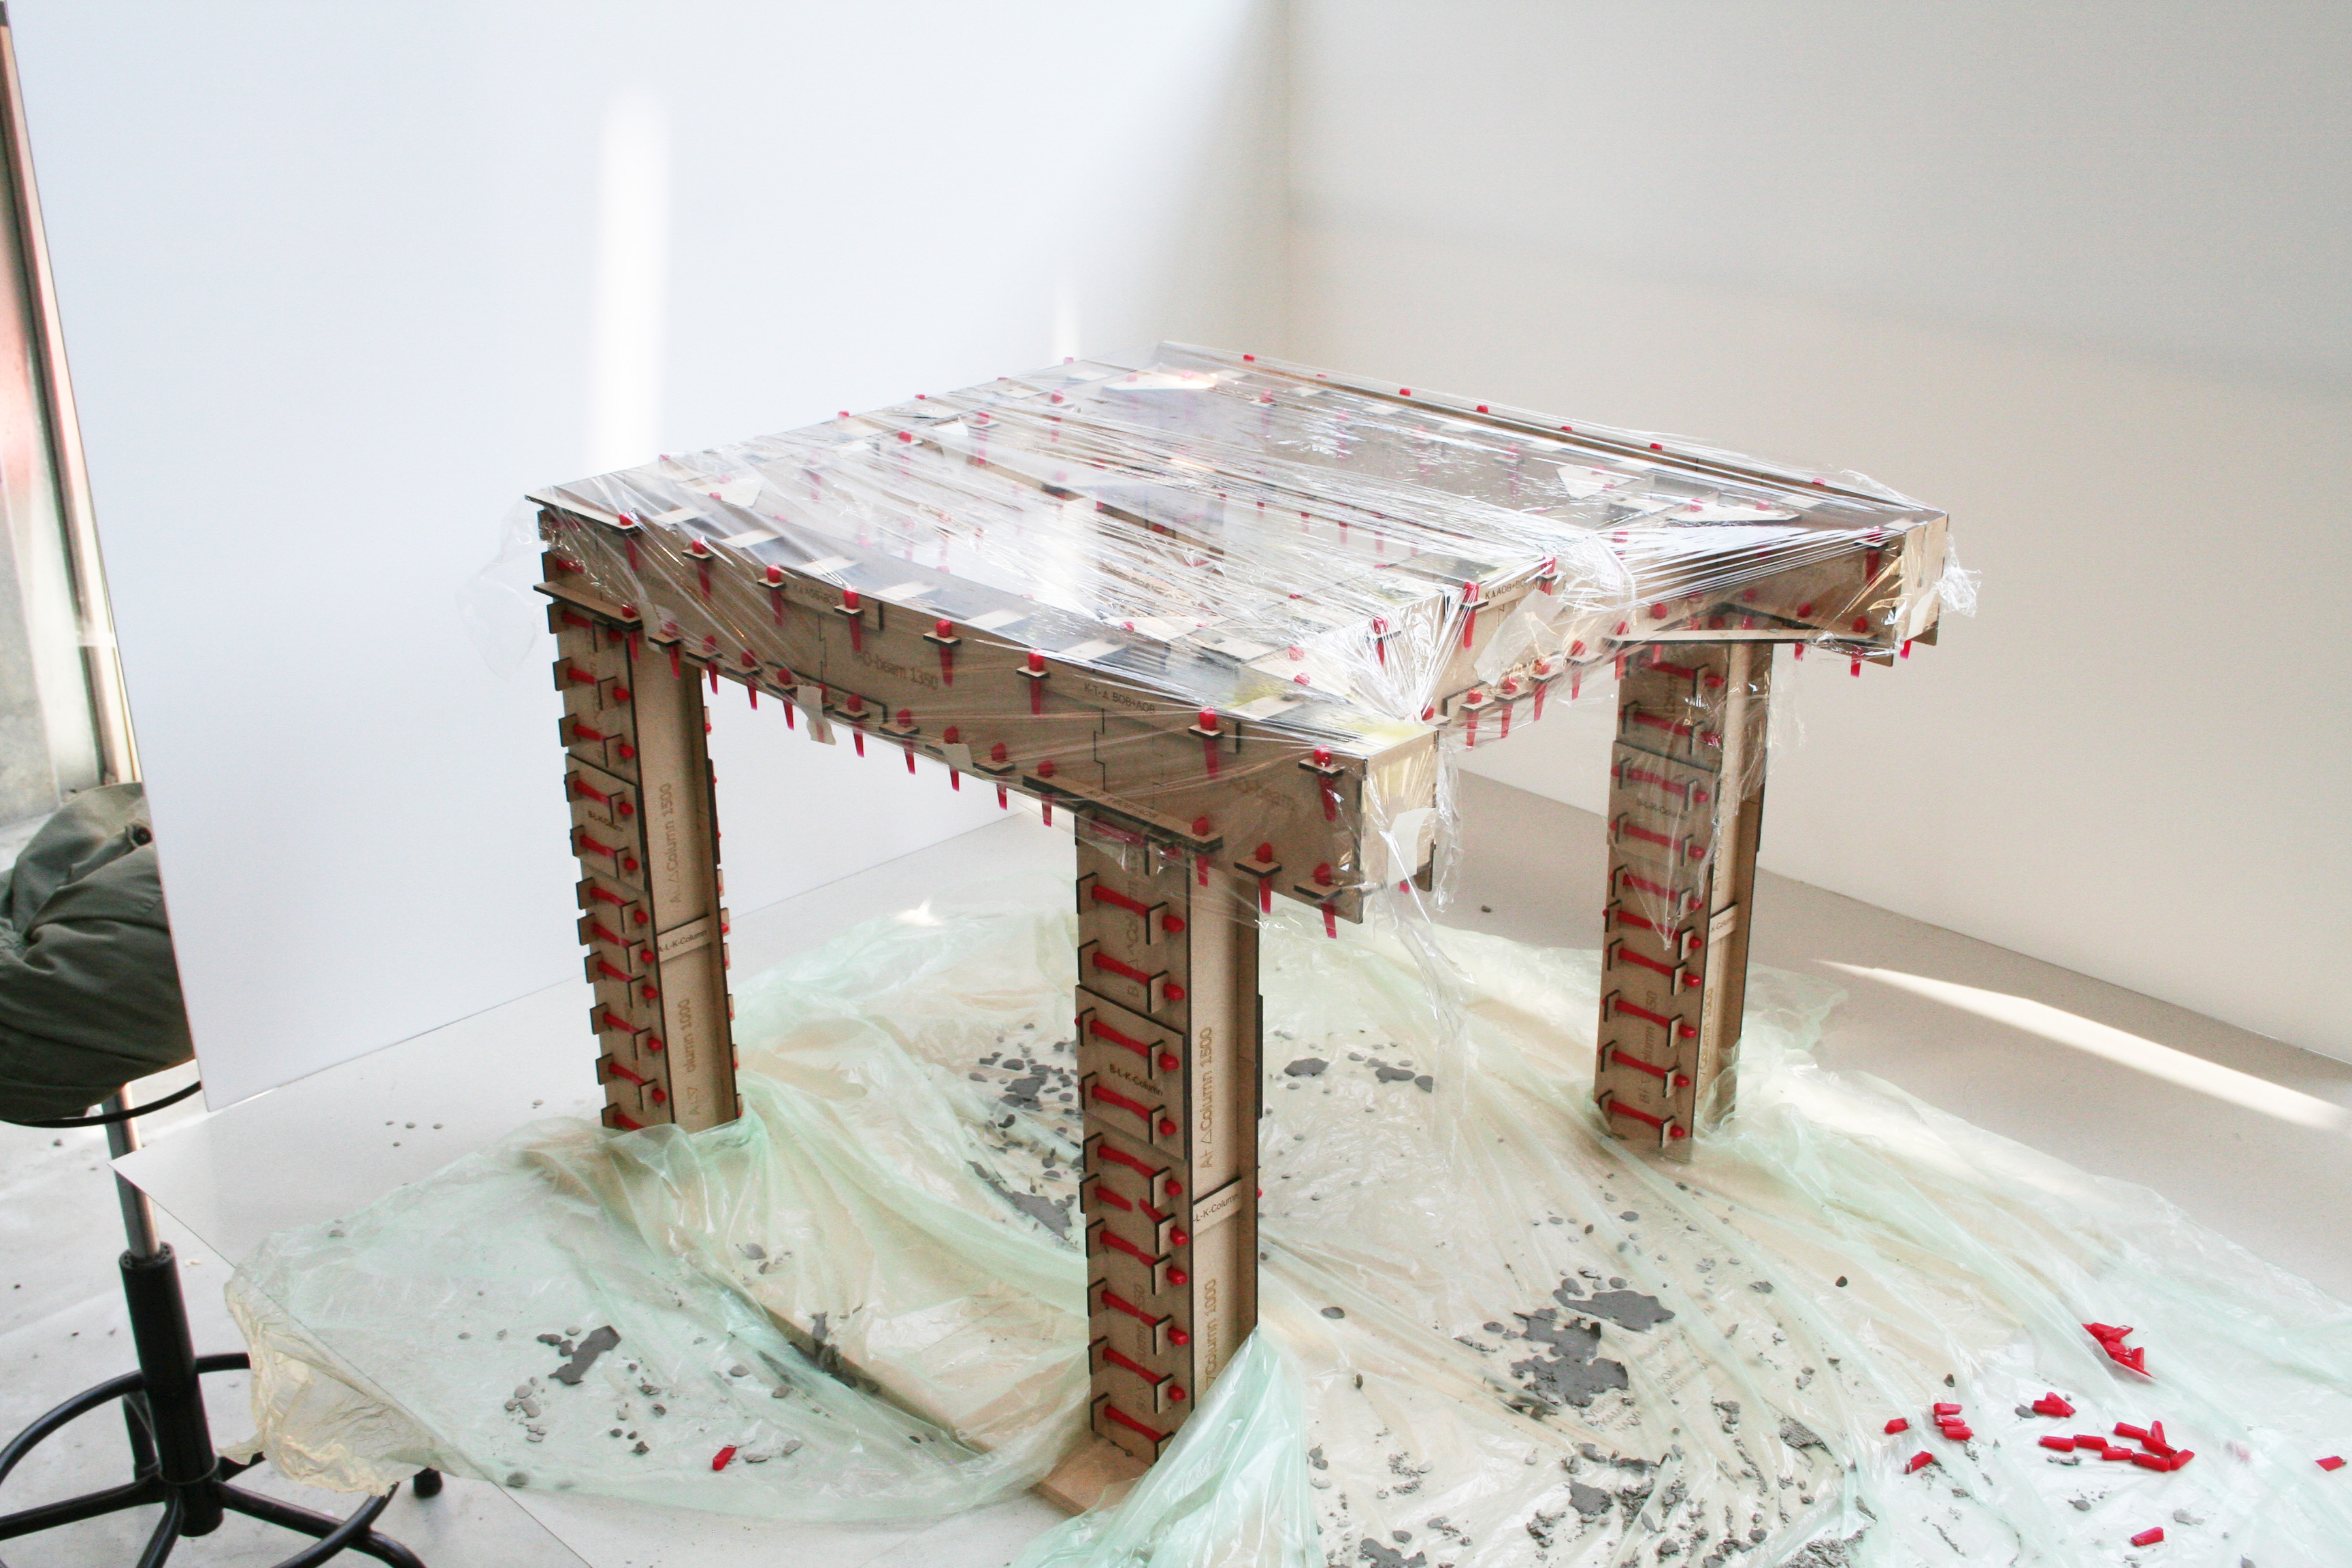
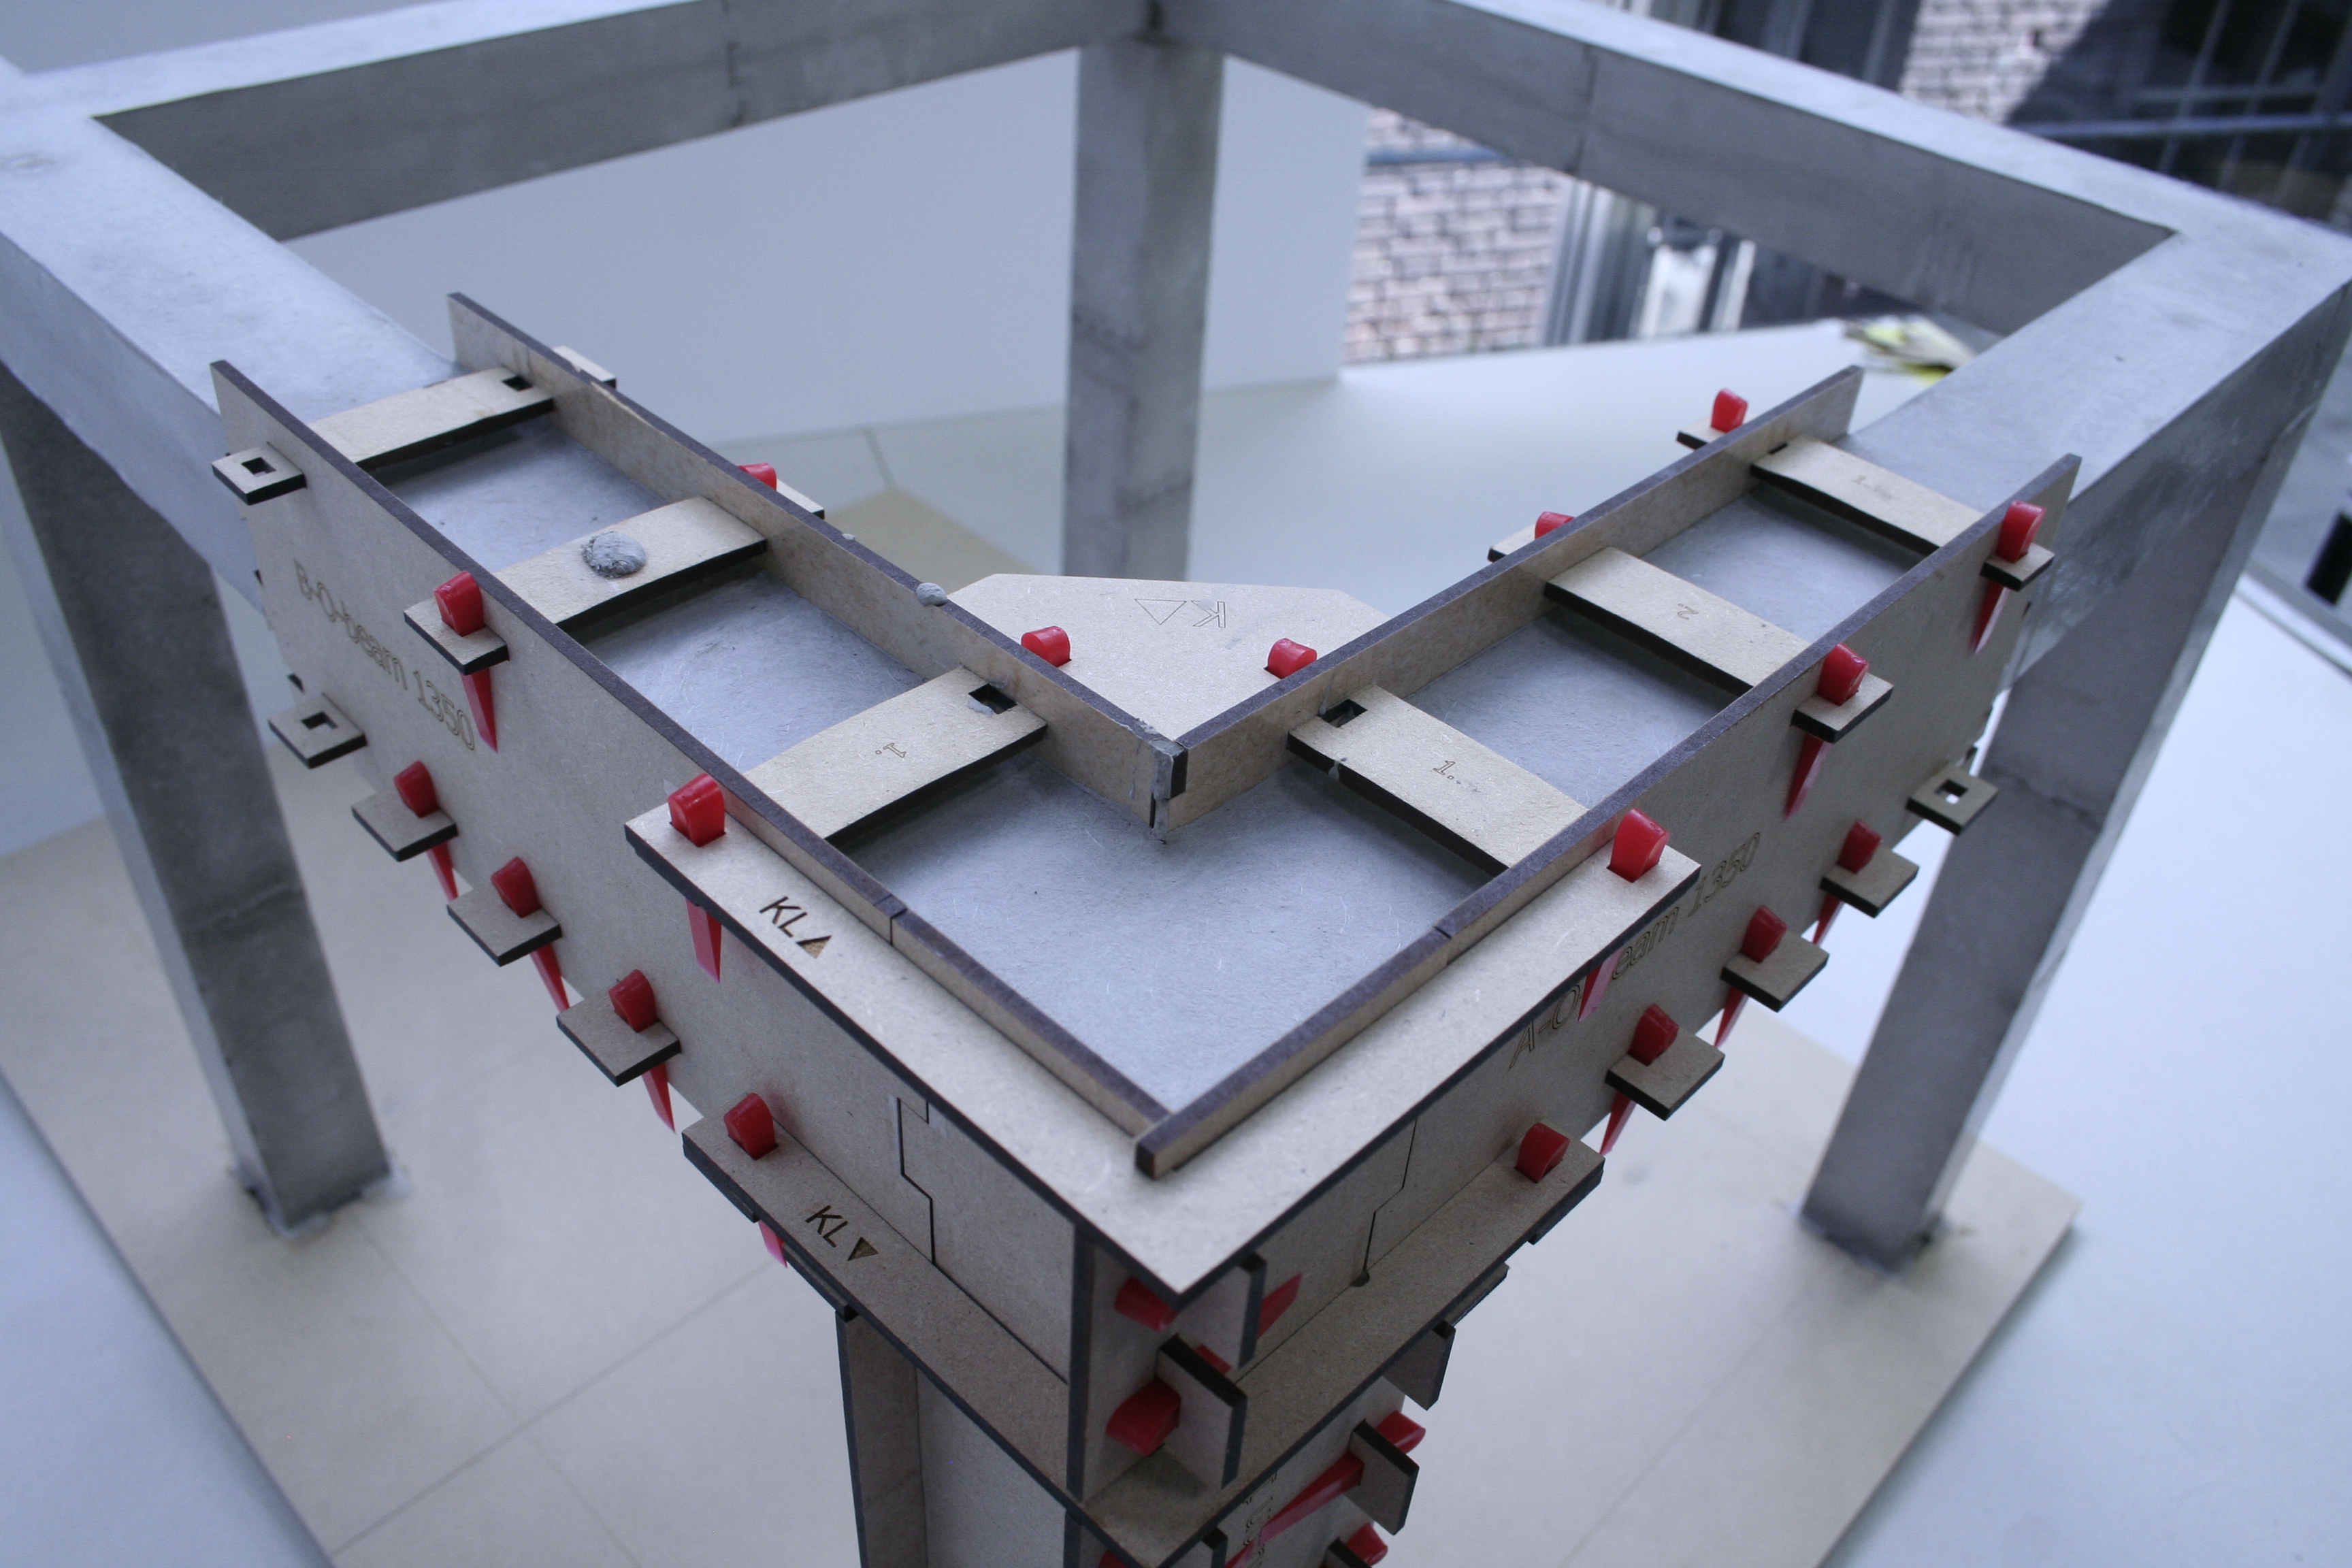
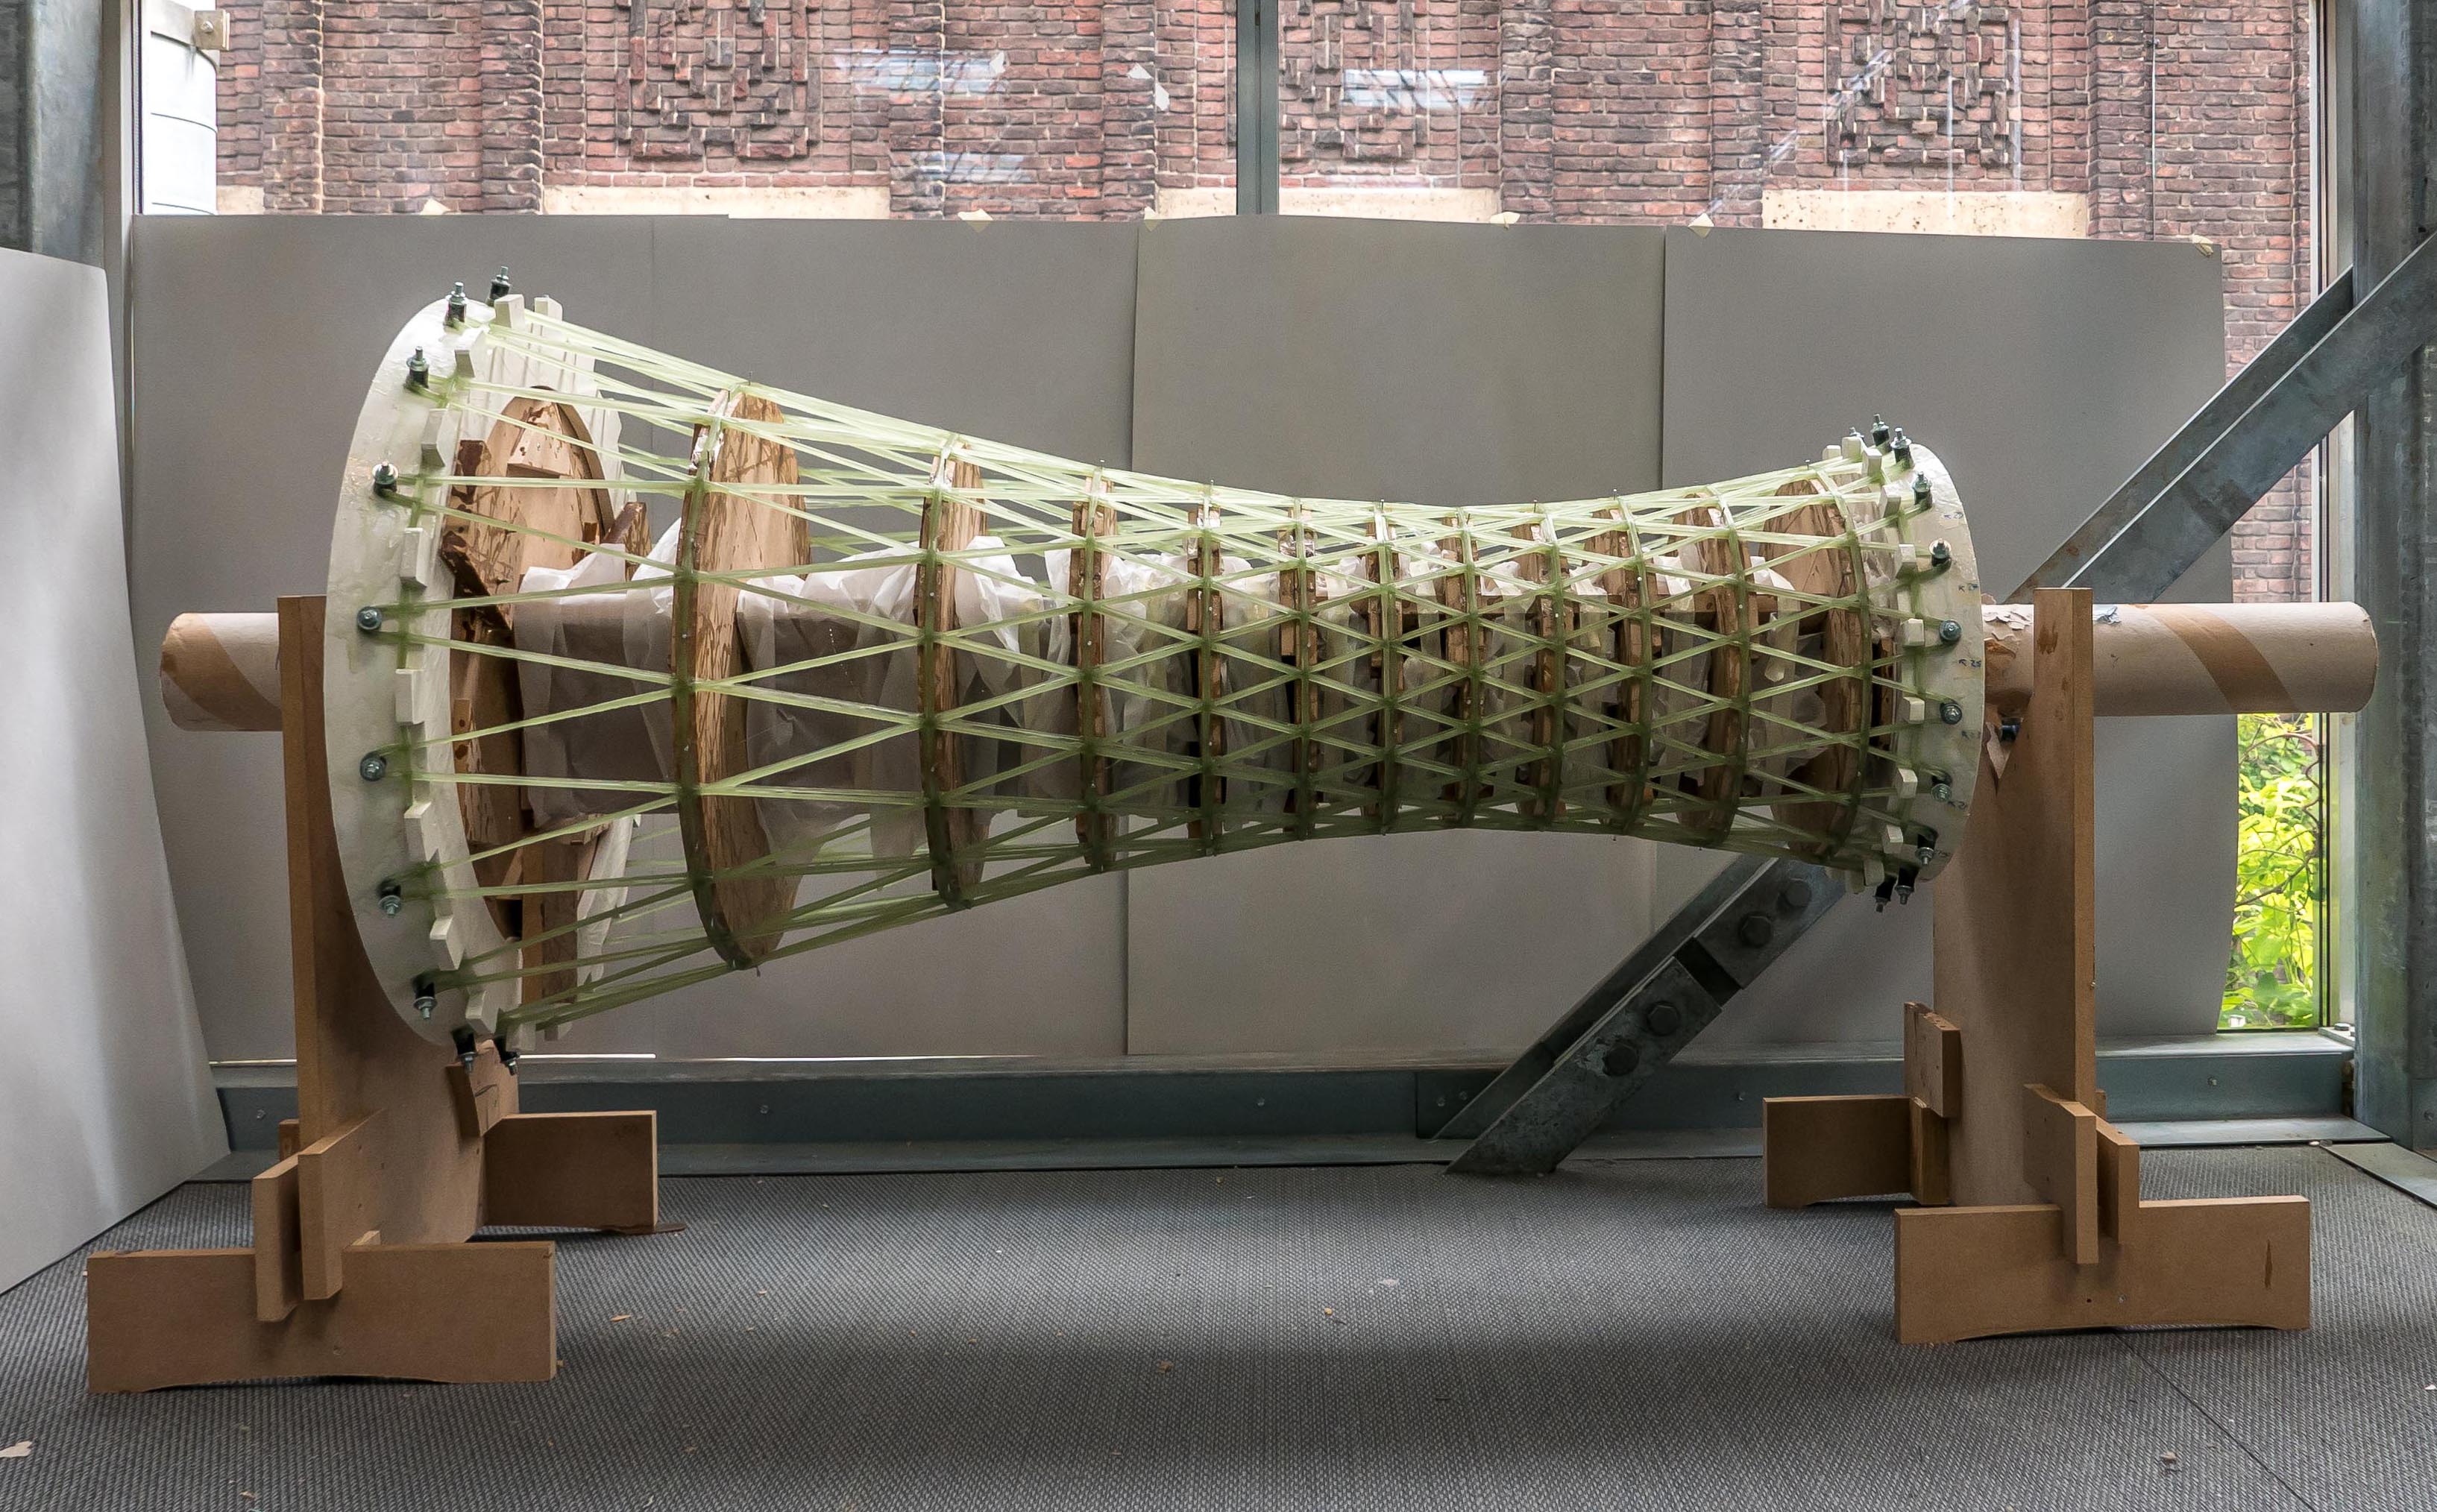
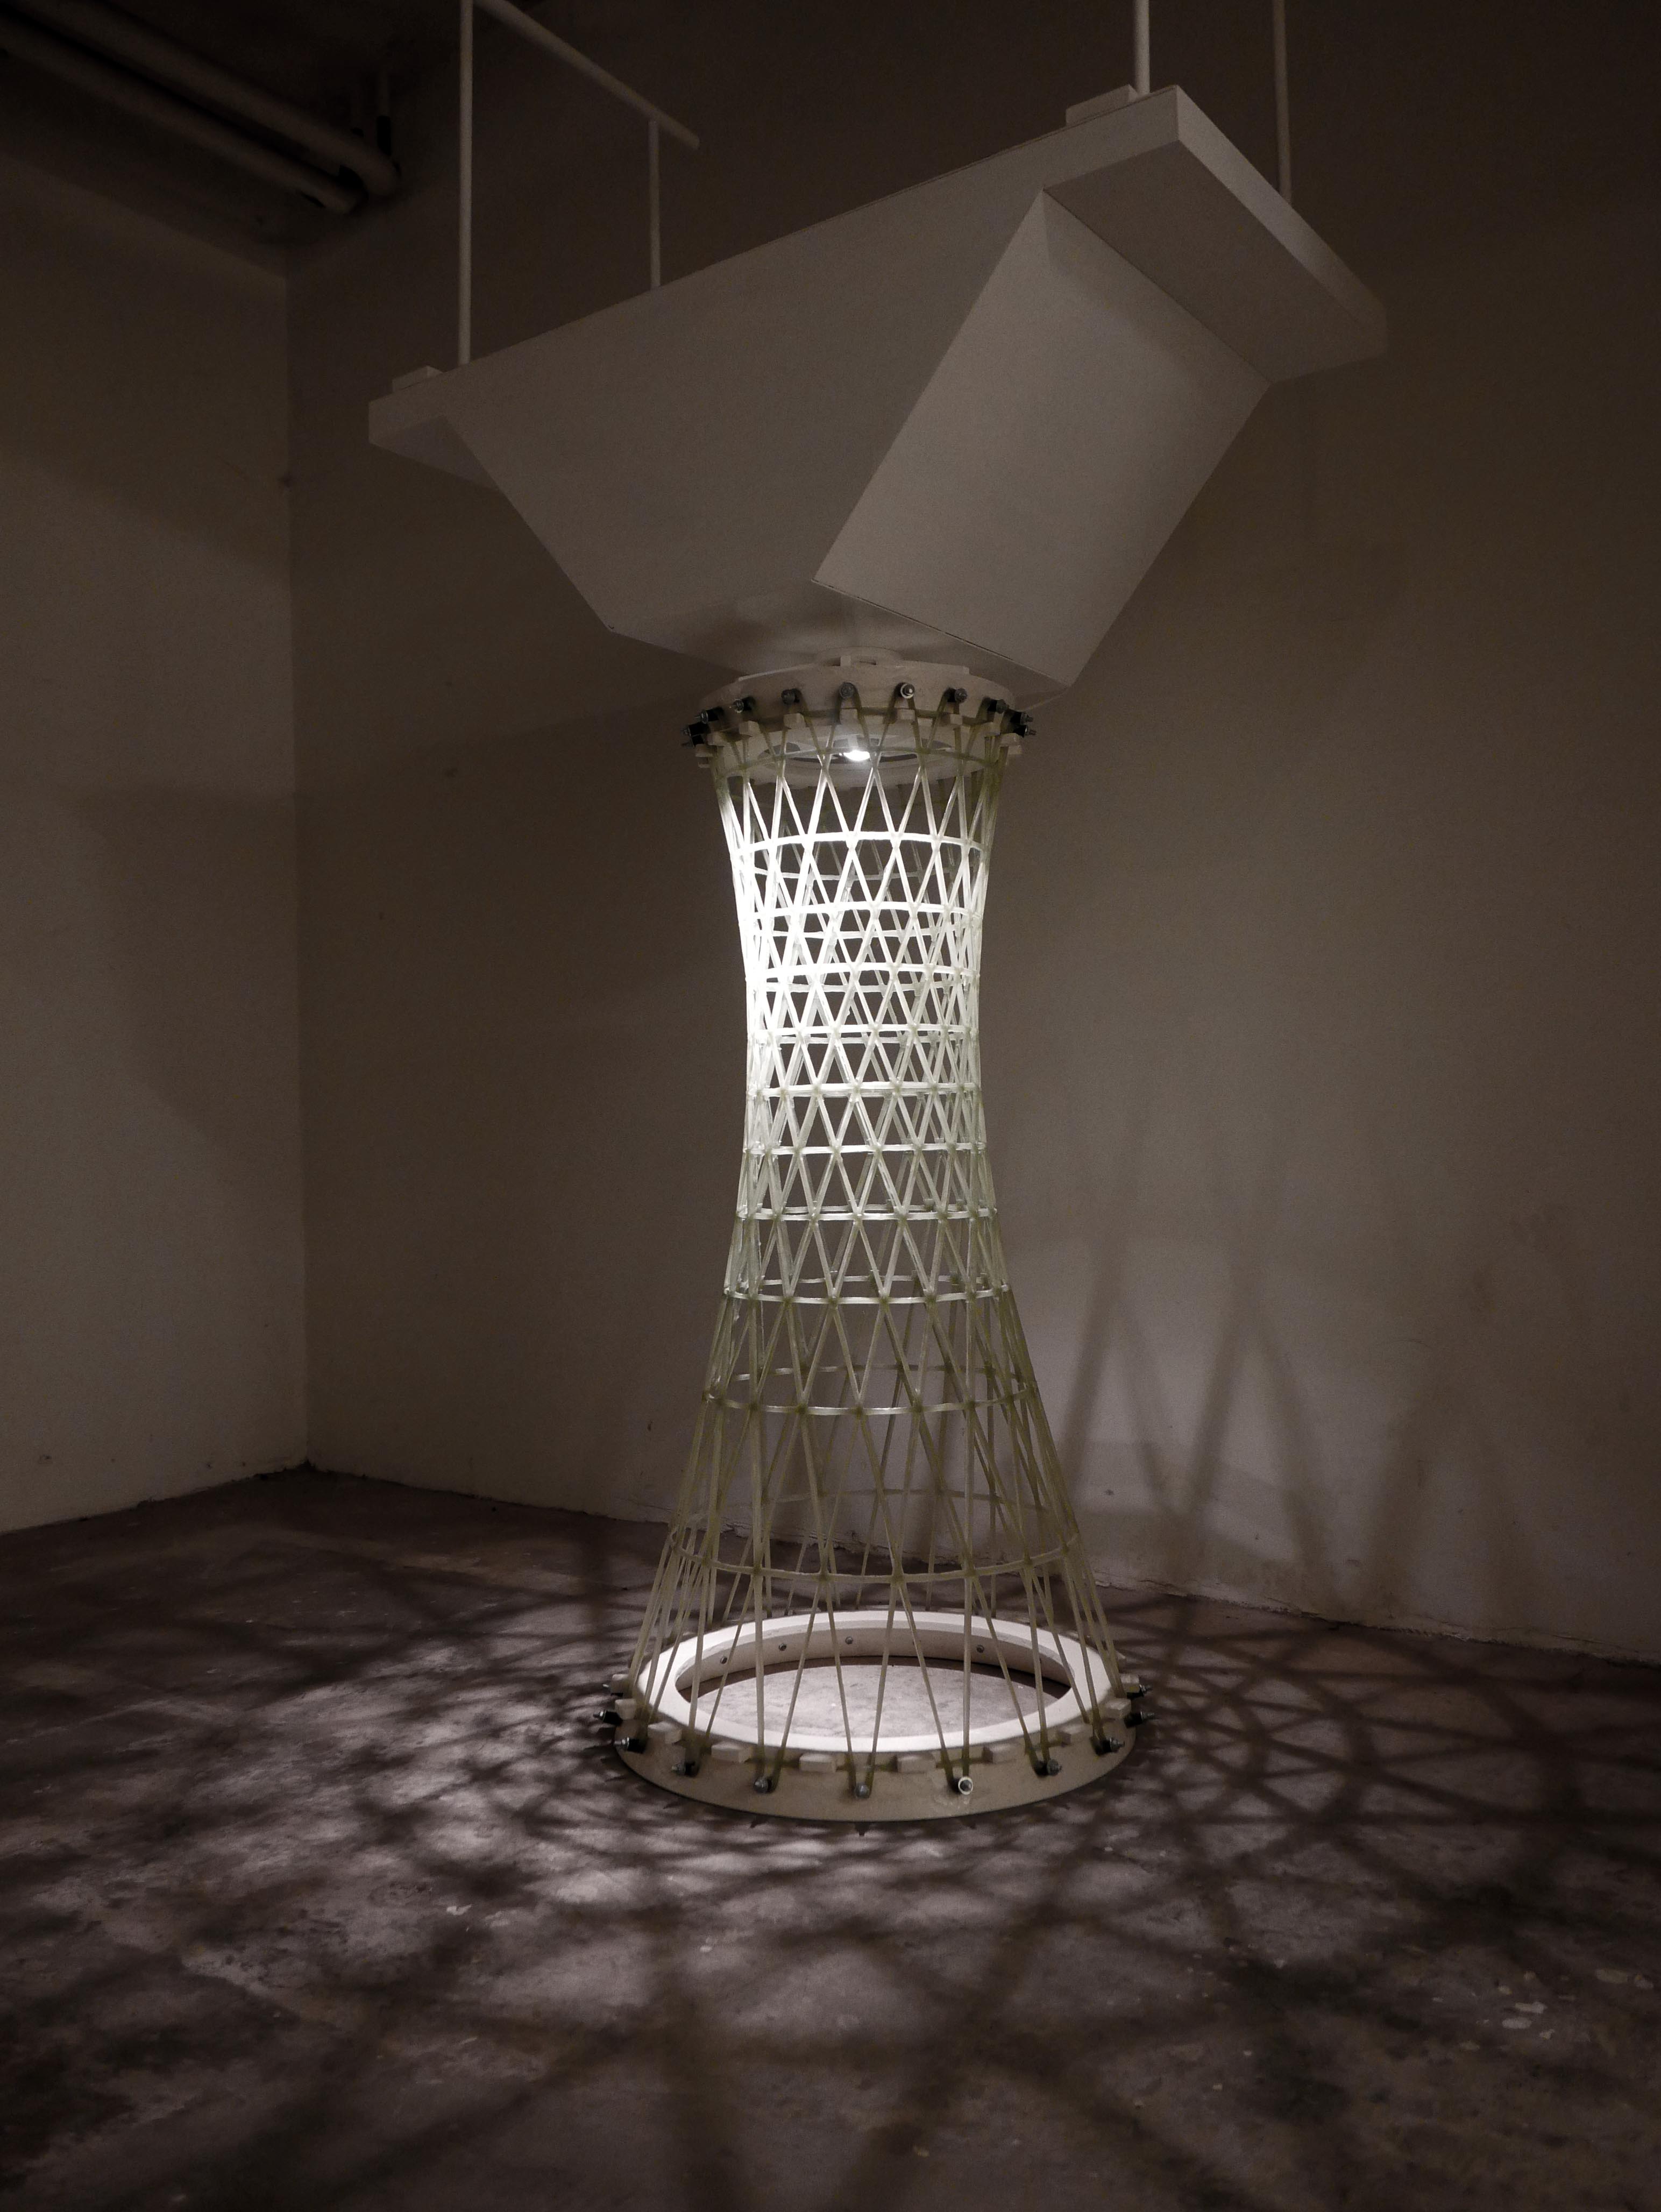
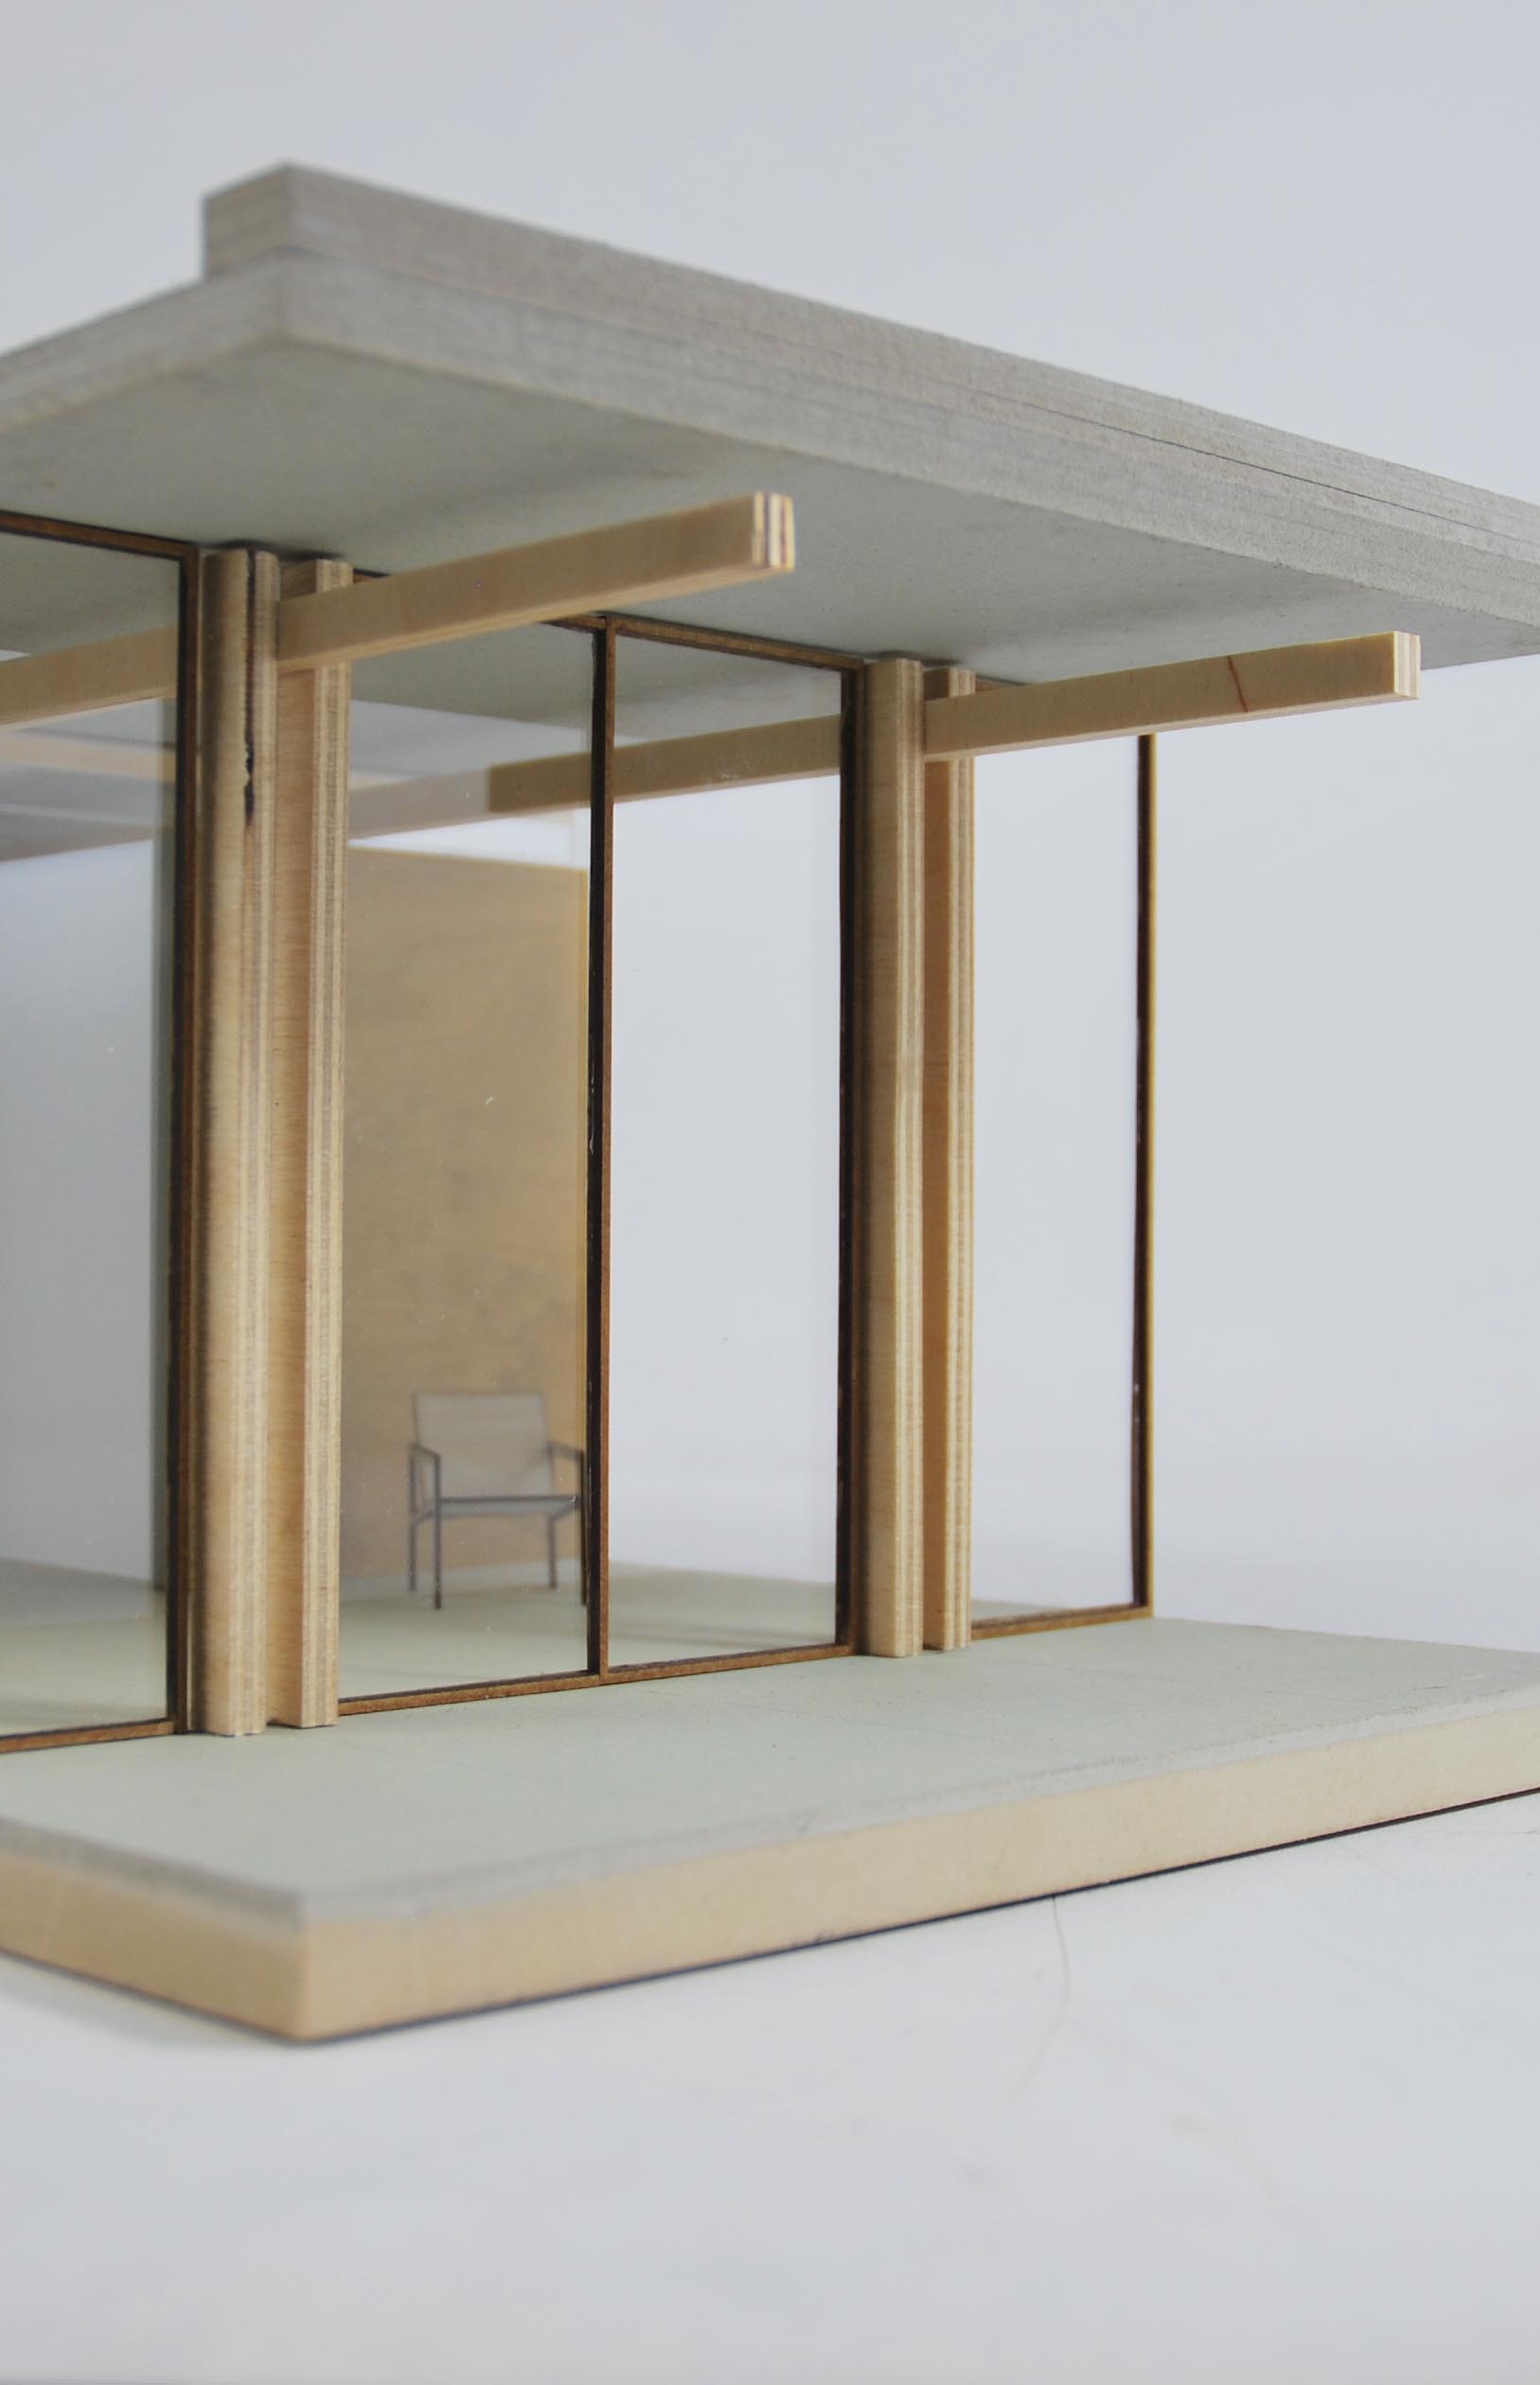
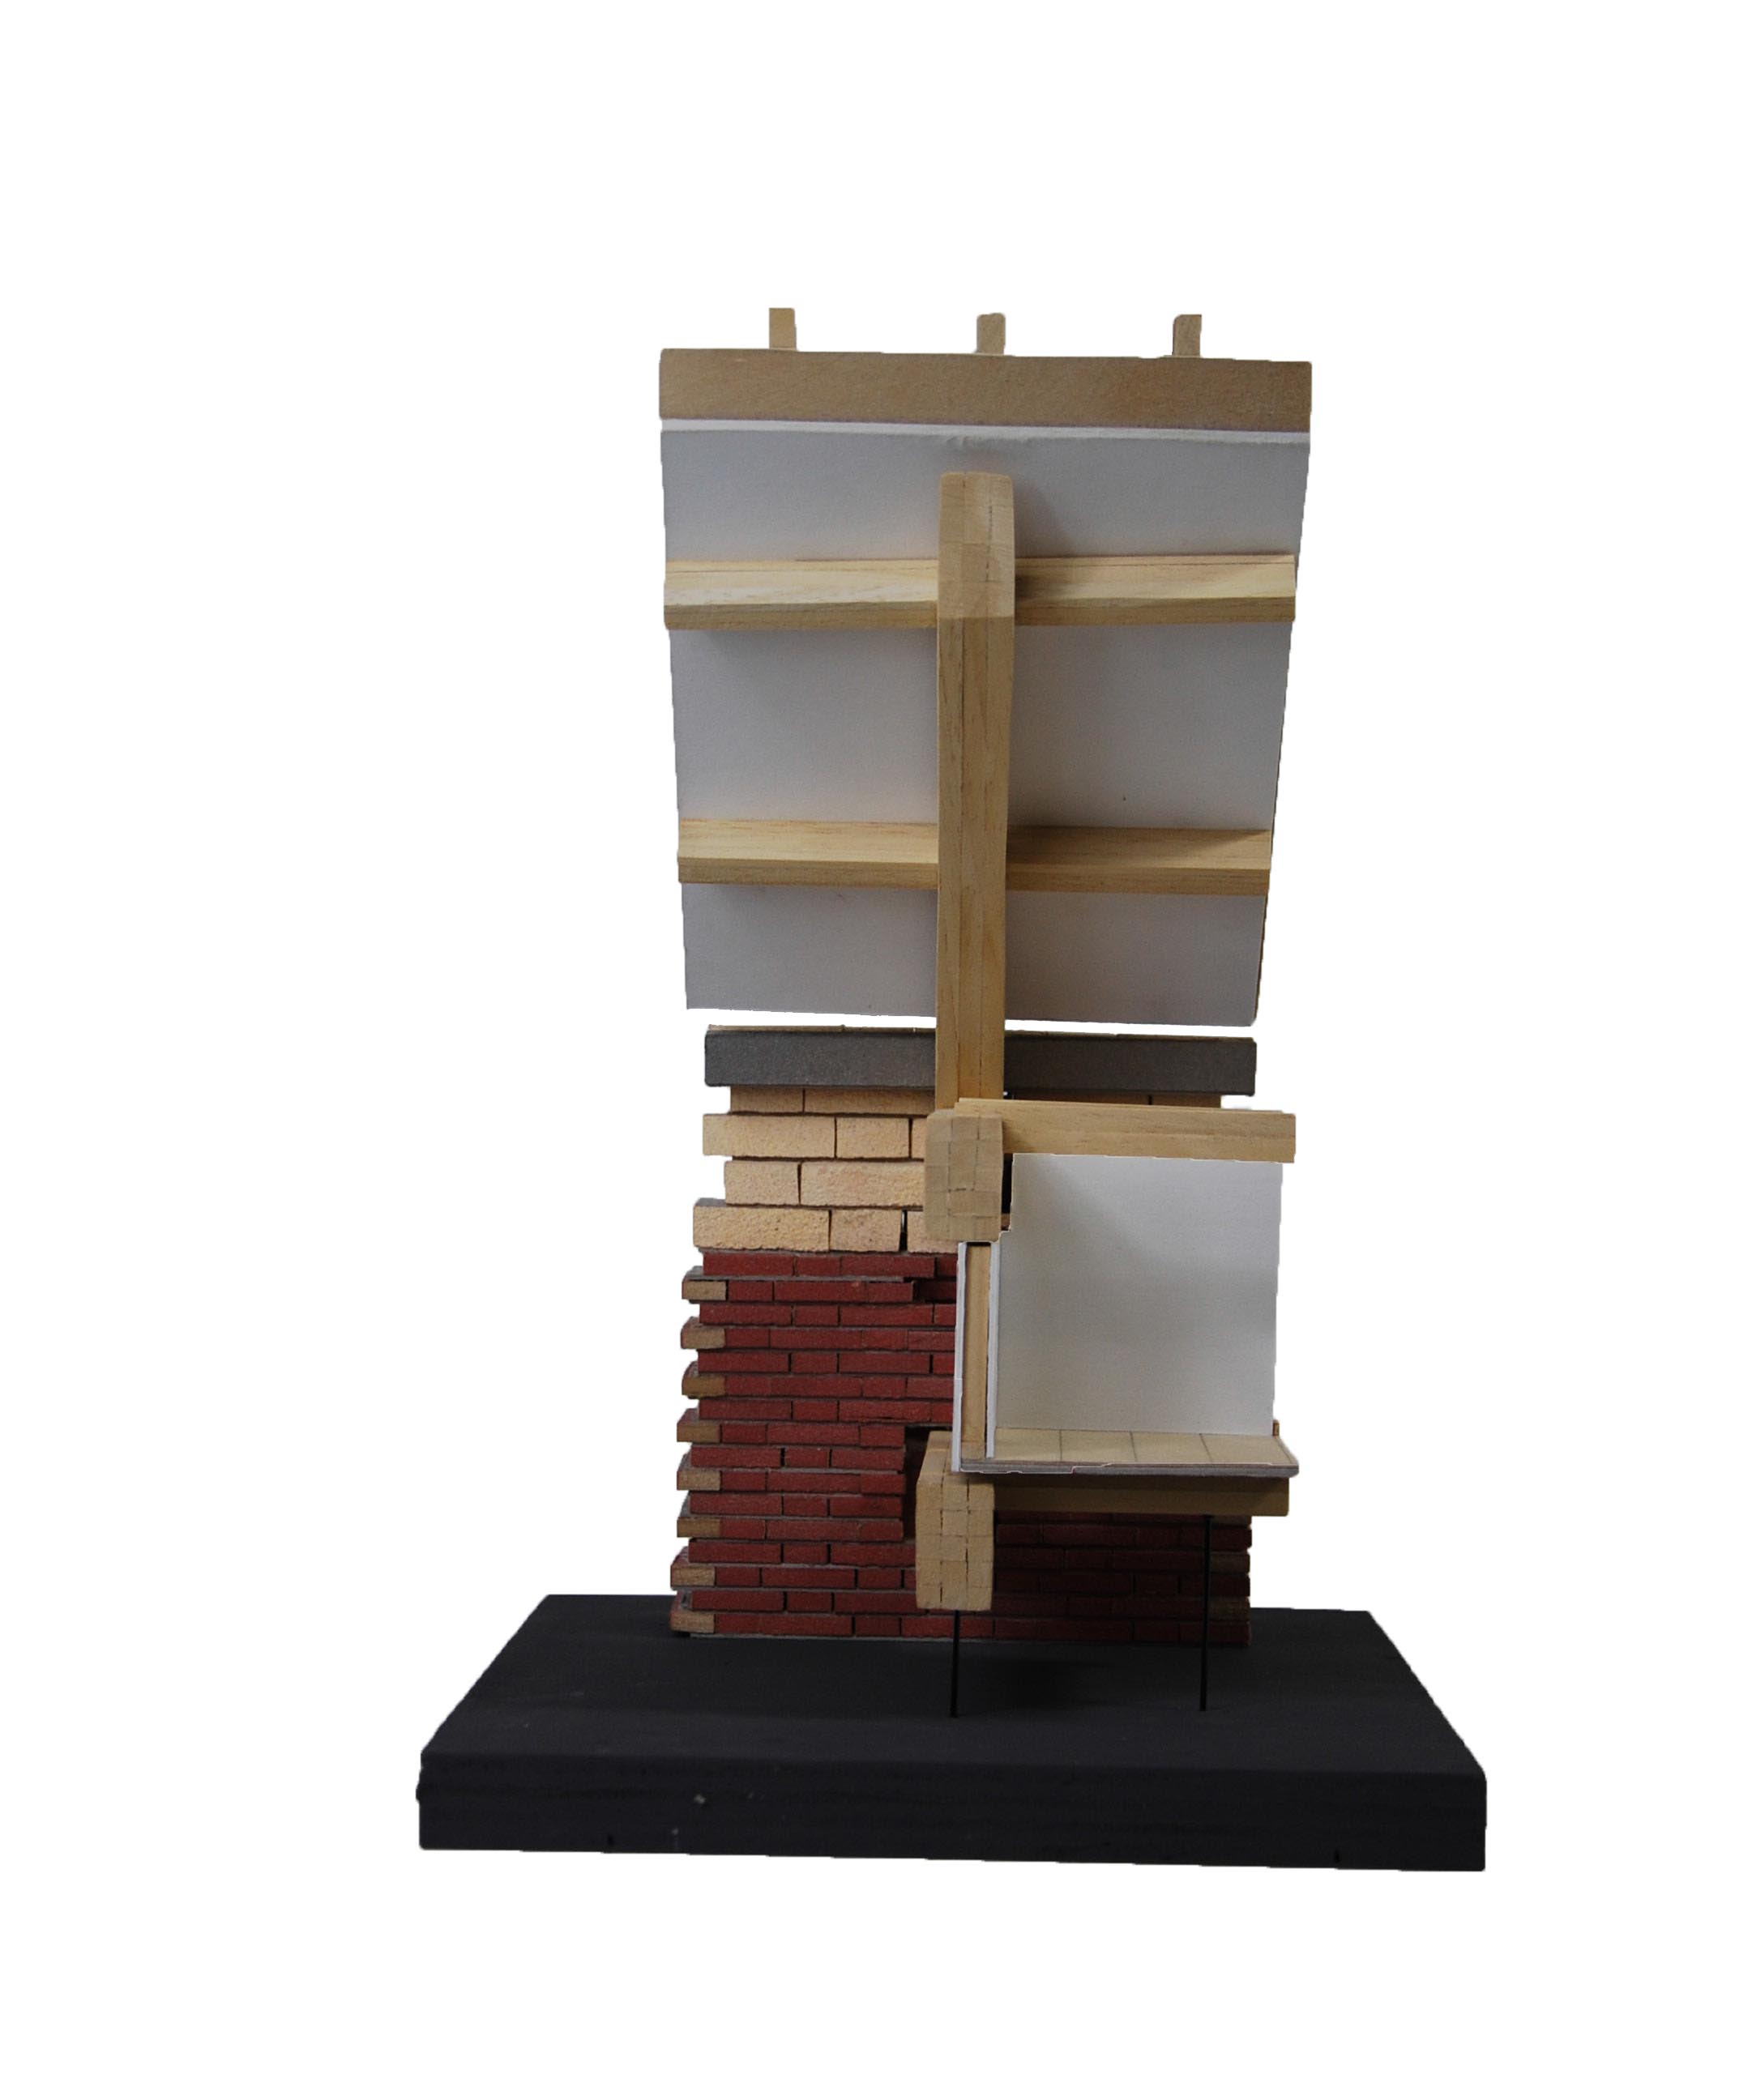
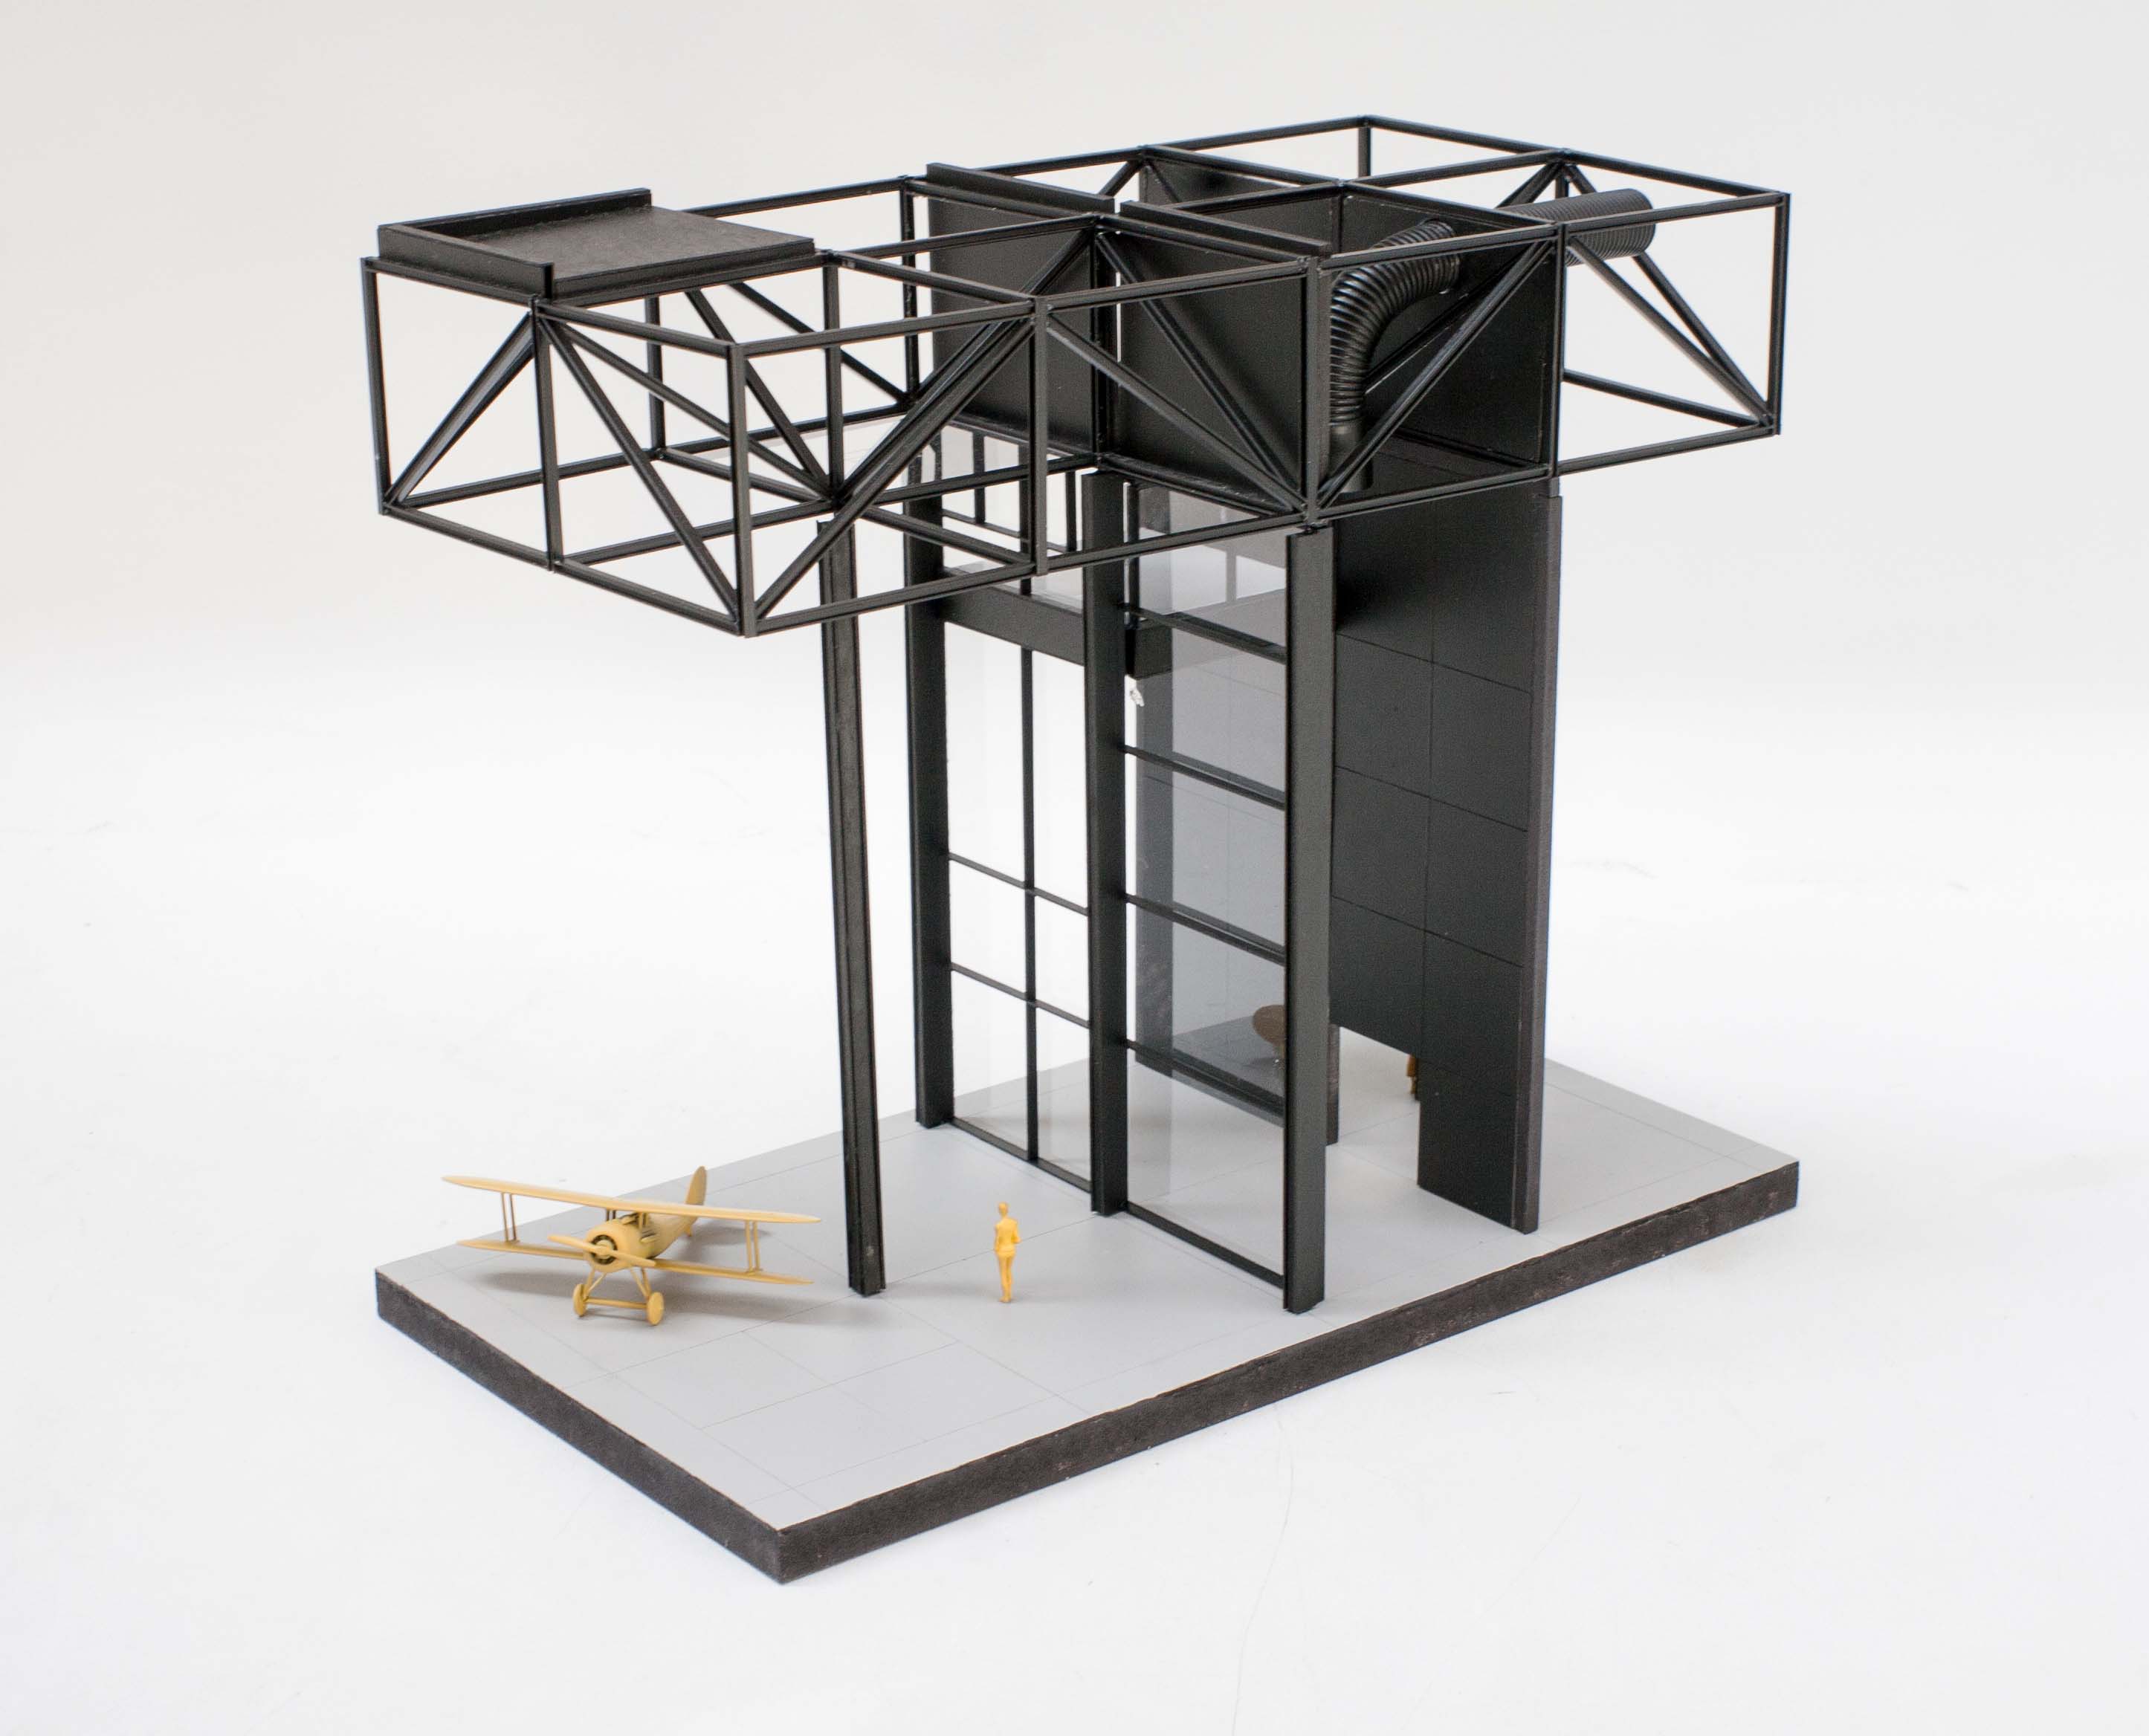
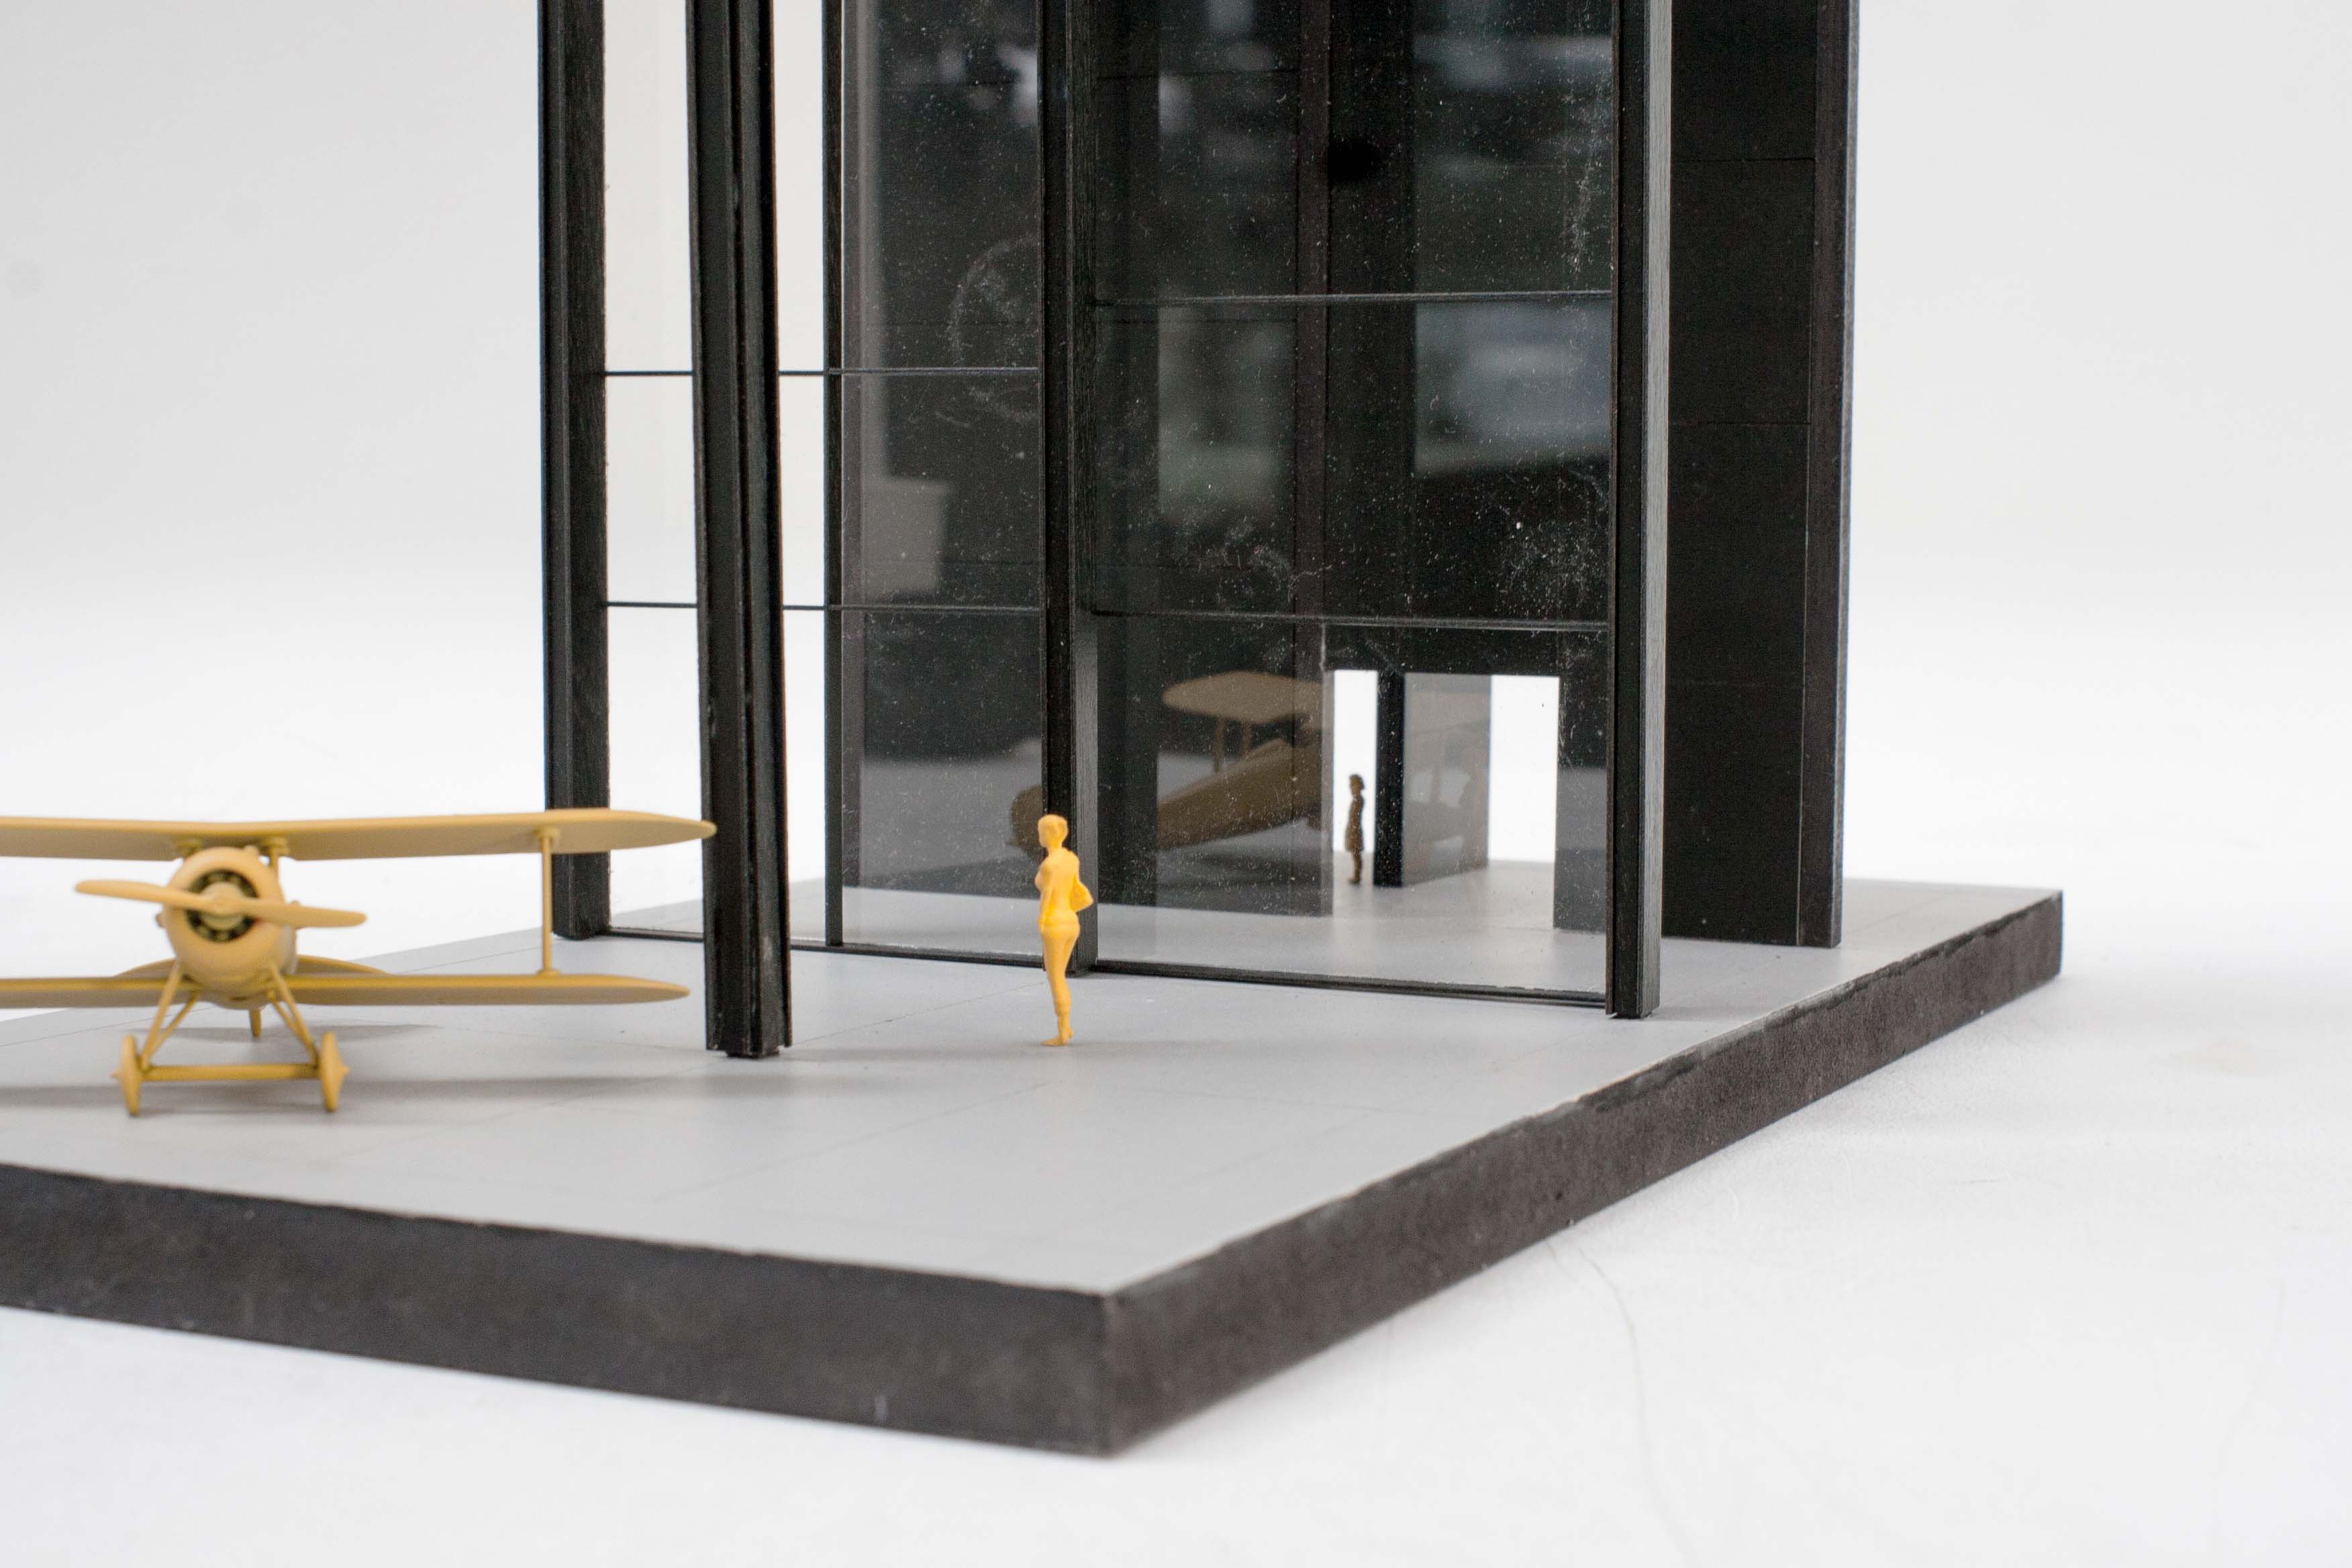
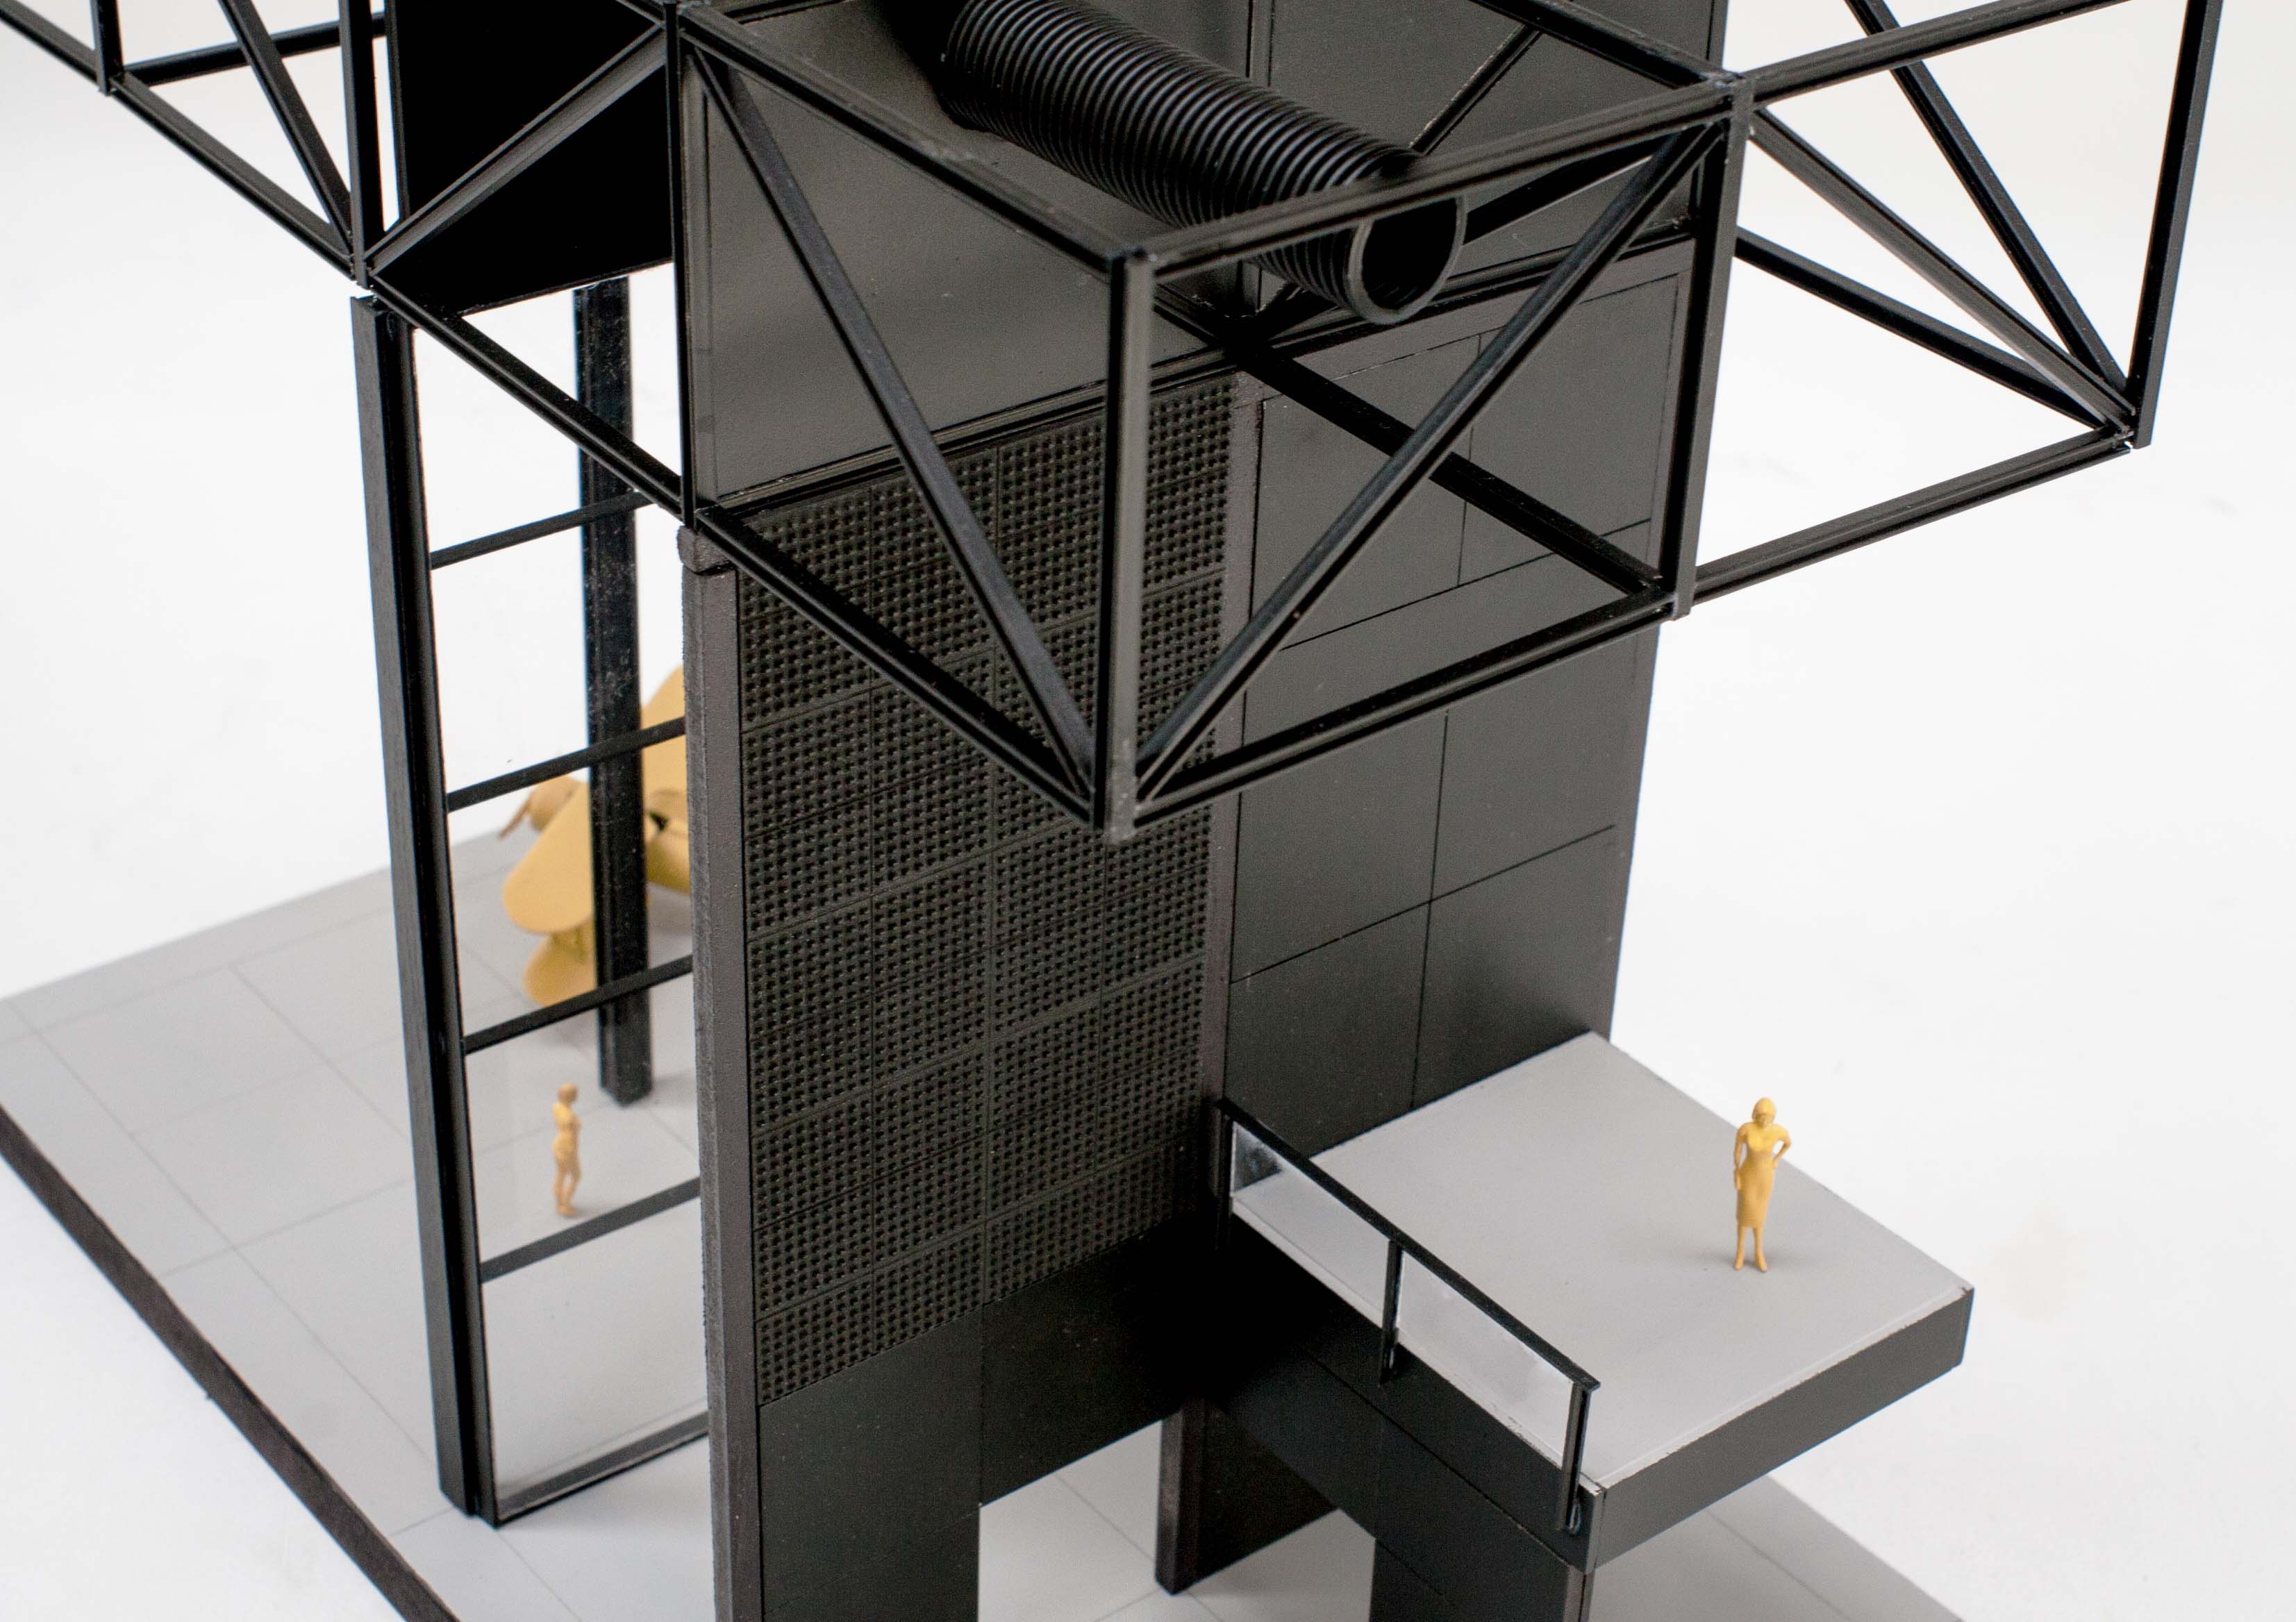
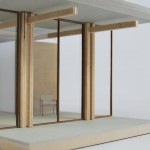
Exploring the construction types
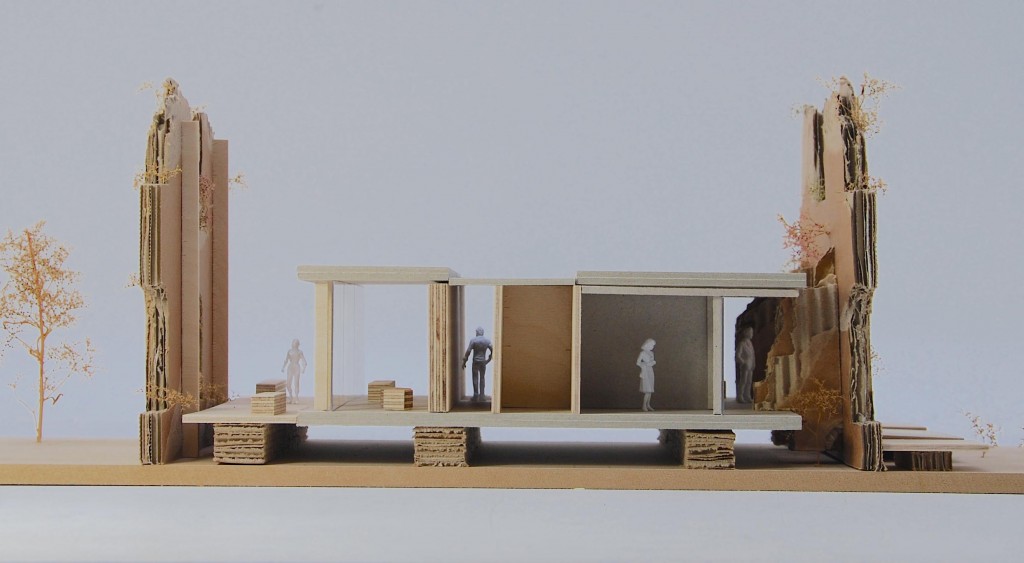
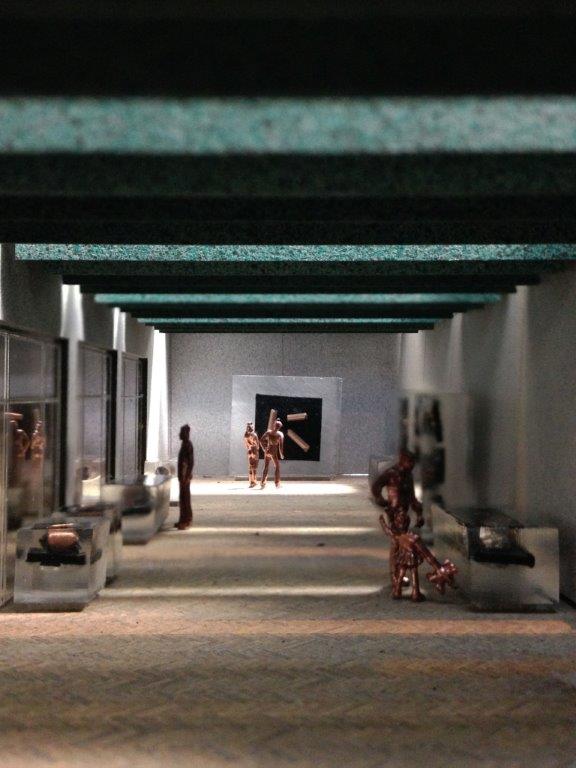
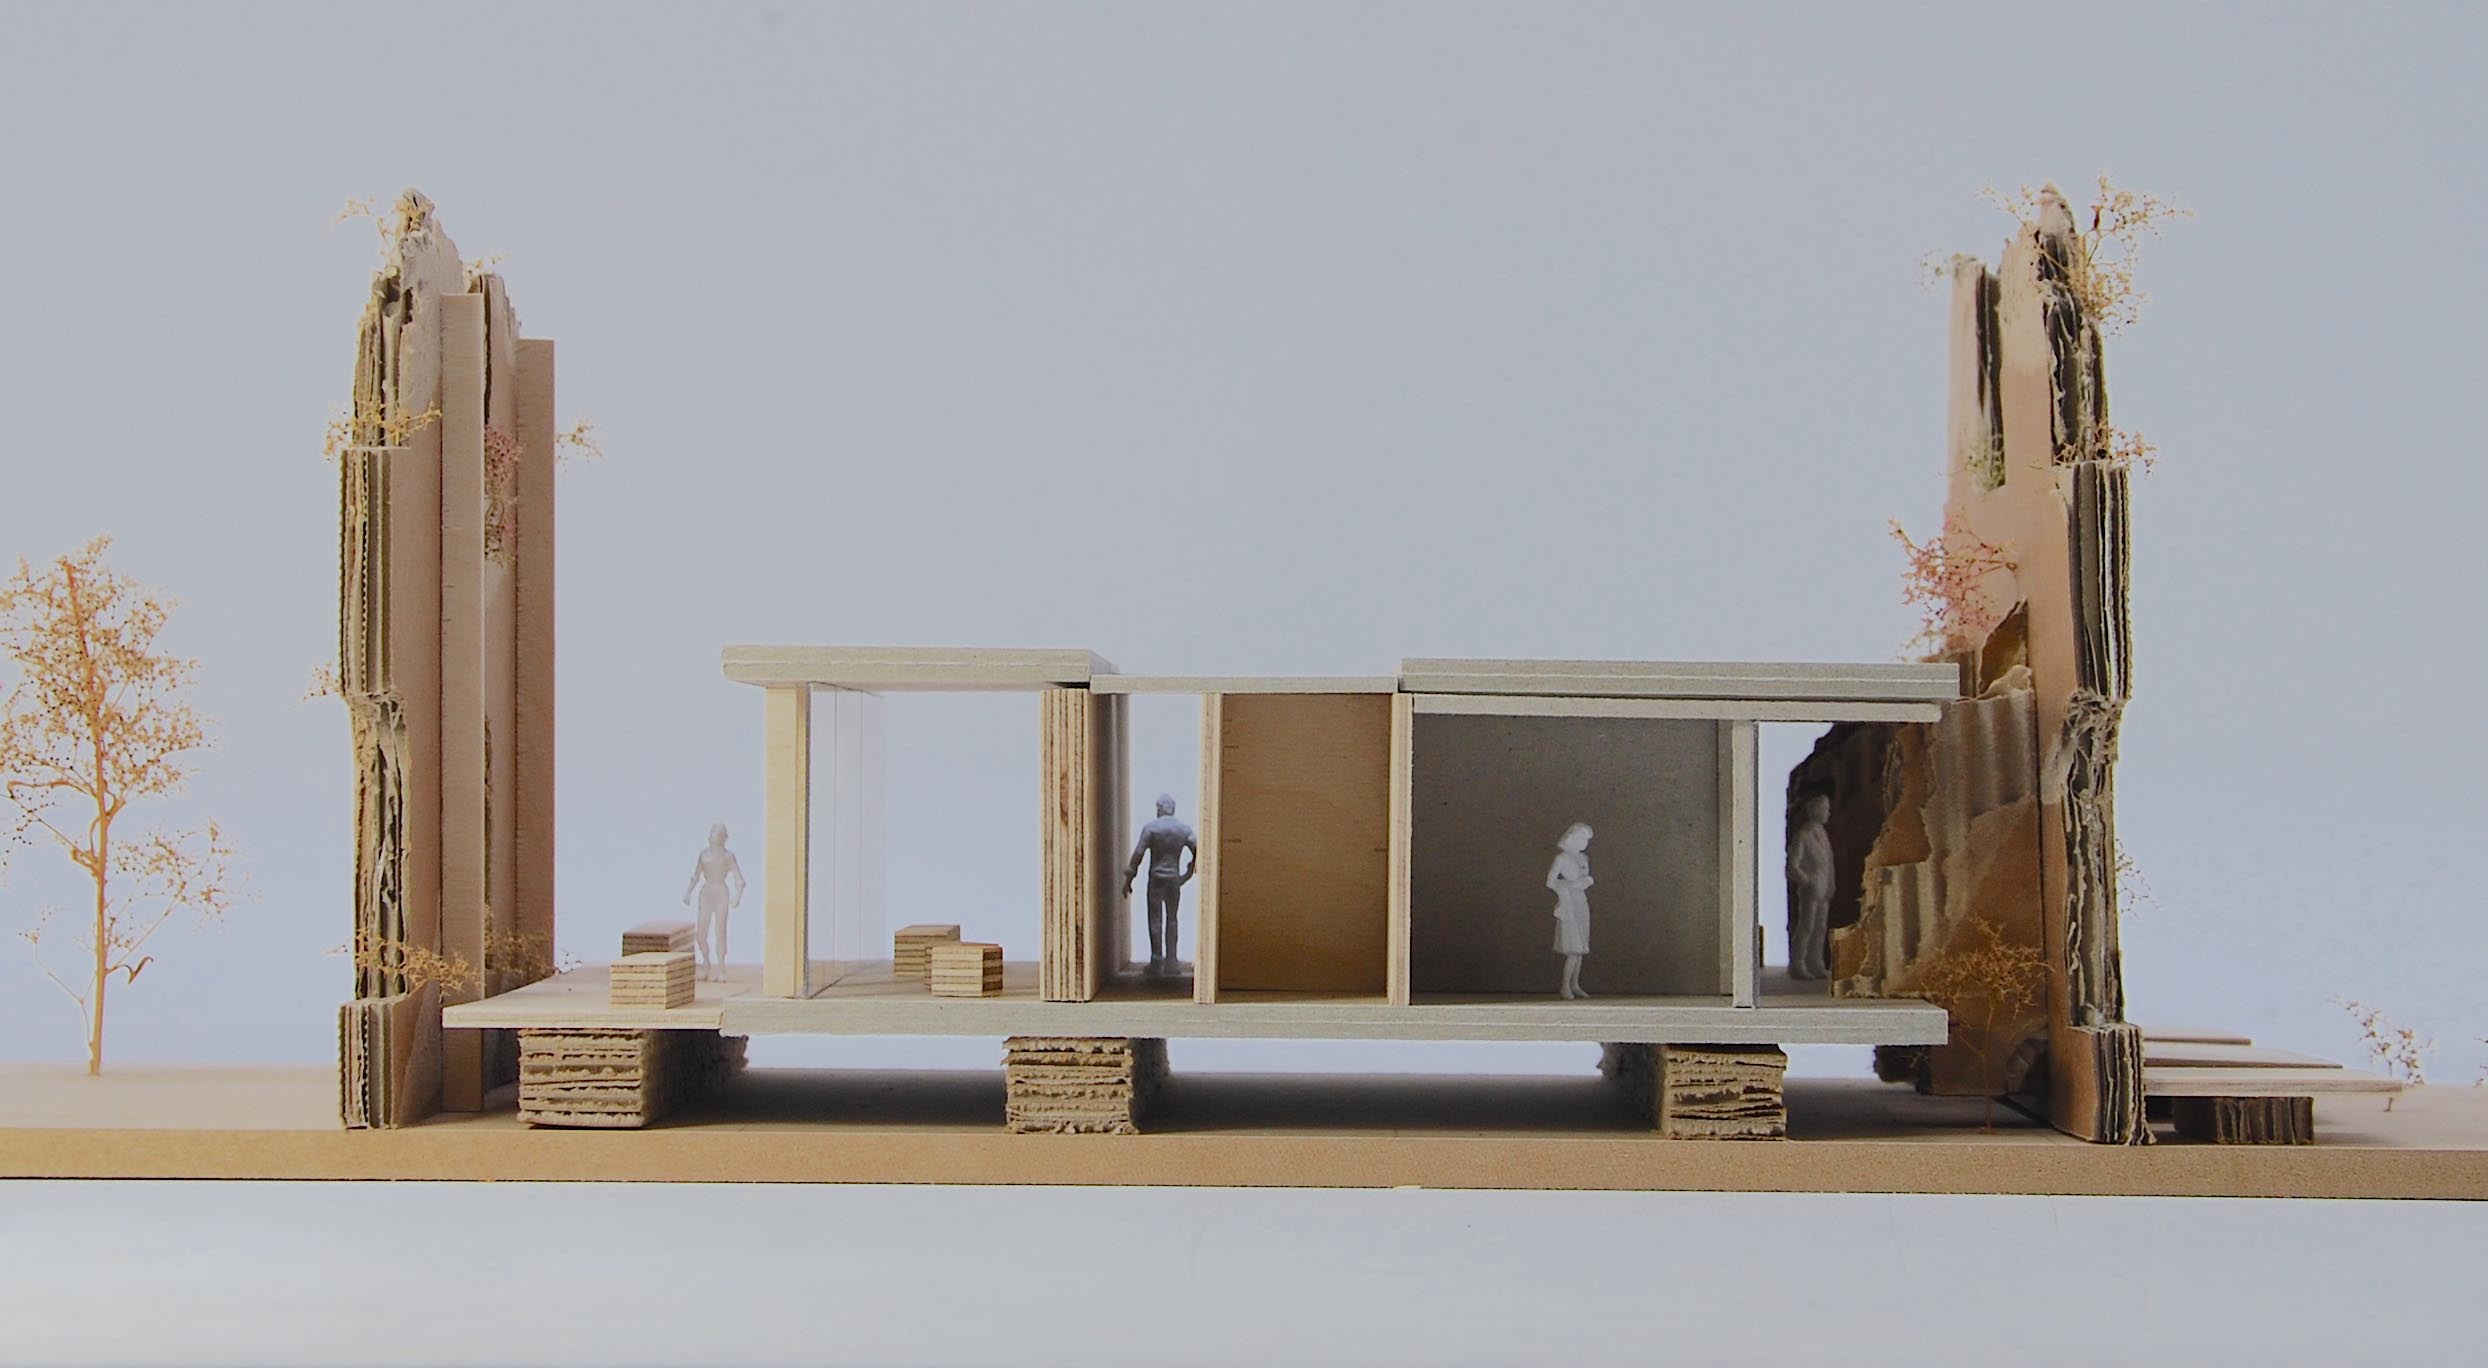
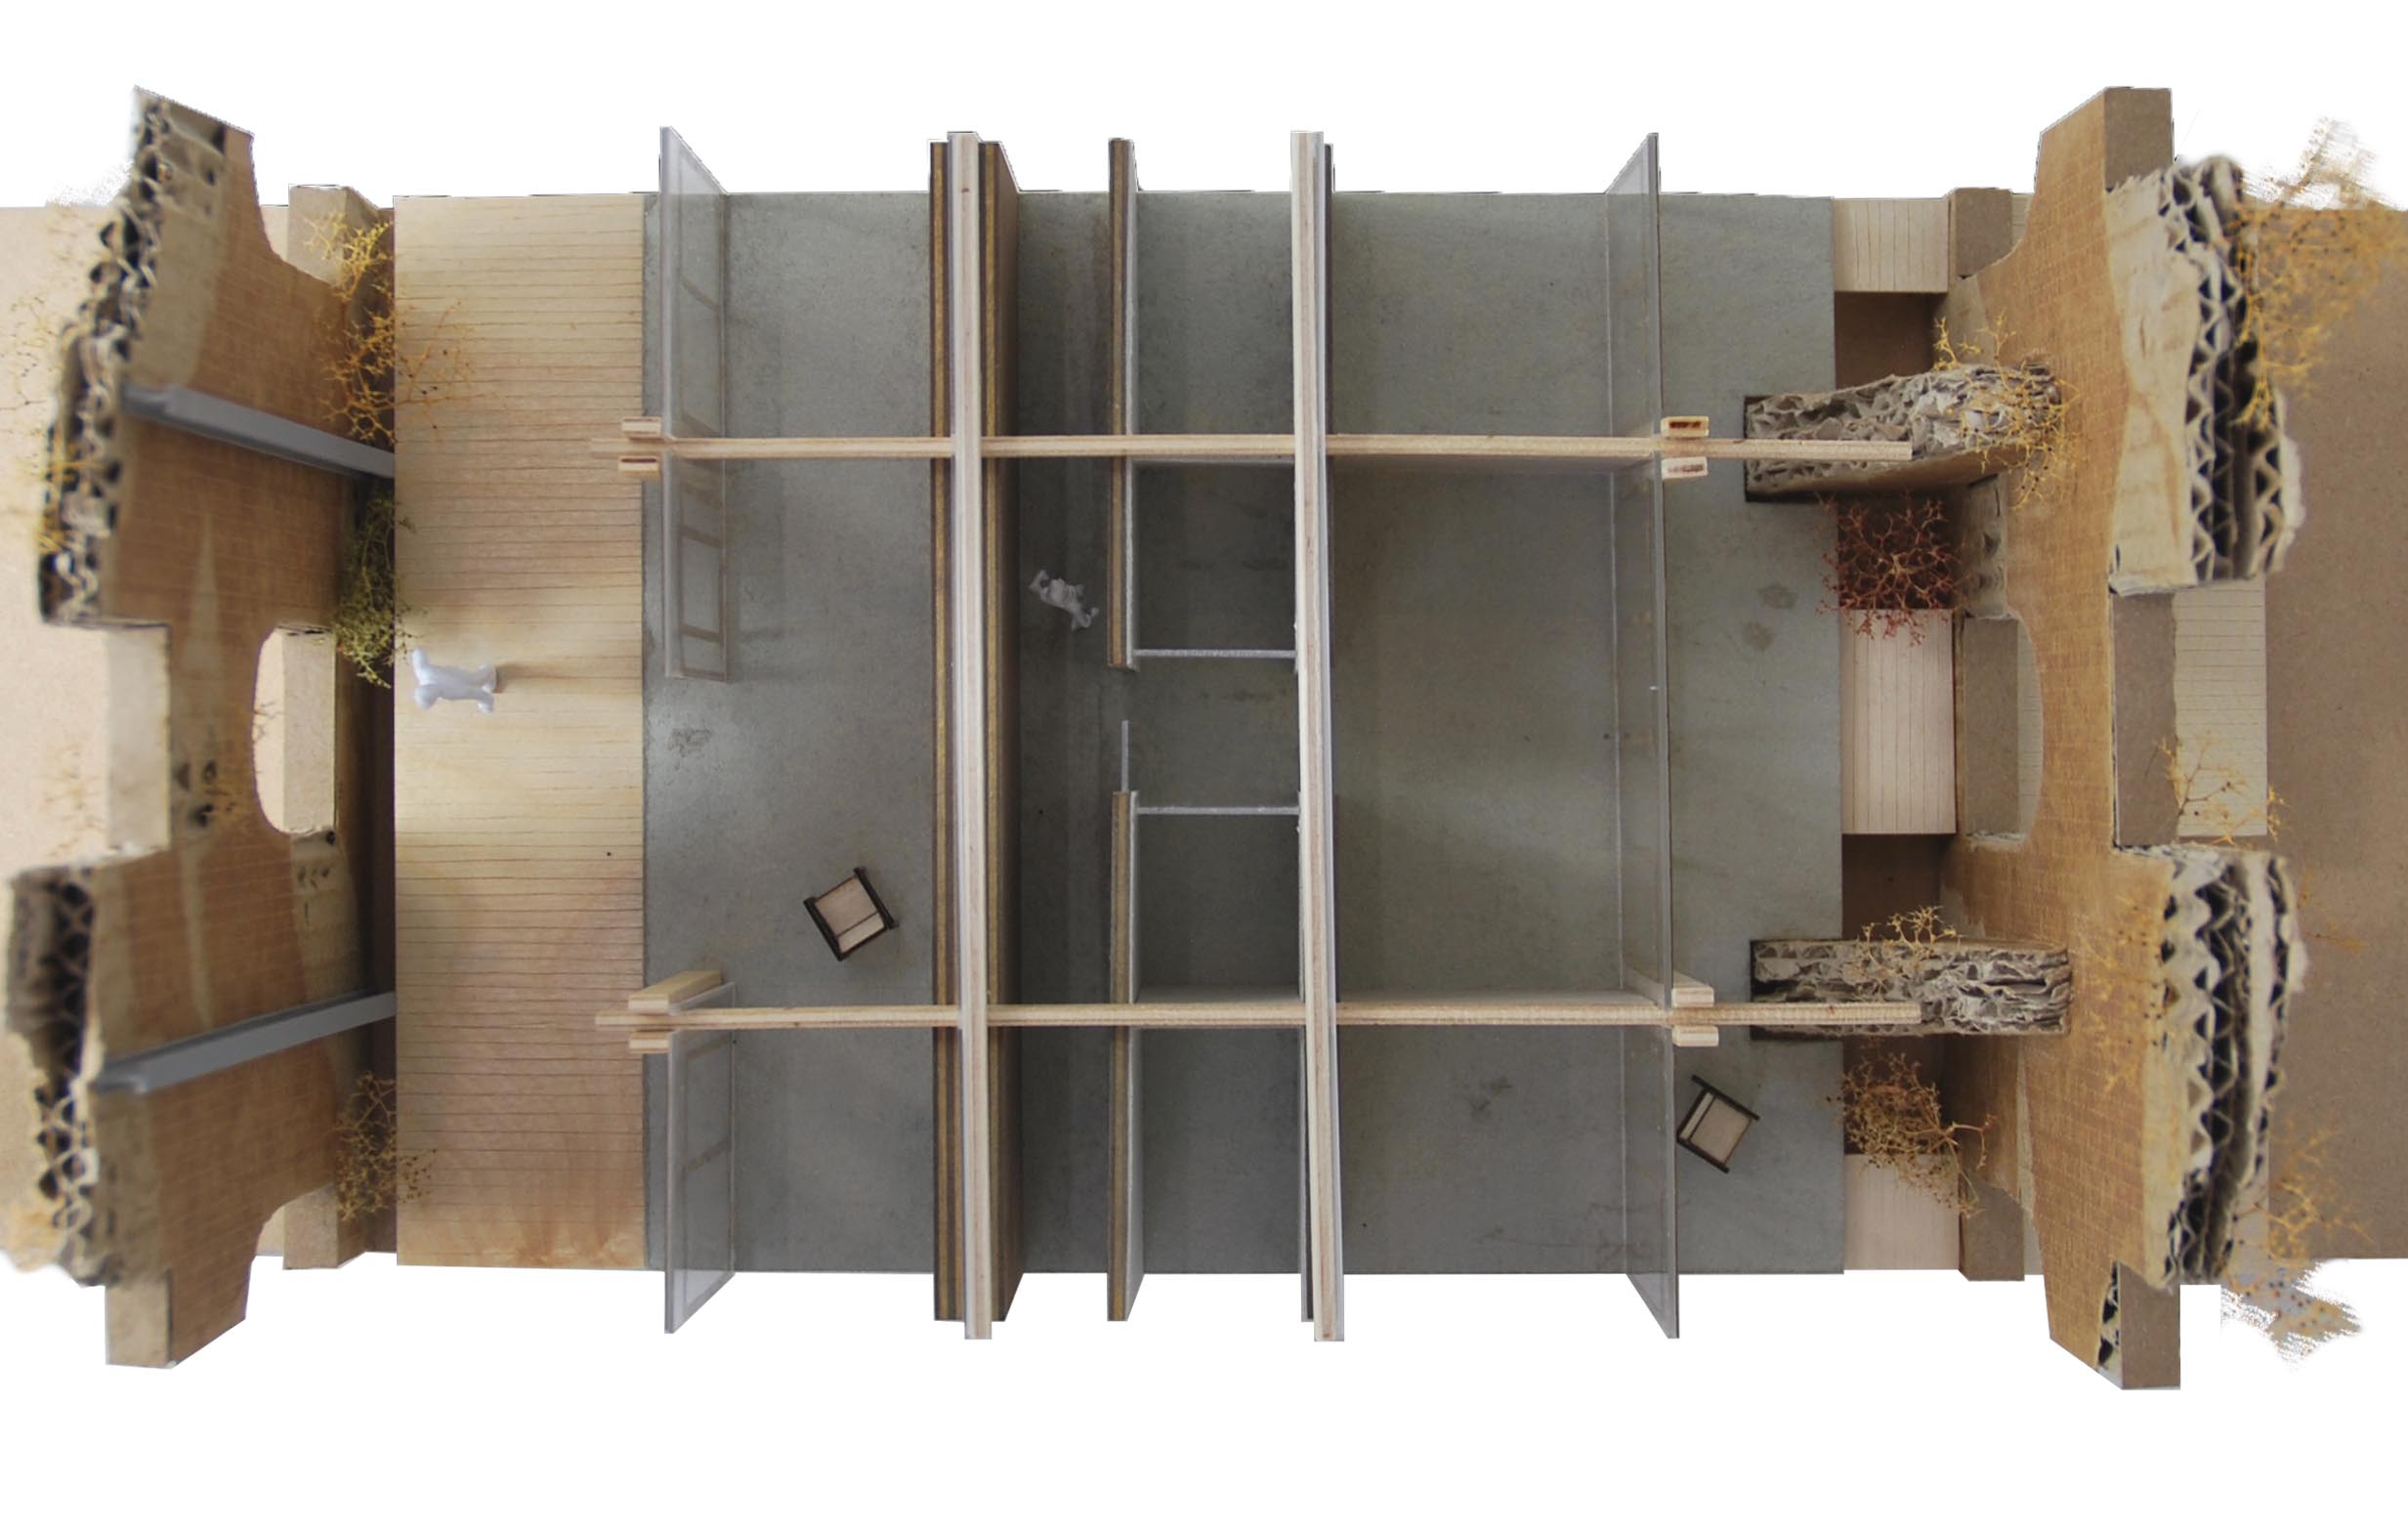
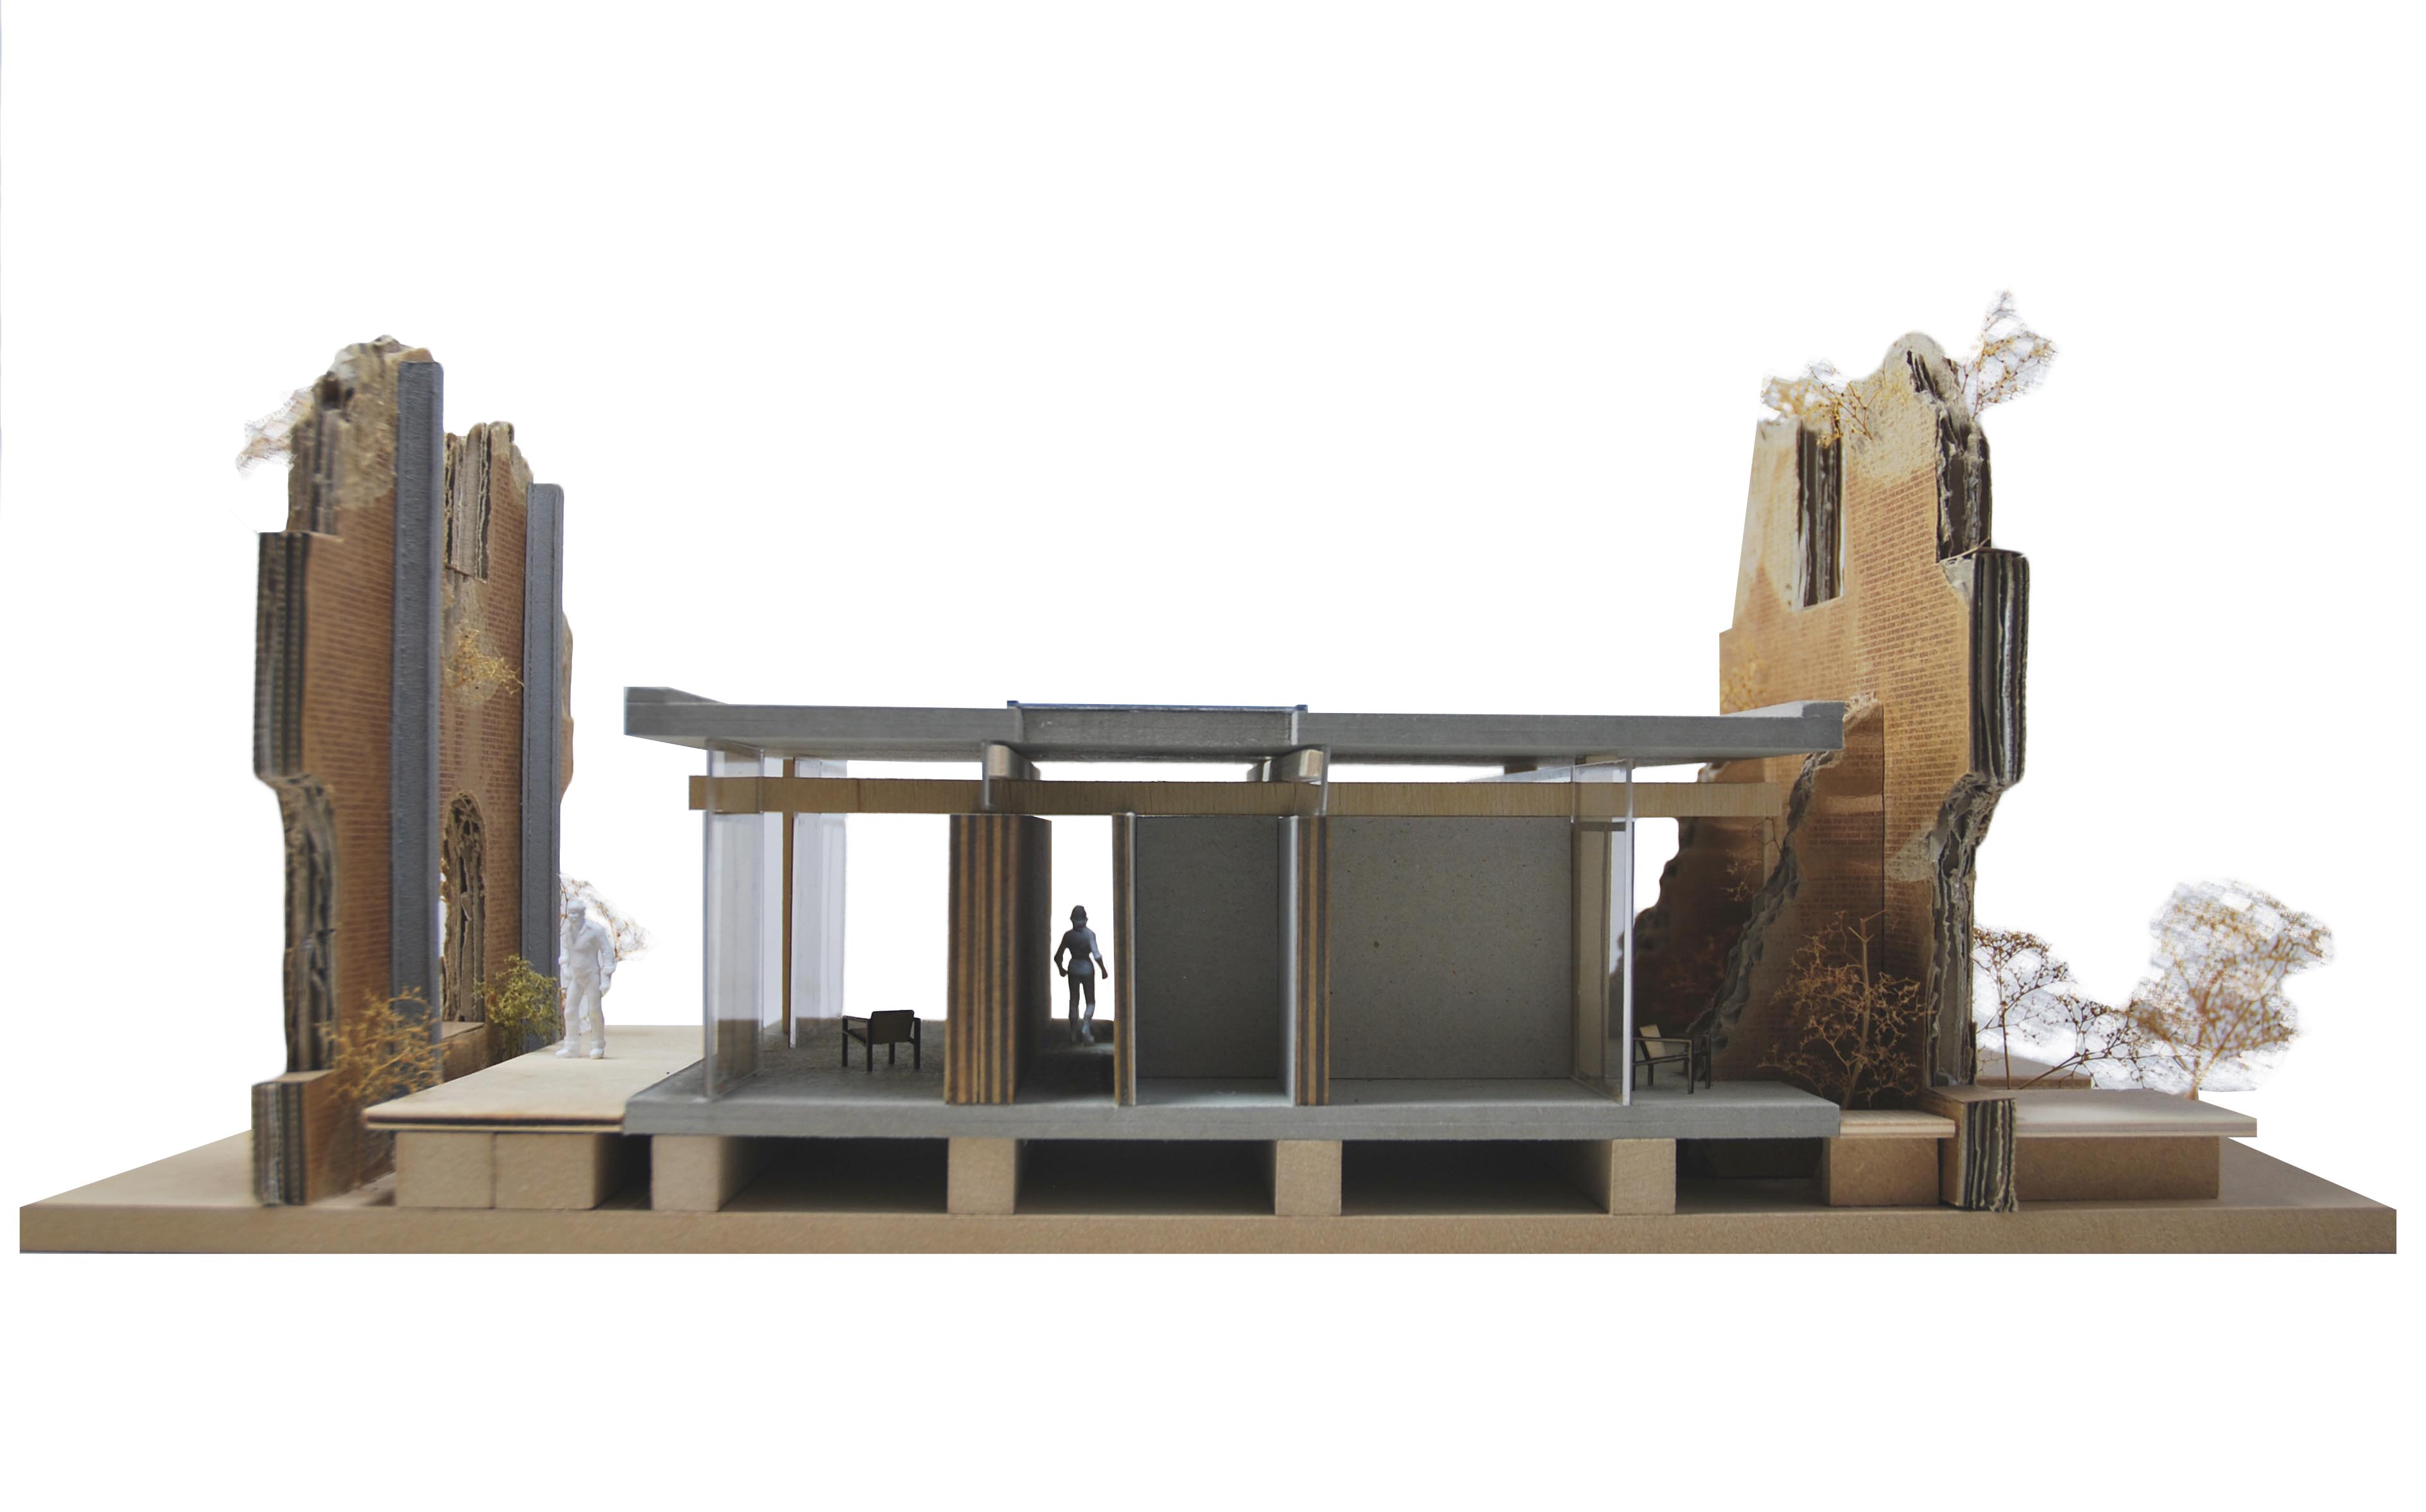
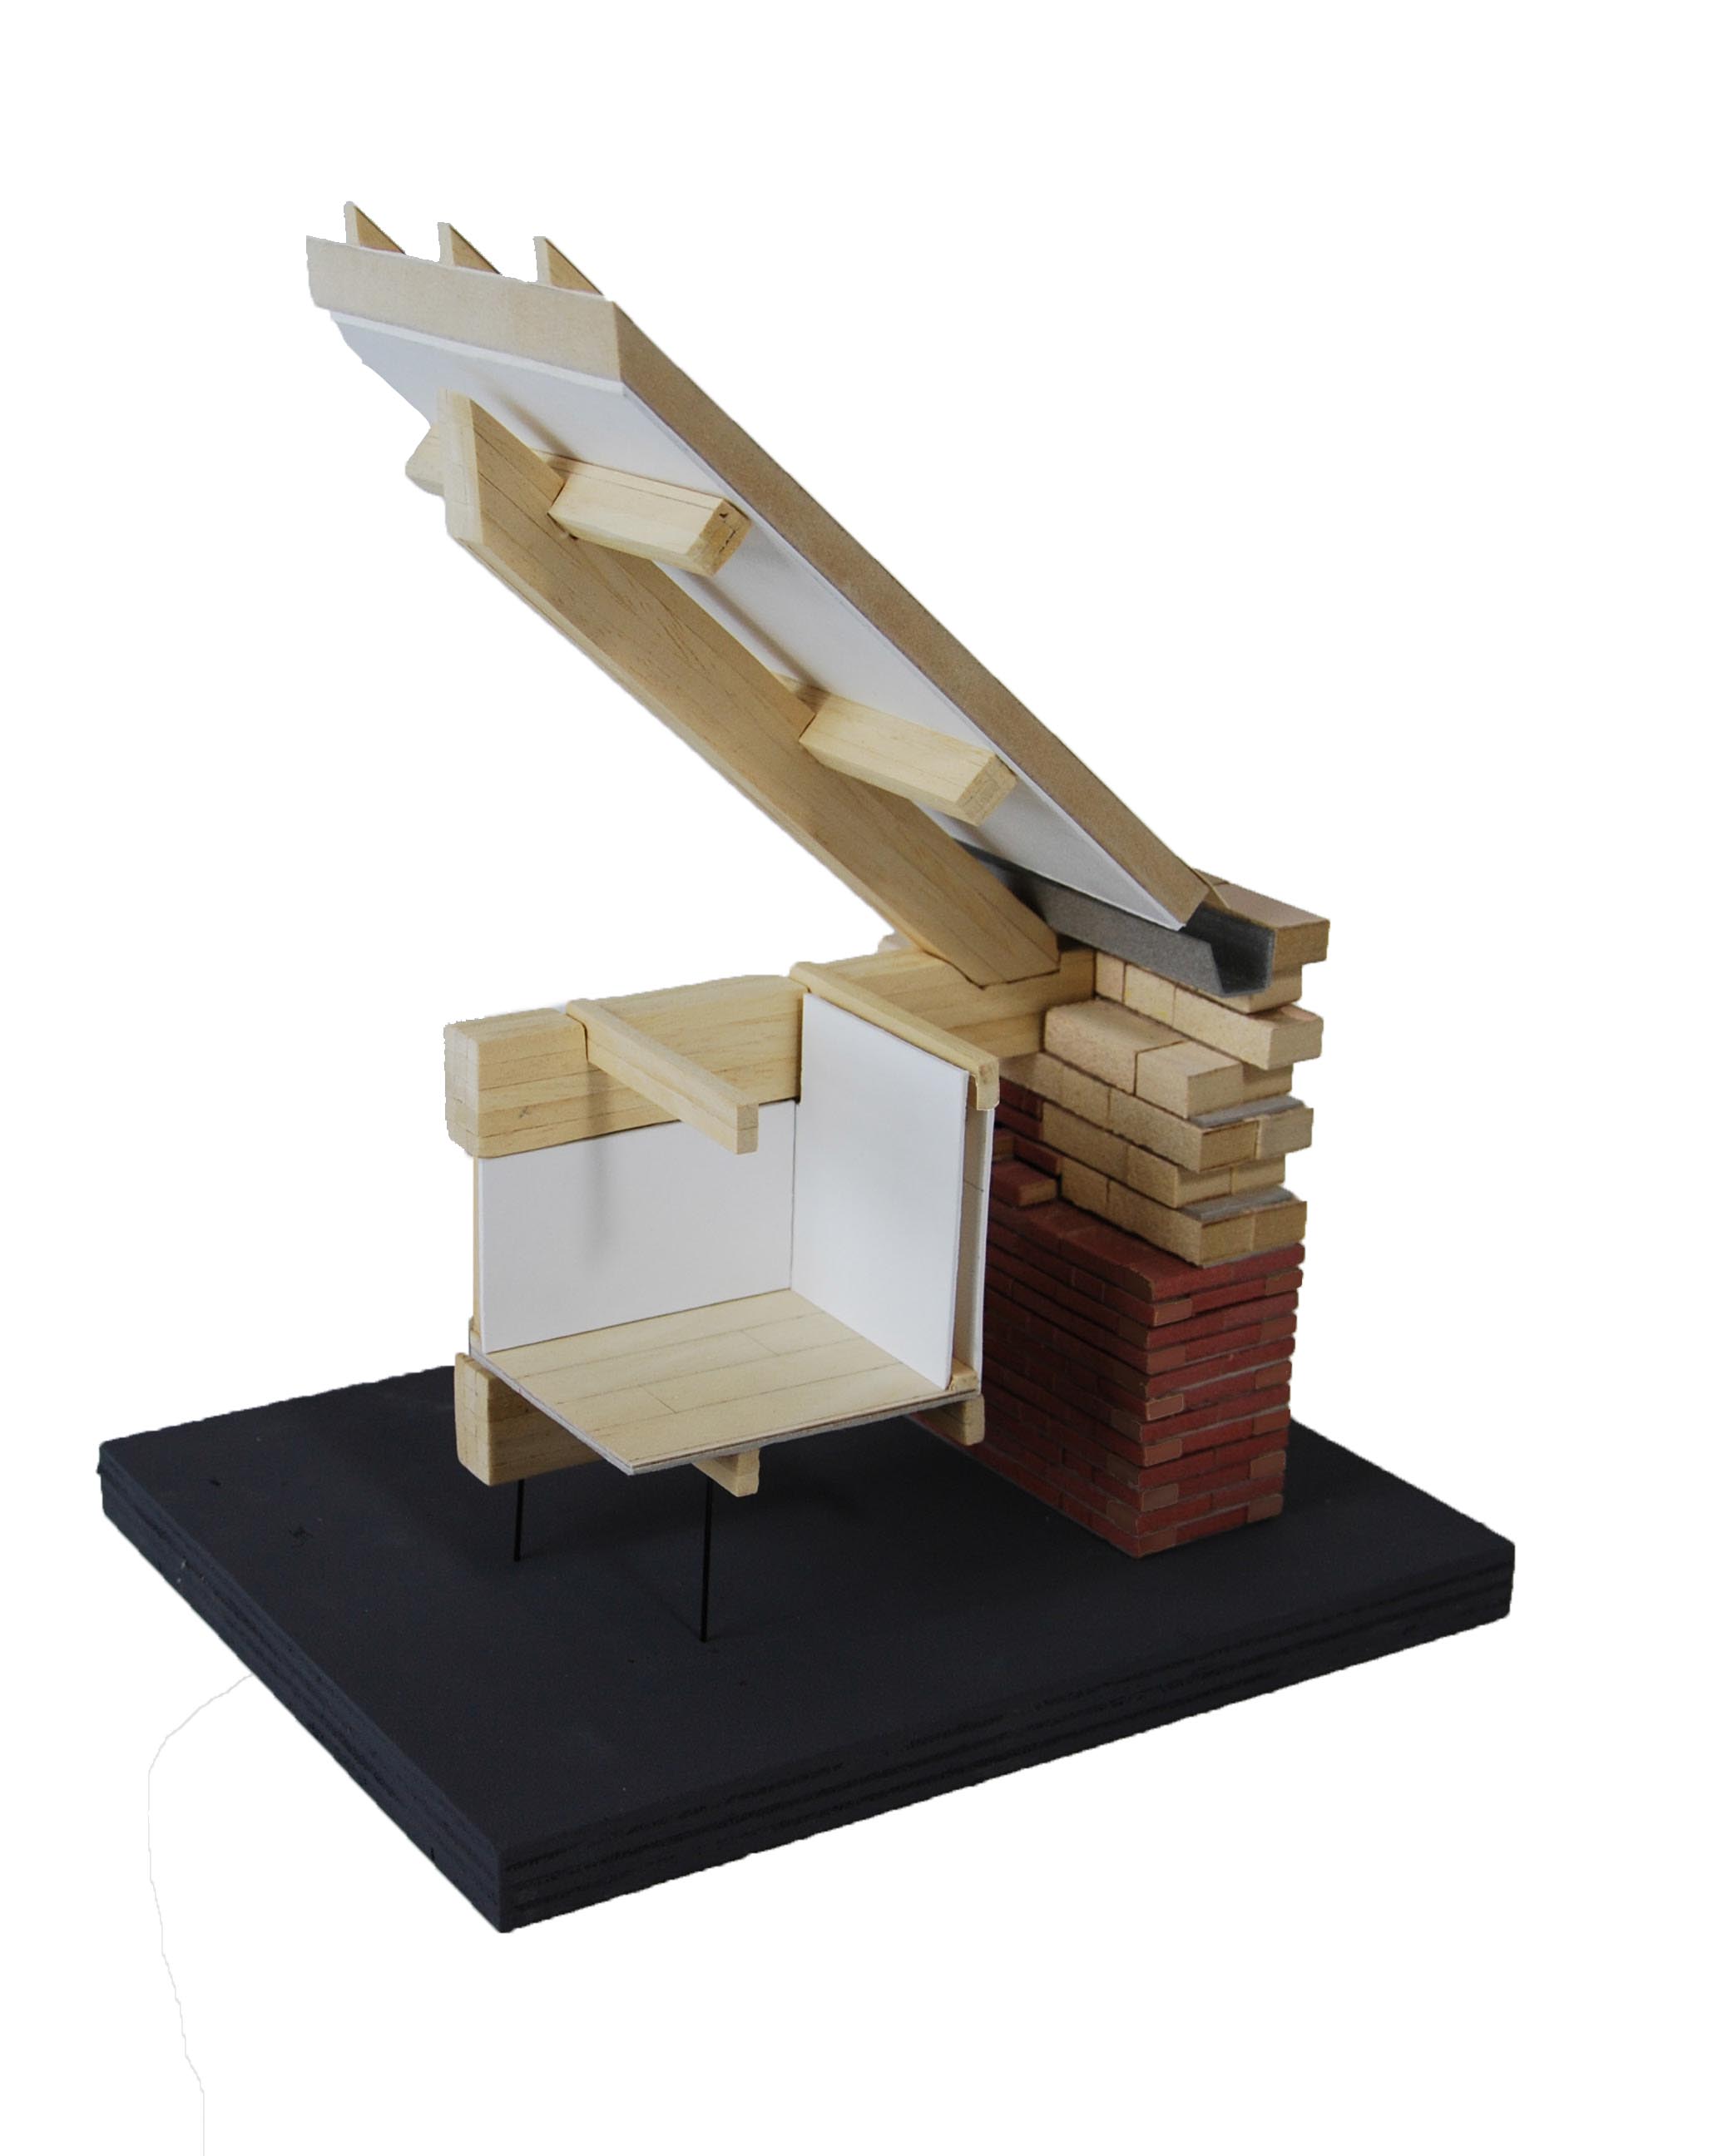
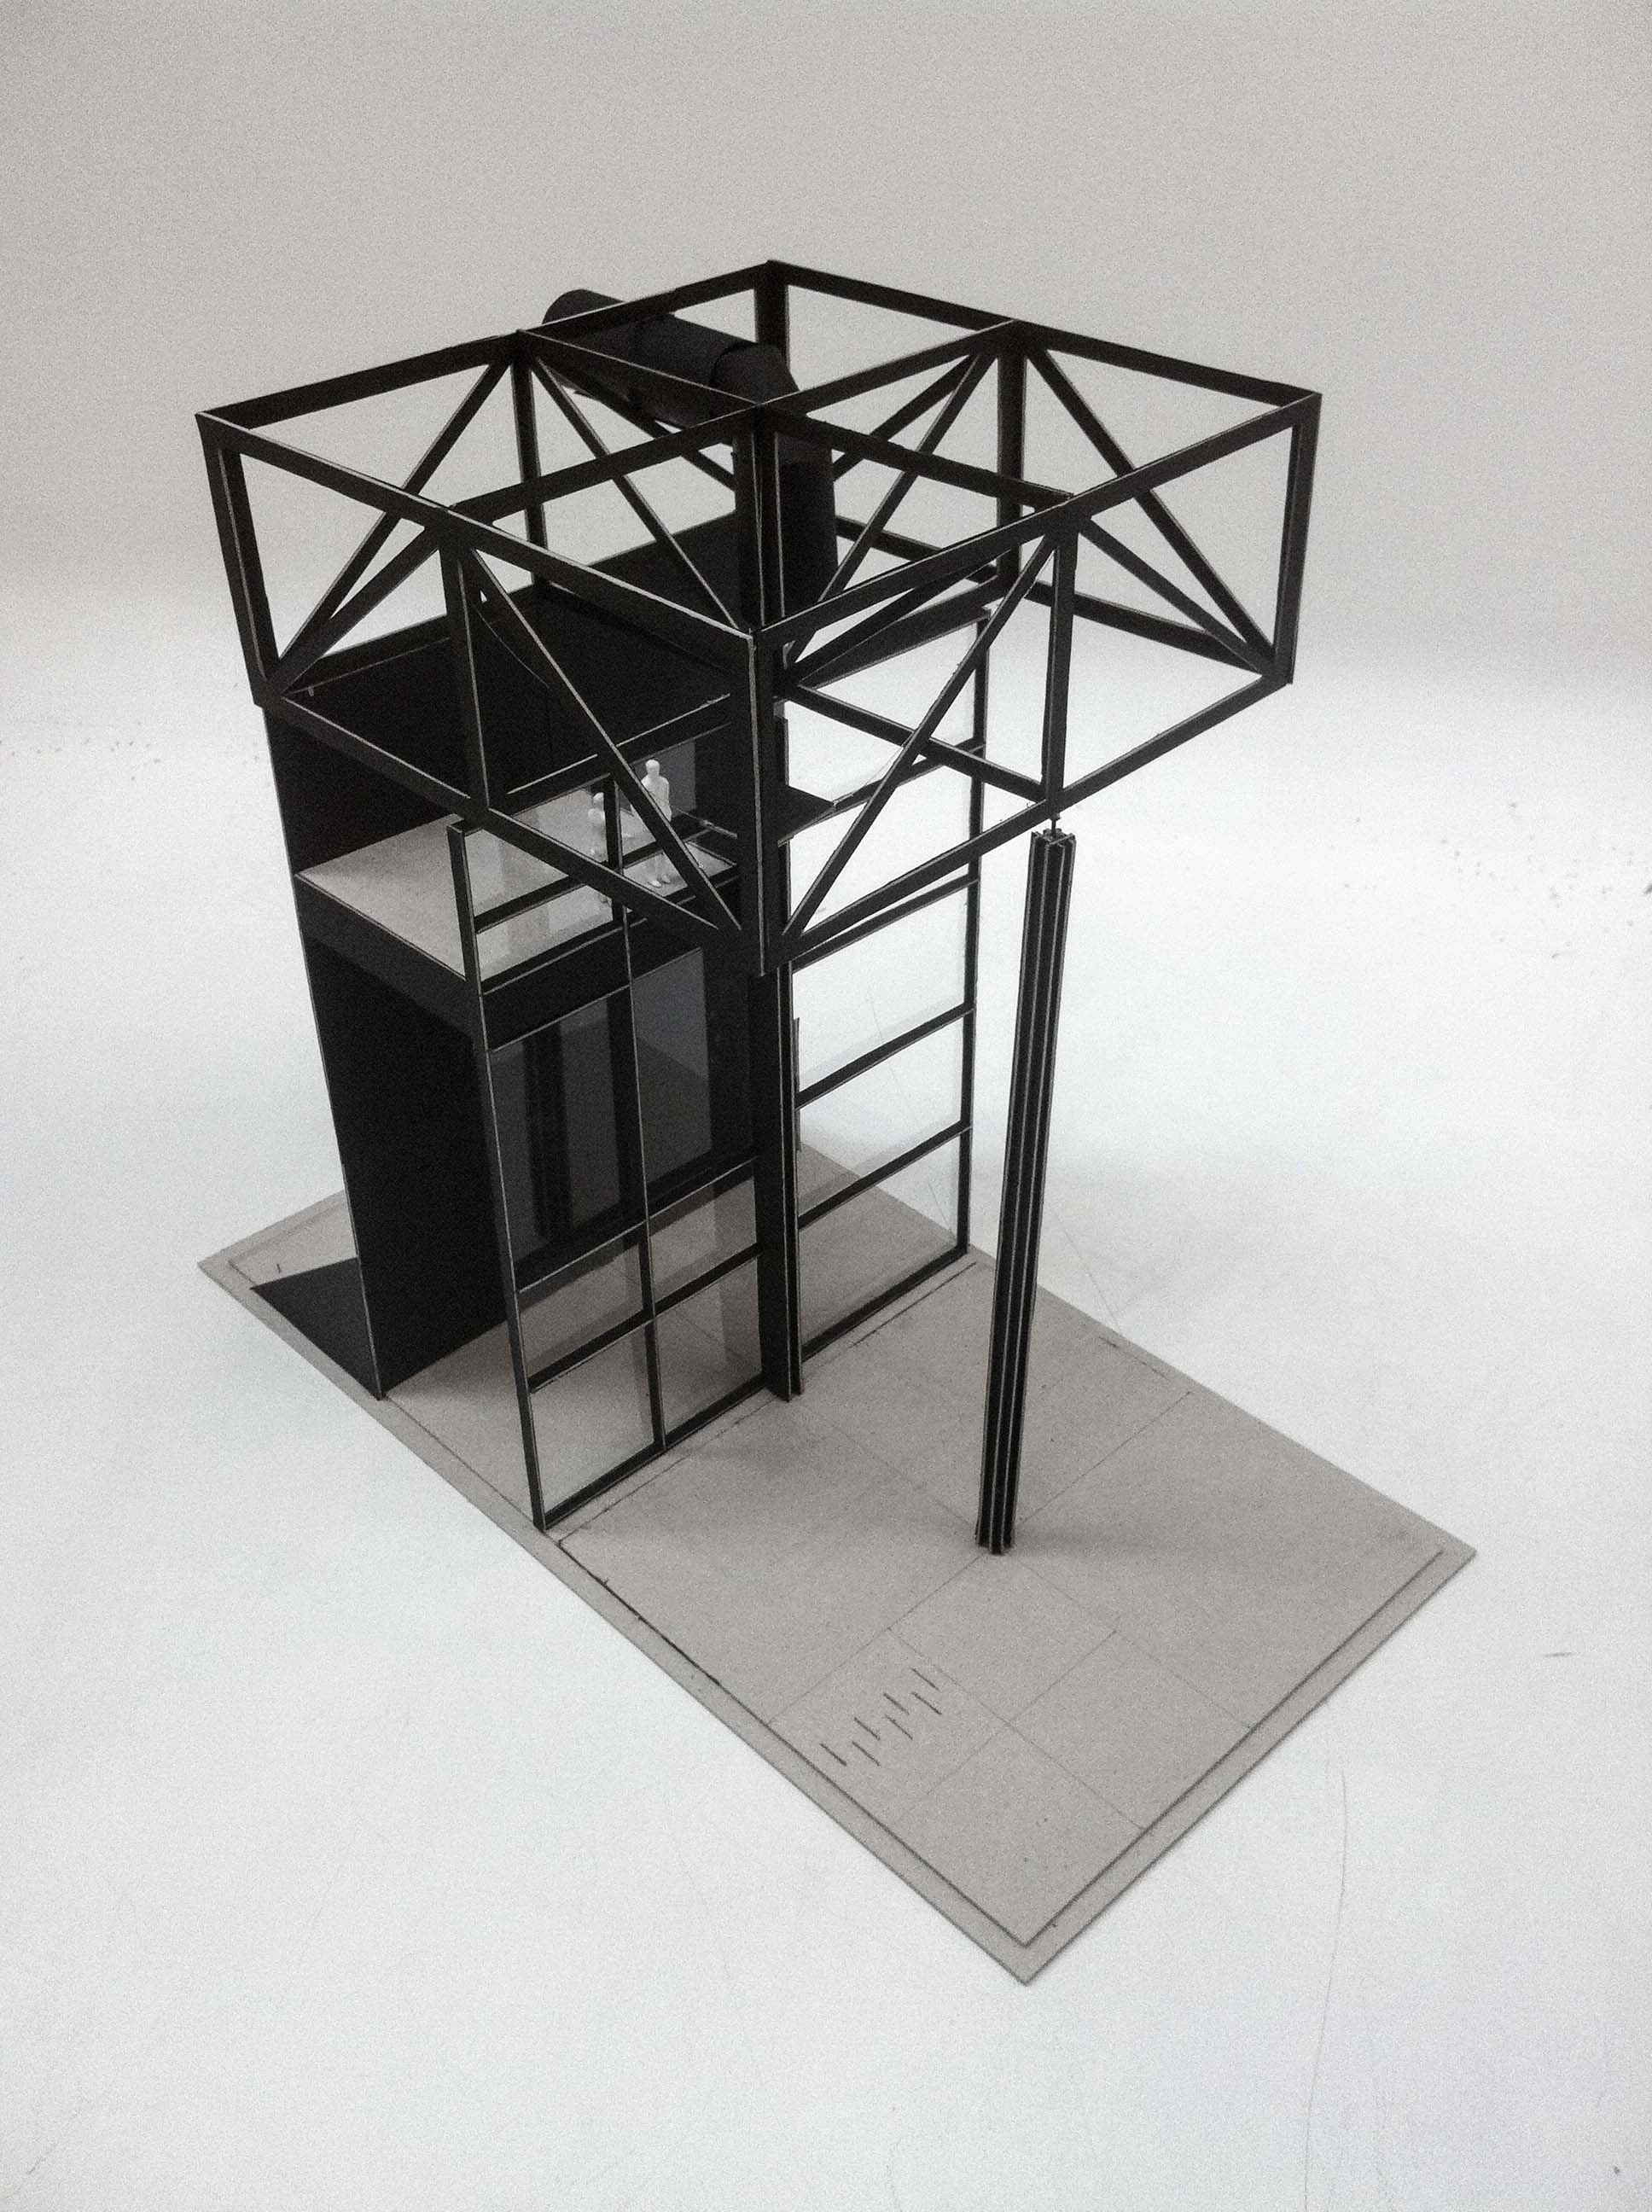
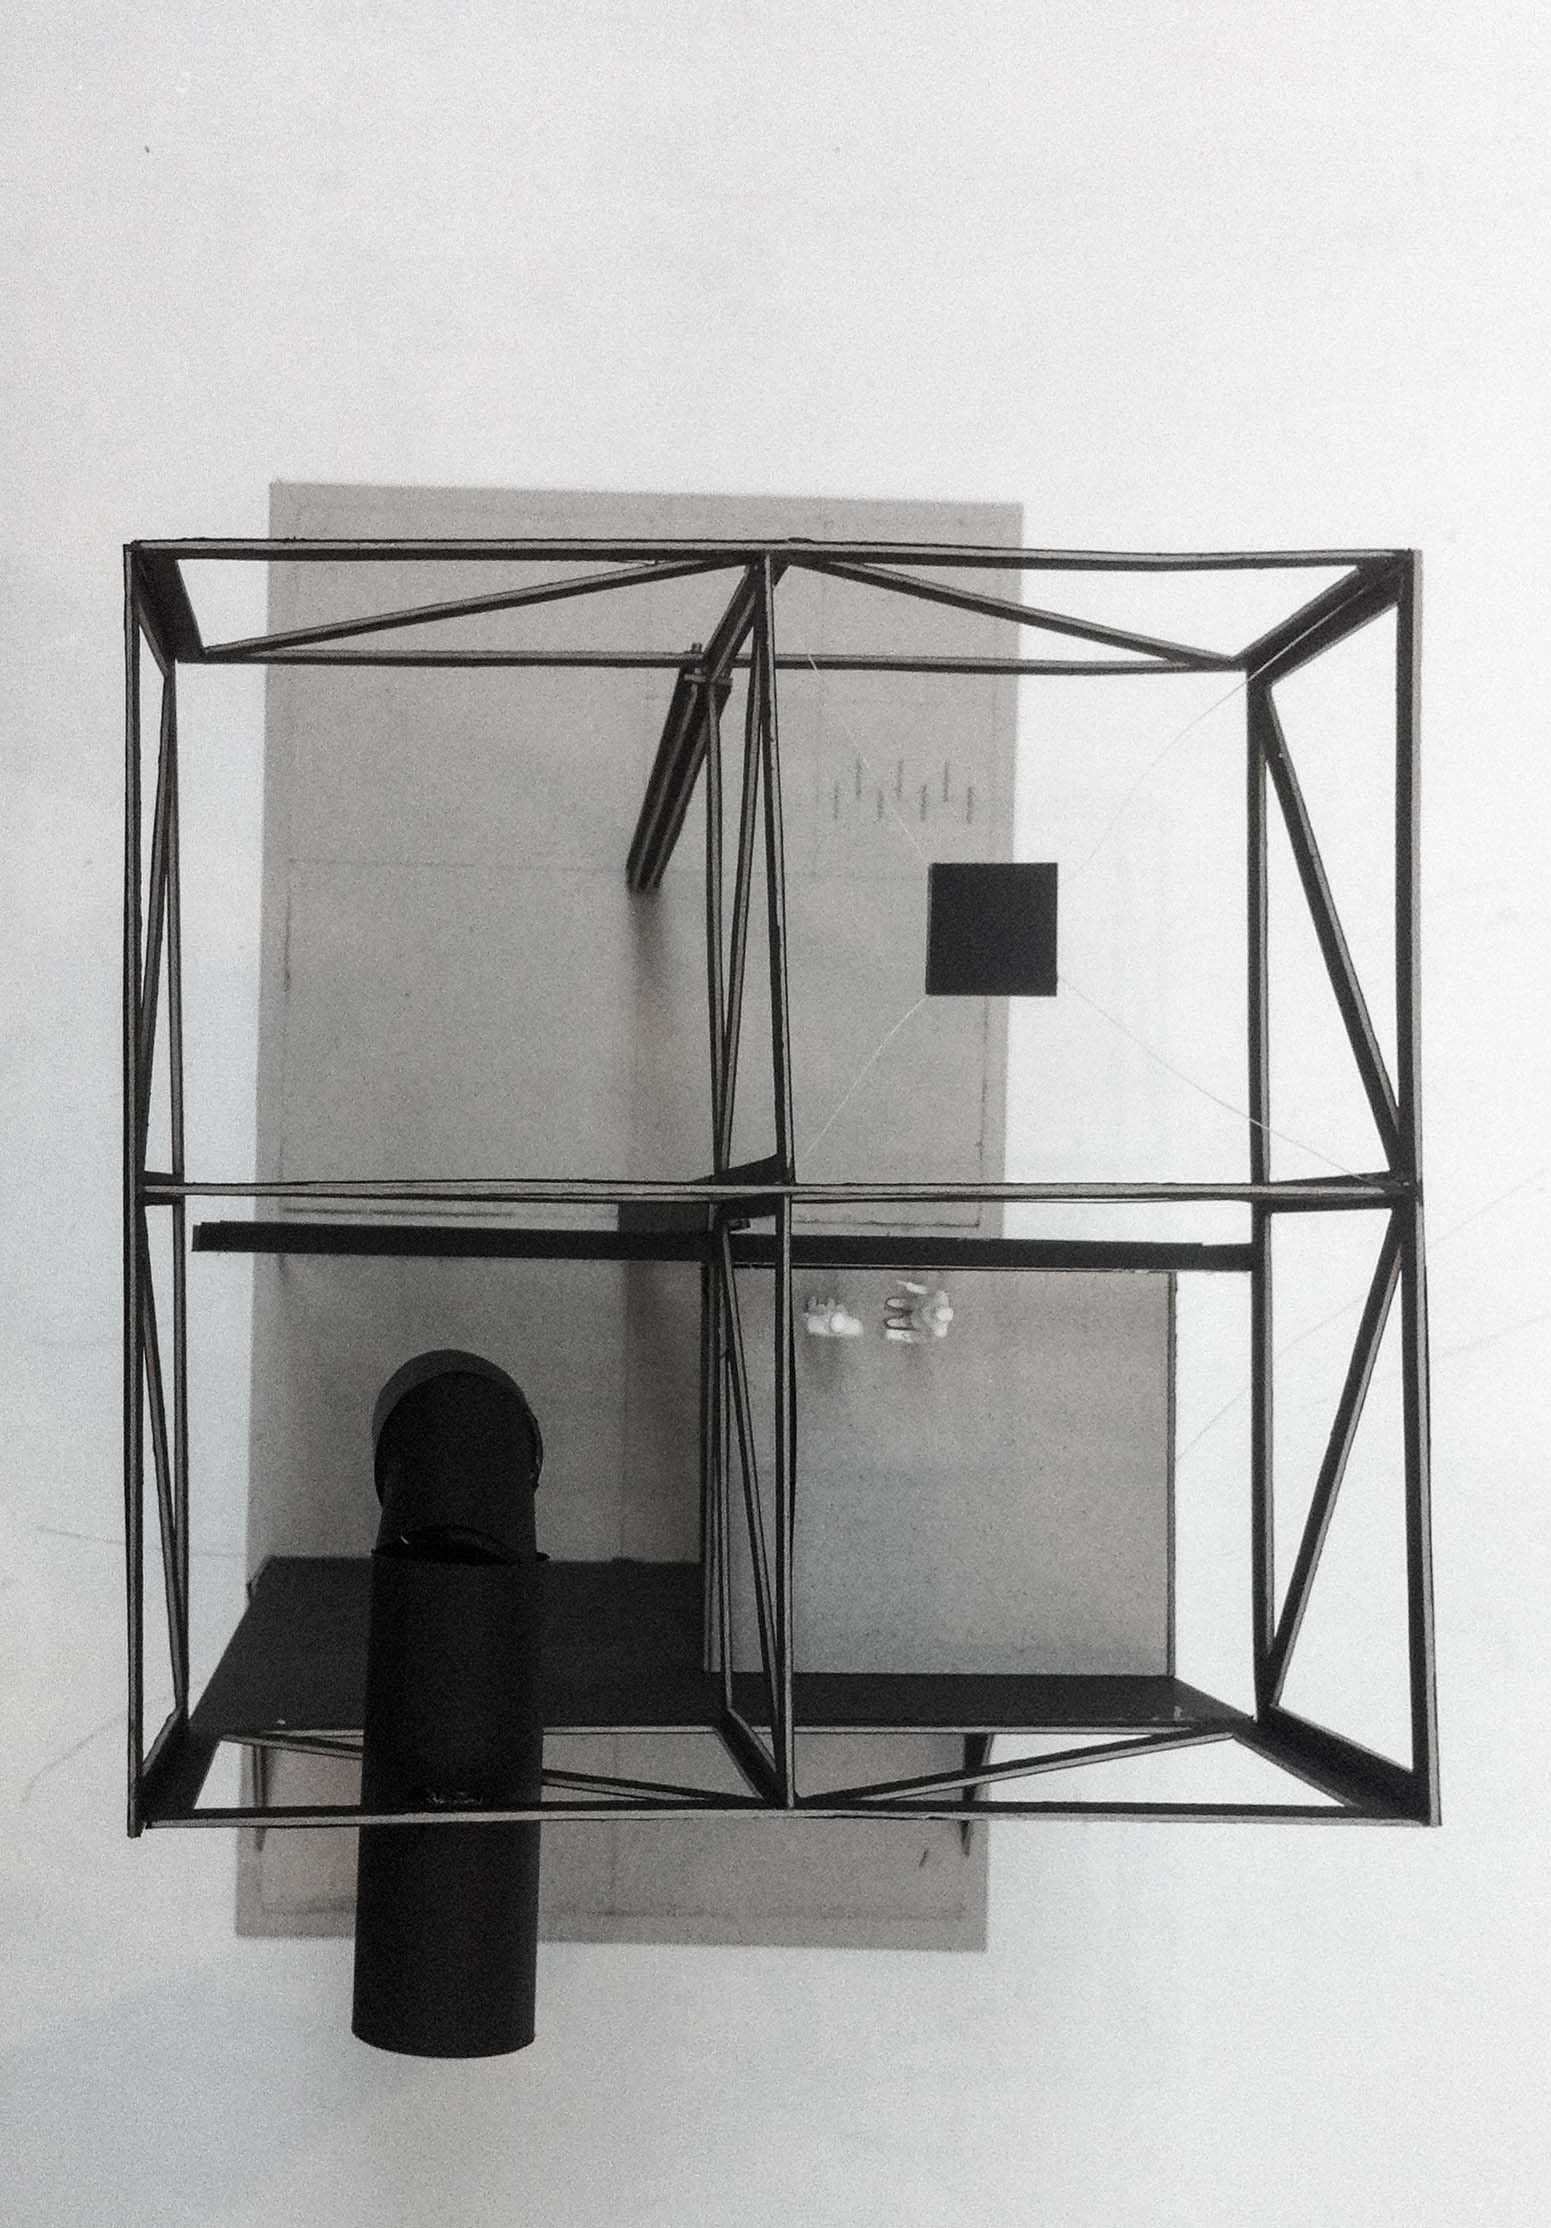
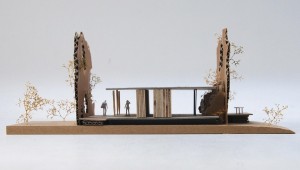
In this 1:50 model of a section of the summerhouse, I explored how the visibility of the construction can influence the atmosphere in the different zones in the house.

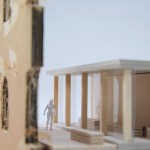
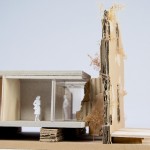
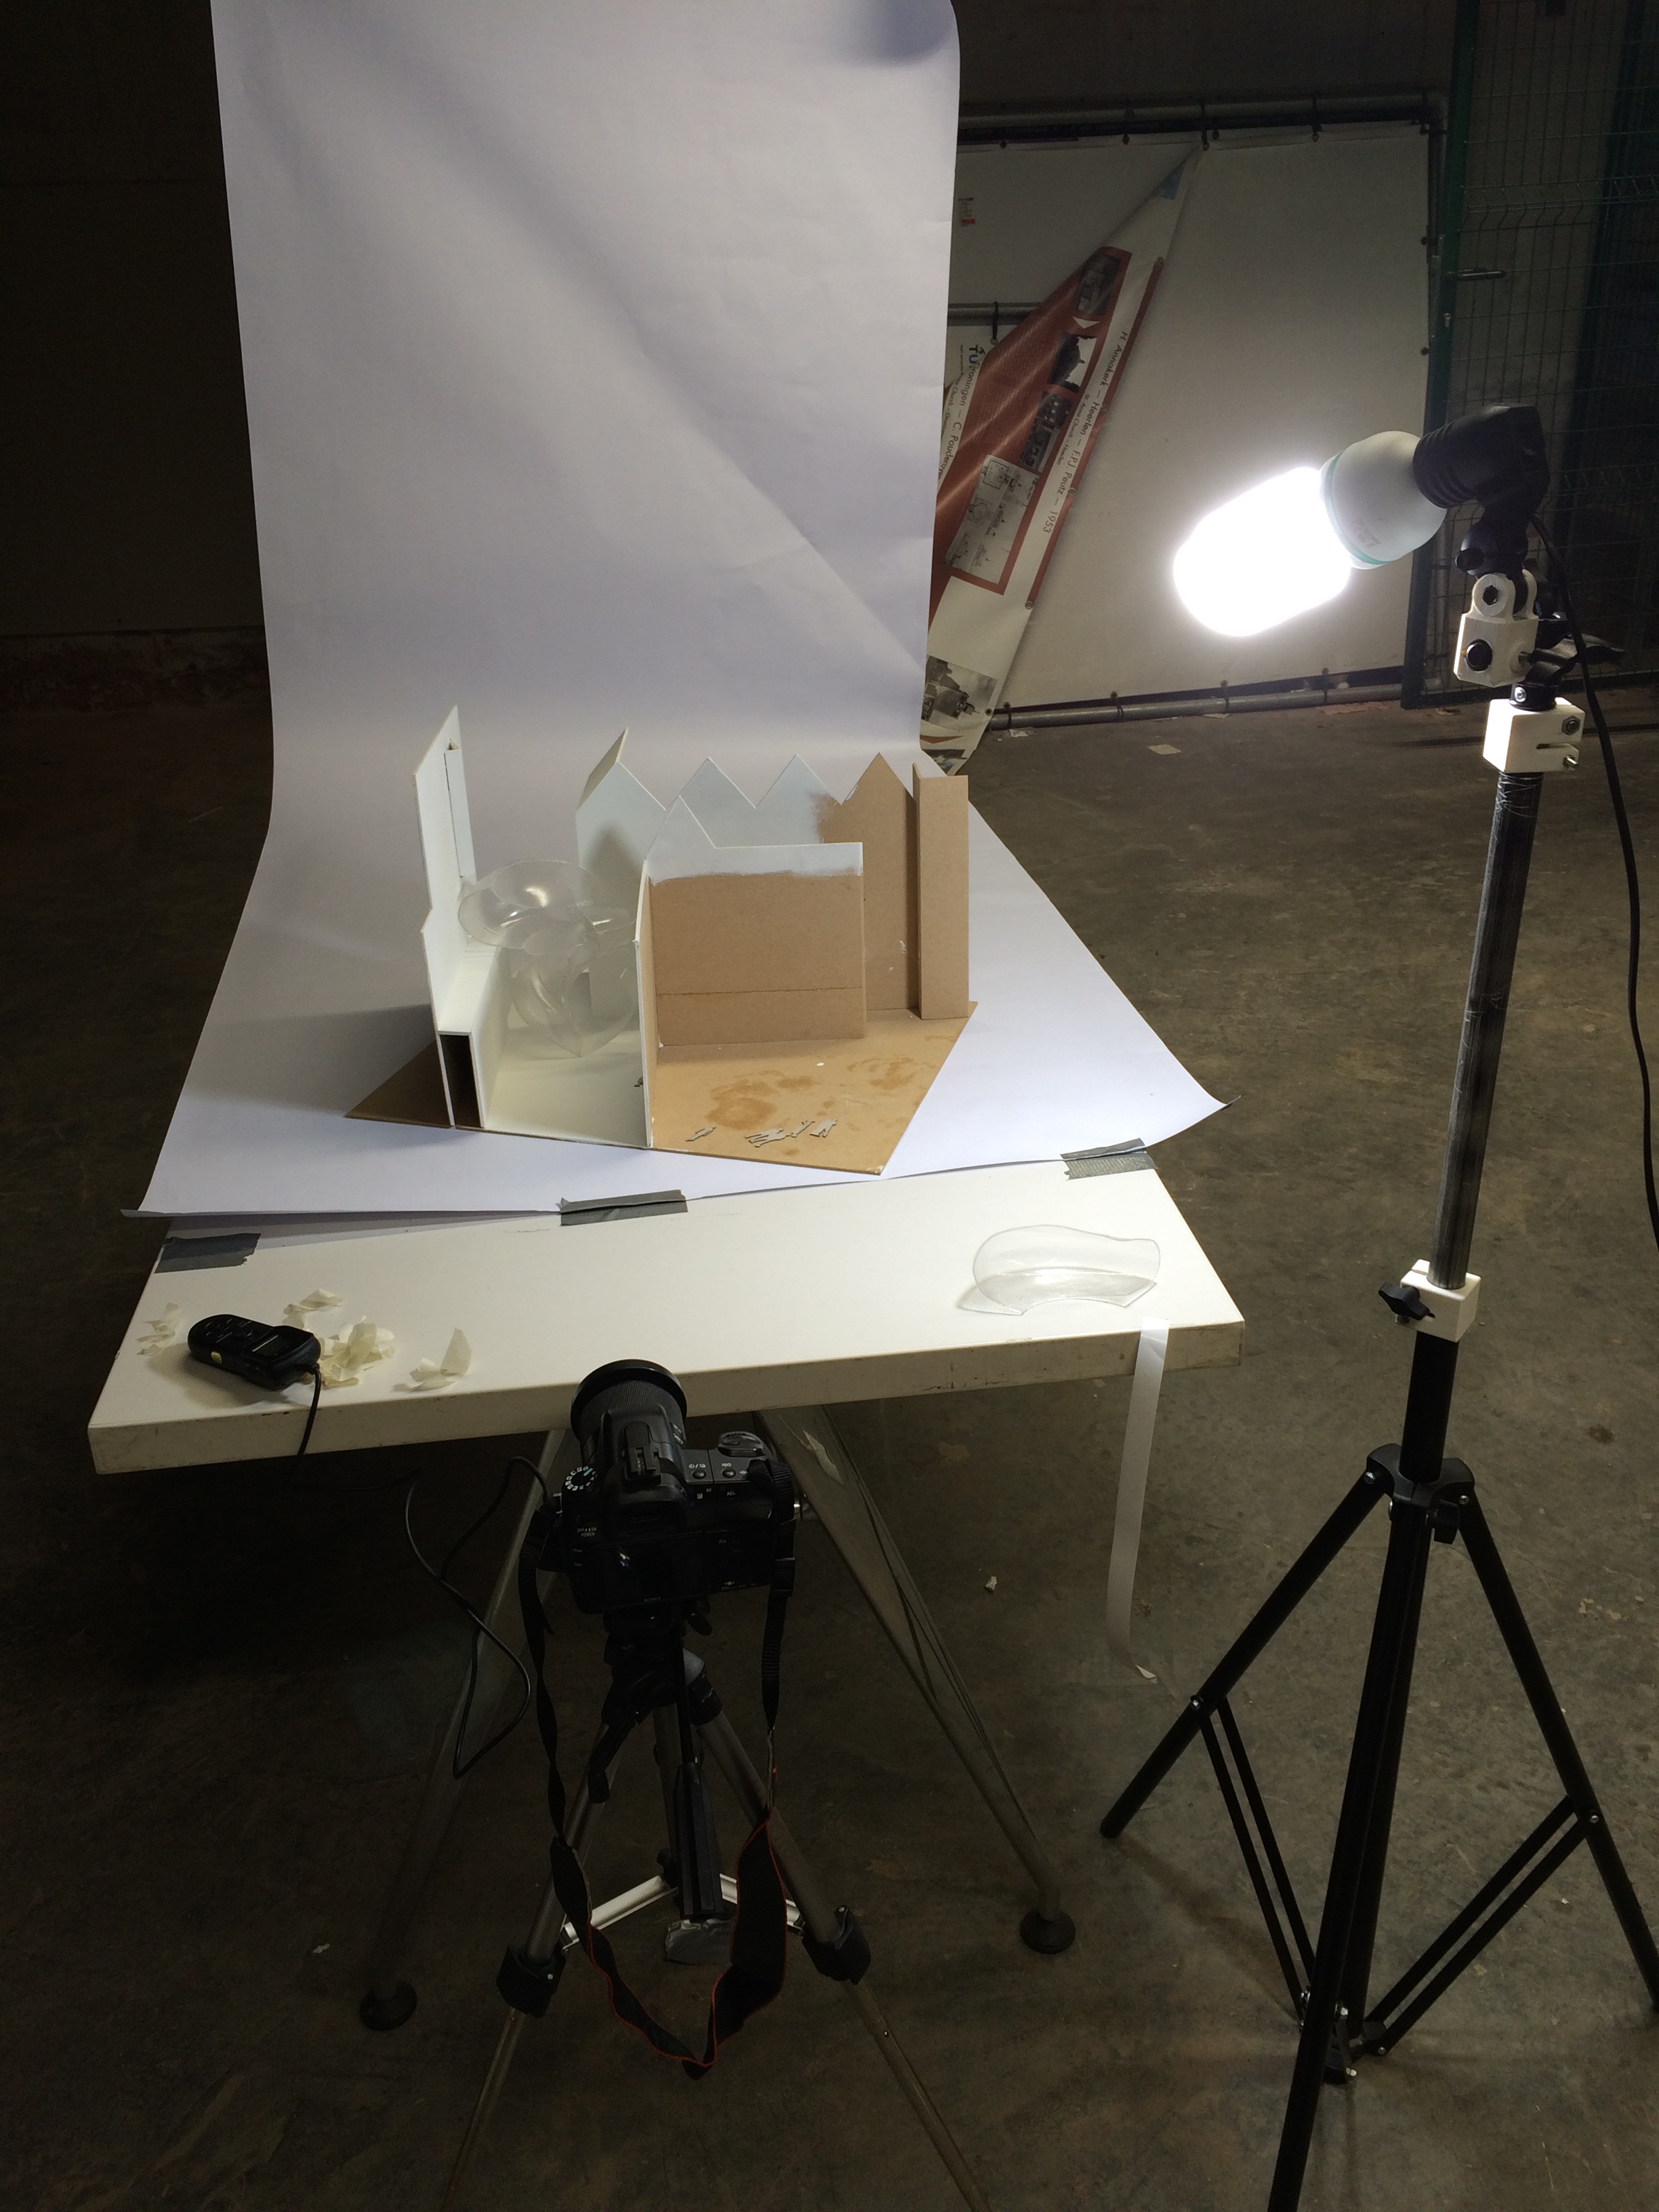
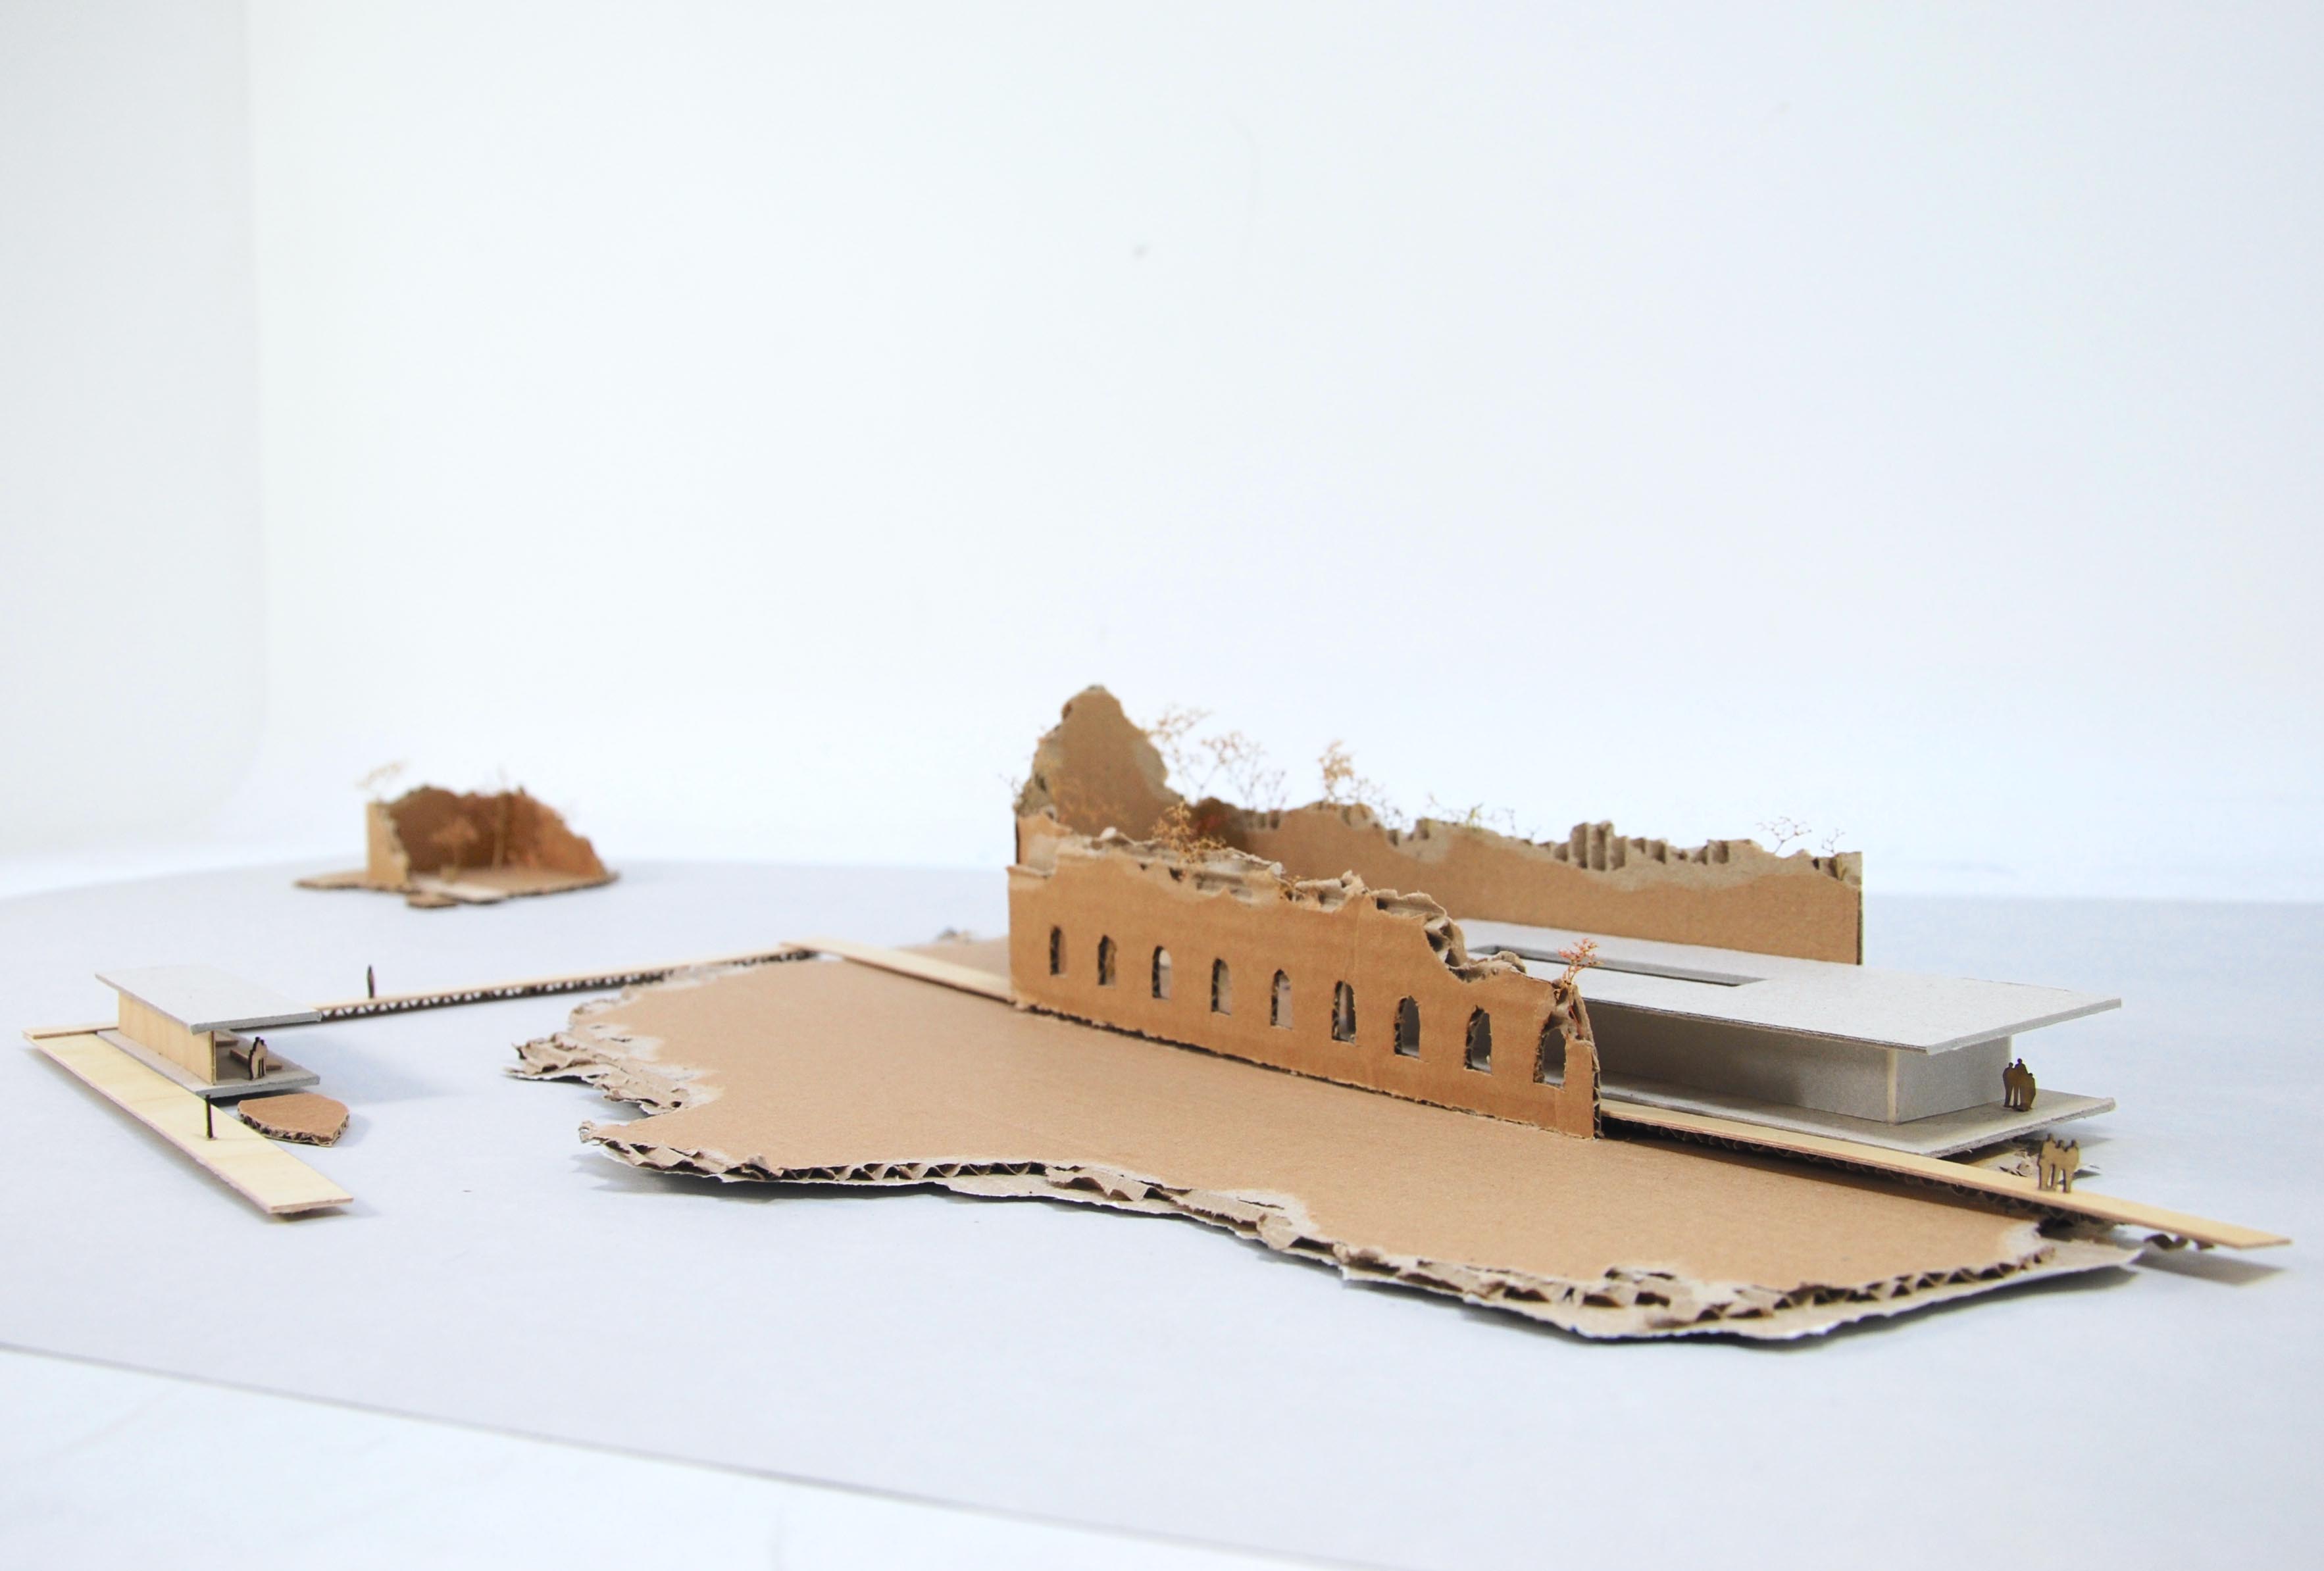
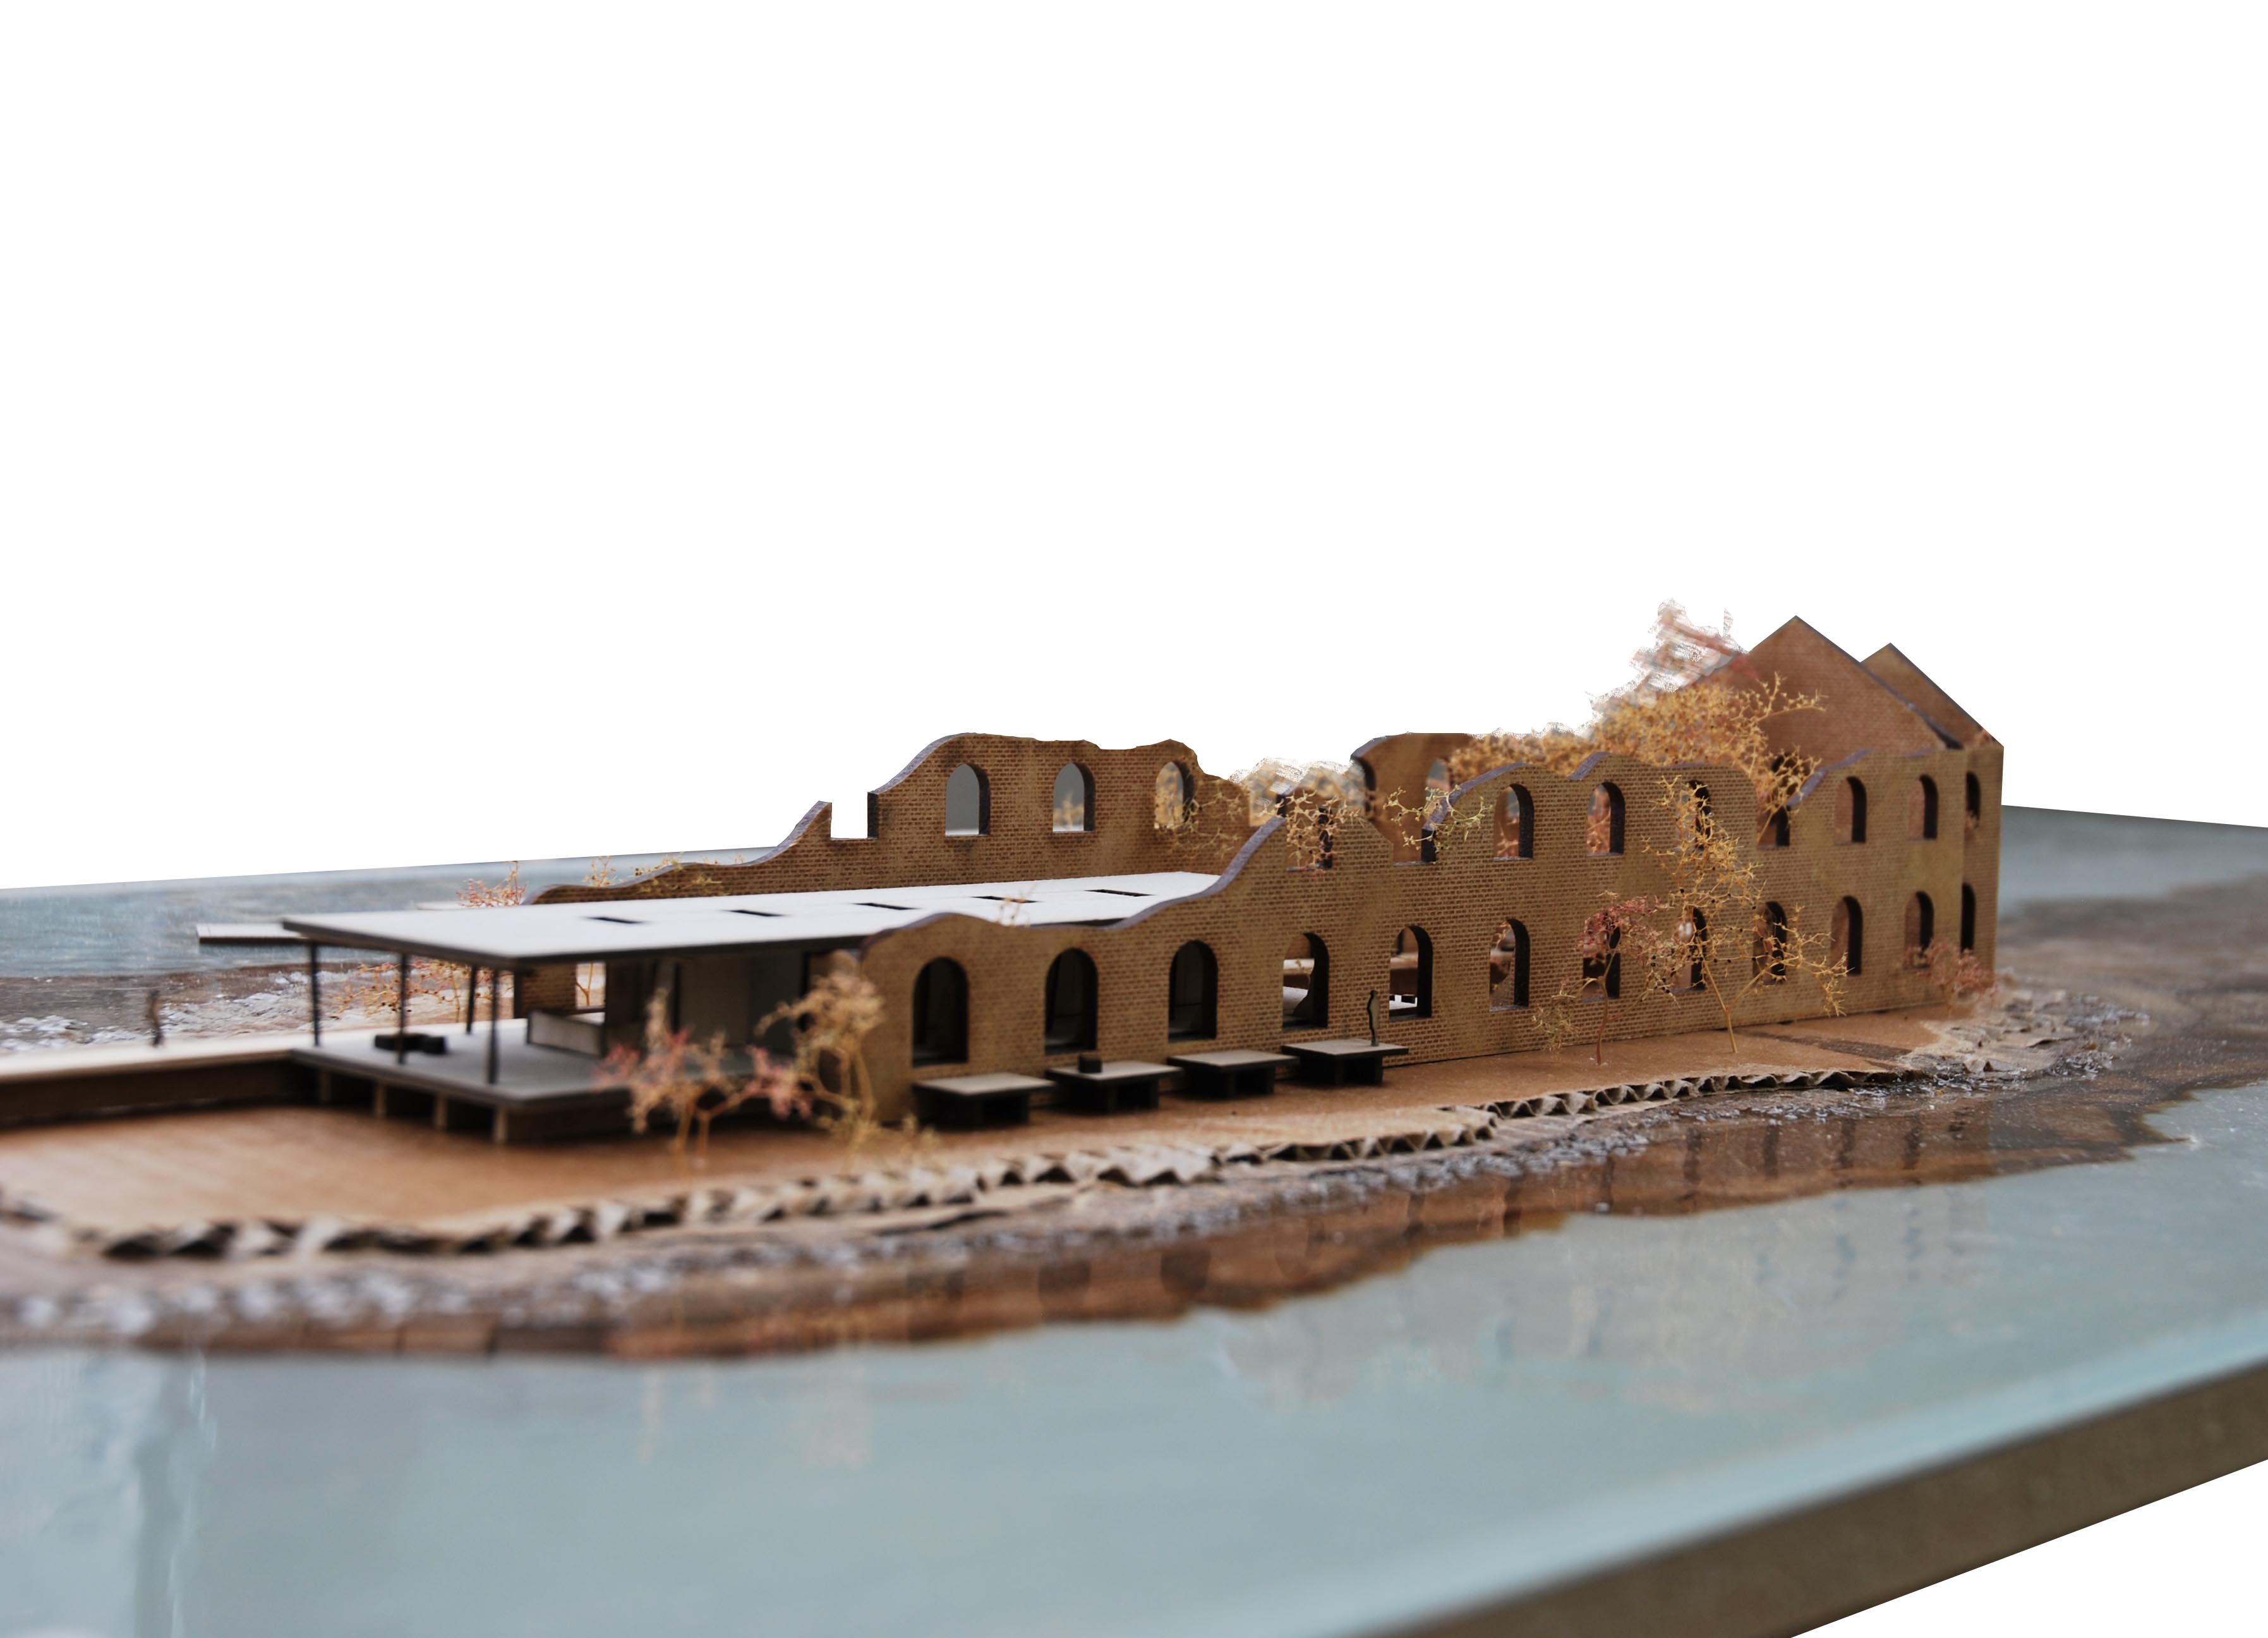
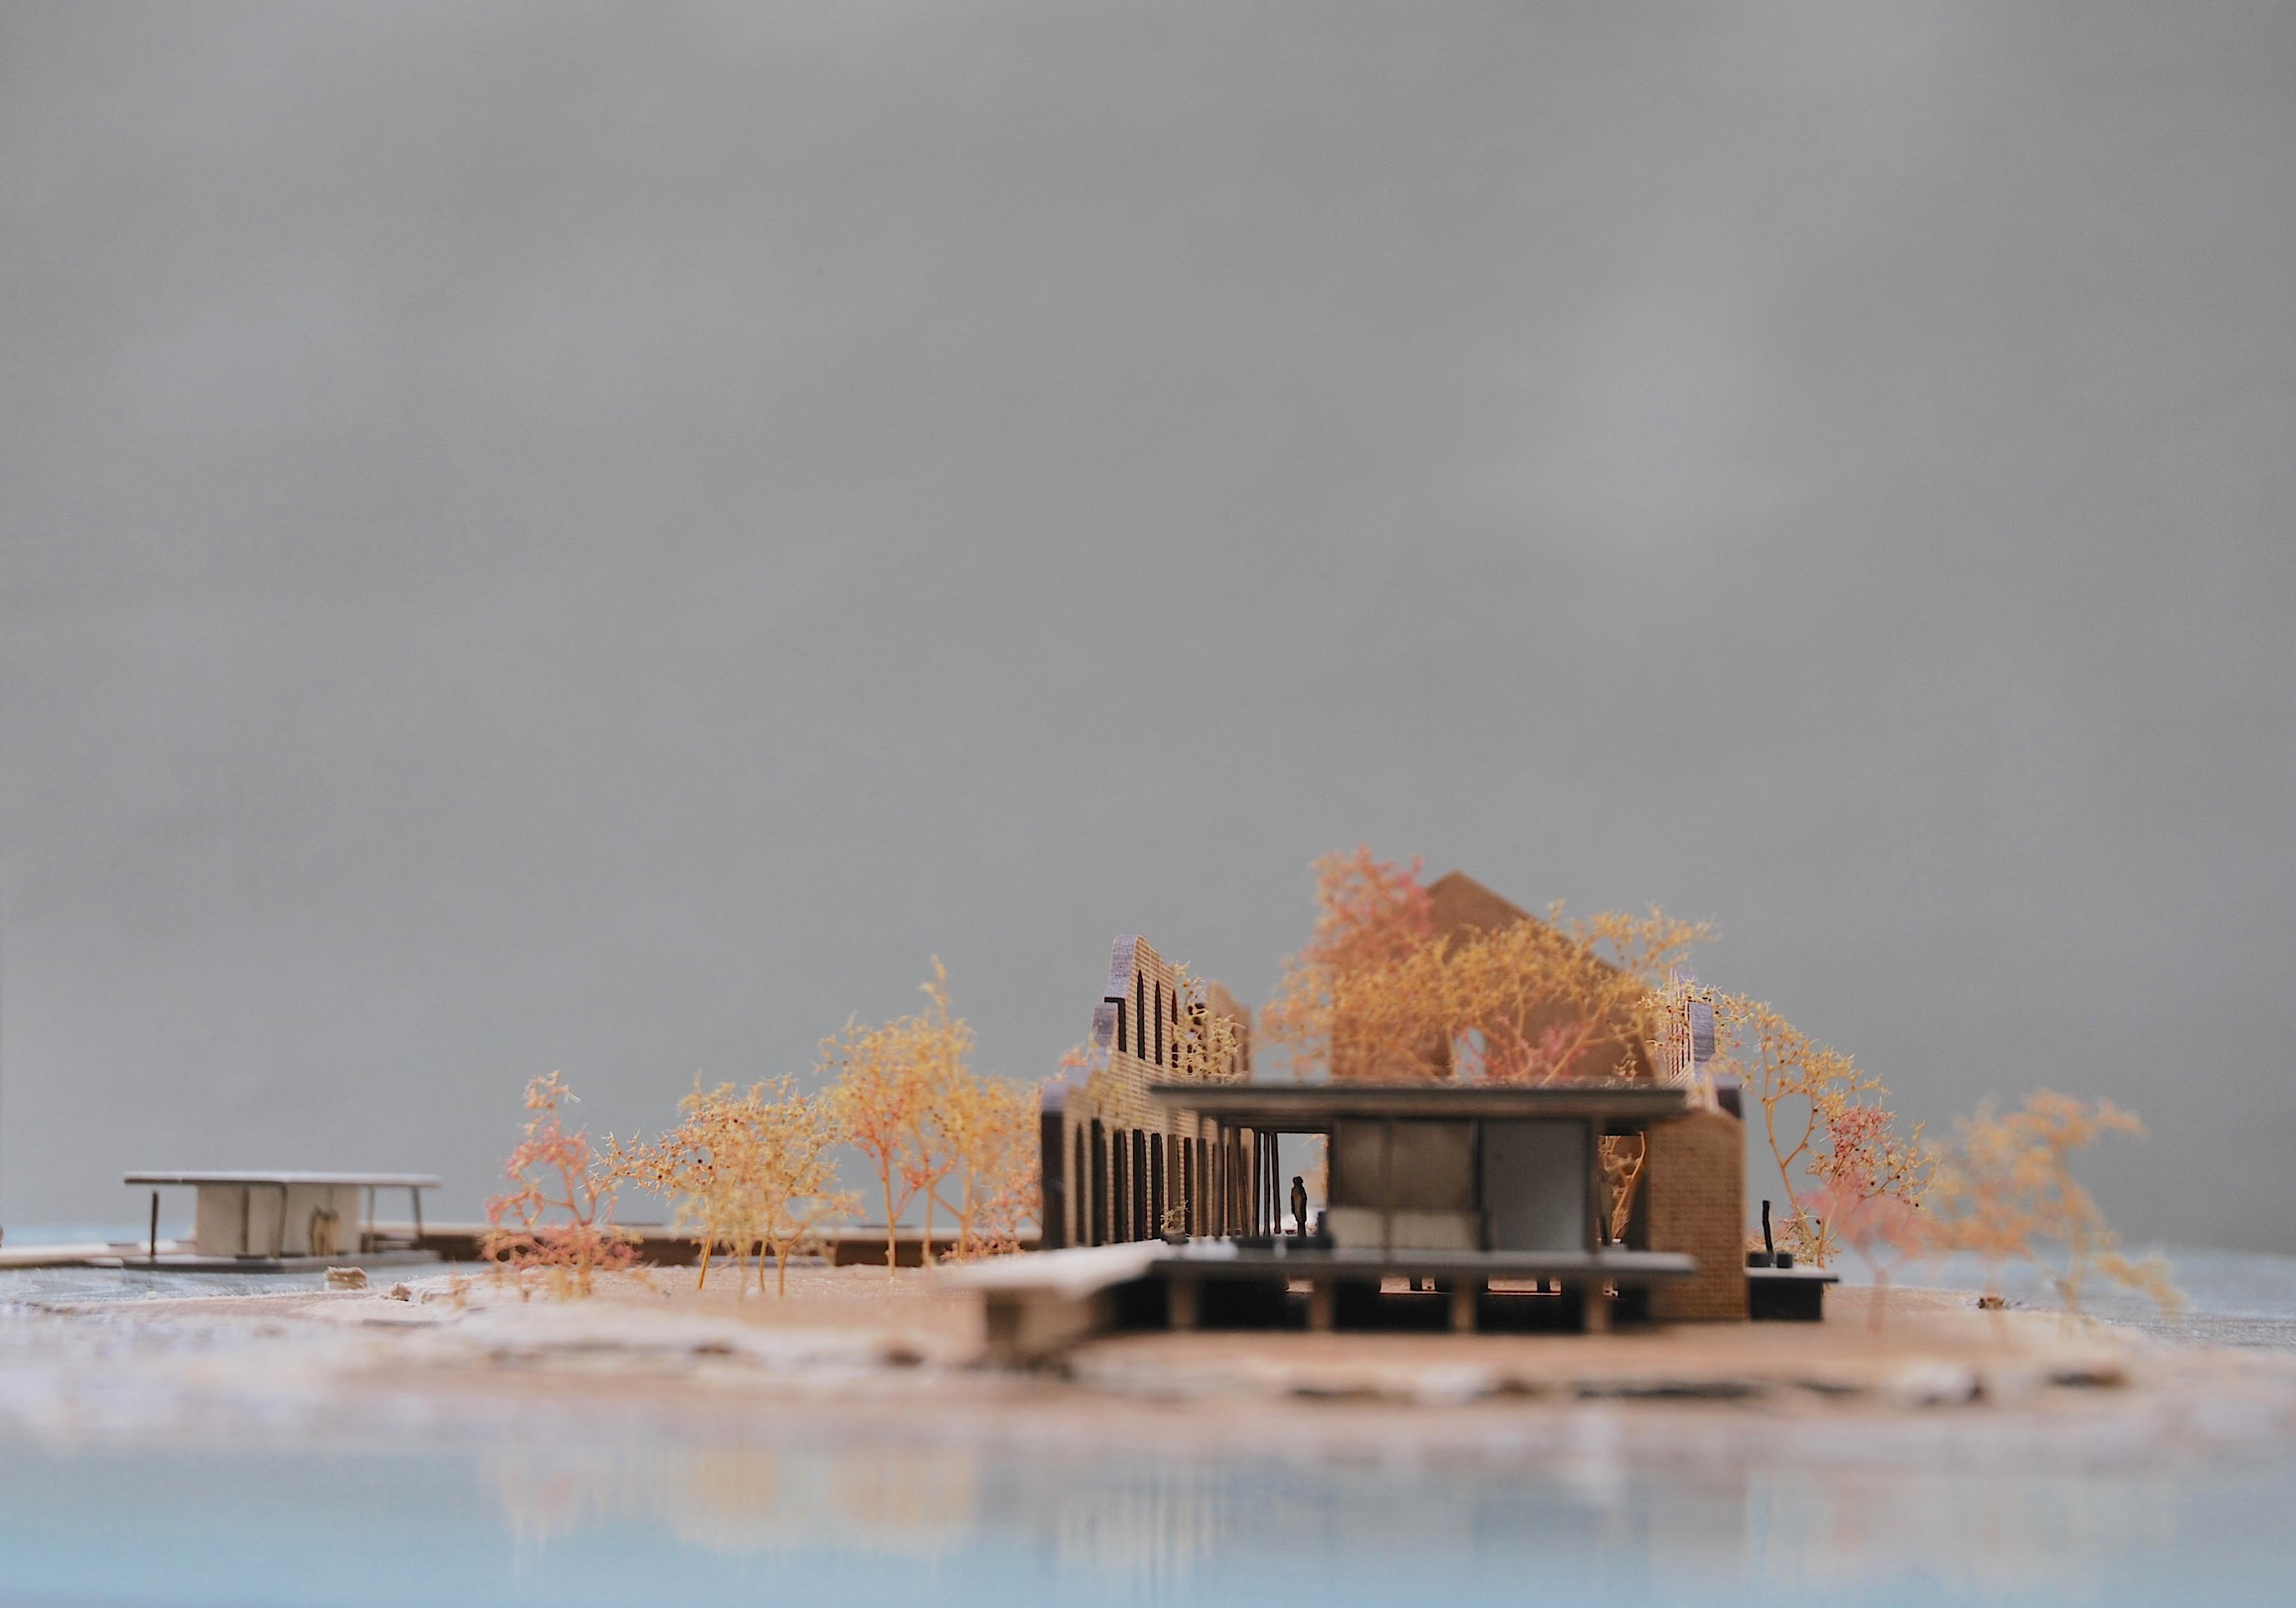
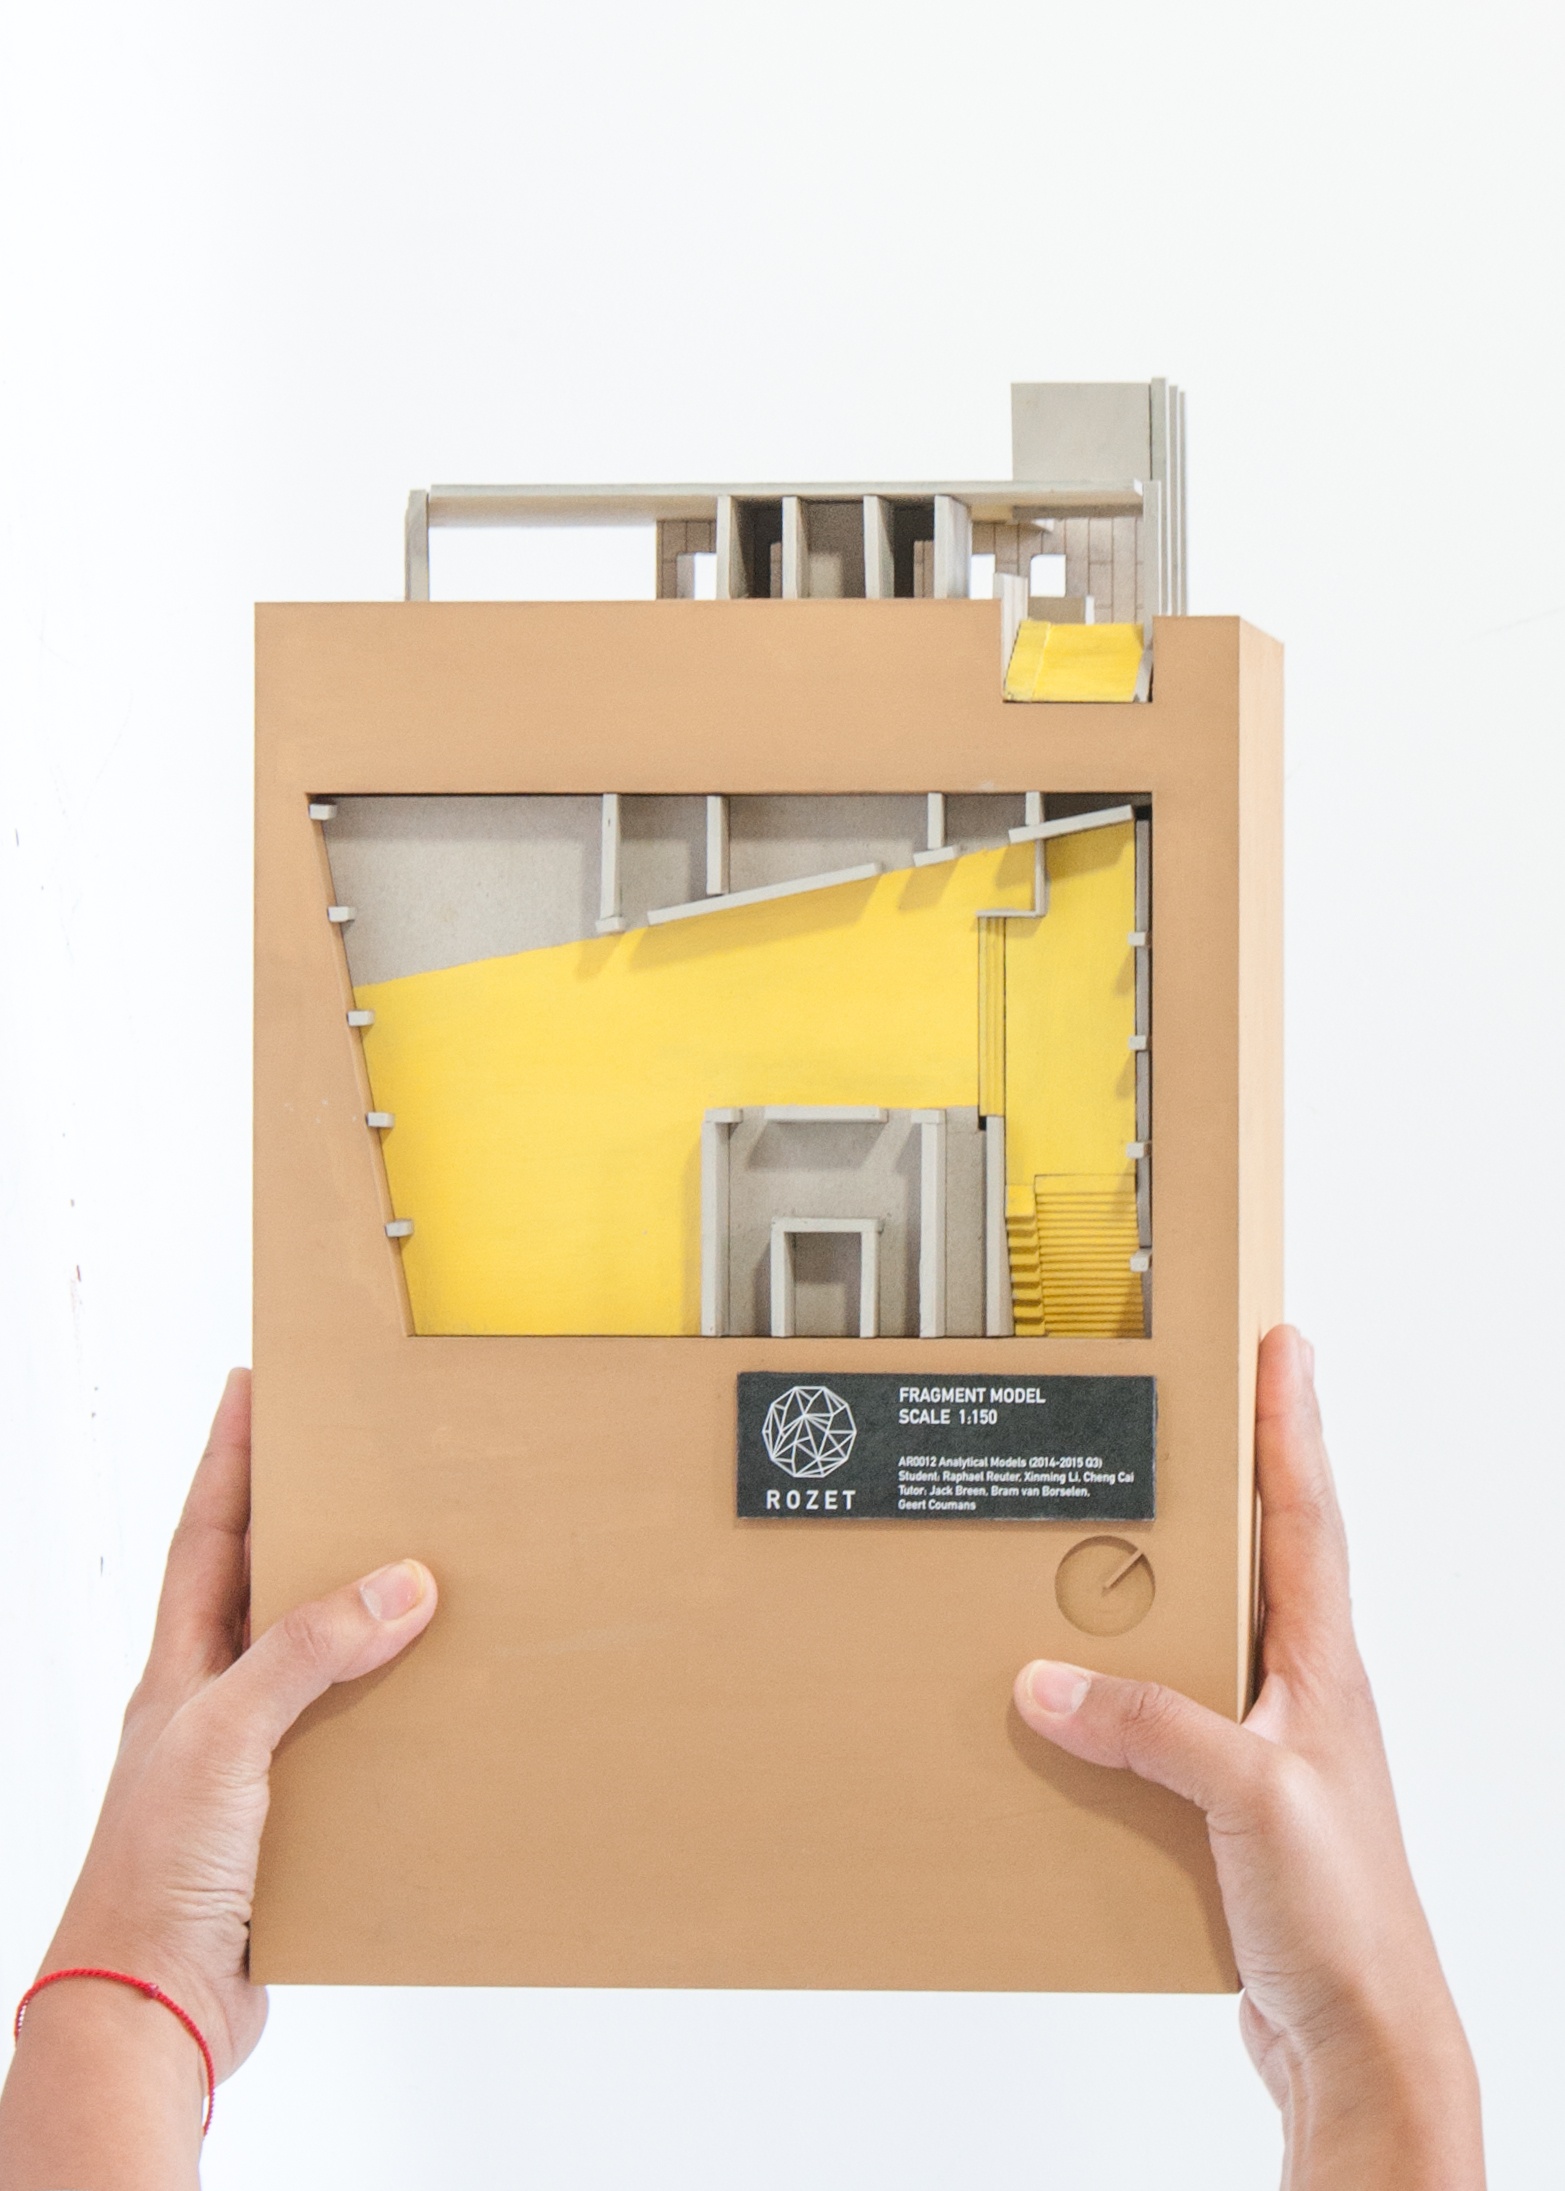
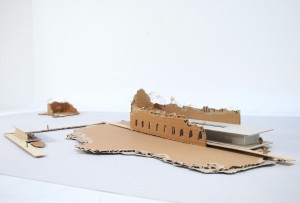
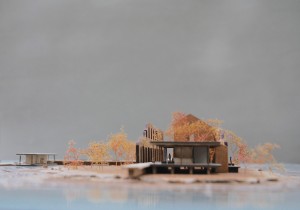
The final presentation
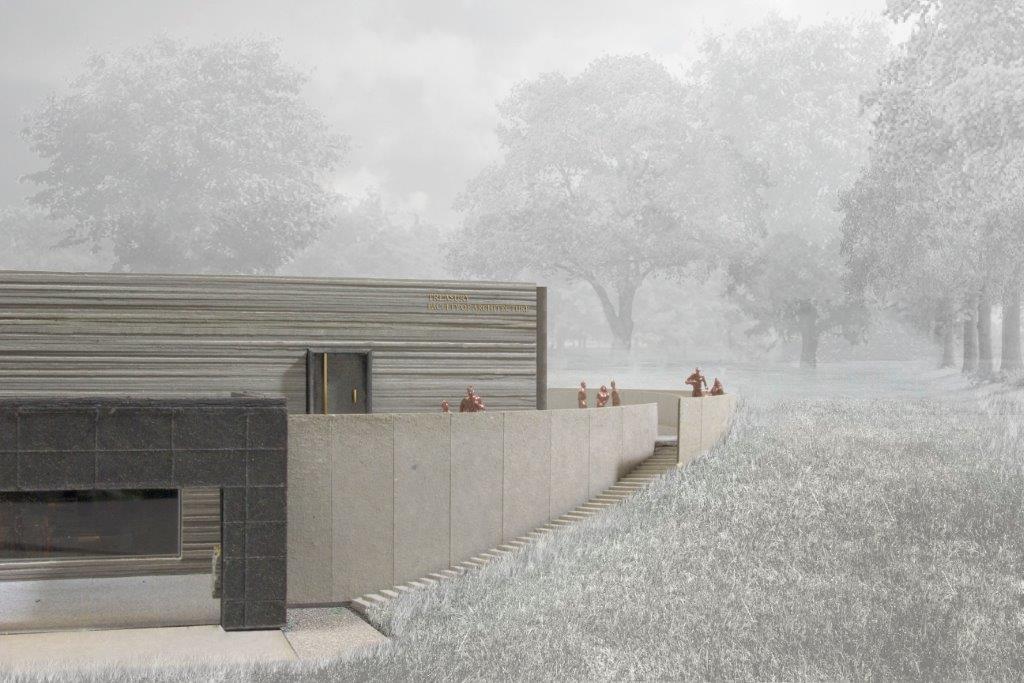
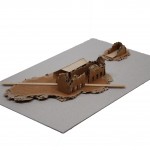
The location of the project consists of two small sinking islands in the Venetian Lagoon. The bigger island holds a 50m x 15m ruin from the 13th century that is decaying rapidly. I was fascinated by the slow disappearance of both the islands and the old structure. So I decided to let part of the island decay and hold on to the romantic notion of the ruin. At the same time I protected part of the island by implementing a water protection structure that also integrates logistics.
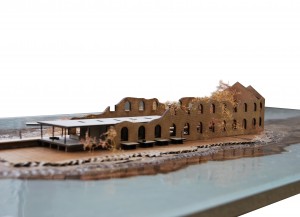


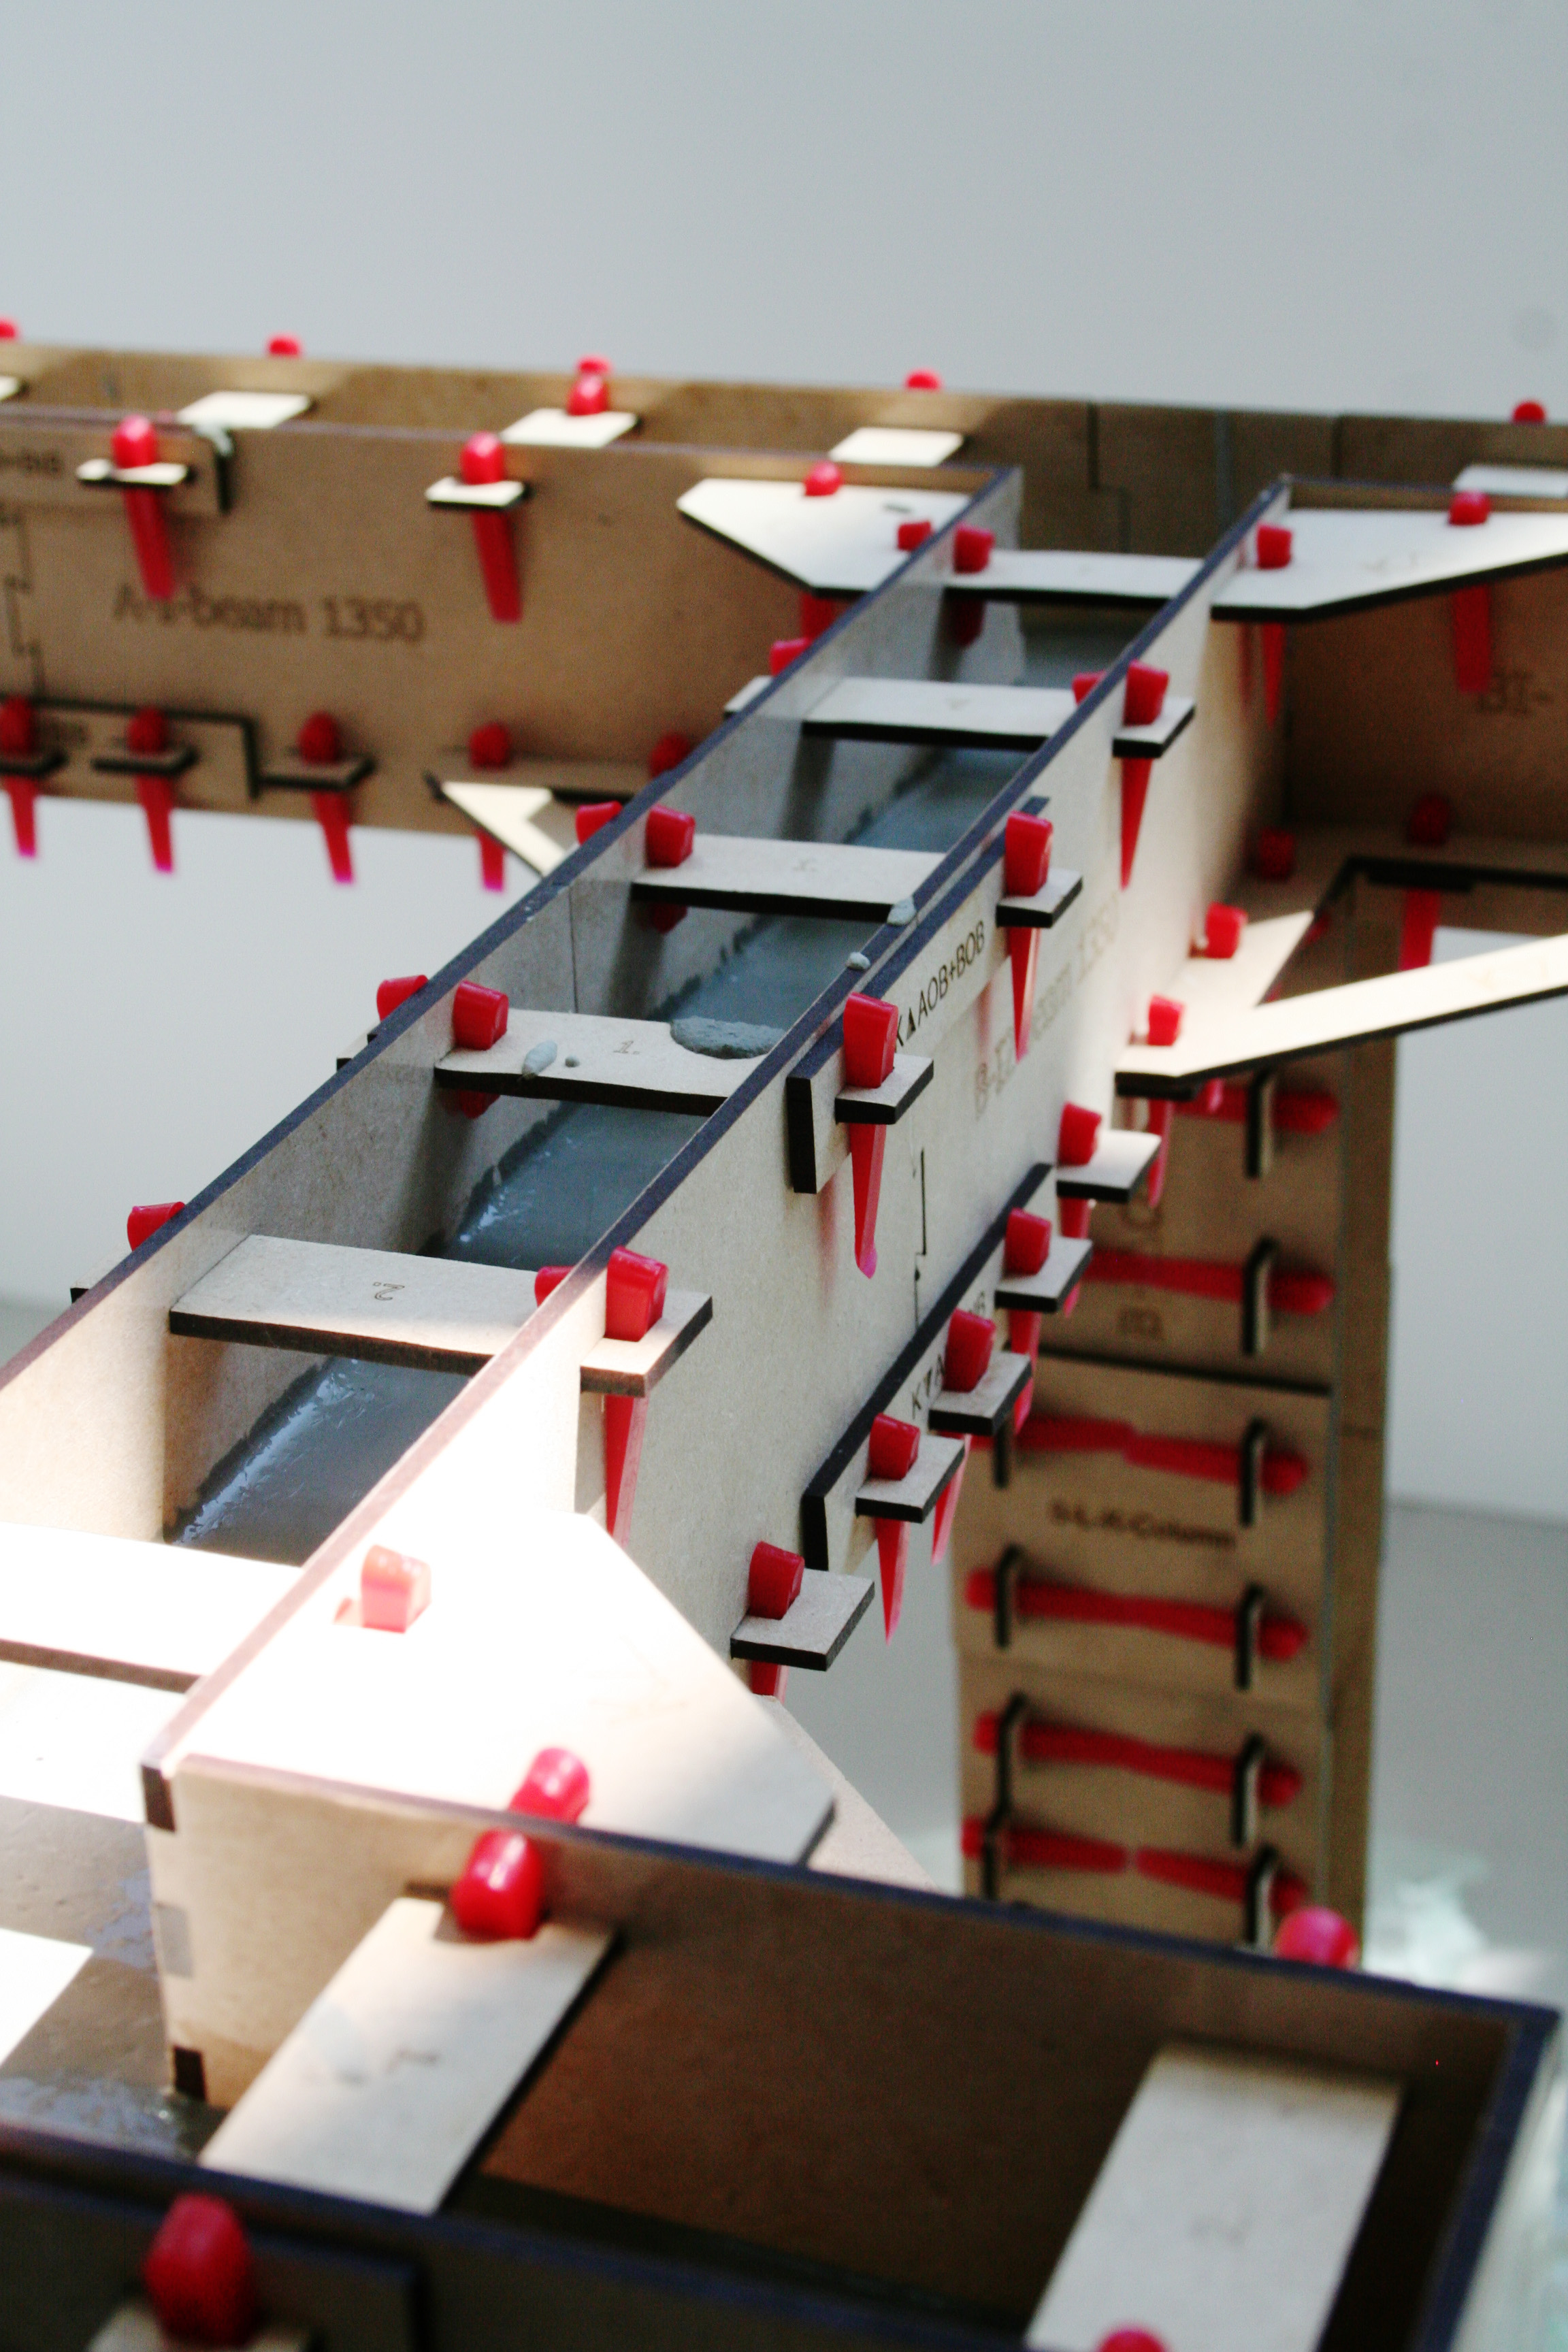
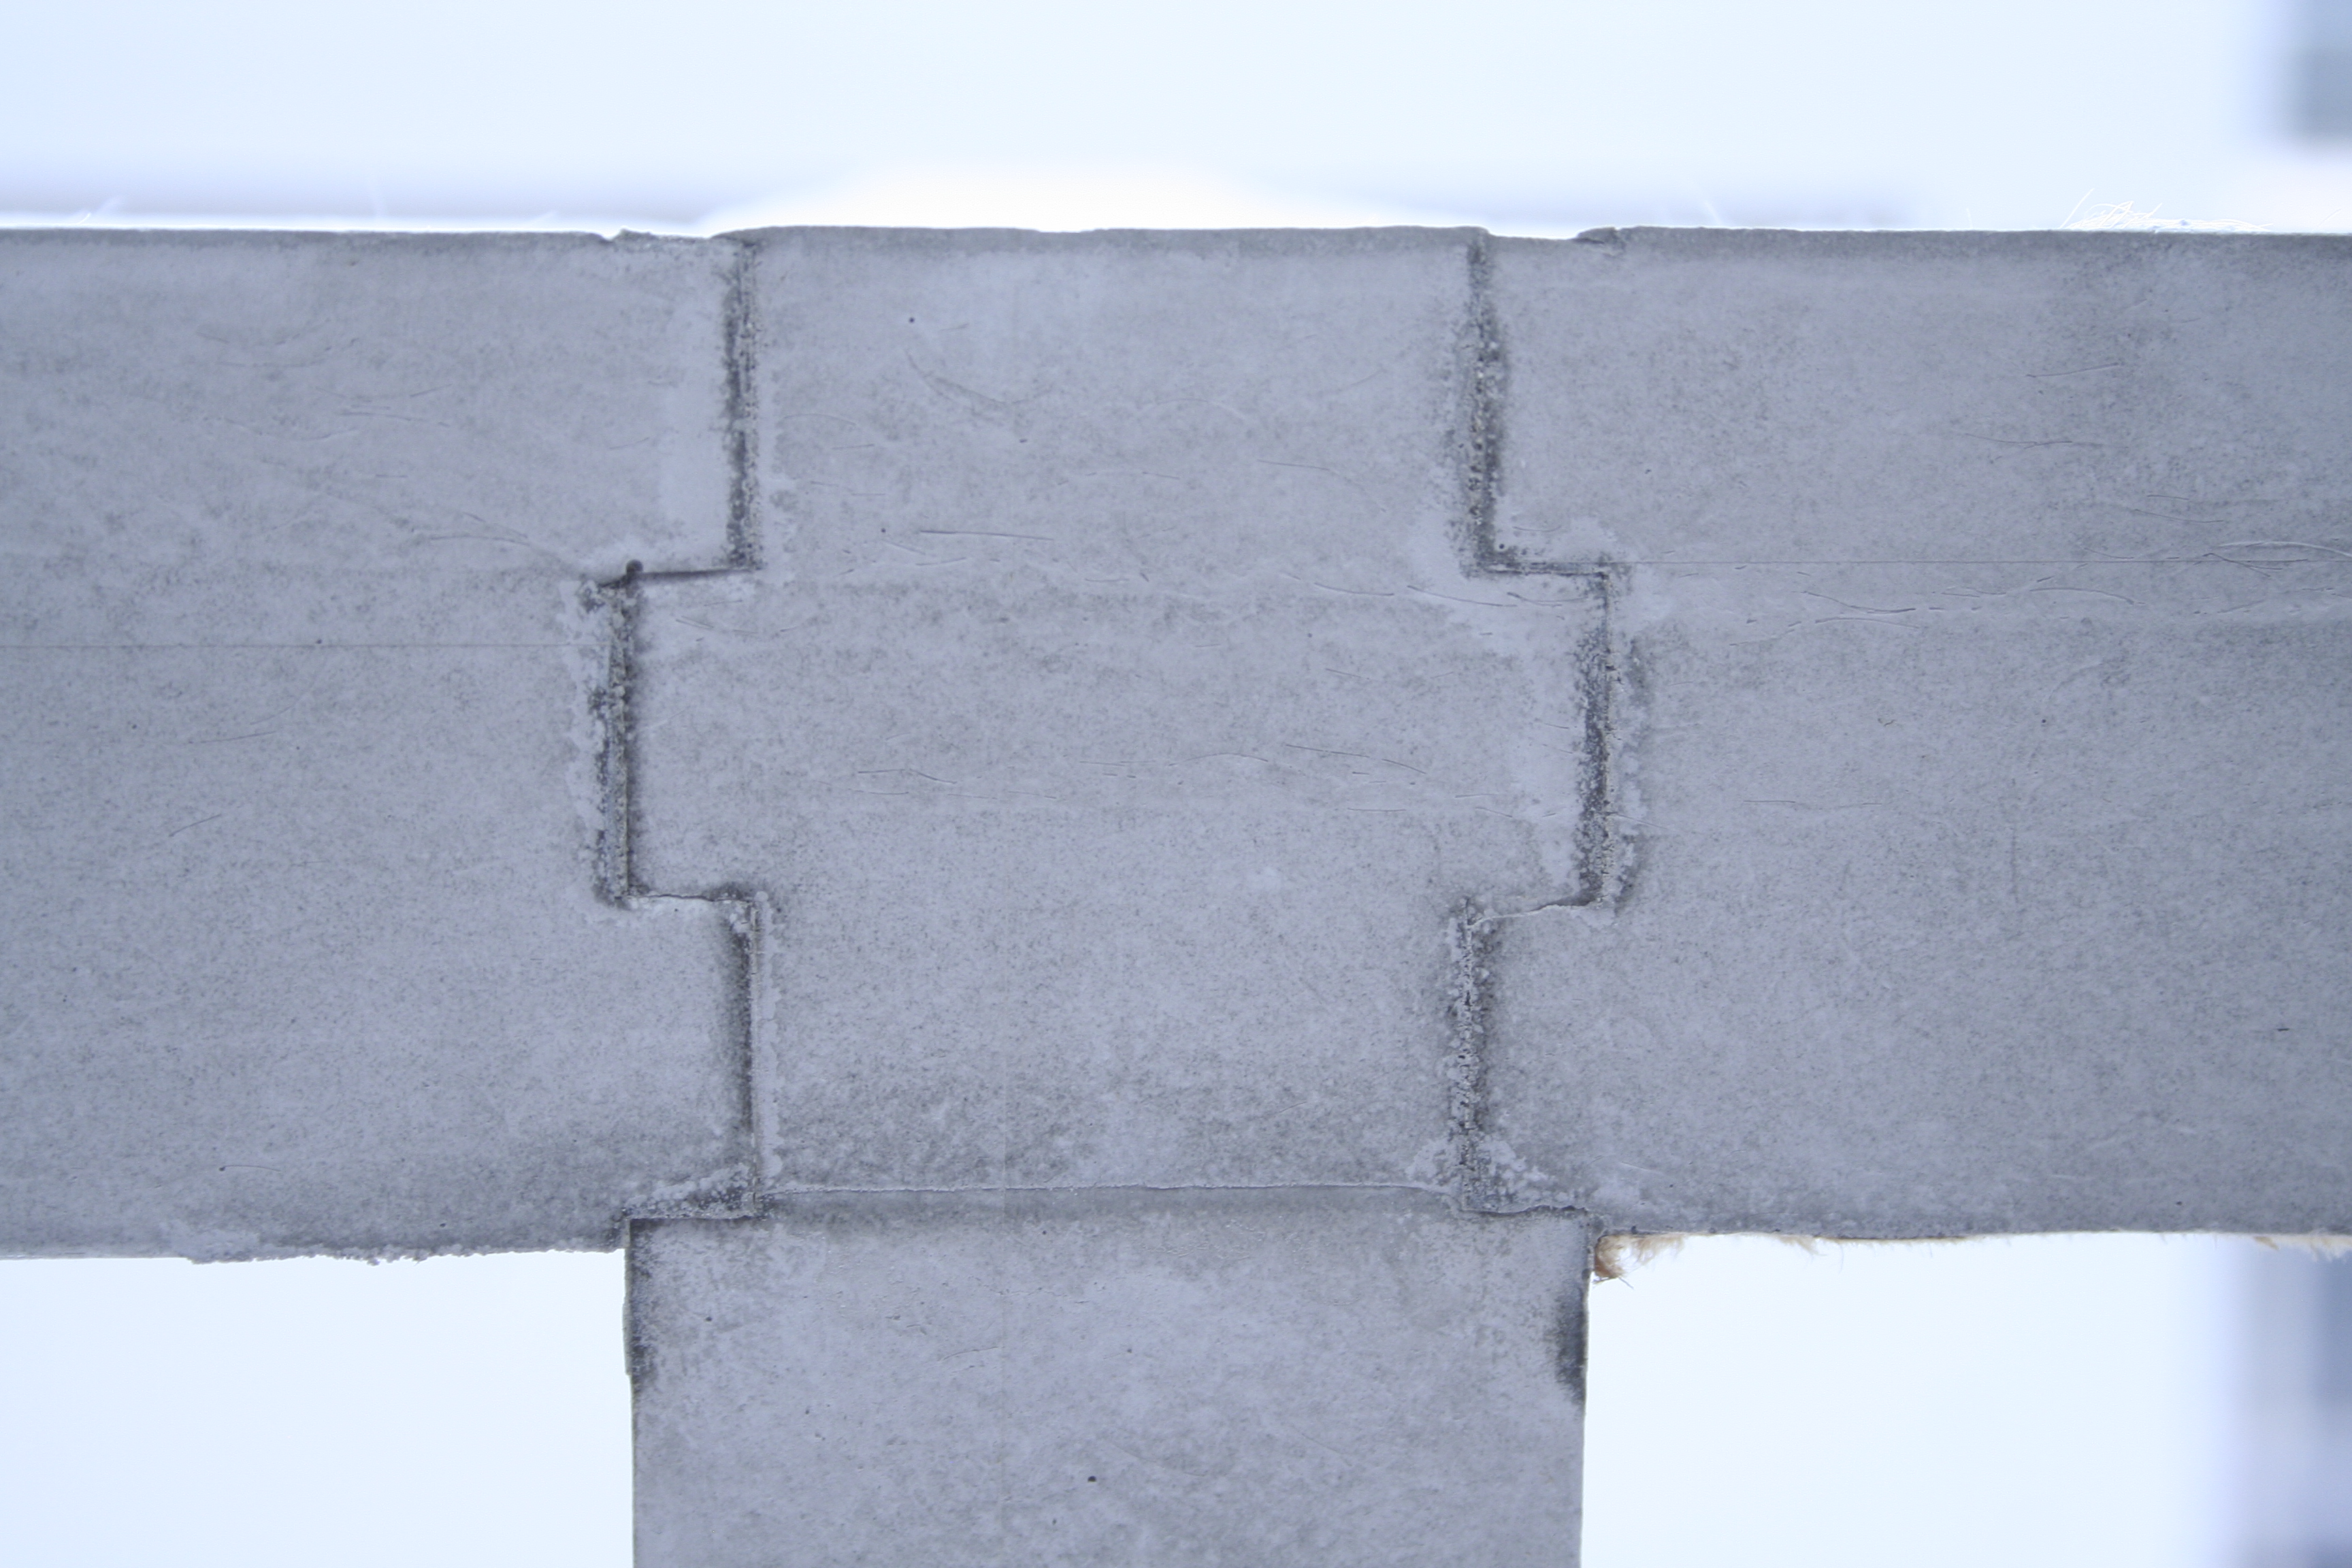
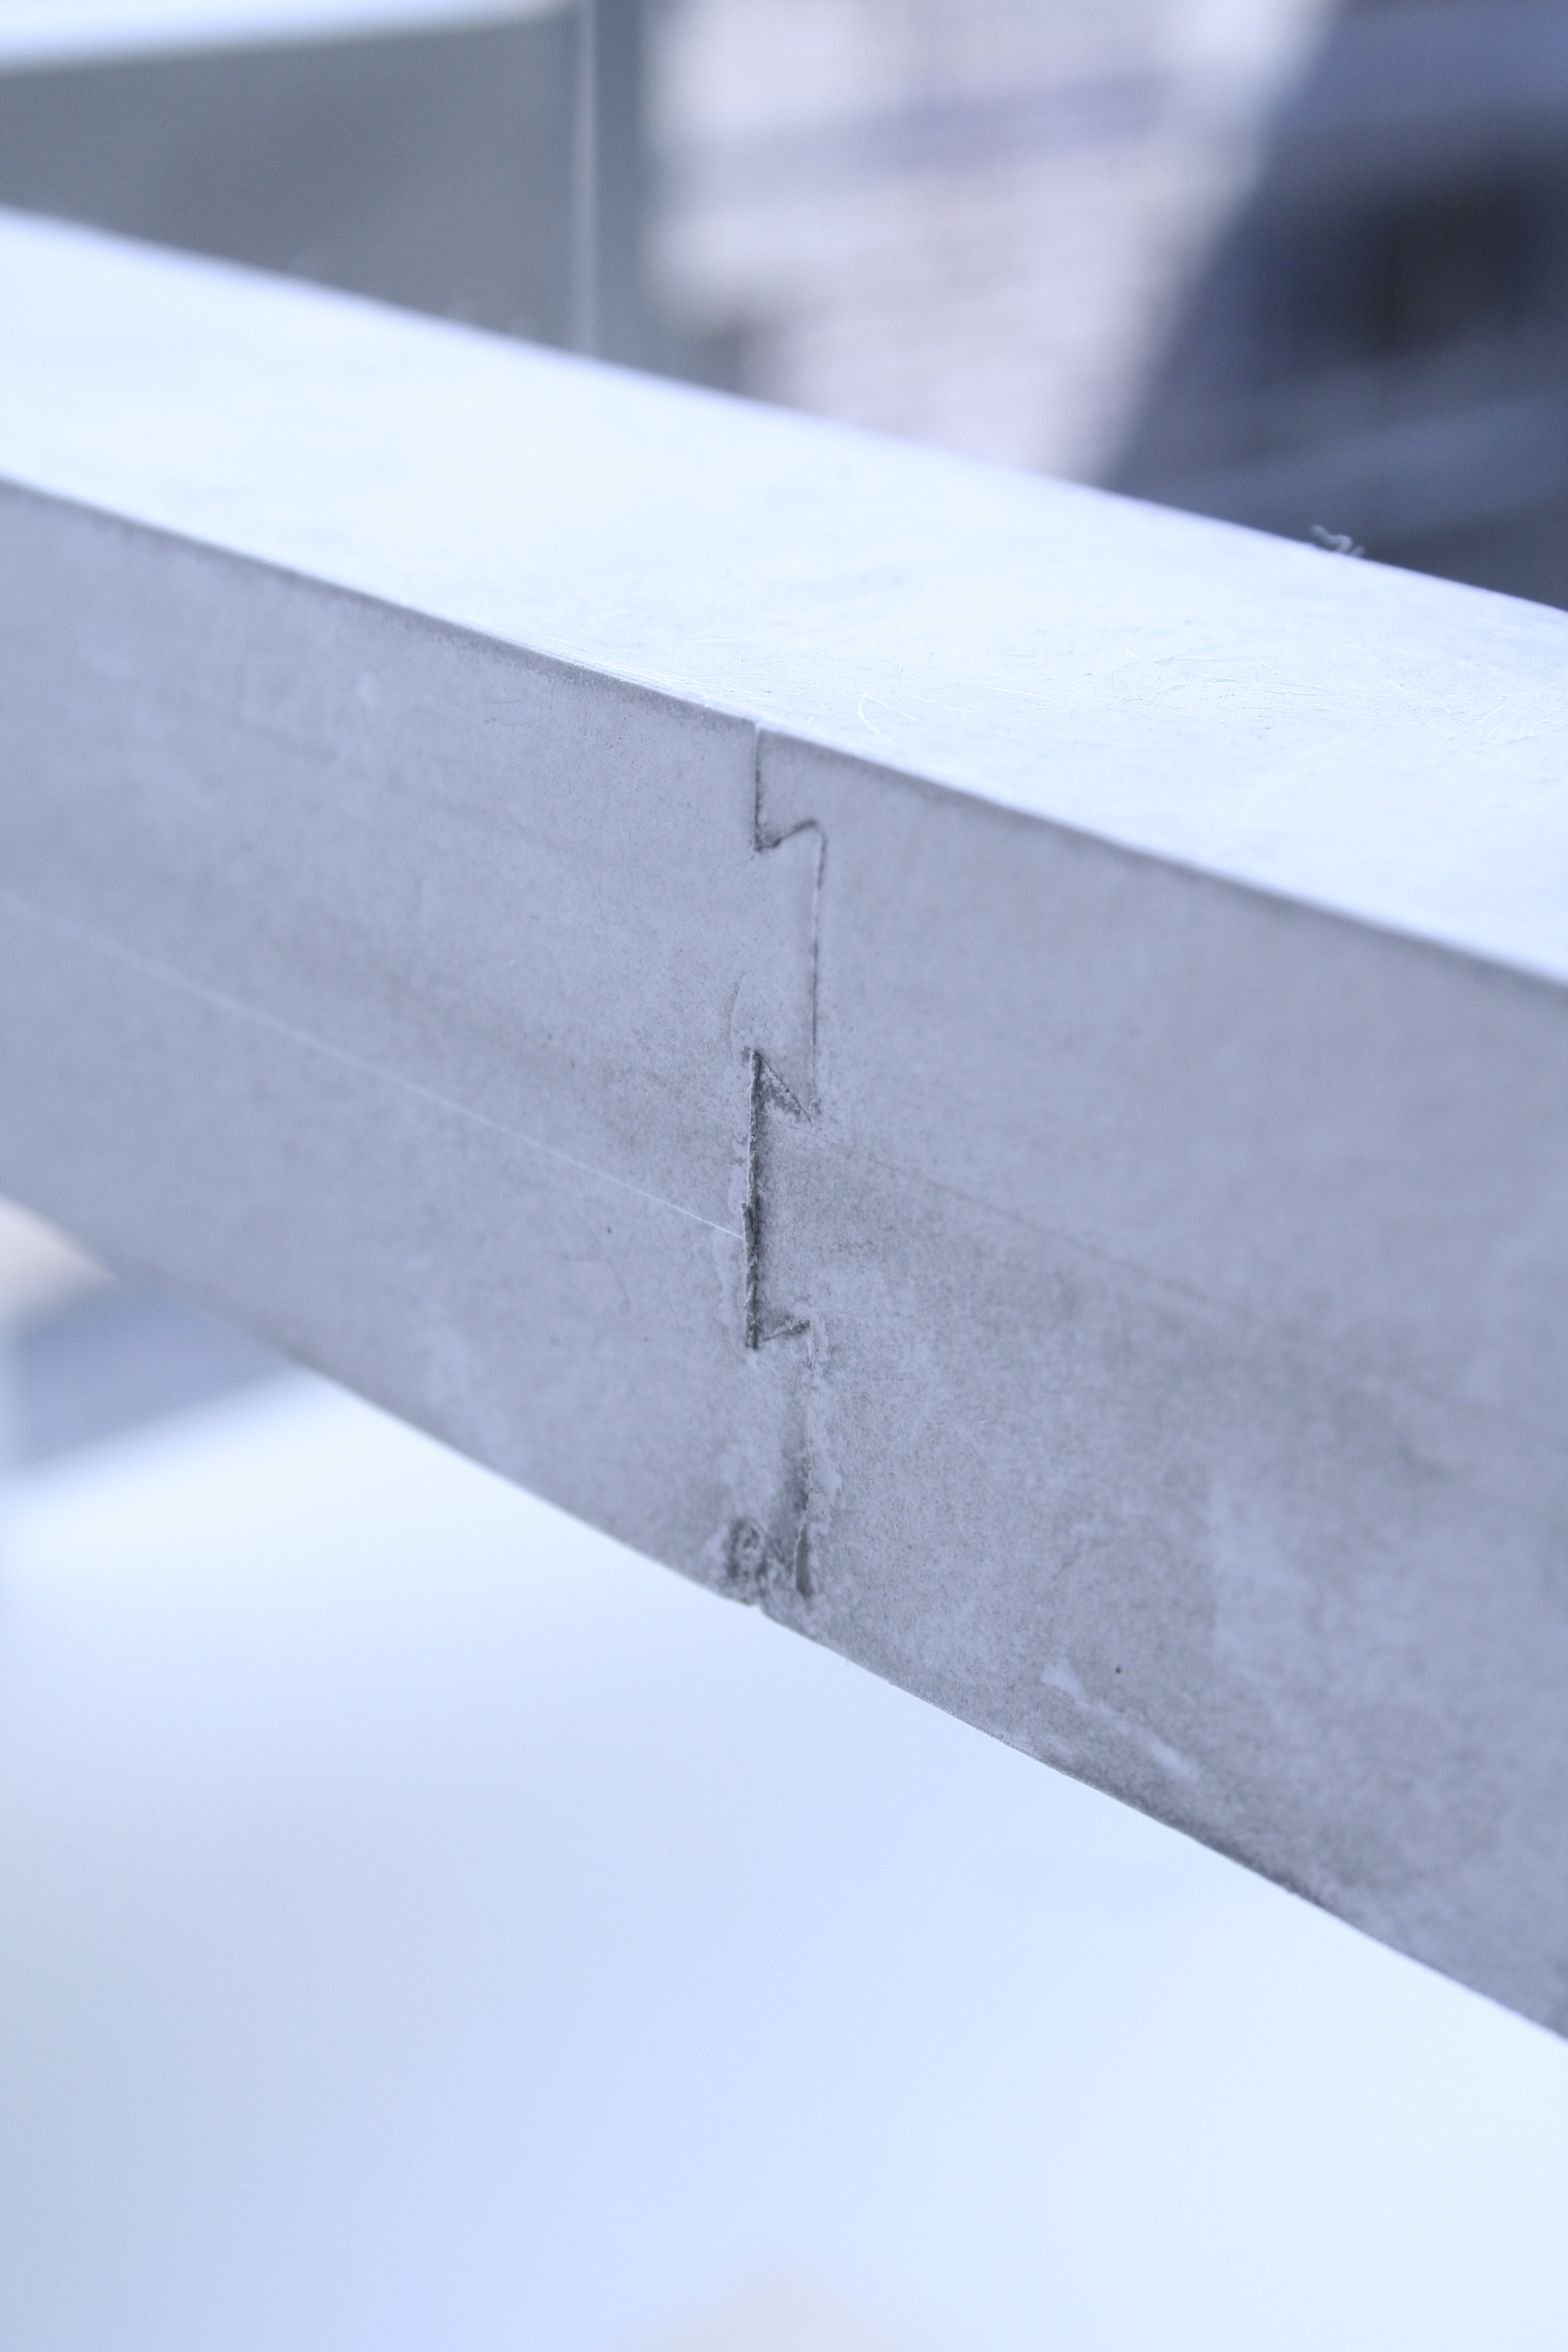
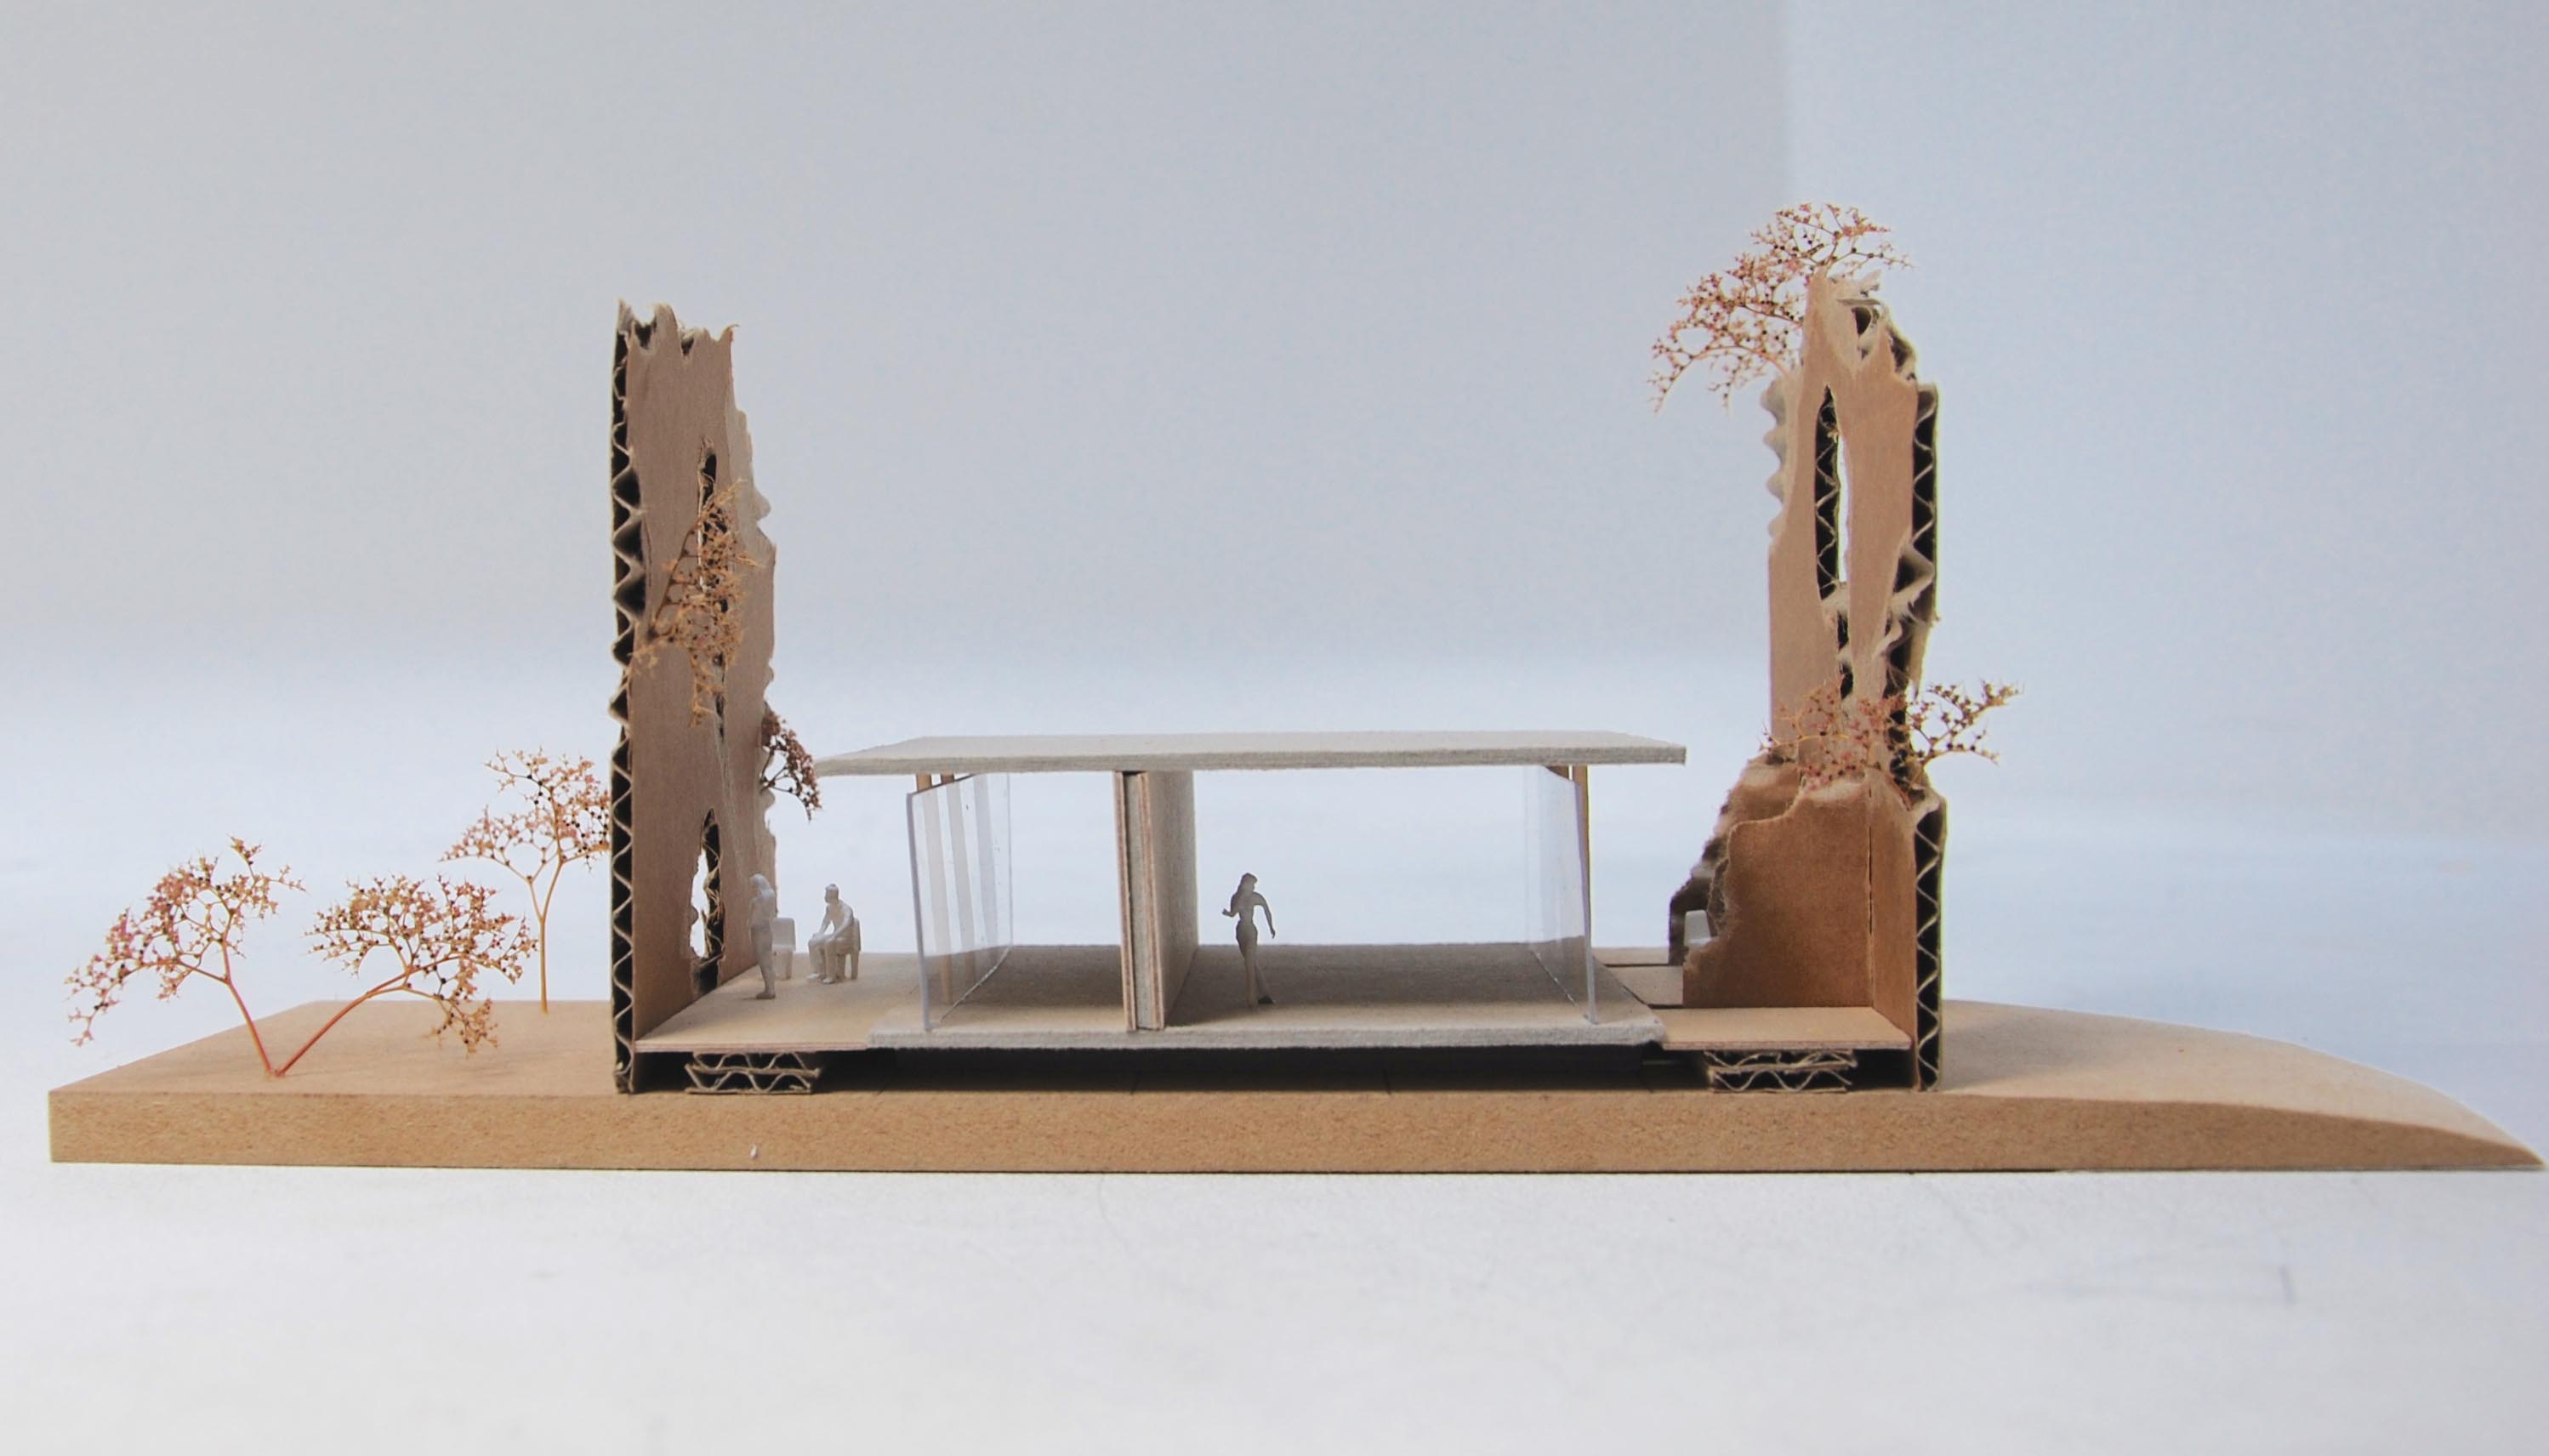
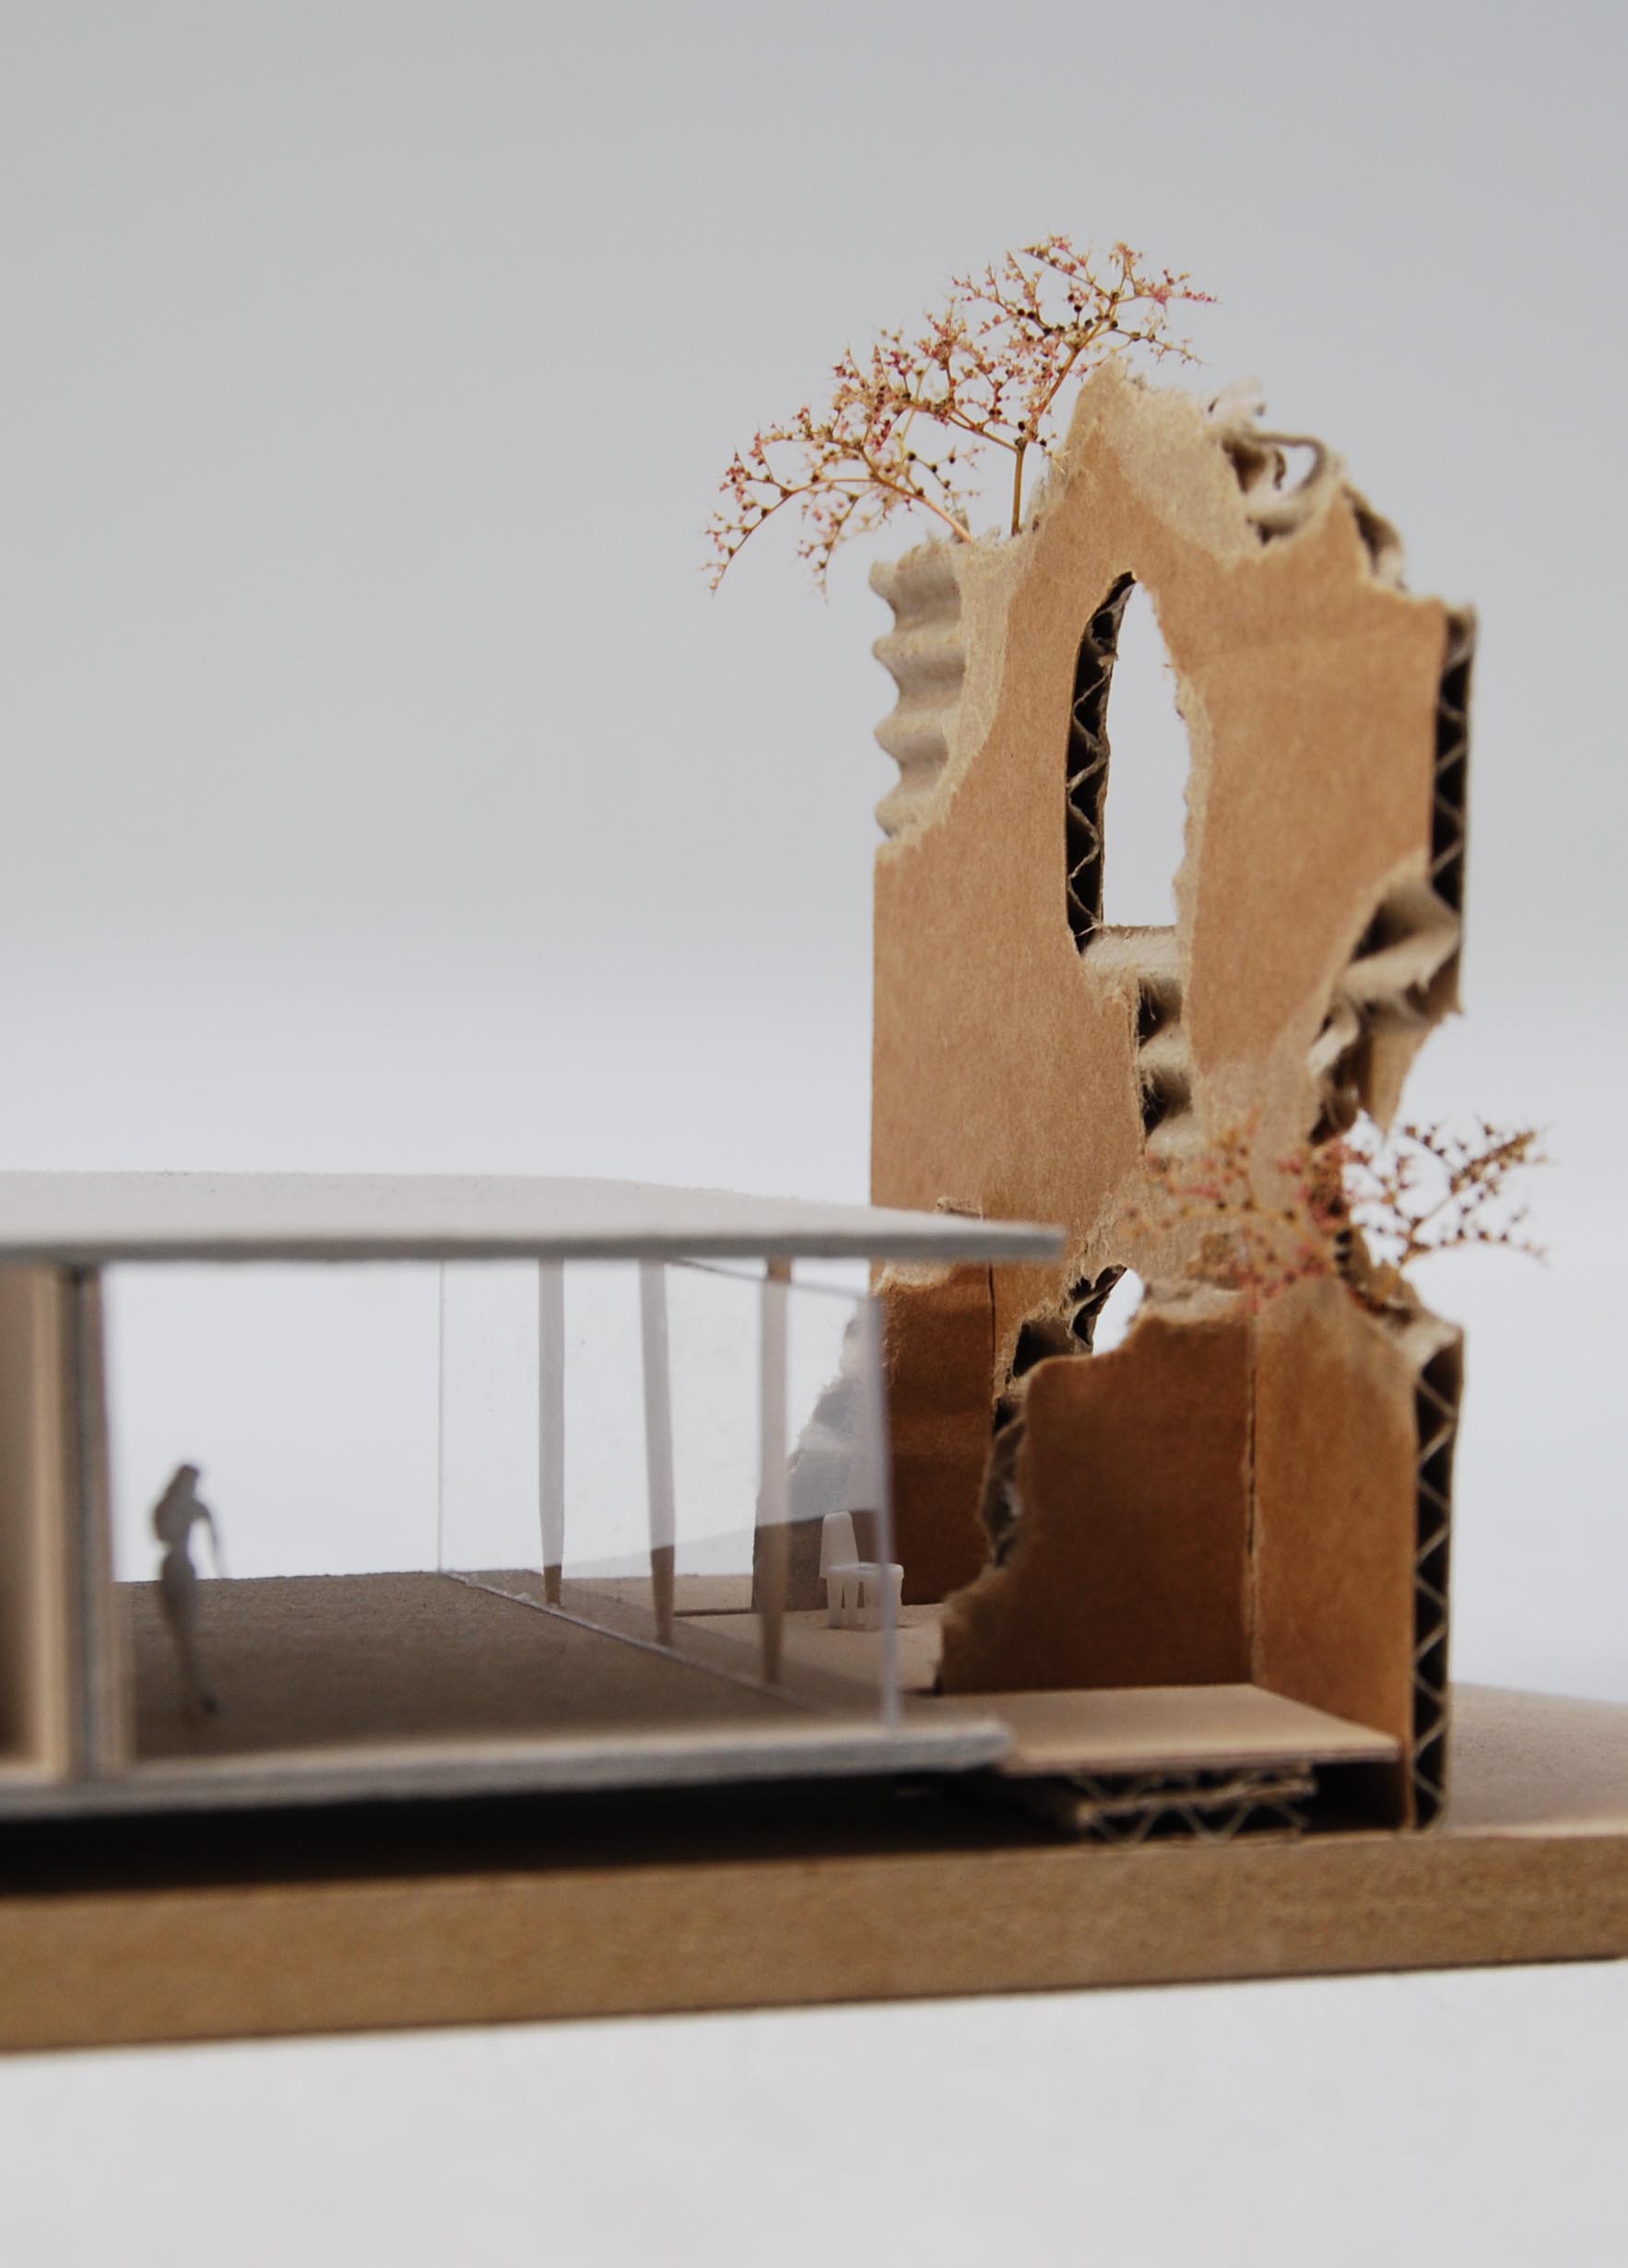
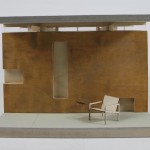
Above the 1:50 model, below the 1:20 ‘impression of detailing’
Thank you, Danique!