
The following text is how Tiwánee van der Horst describes her graduation project in relation to the modelling techniques she used to accommodate a time lapse movie.
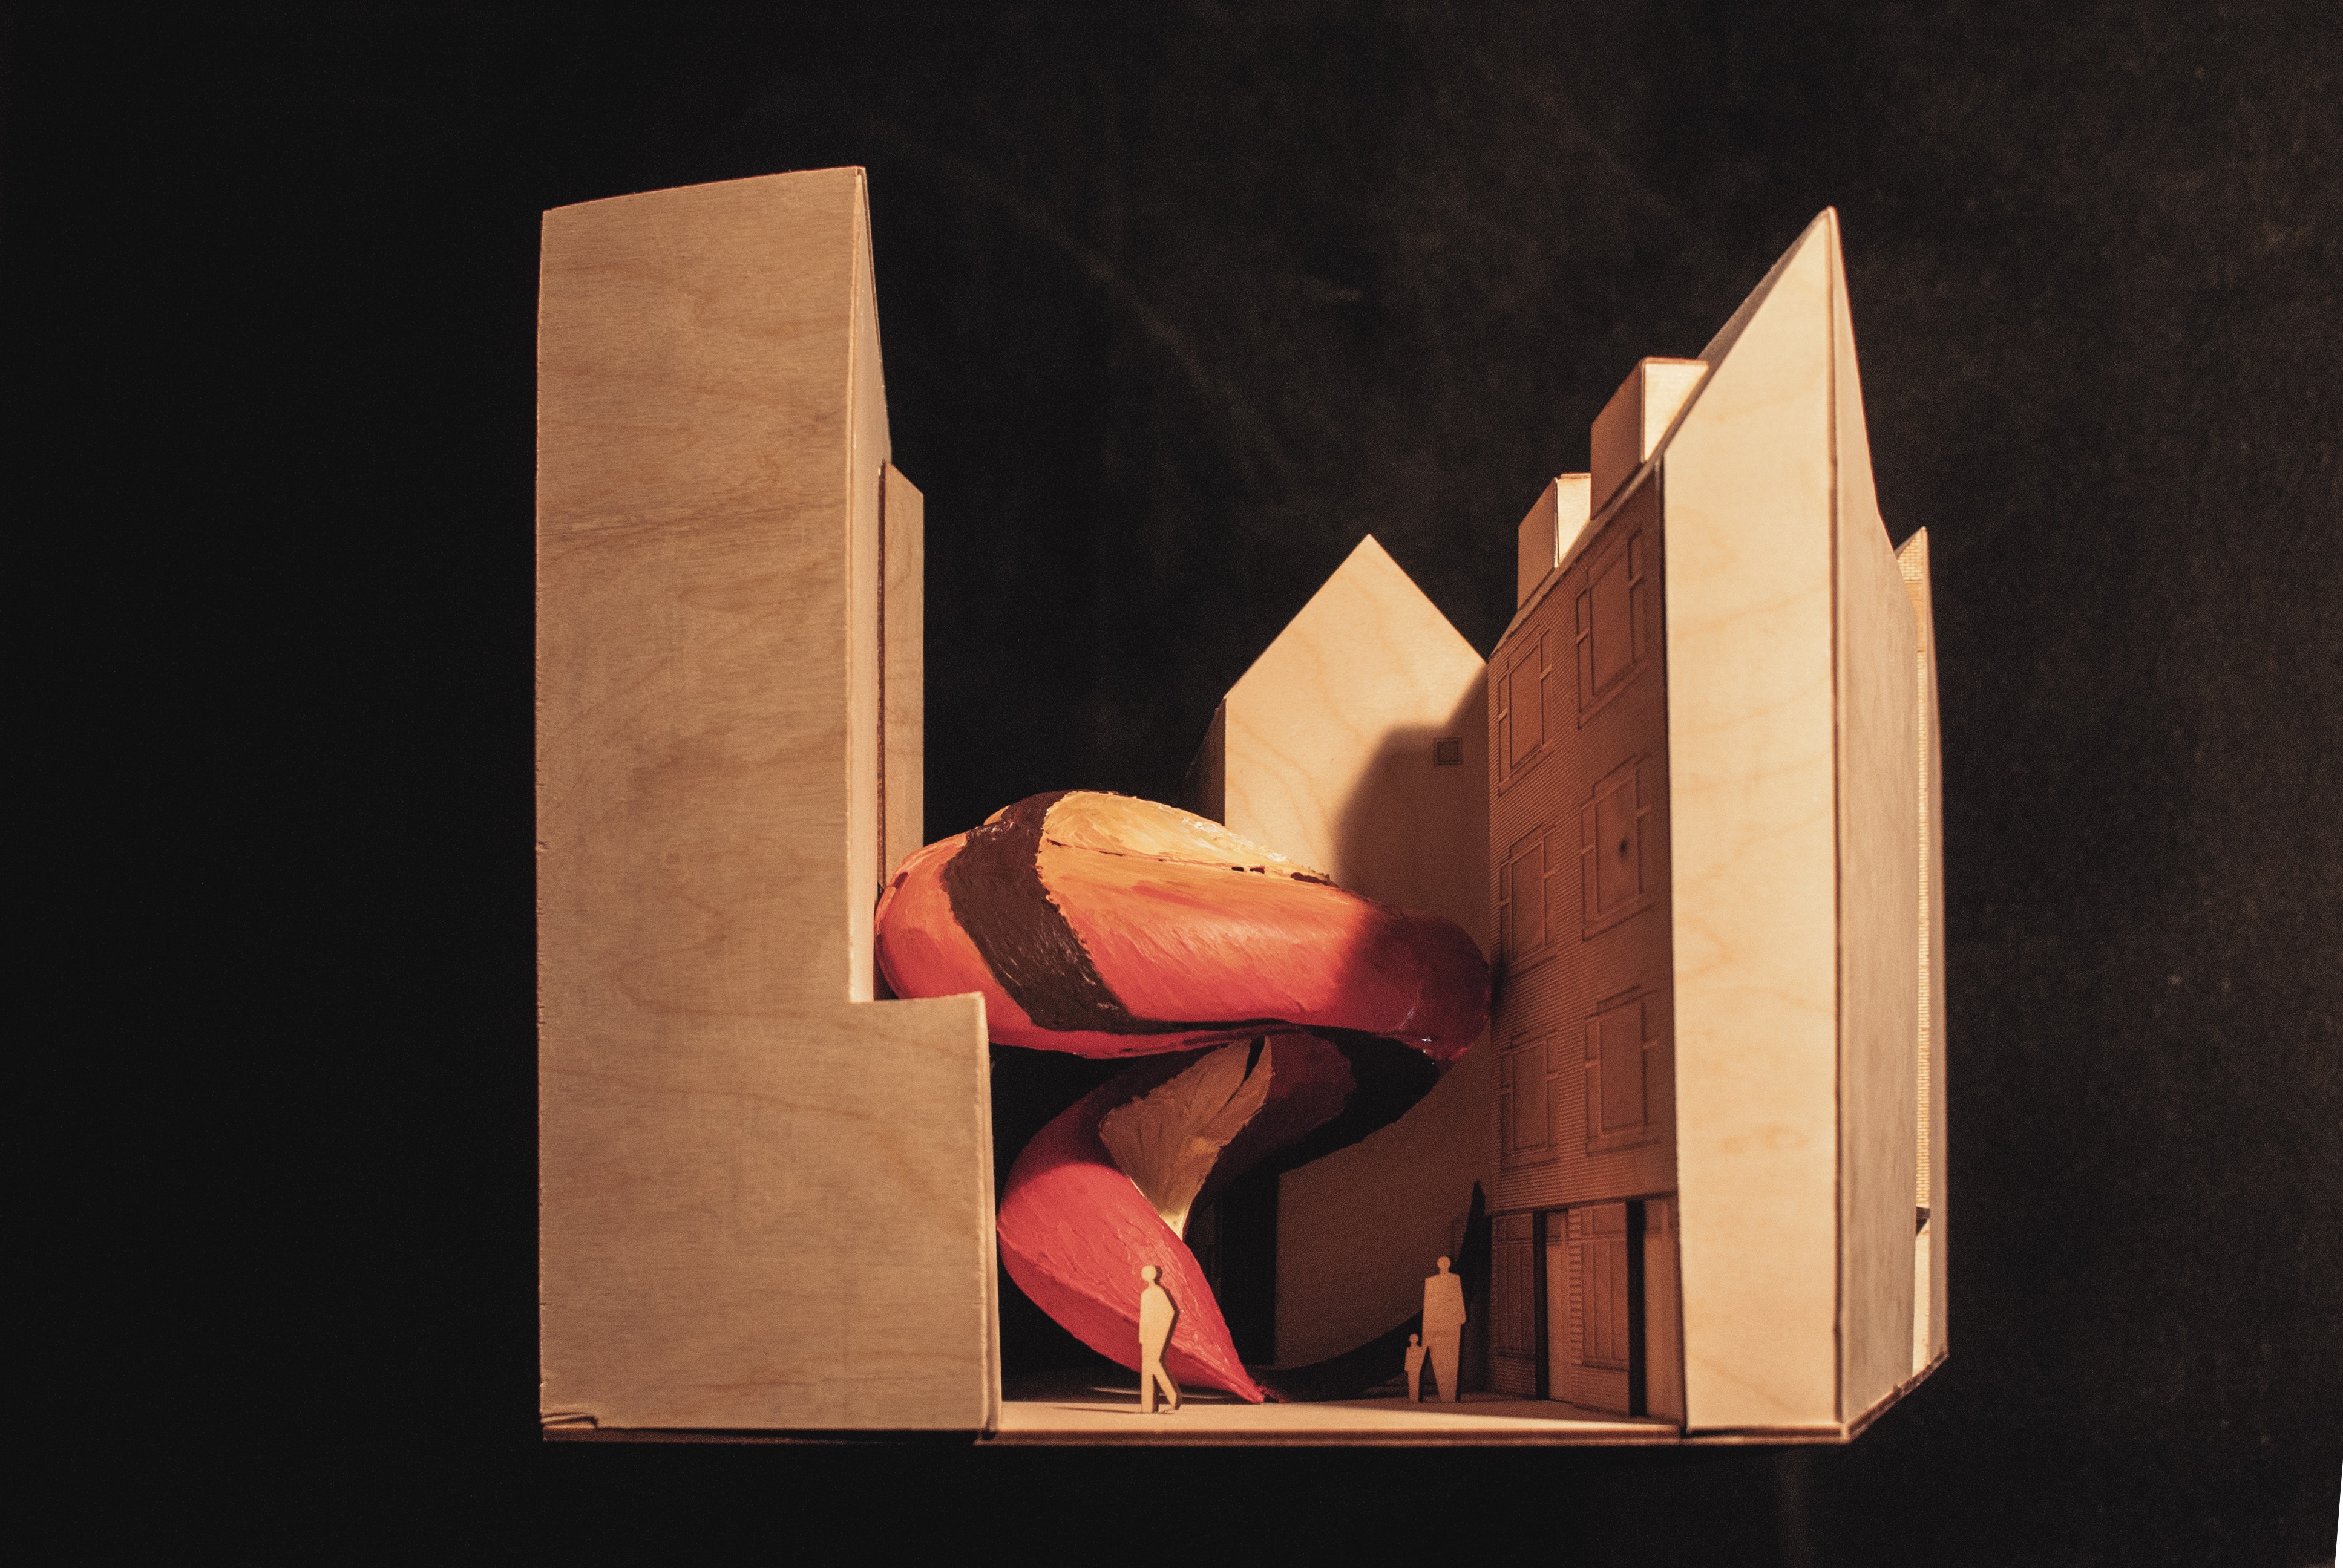
The design for my graduation project was an organic structure where the shape was a result of a three dimensional translation of painterly movements and textures within a narrow alley. With my final model the aim was to show the designed building process through a time-lapse (see movie). For this it was needed to make a transparent surface onto which I could paint, so in the movie it would look like it was extruded in mid air.
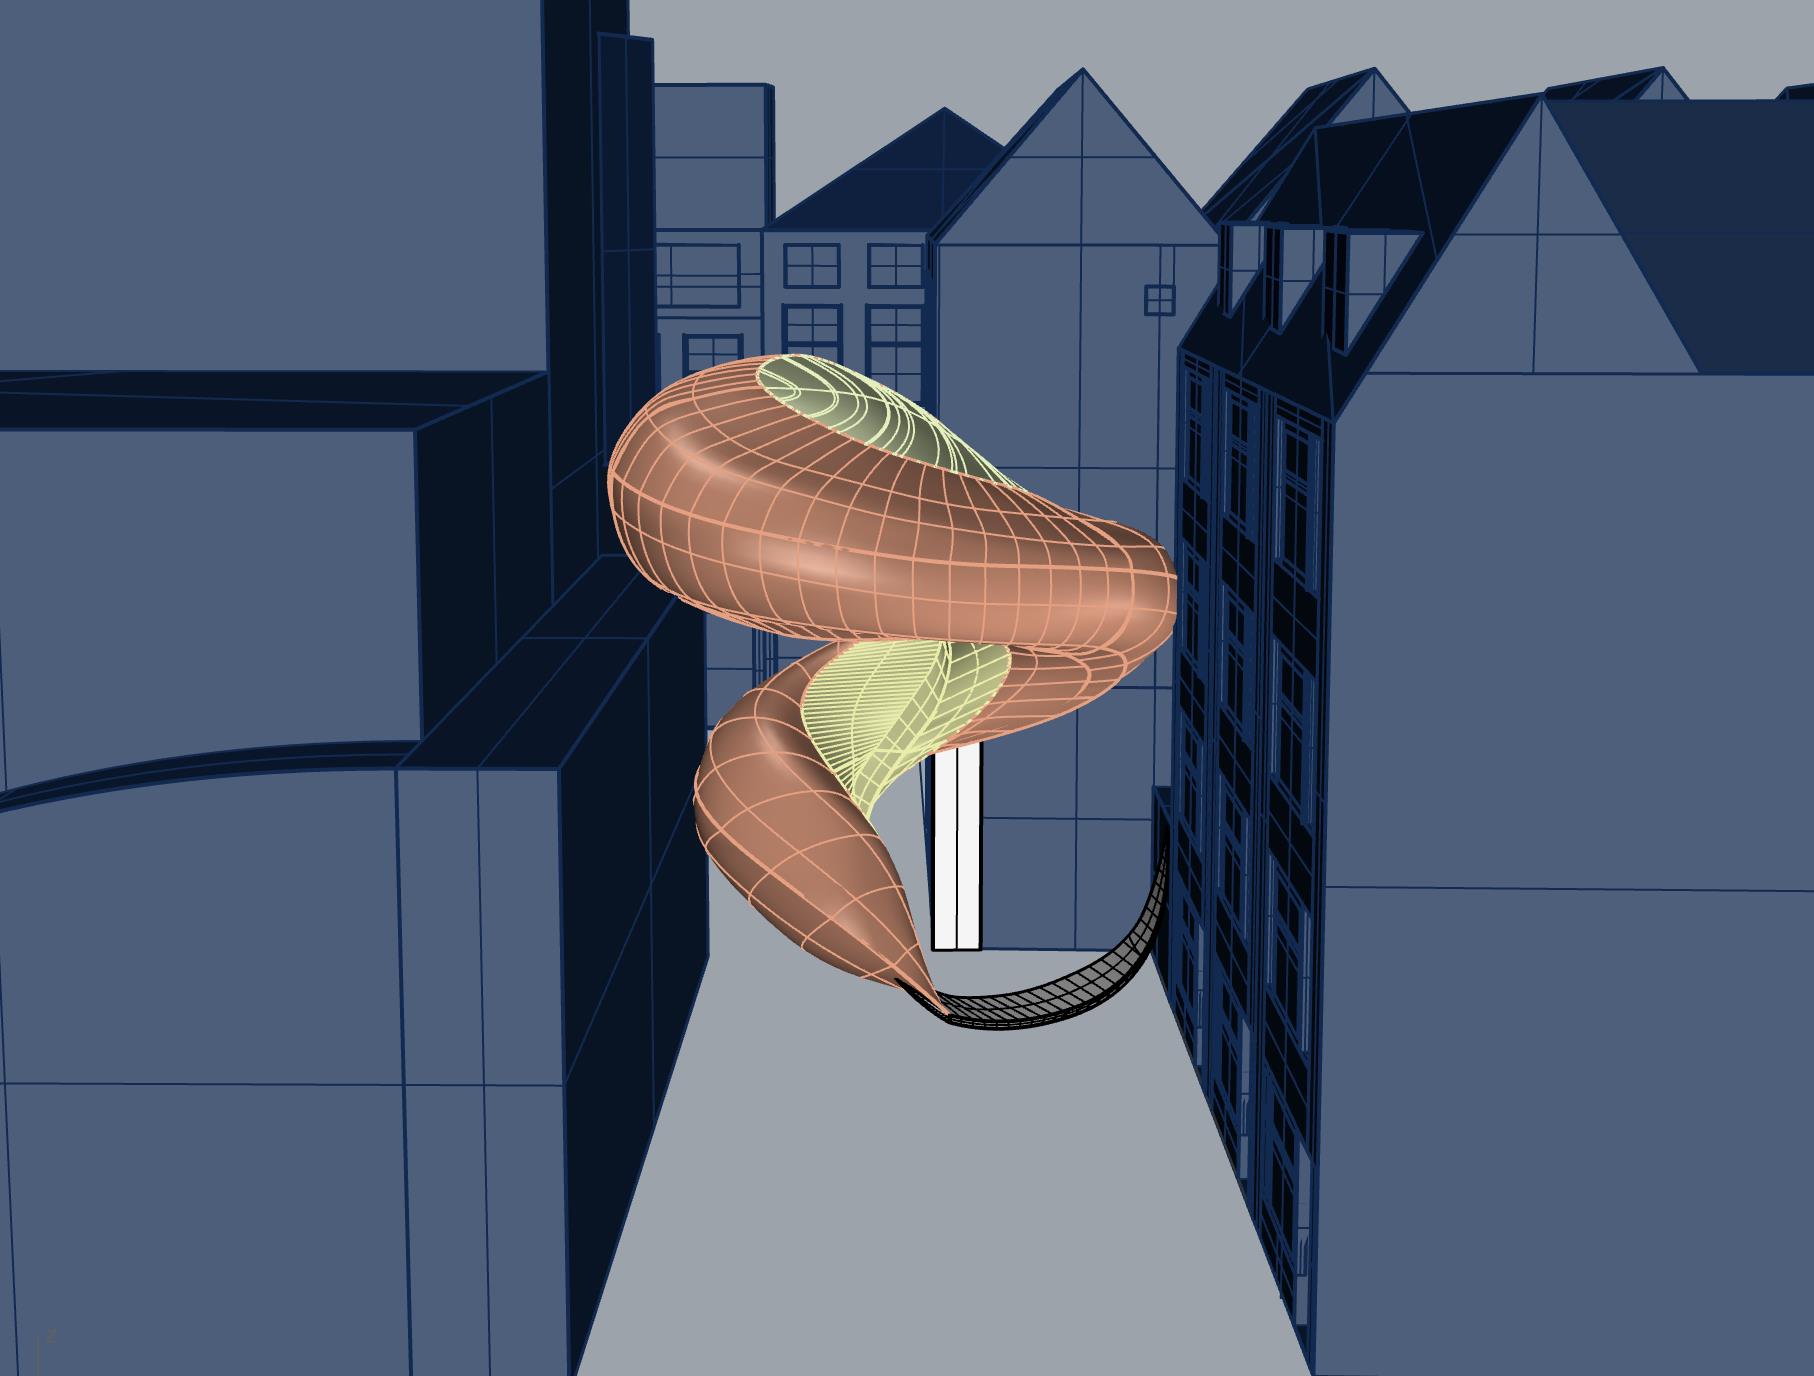
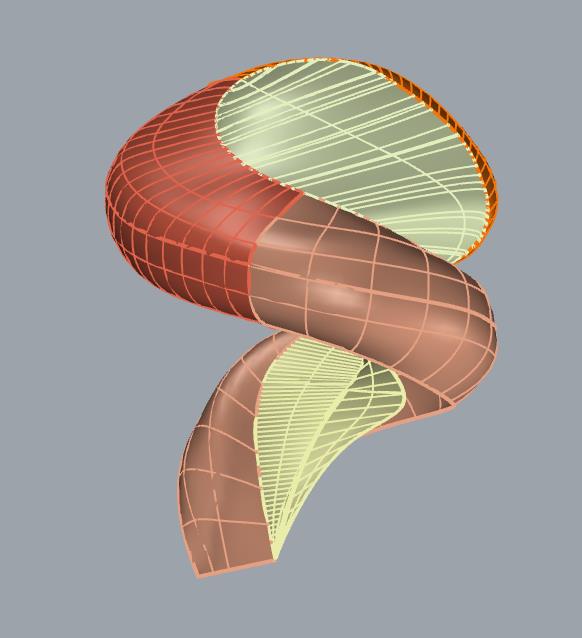
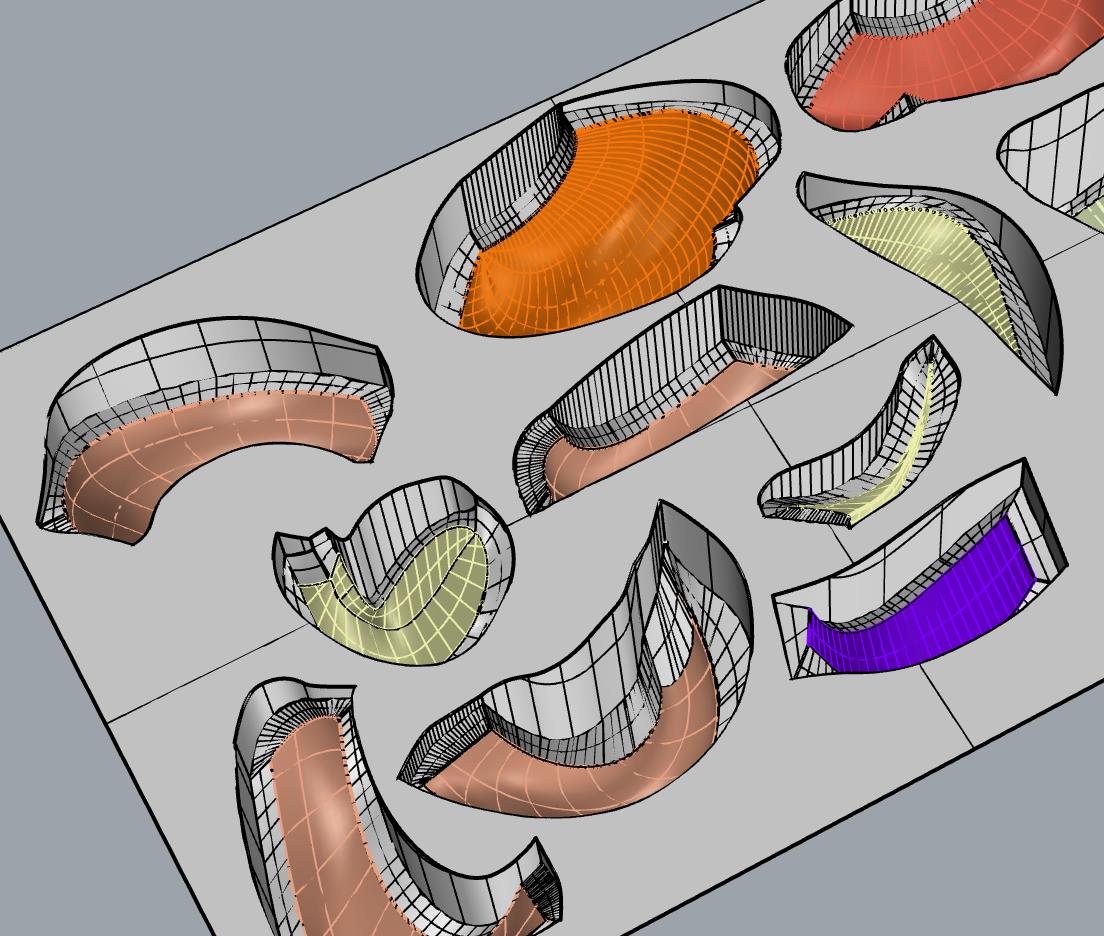
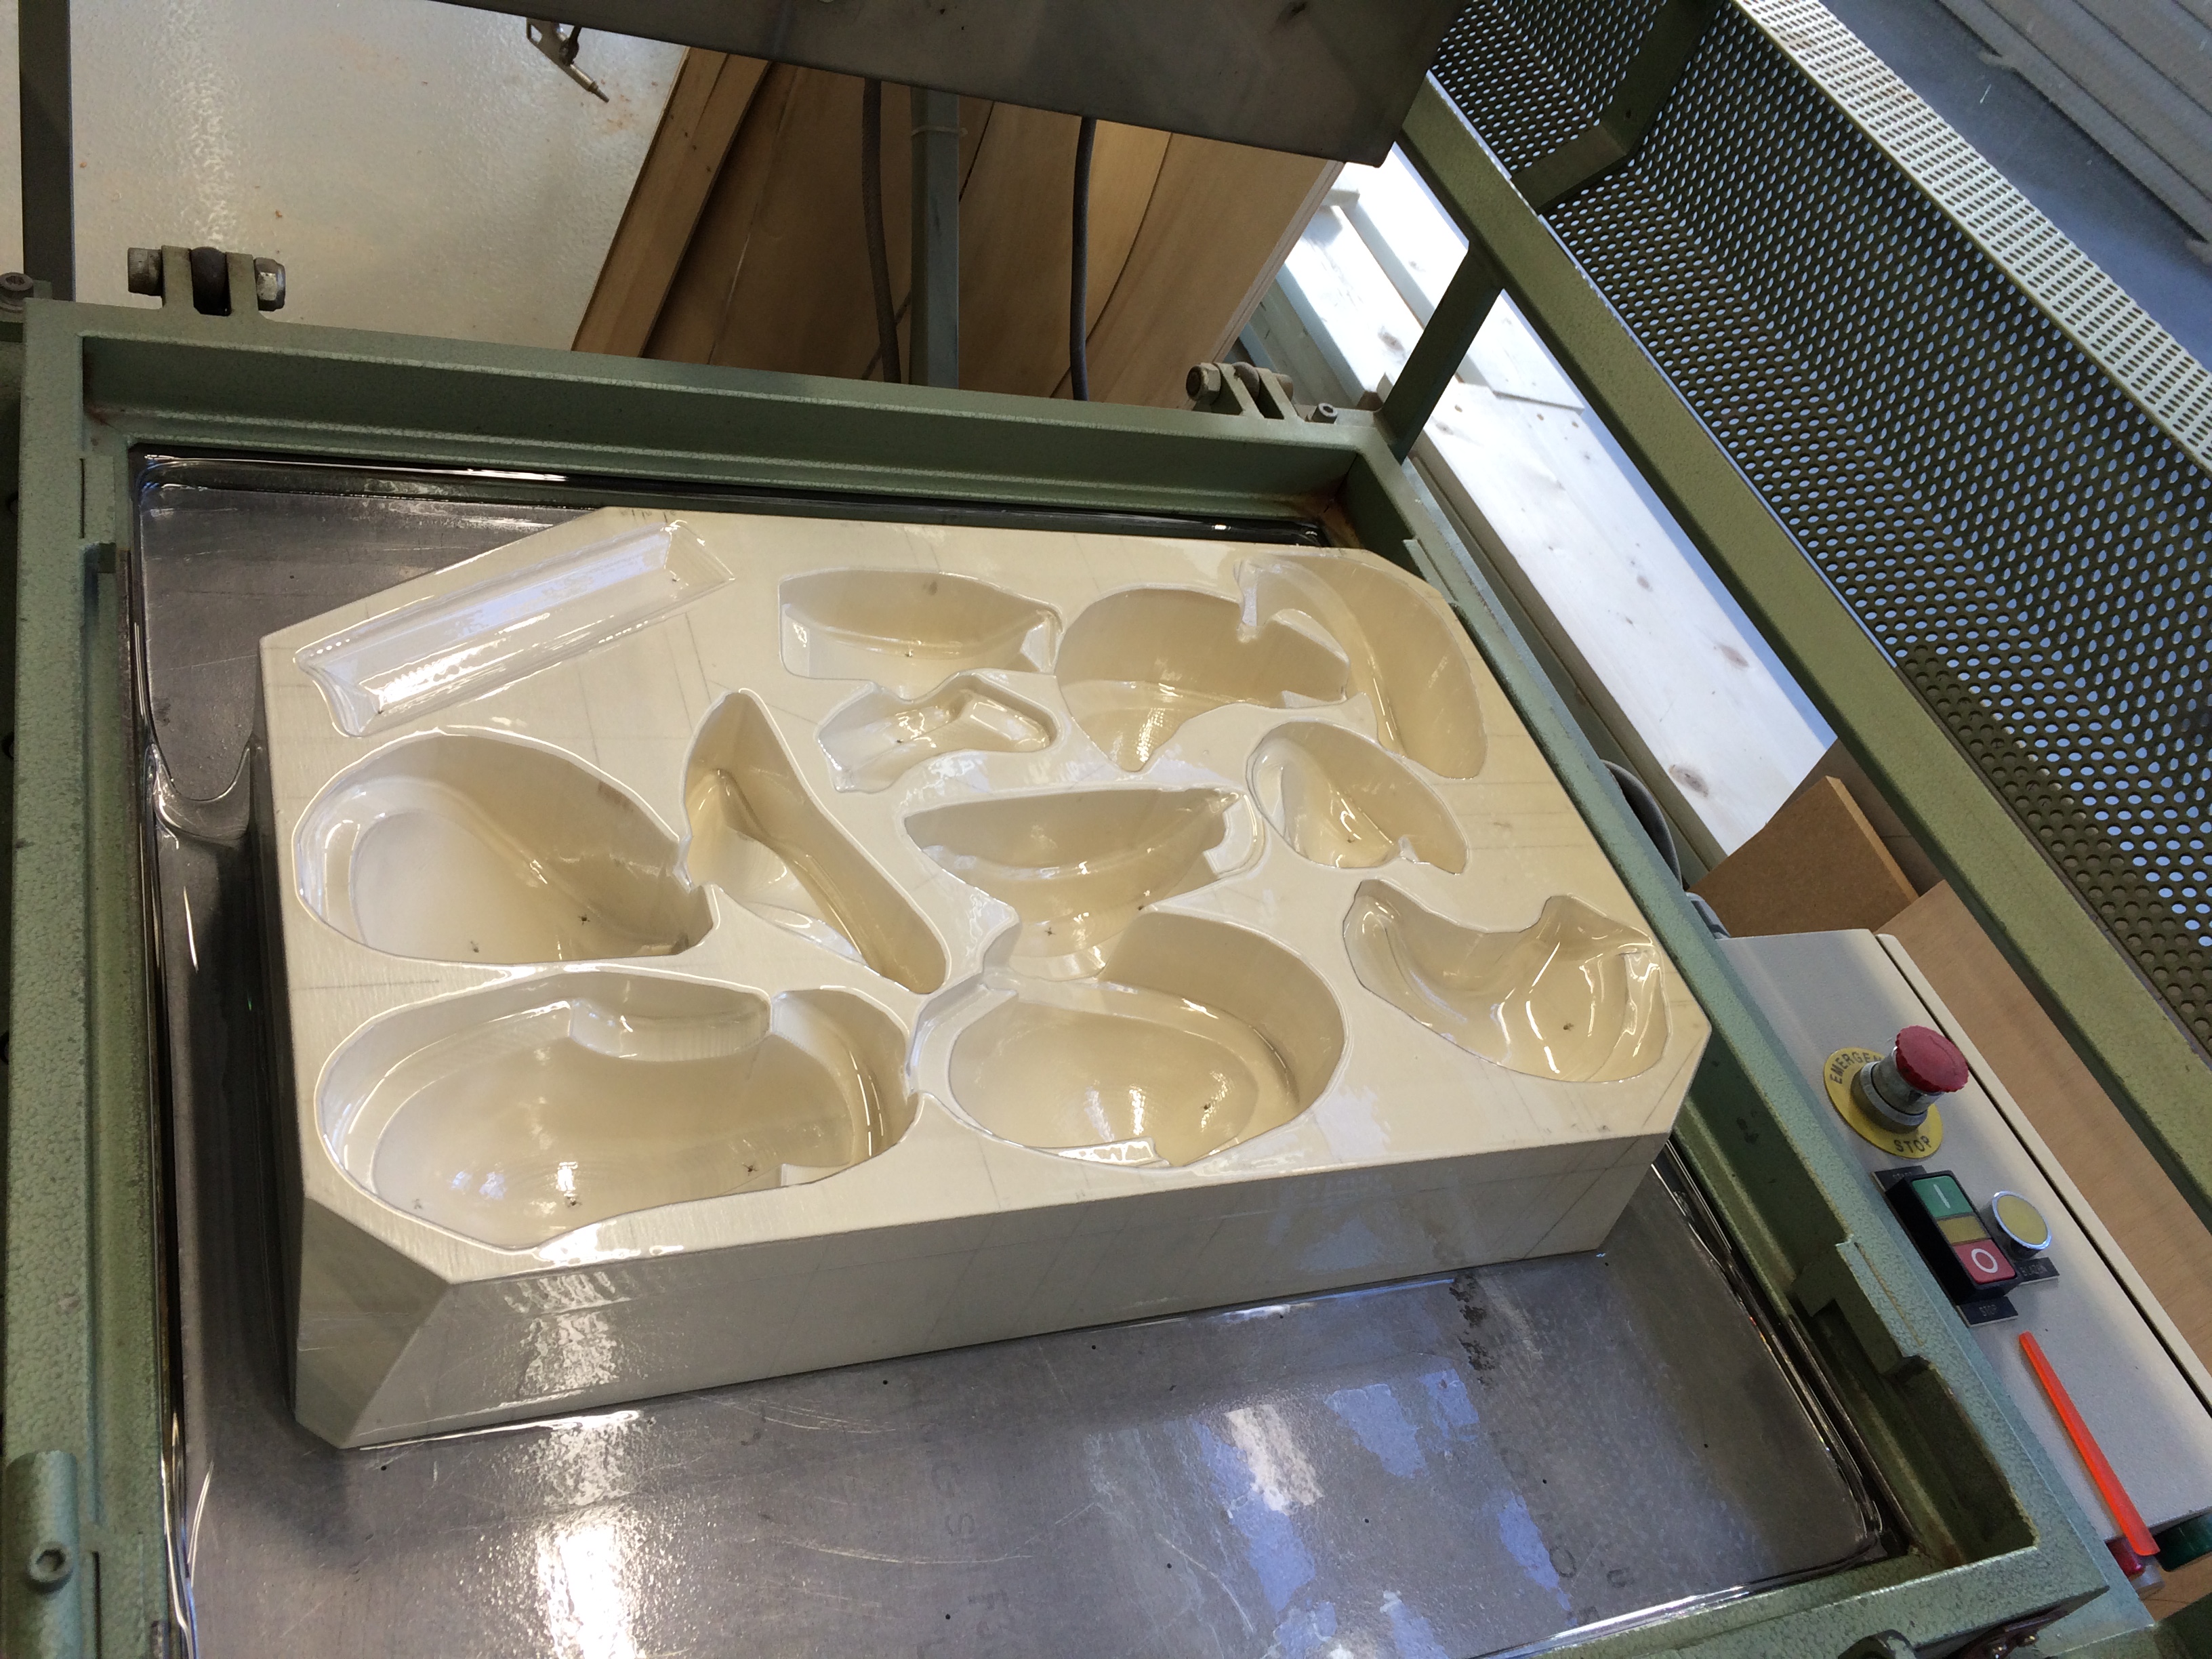
The options were either to 3D print the complex shape with a transparent filament or to deep draw with transparent Vivak. However the filament would never be entirely transparent. Therefore I decided to use transparent Vivak for deep drawing. For this it was necessary to make a mold through CNC milling. I divided the design into separate parts, which could then be laid out horizontally for deep drawing, after which all the parts could be glued together, creating the transparent paint surface.
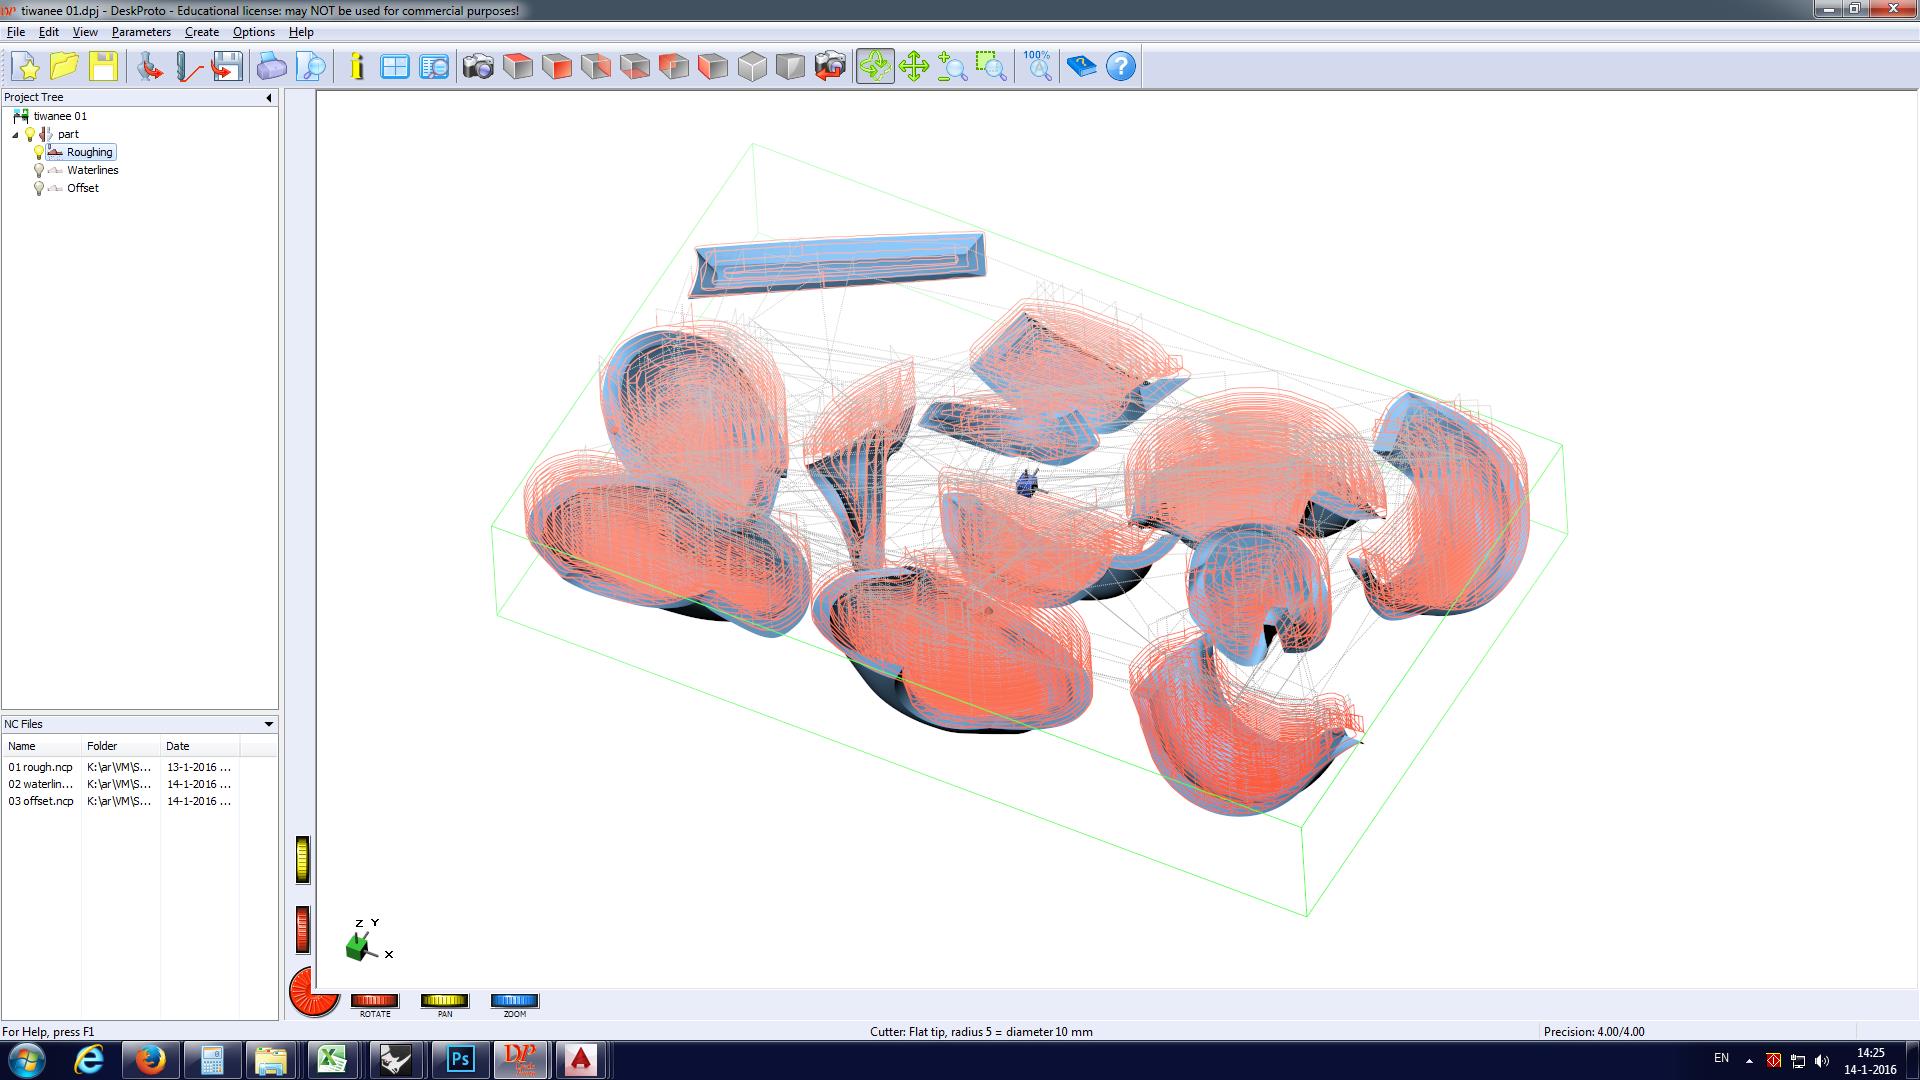
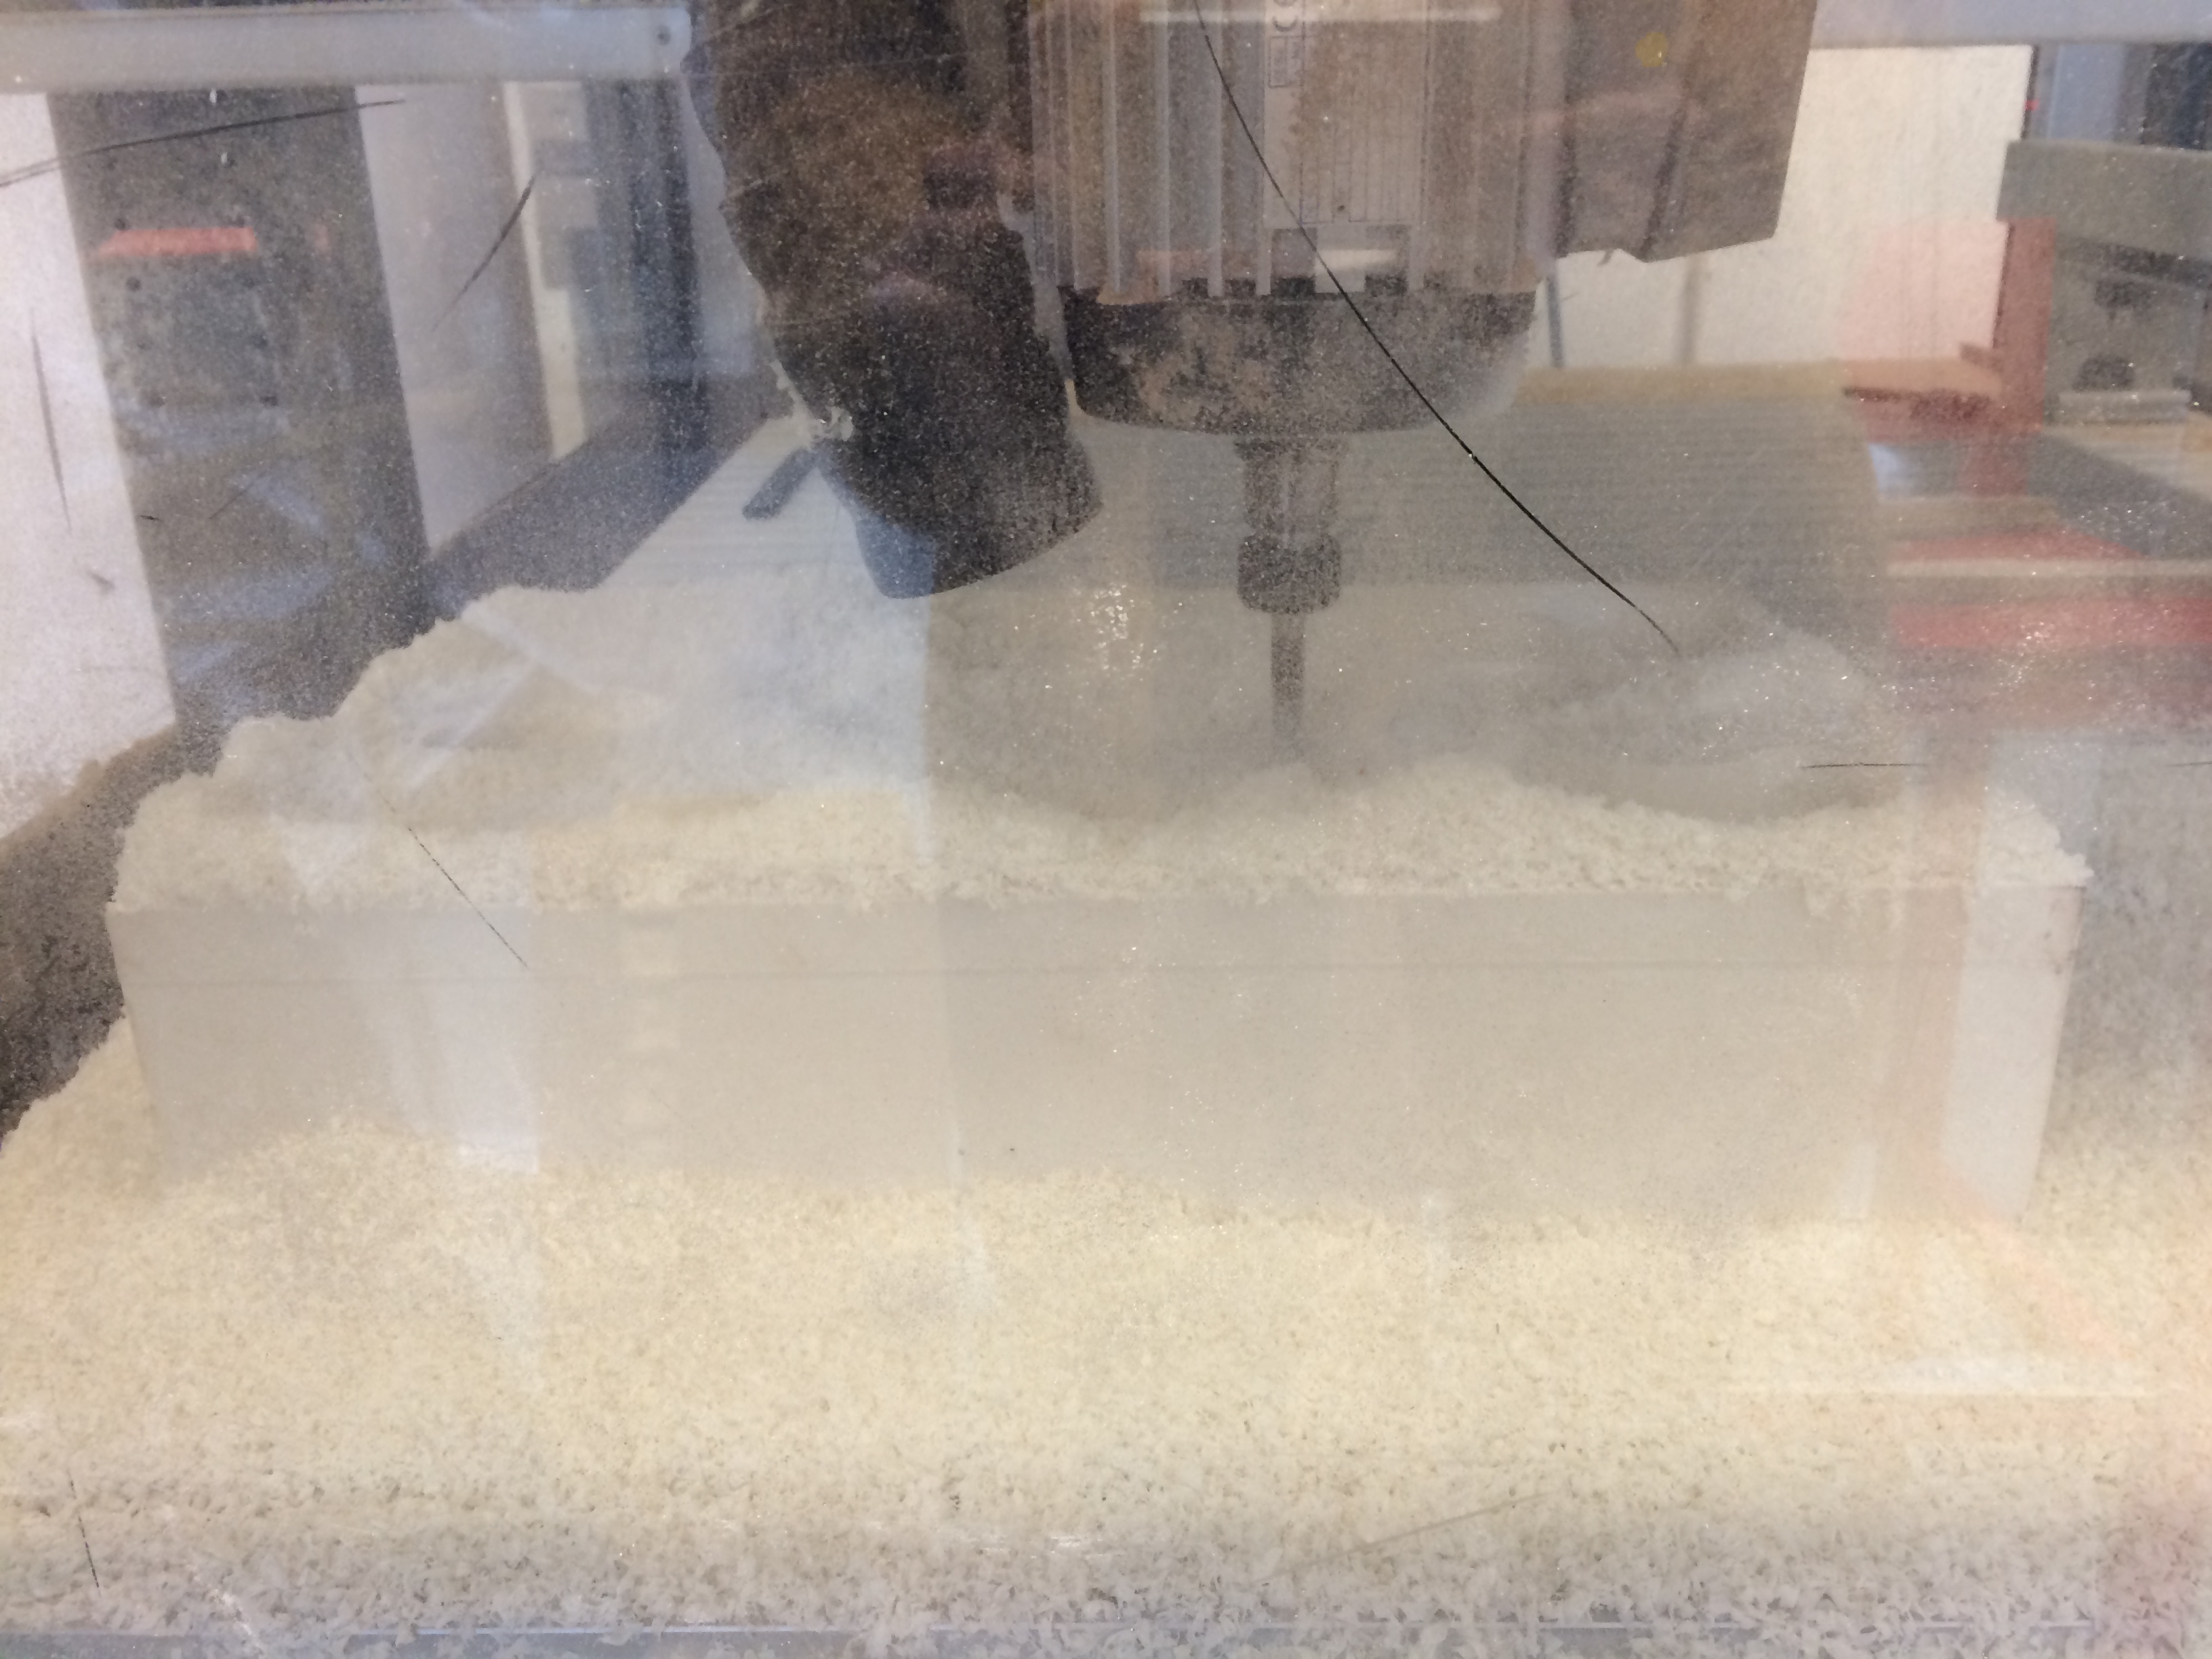
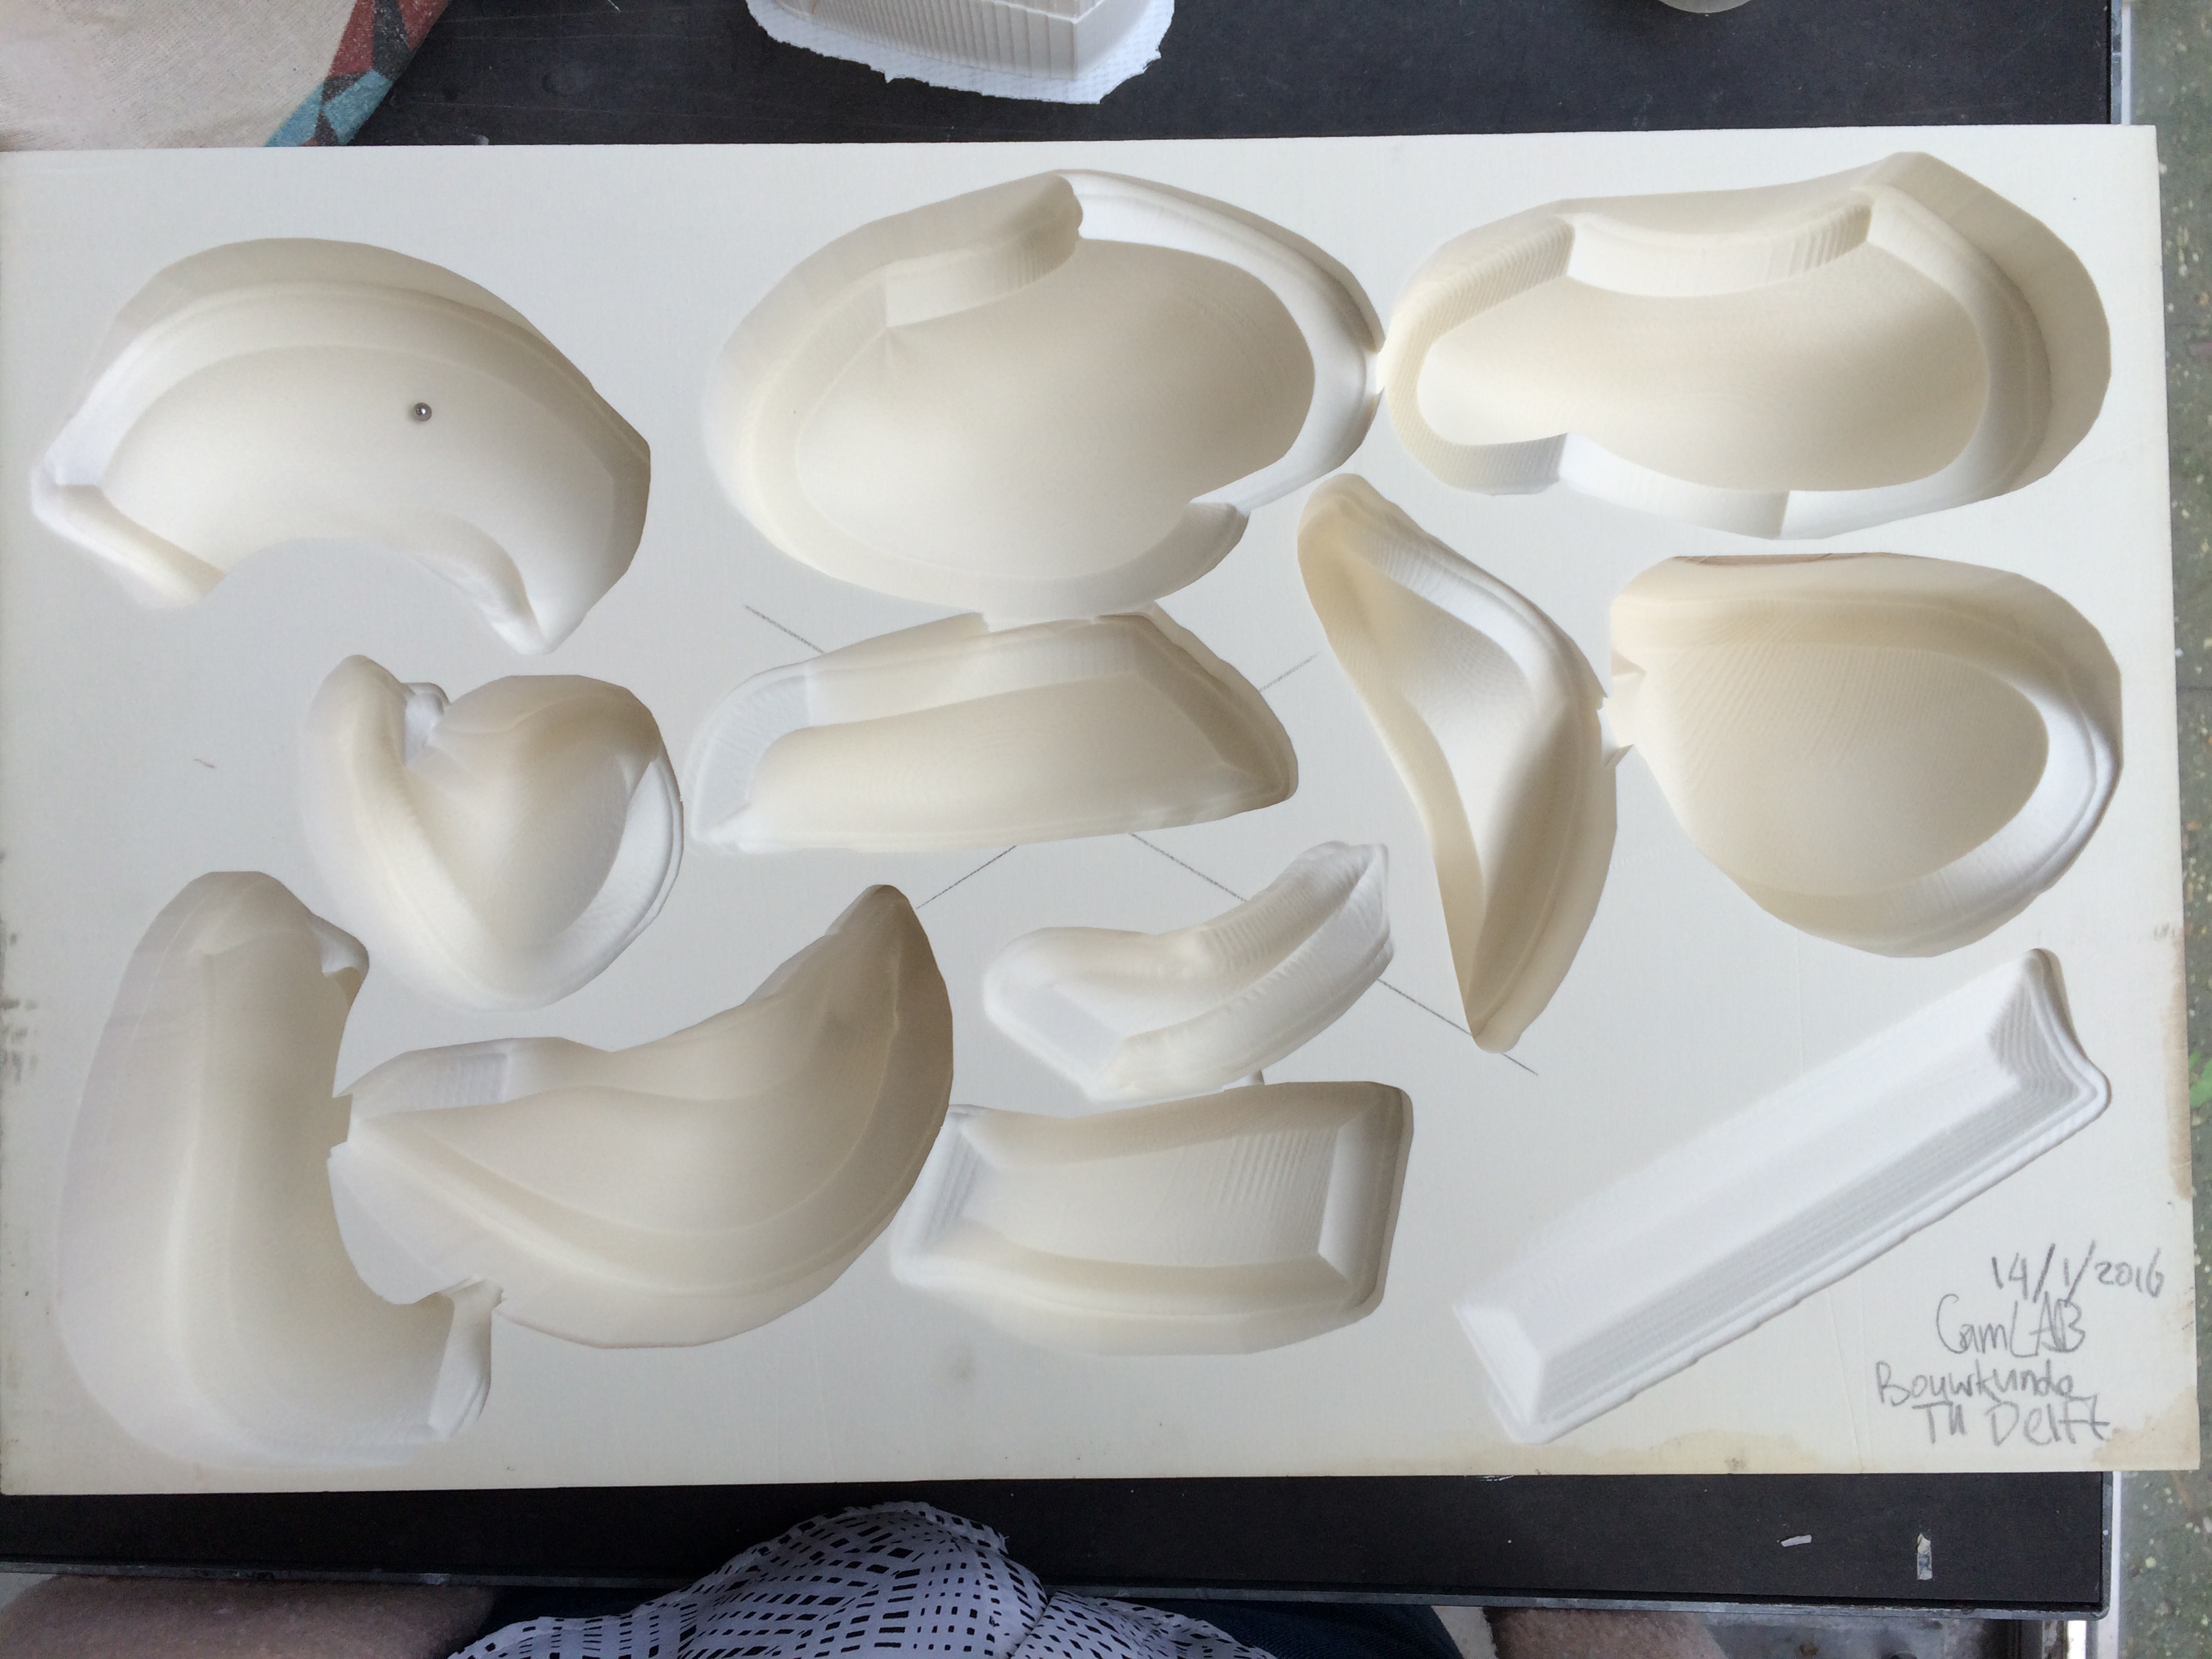
The rhino file was prepared for the CNC milling process by the CAMlab. Because the deep drawing shows every single inaccuracy of the mold we let the CNC milling machine run multiple times until a smooth surface could be made out of the material. To prepare the mold for the deep drawing process it is necessary to create air holes through the block from the deepest points in the mold. To find these points I used a little ball from a bicycle wheel. After having found all the deepest points, the next step was to drill the holes through the block. The holes needed to be as small as possible other wise the holes would show in the surface of the Vivak. As the block was about 11 cm high it was not possible to drill through the block with the 1,5 mm drill. From the back I used a drill with a larger radius. However this process resulted to be to tedious and to risky. We needed to find another way.
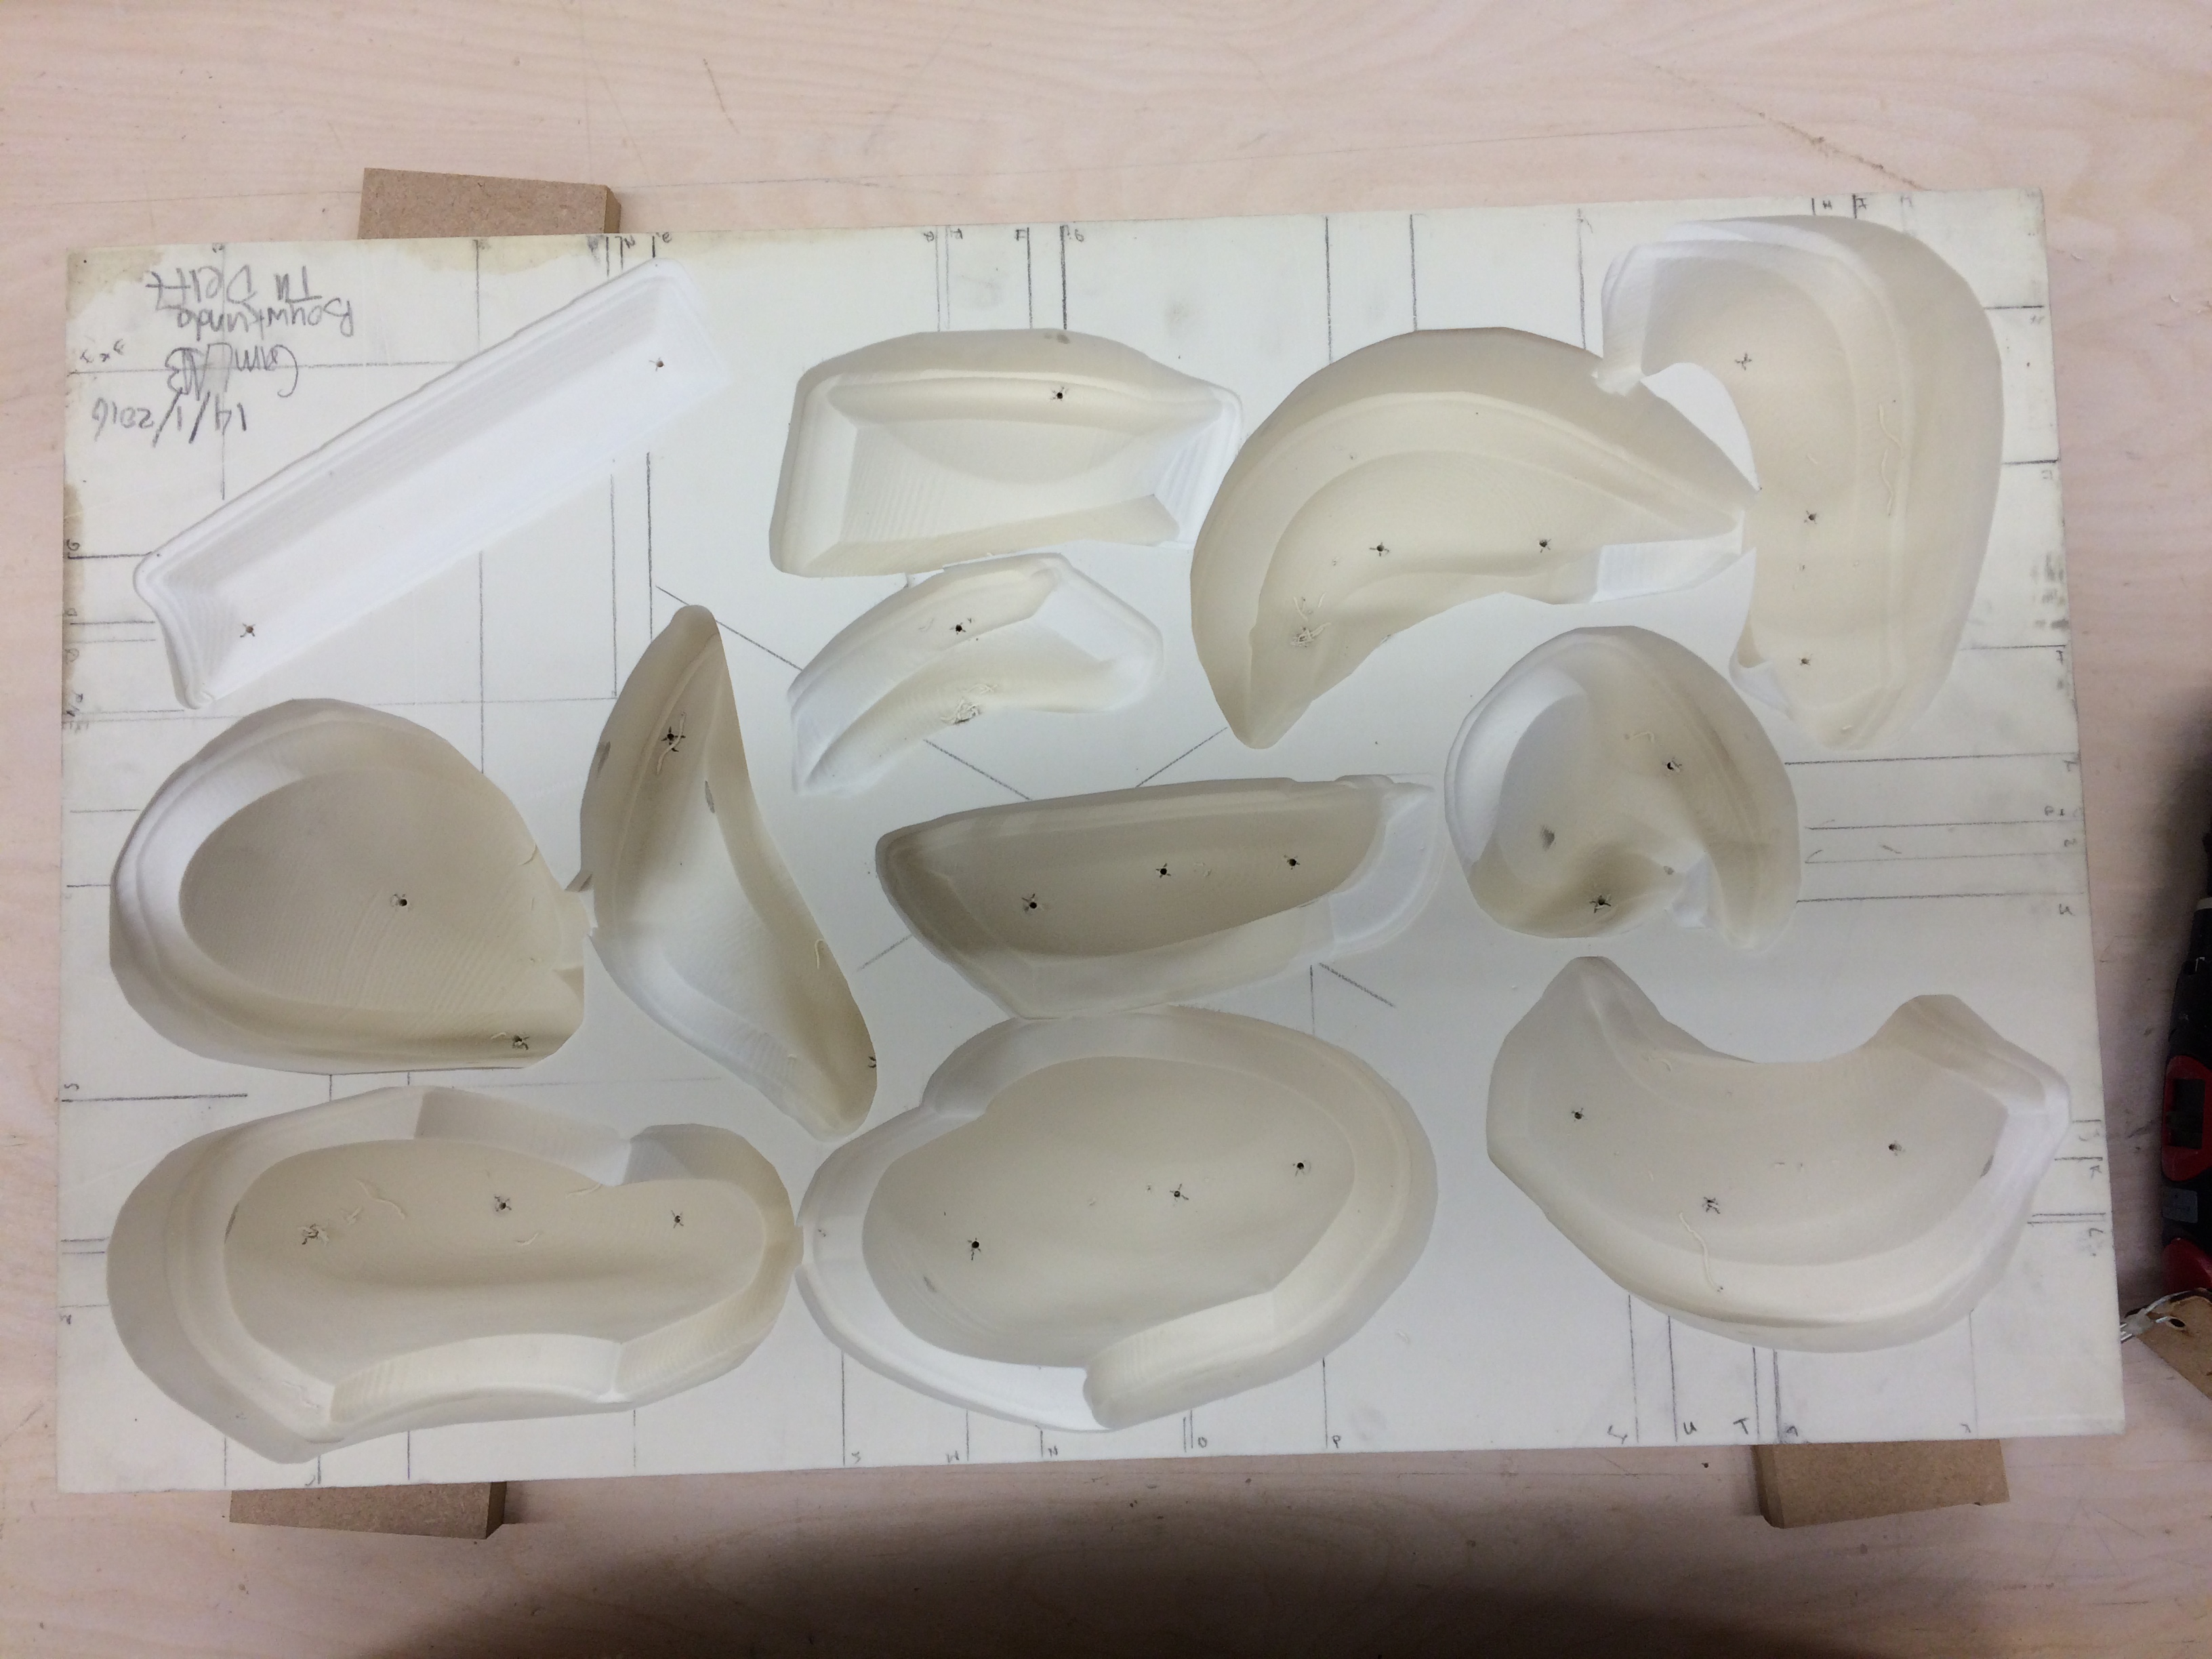
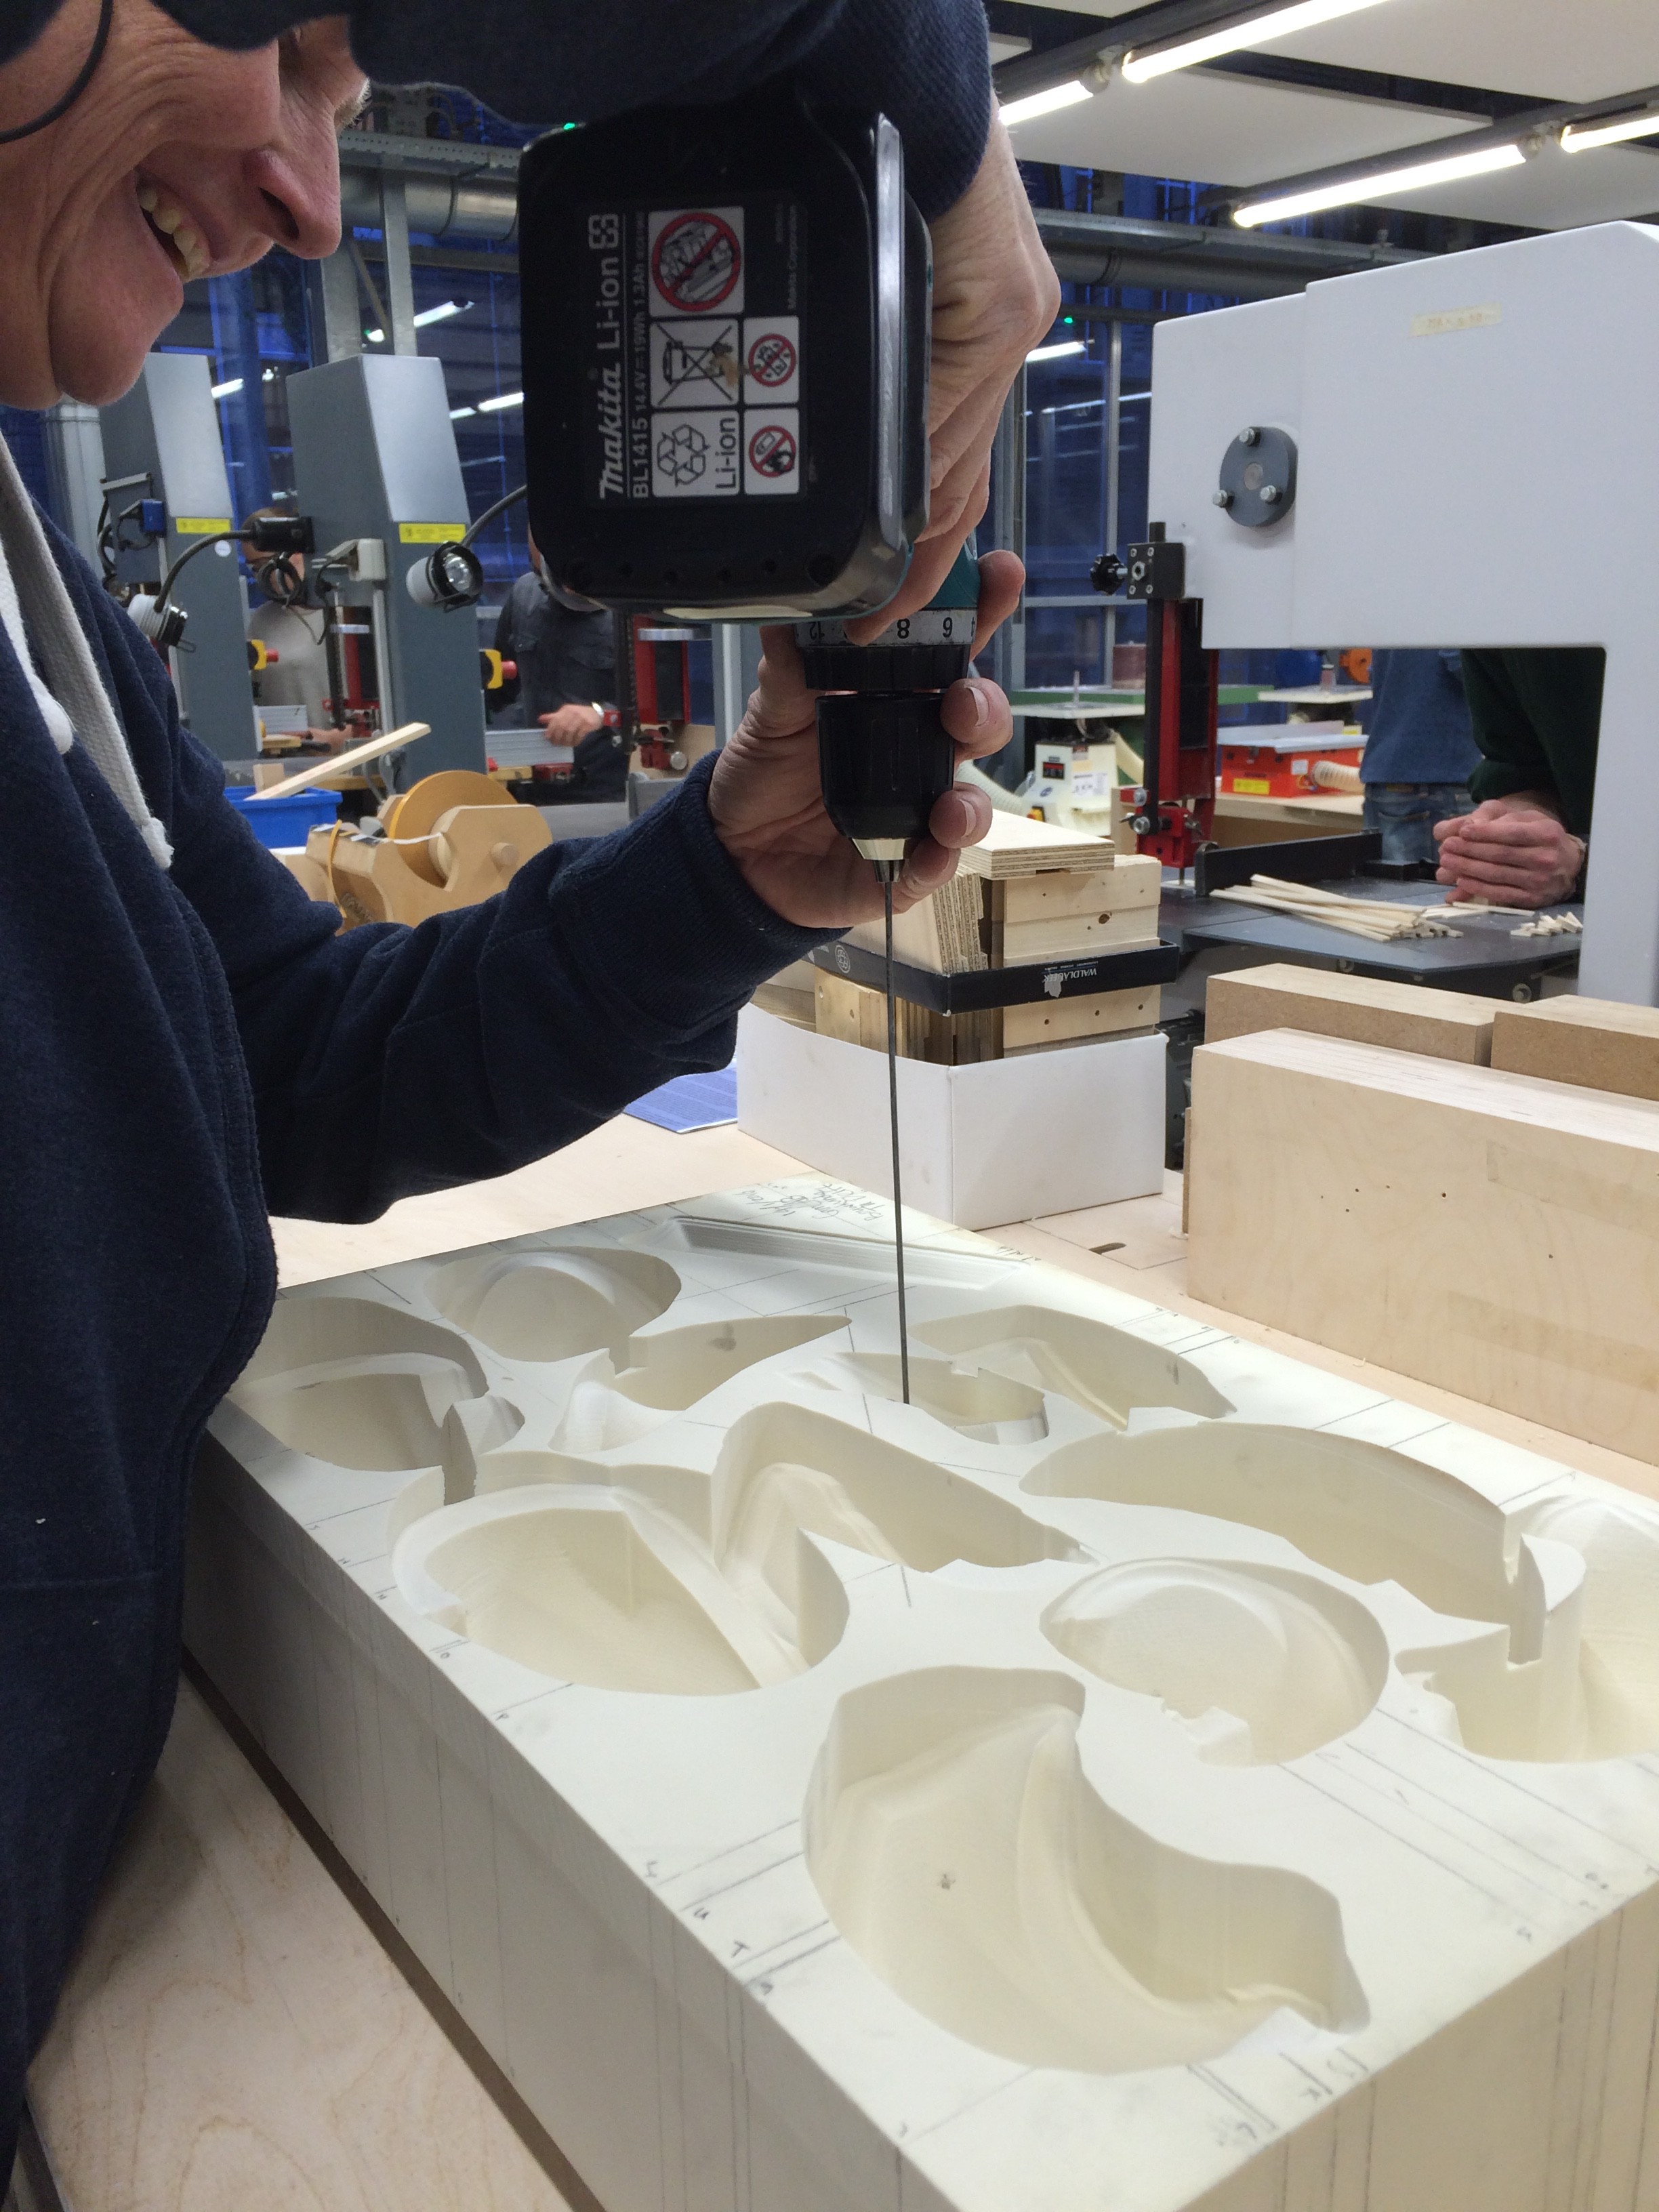
With the help of the staff of the modeling hall we found a bicycle spoke with which we could drill small holes through the entire block height.
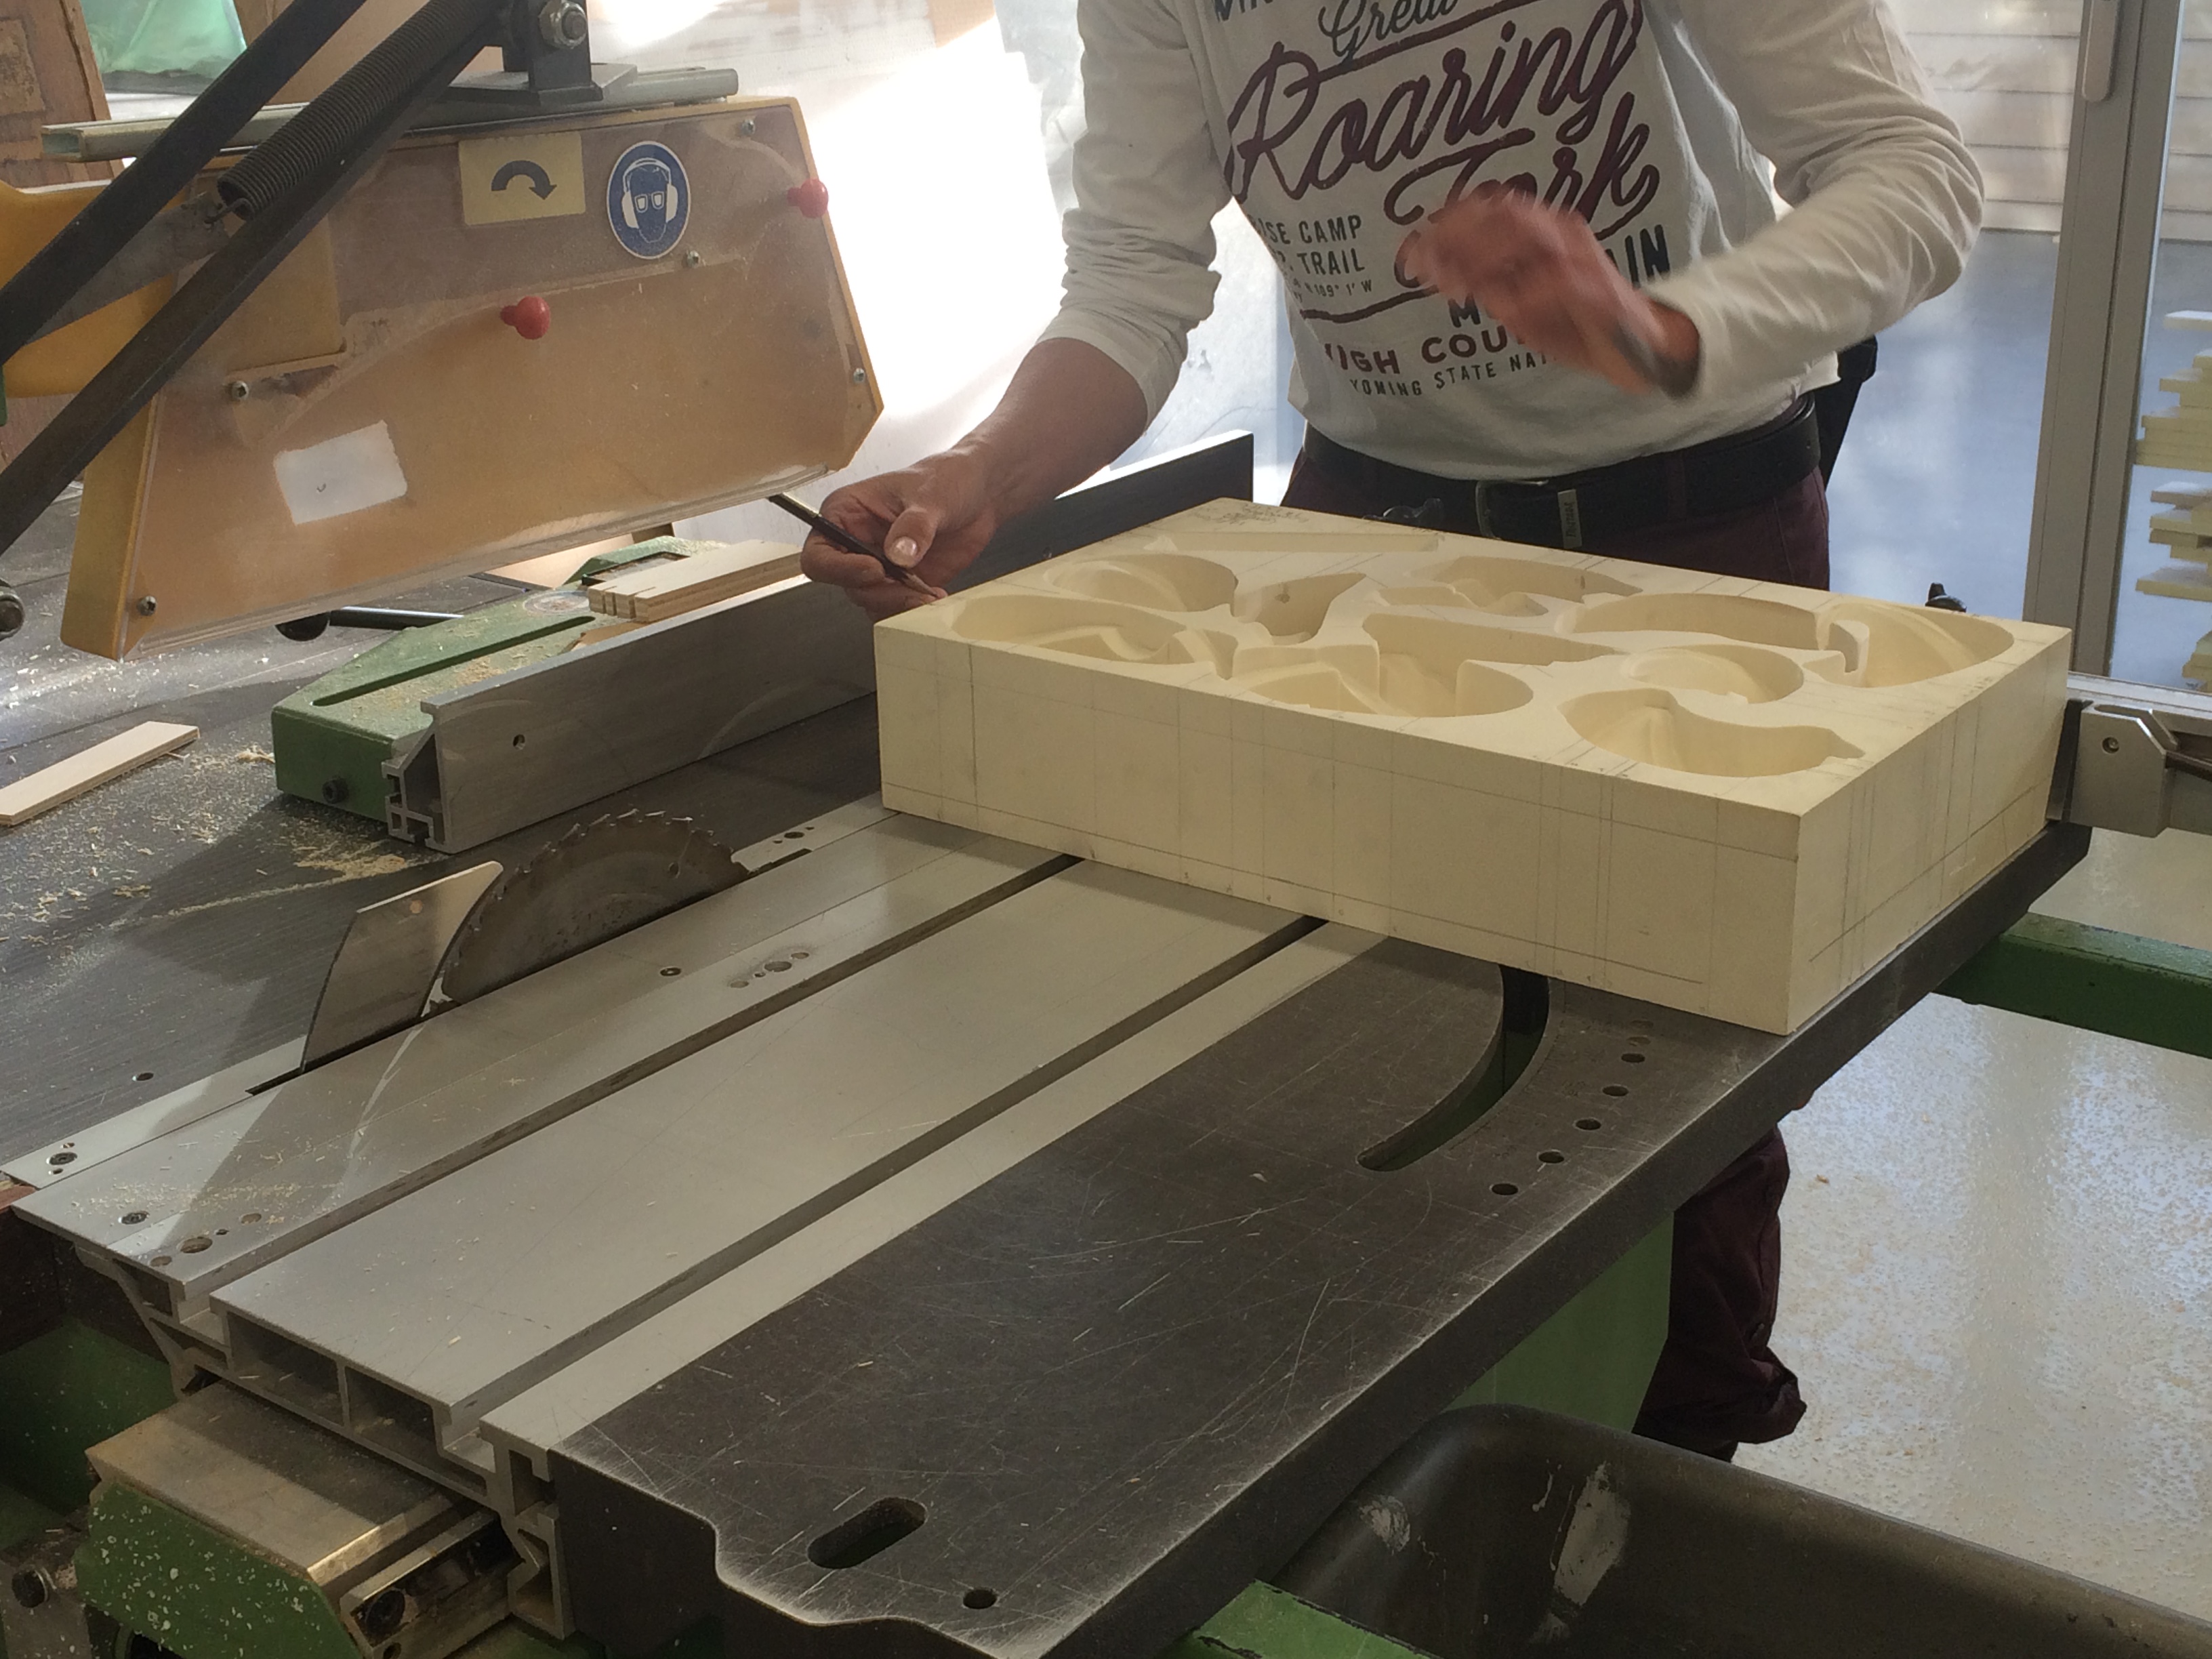
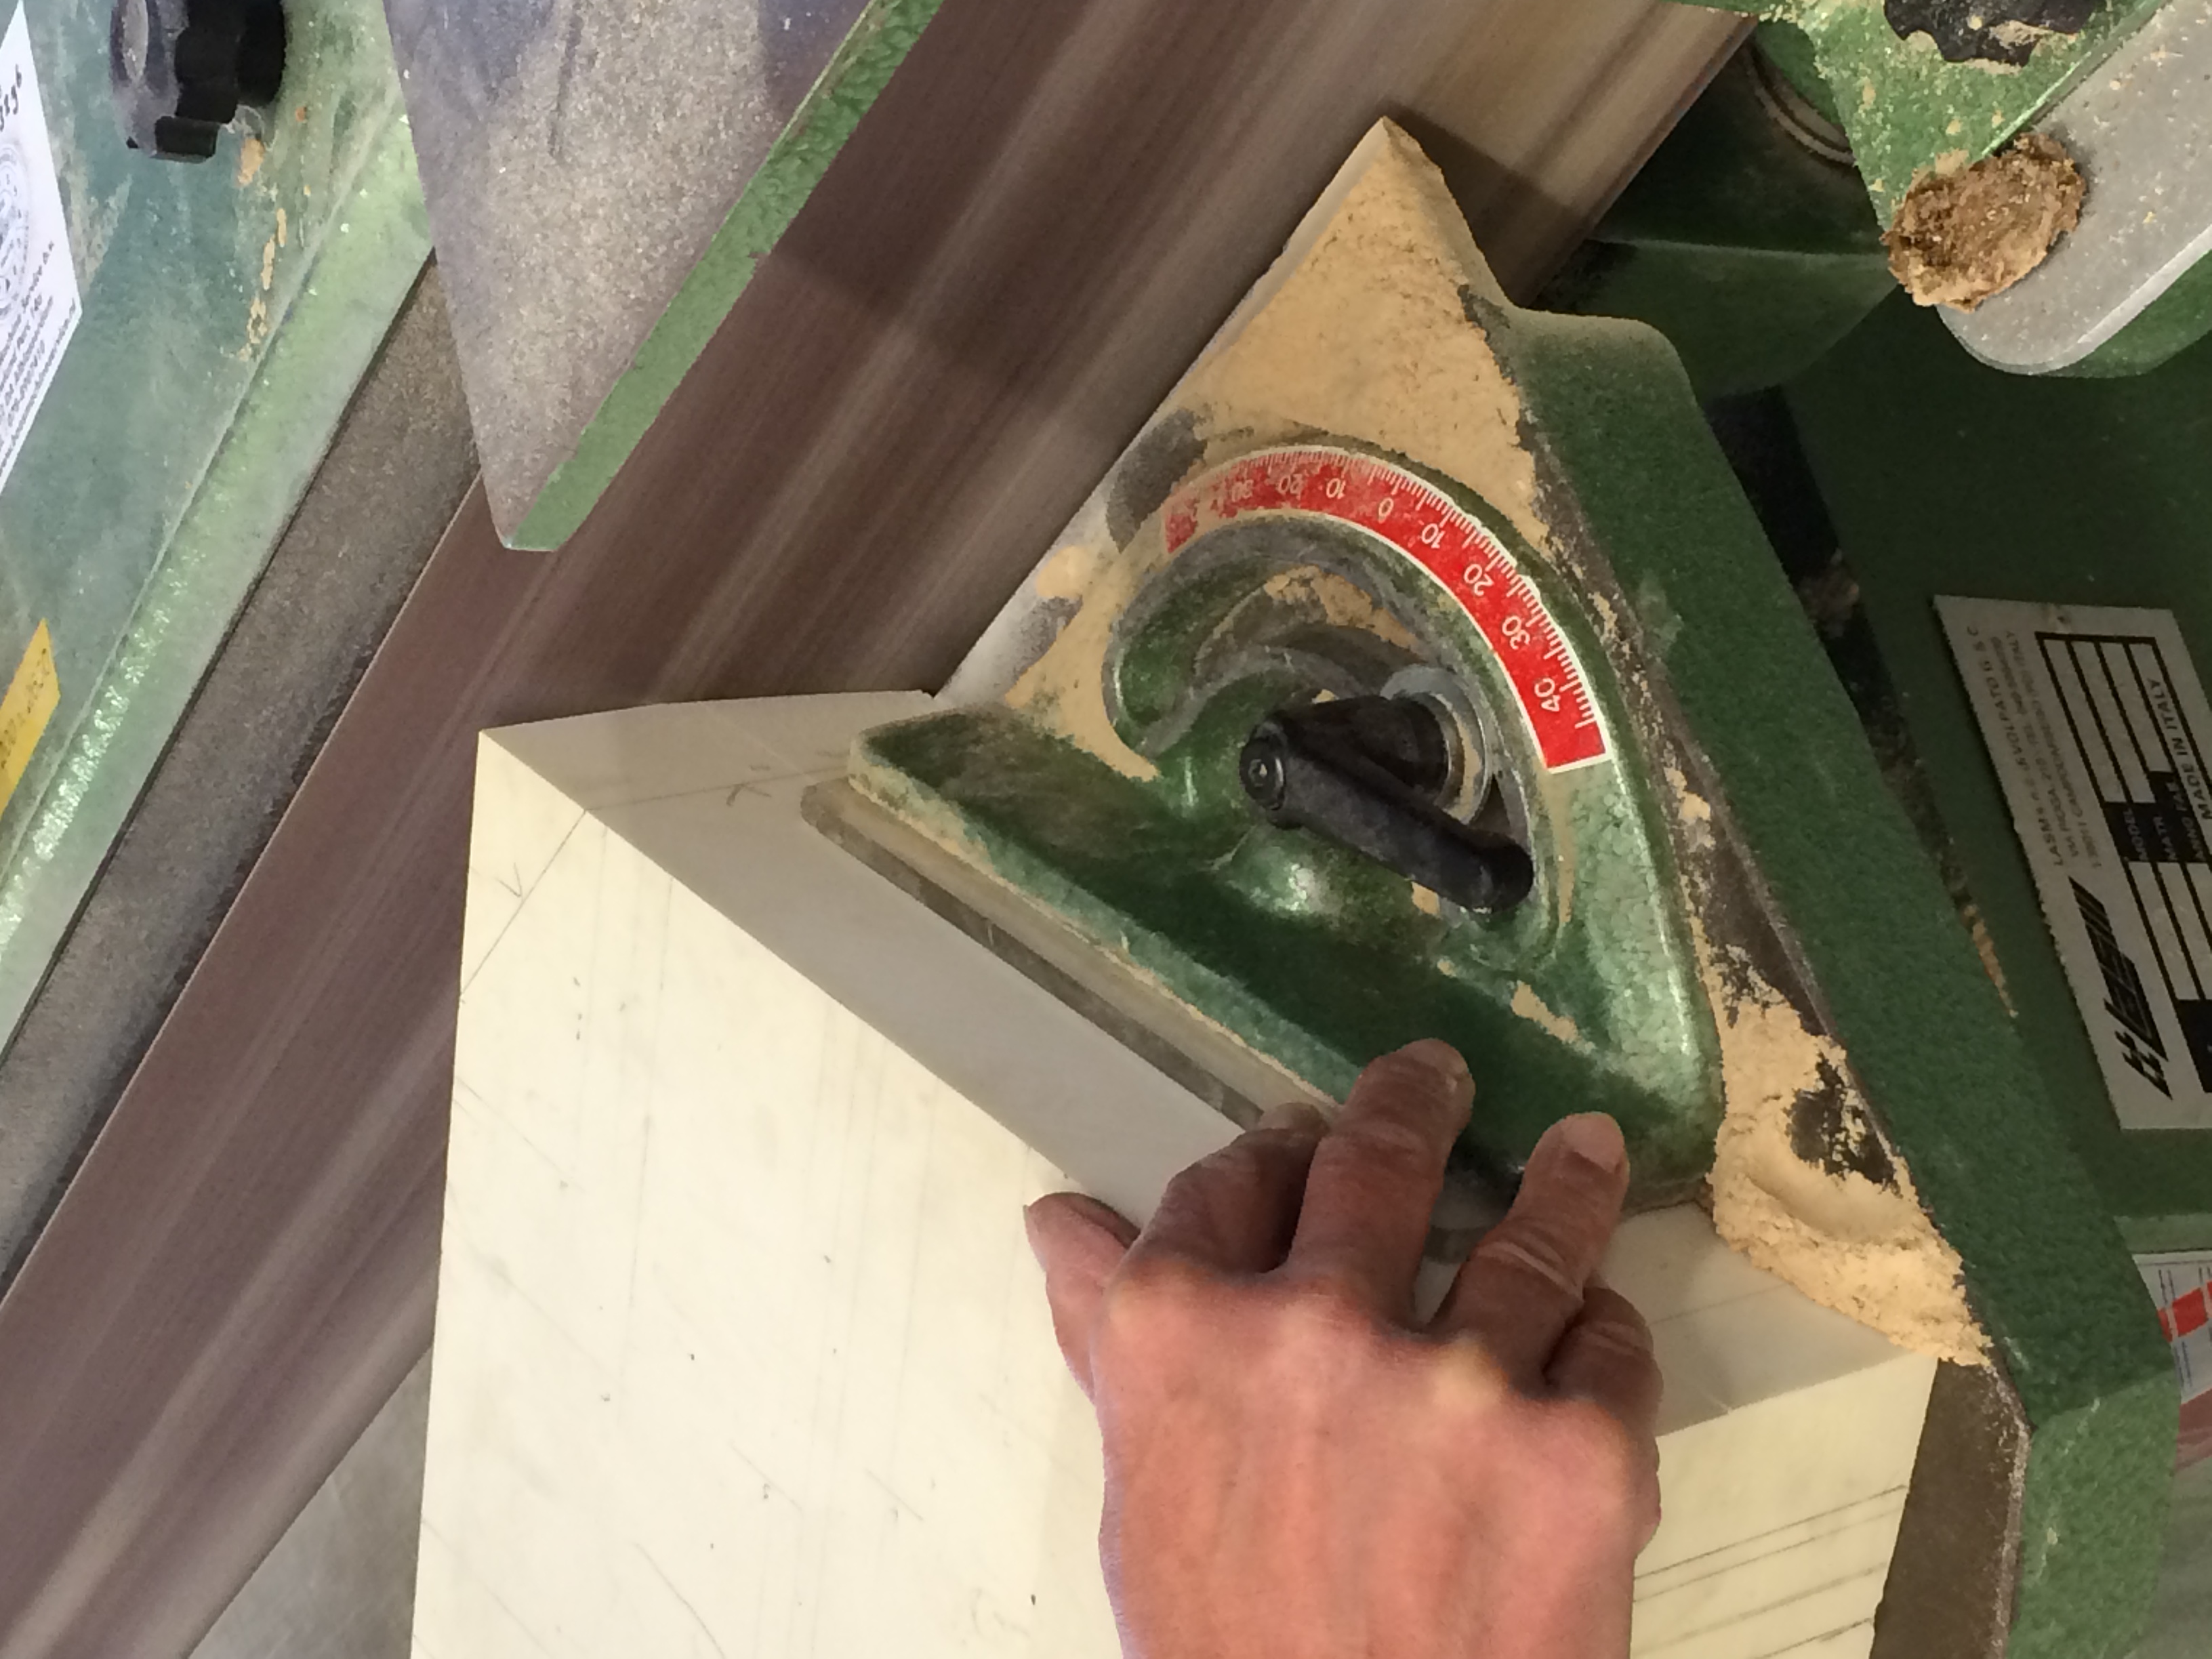
With all the air holes drilled and the corners smoothened it was time to give the deep drawing a try, but the block was too high and too large.

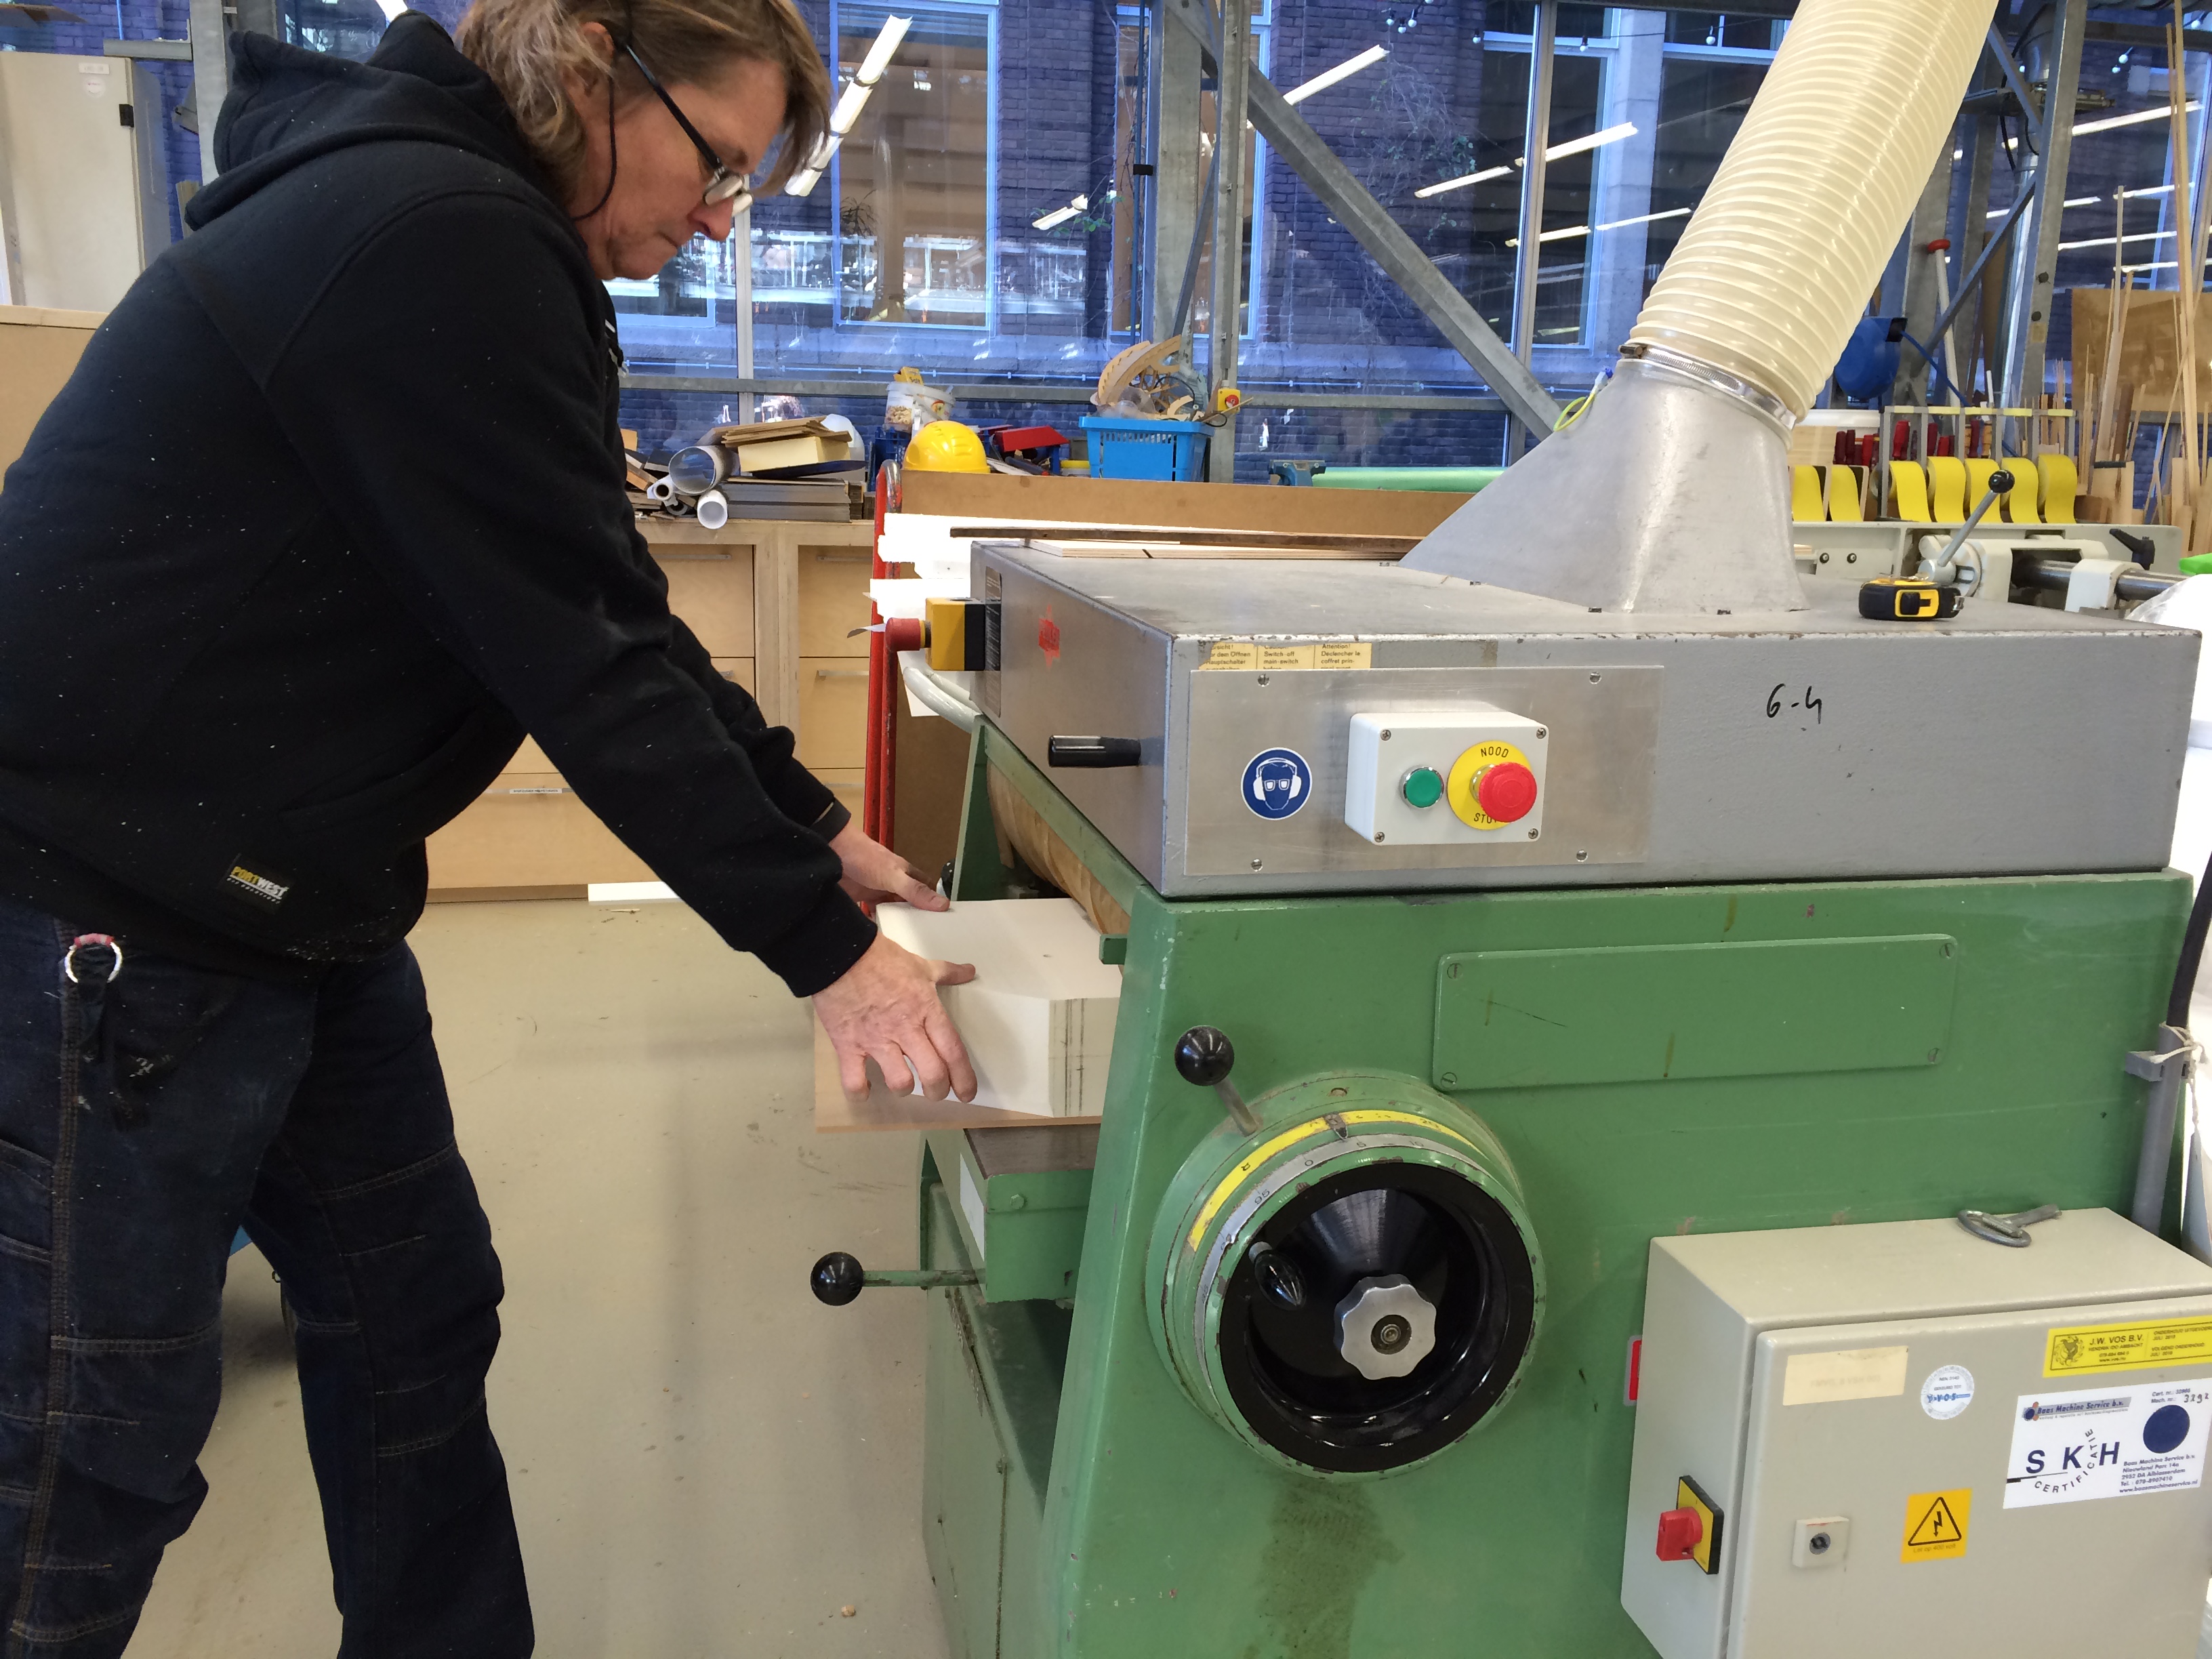
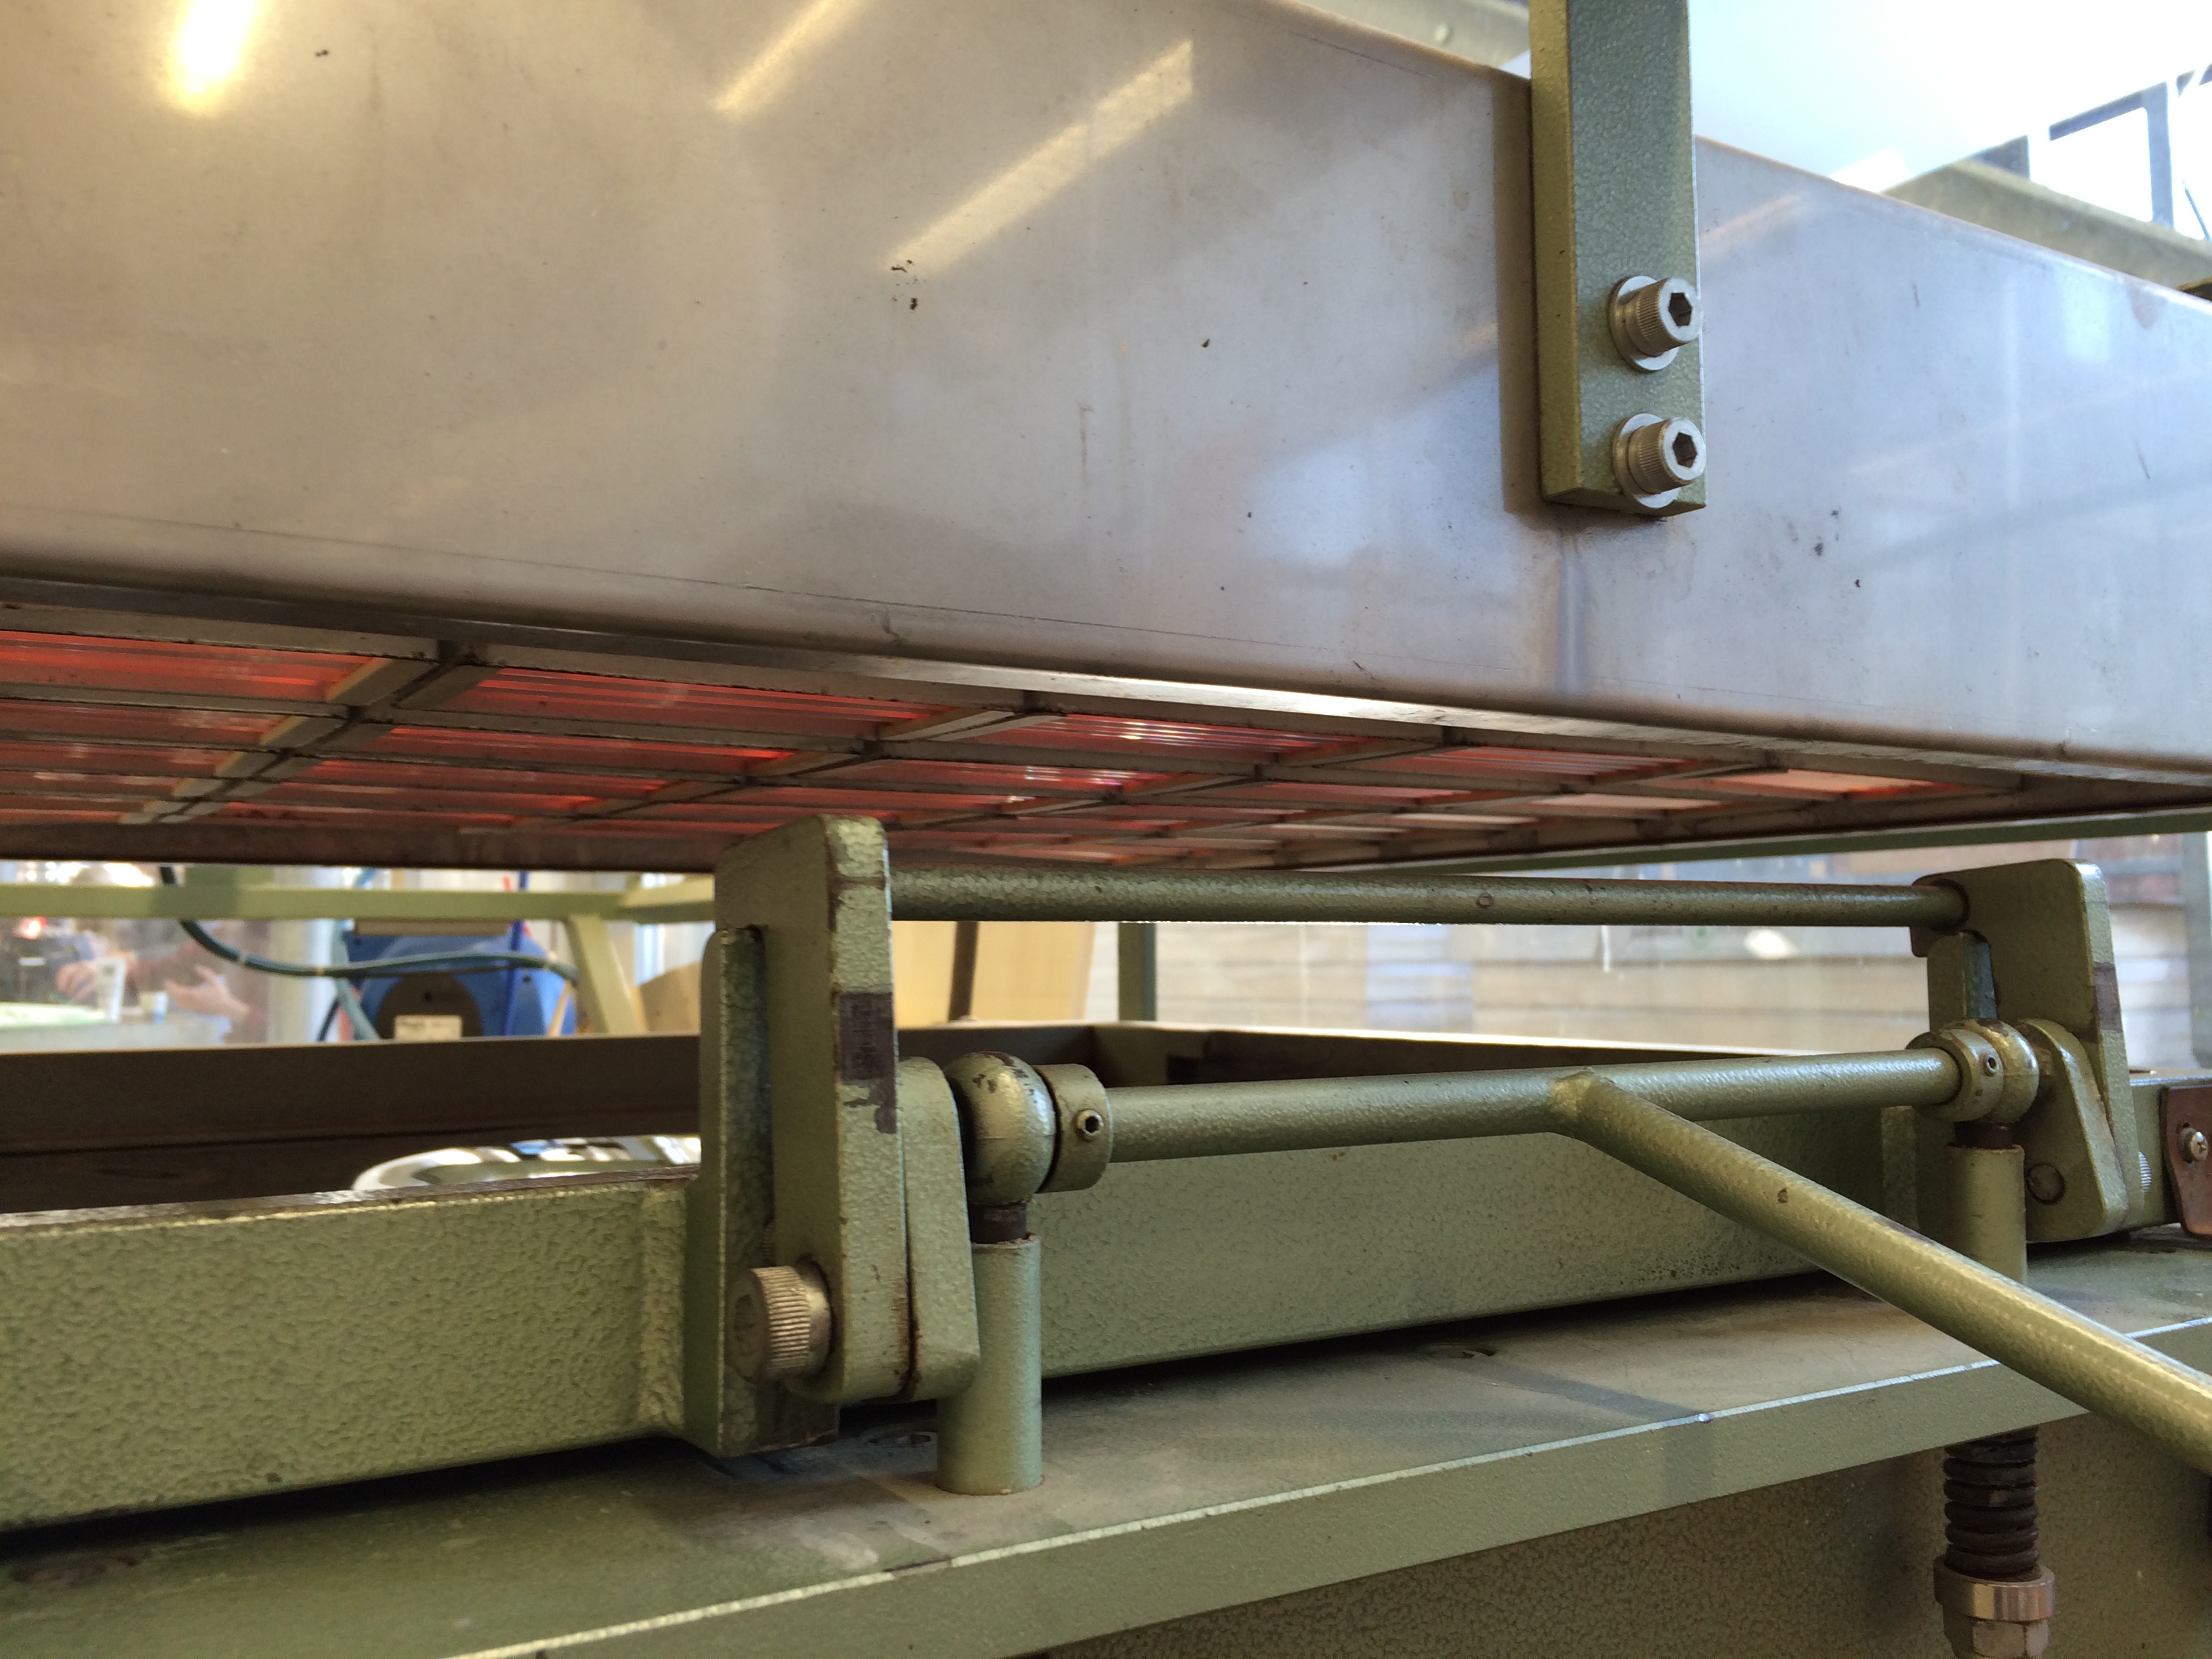
To reduce the height by 14 mm we used a thicknessing machine and attached the block to a board with double-sided tape to insure the block to stay in place. Finally we succeeded to fully deep draw the block. Next up was the removal of the Vivak from the mold, by blowing air through the holes from the back.
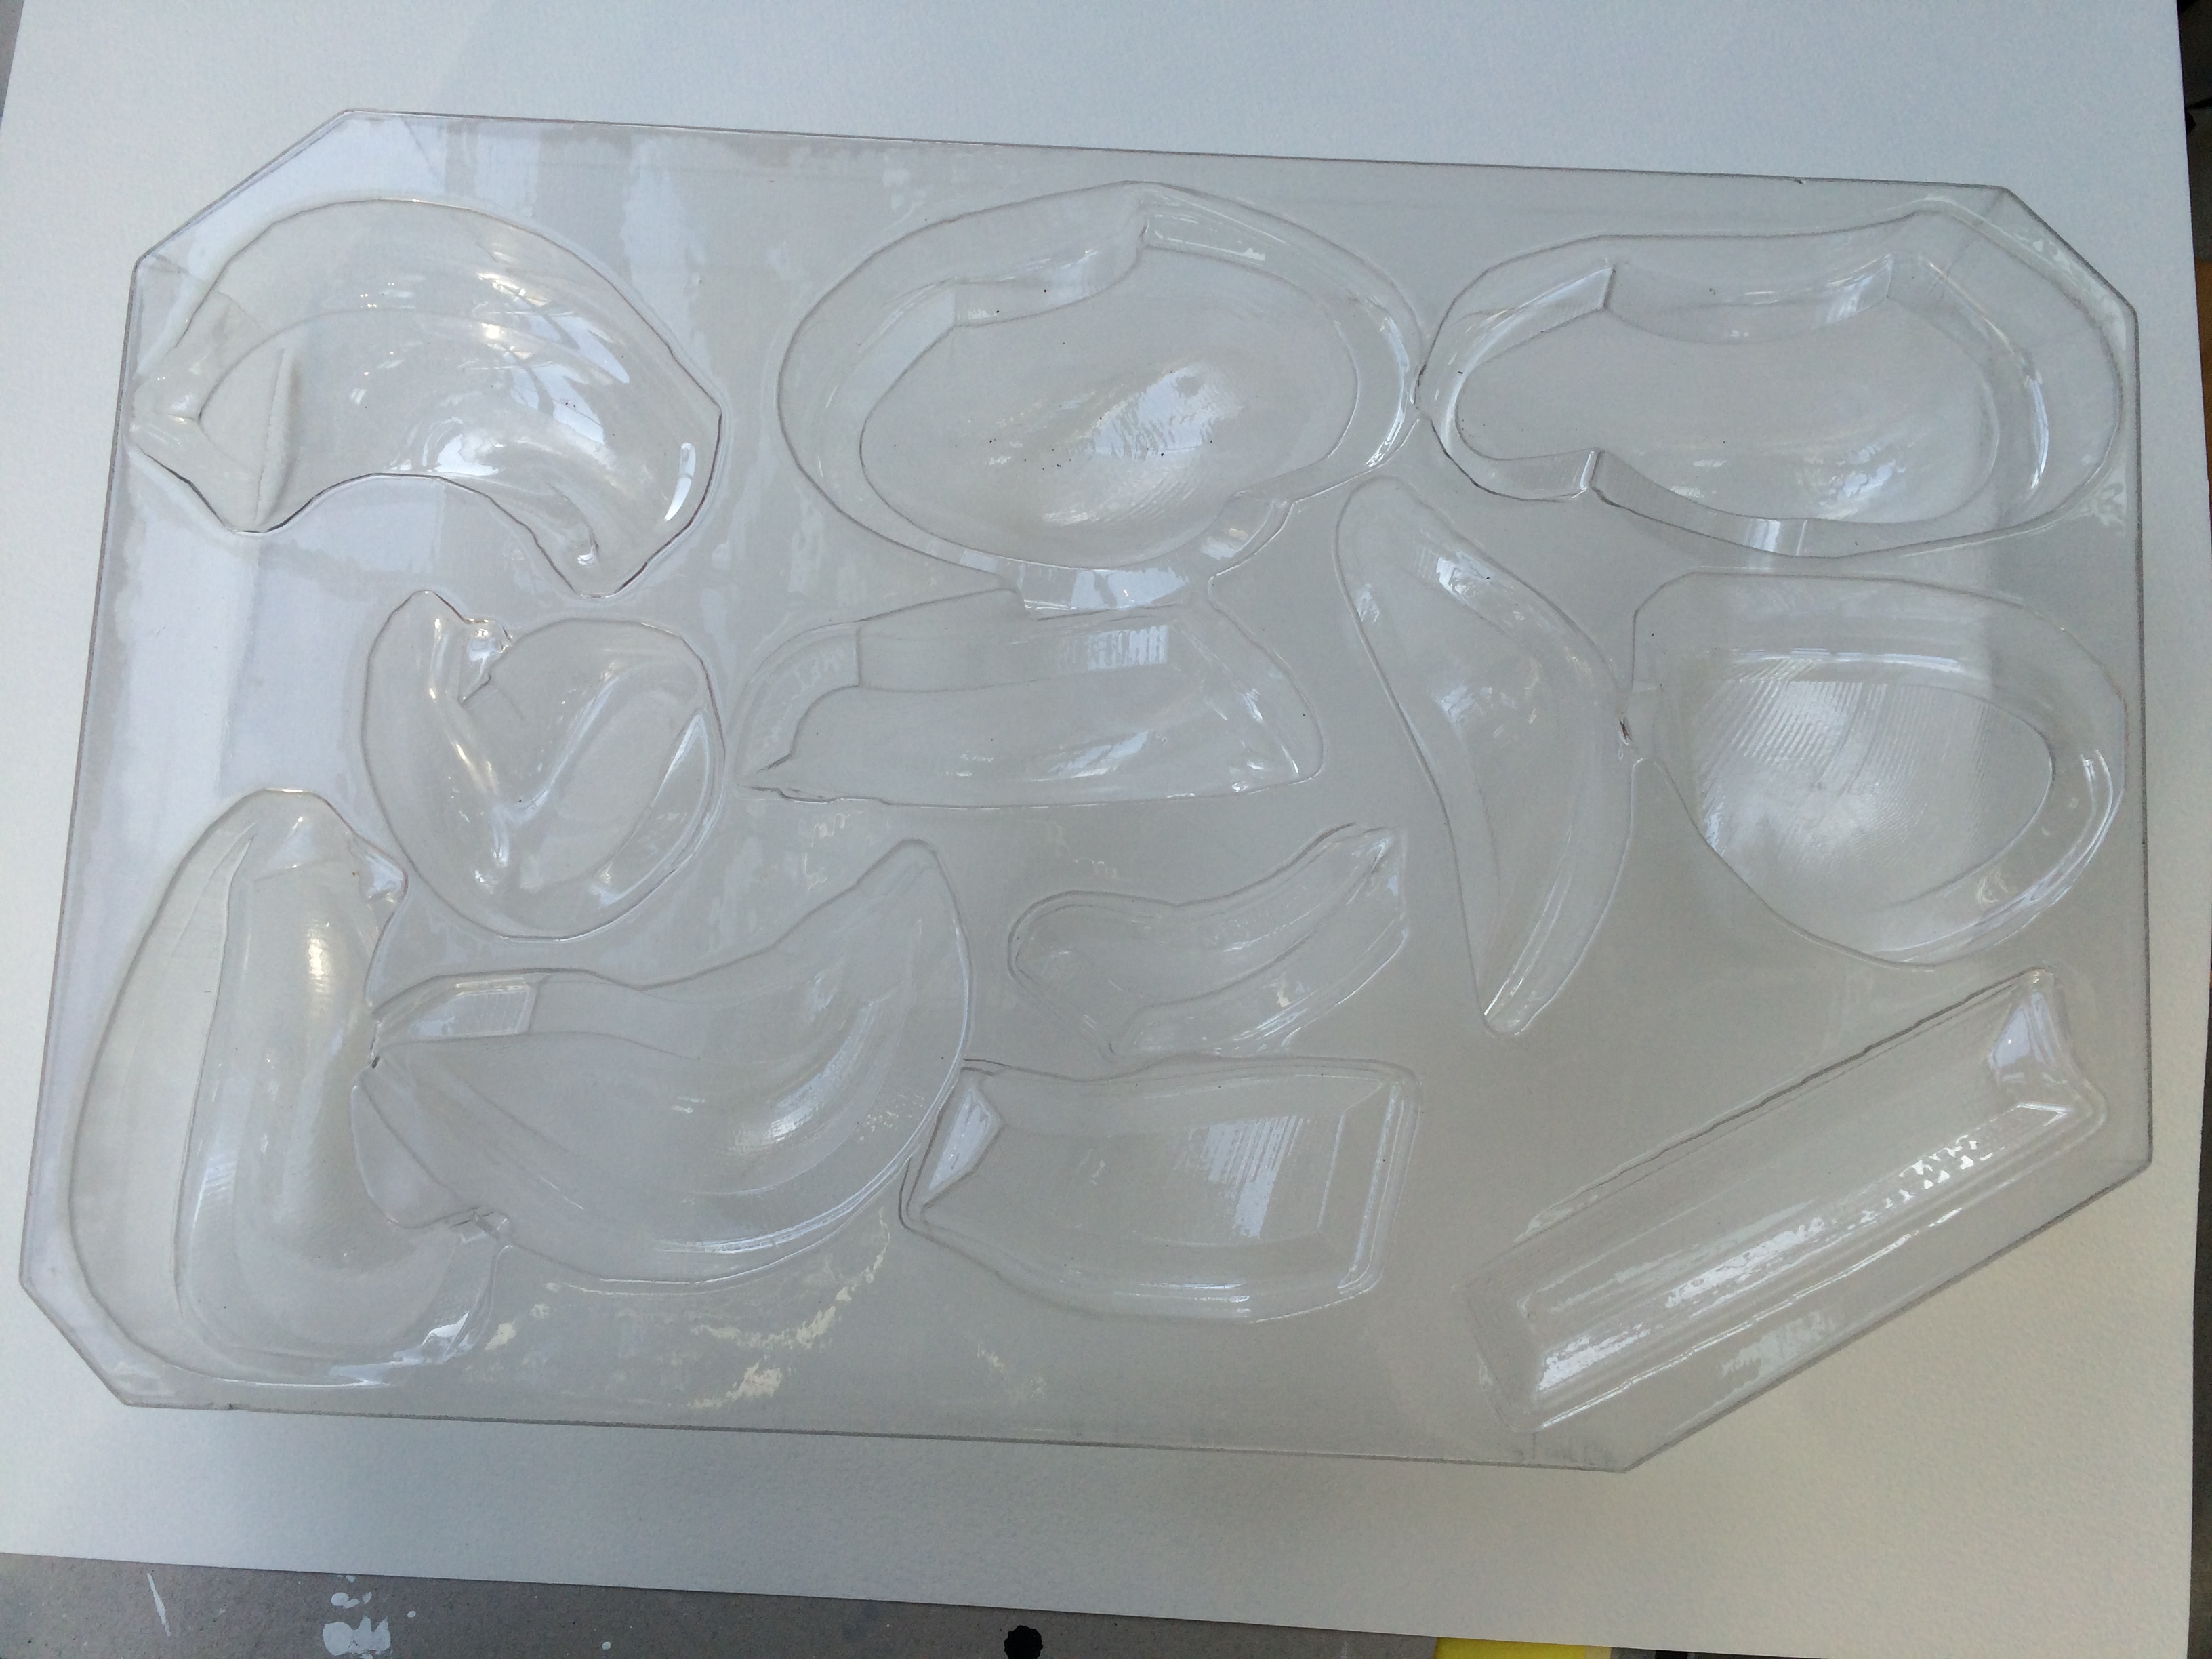
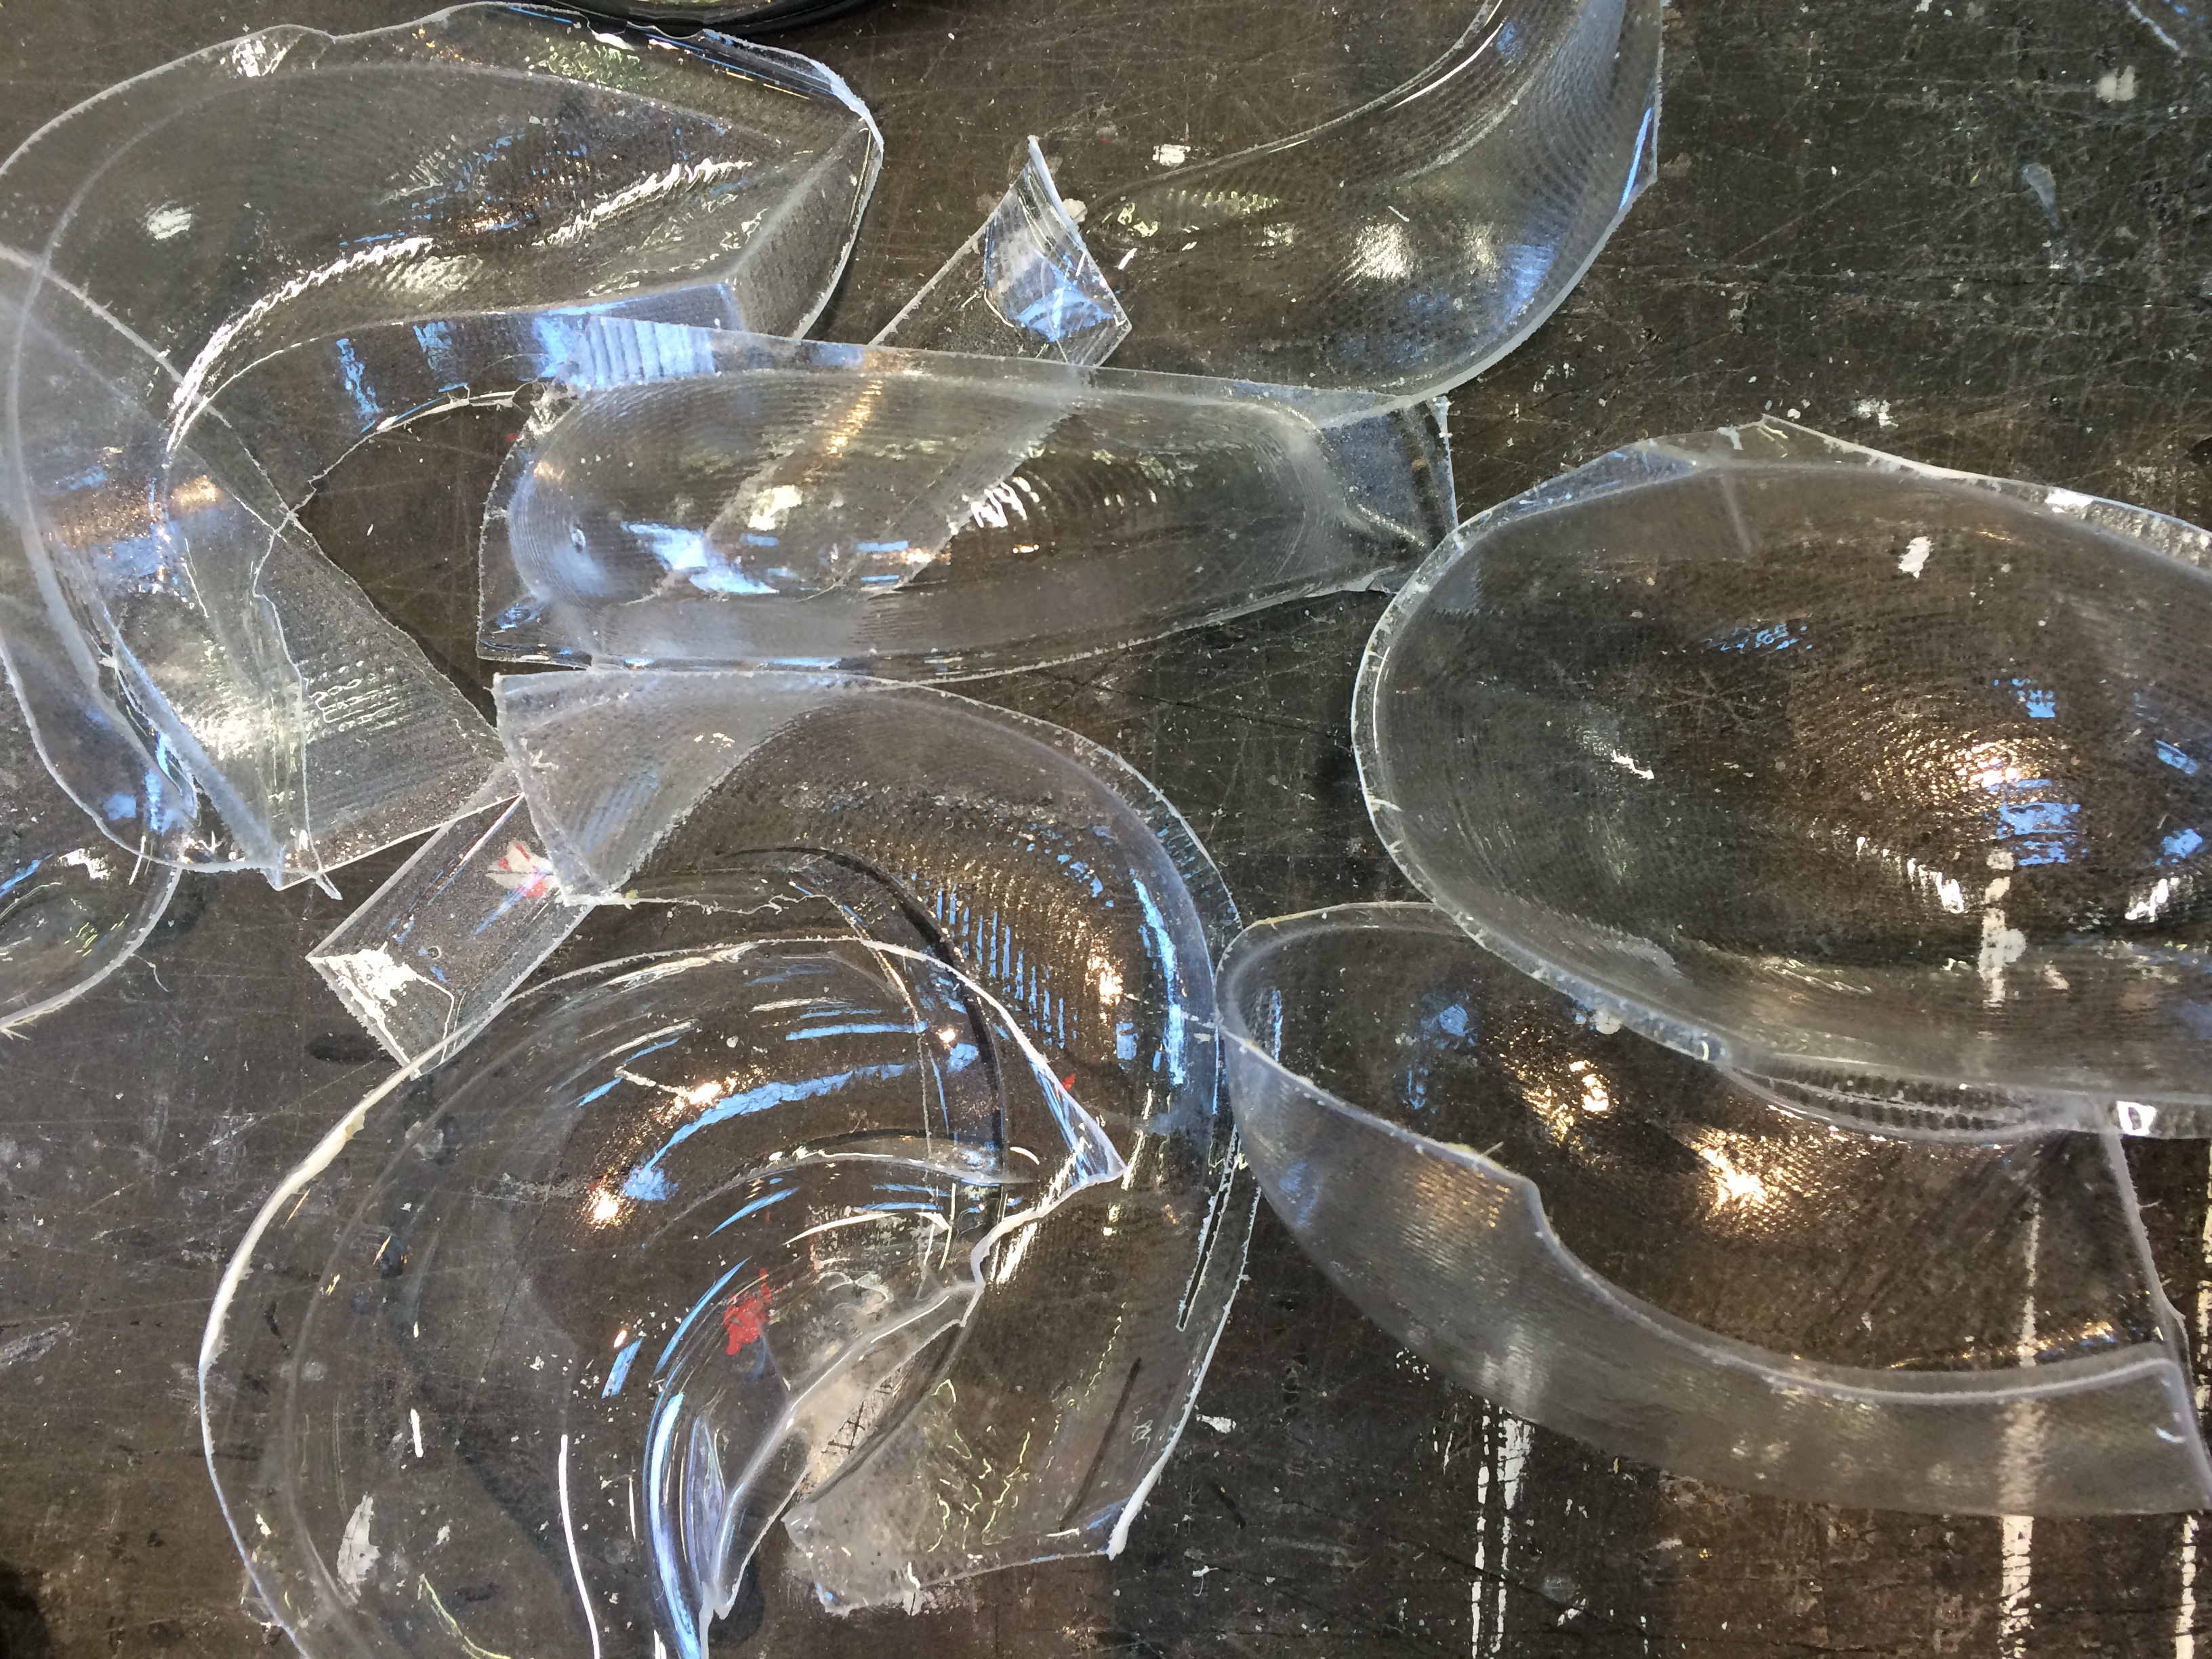
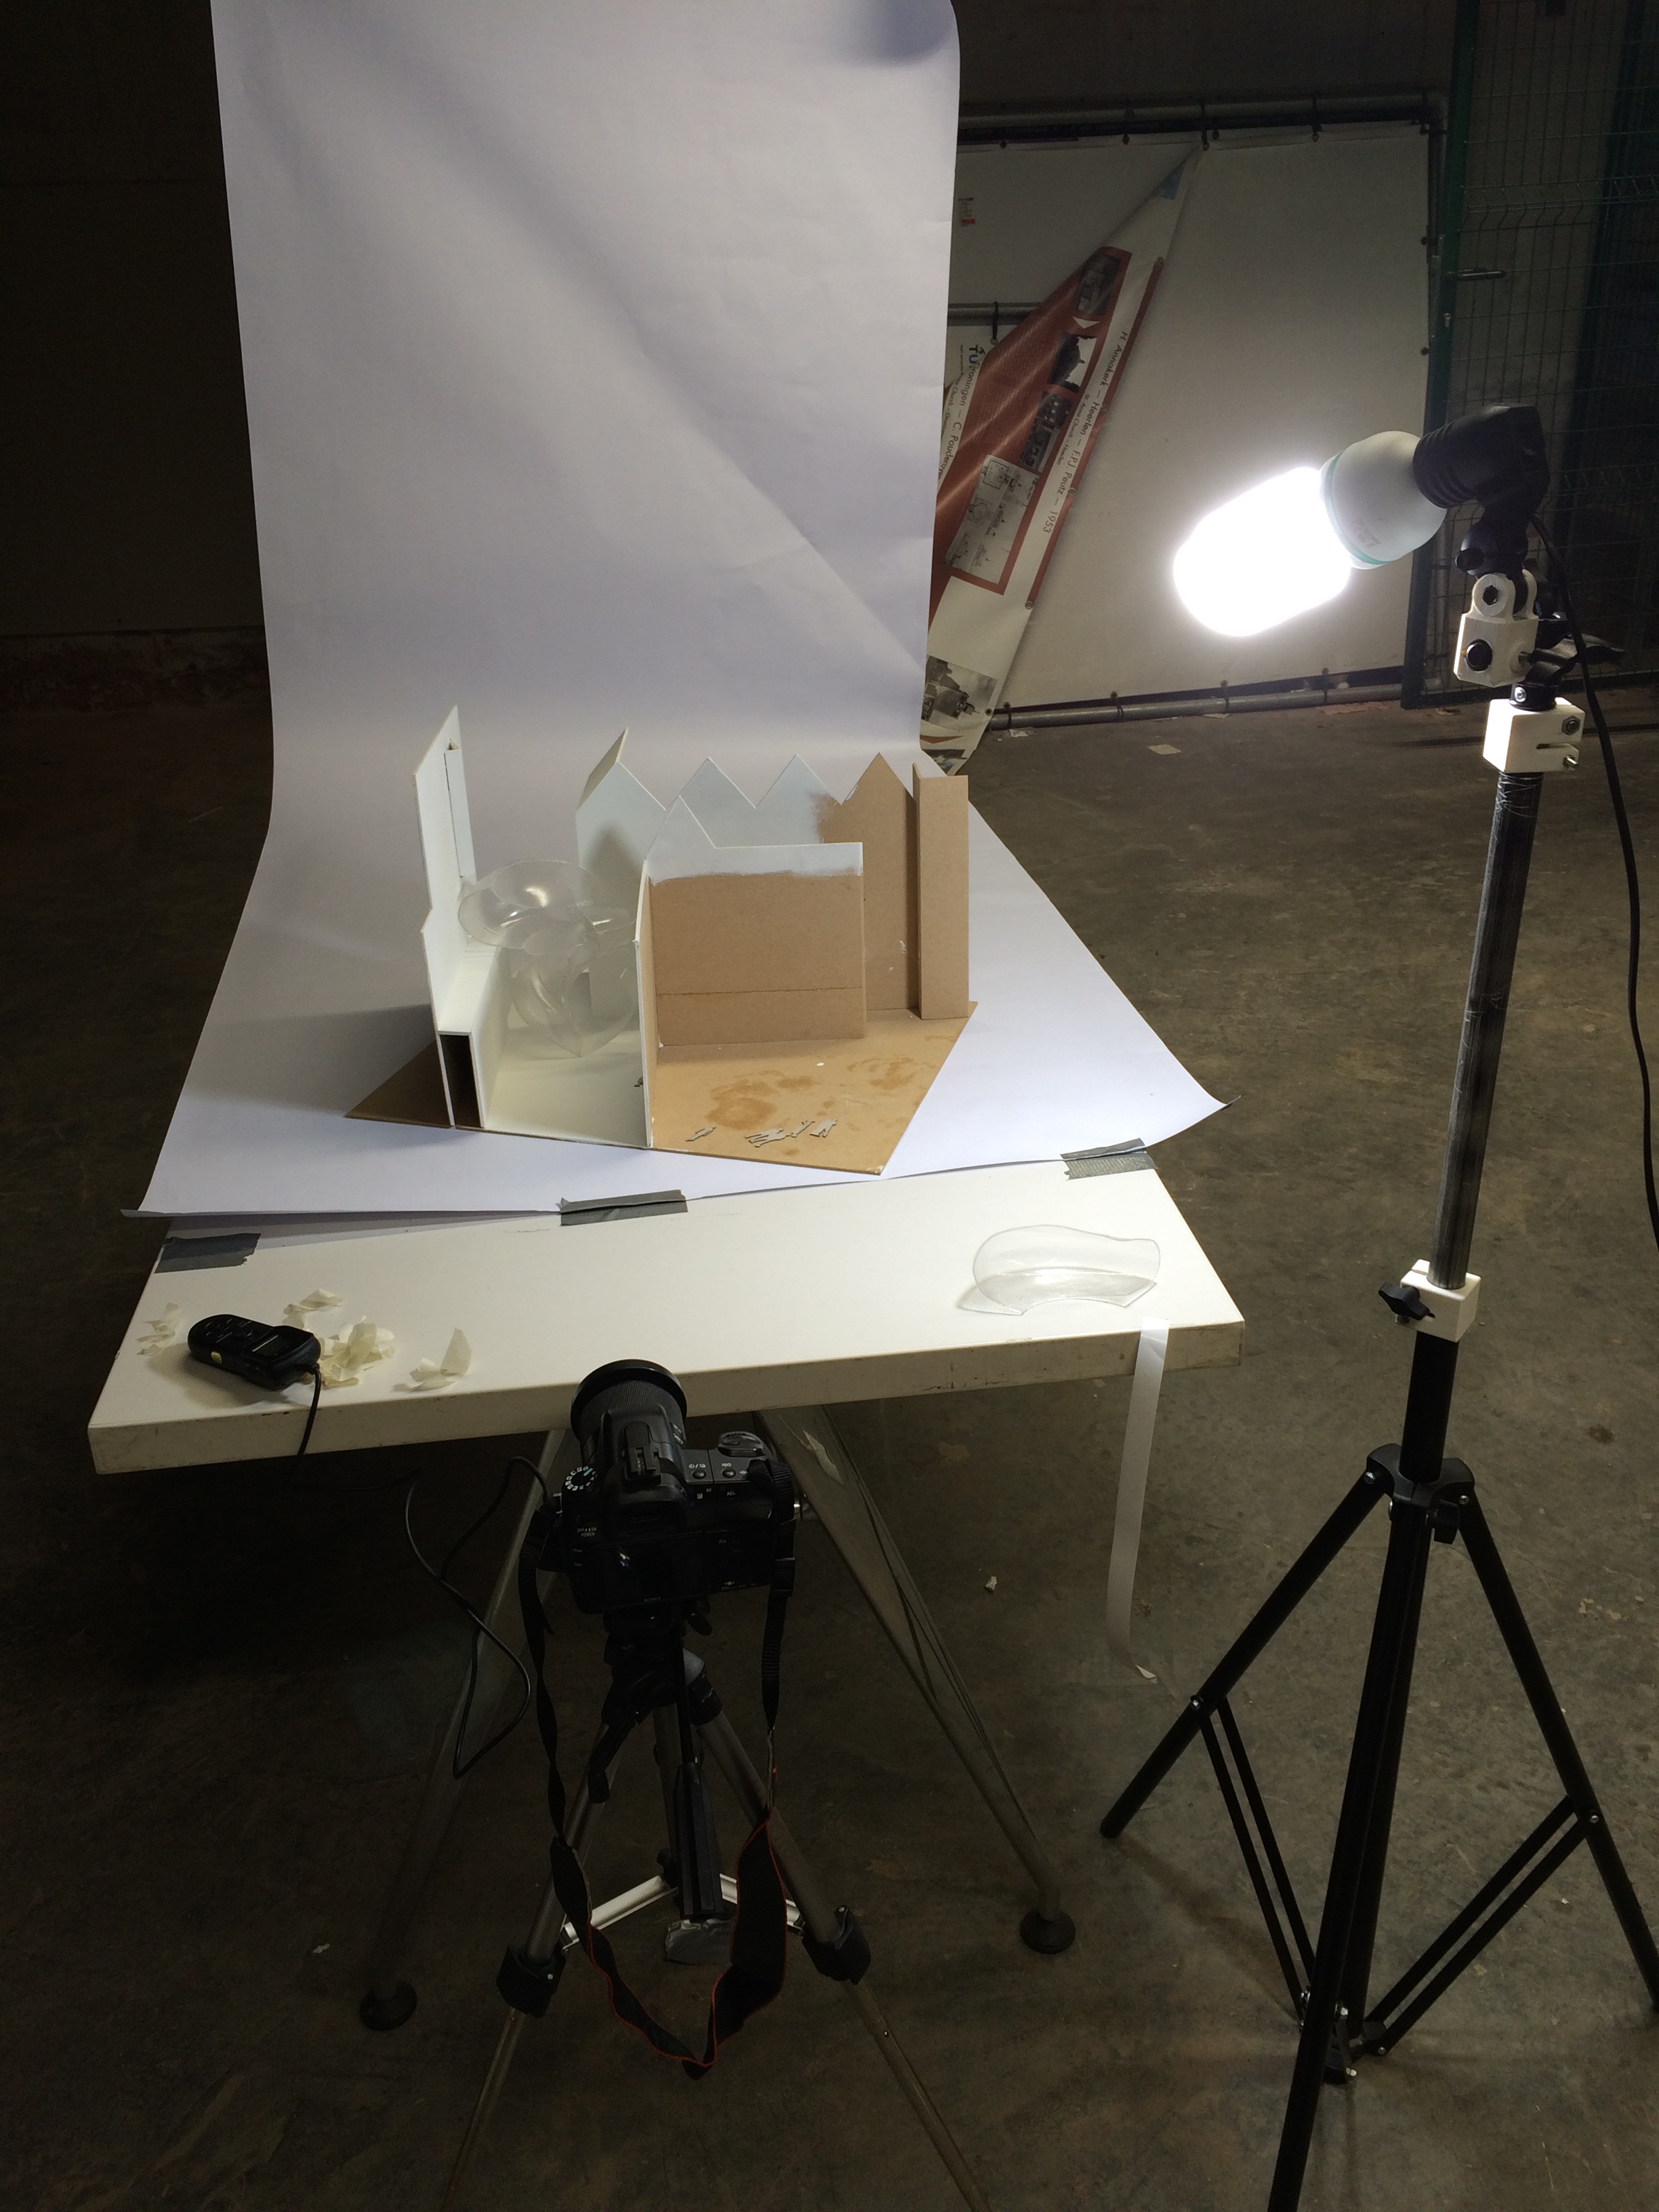
I removed the surfaces that I needed for the model using a saw and utility knife. After attaching all the pieces together it was time to start the painting process. I set up the camera and lighting, prepared the color palette and started painting. The result of which is shown in the movie, giving a first impression of what a building process might look like when architecture becomes as painting.