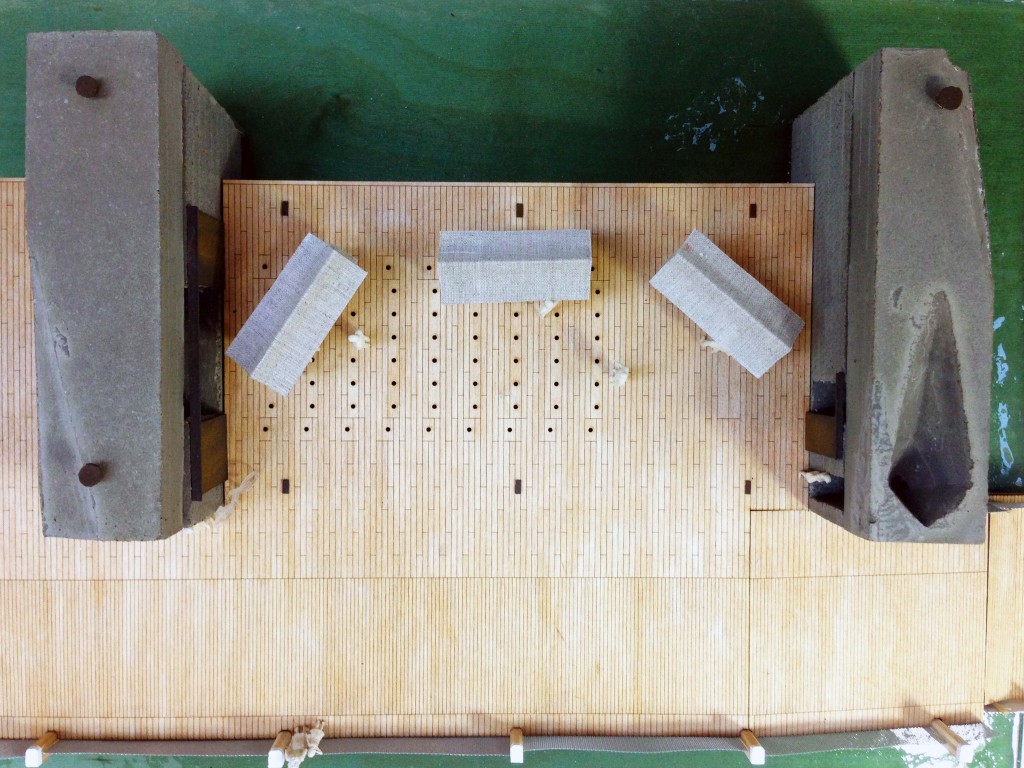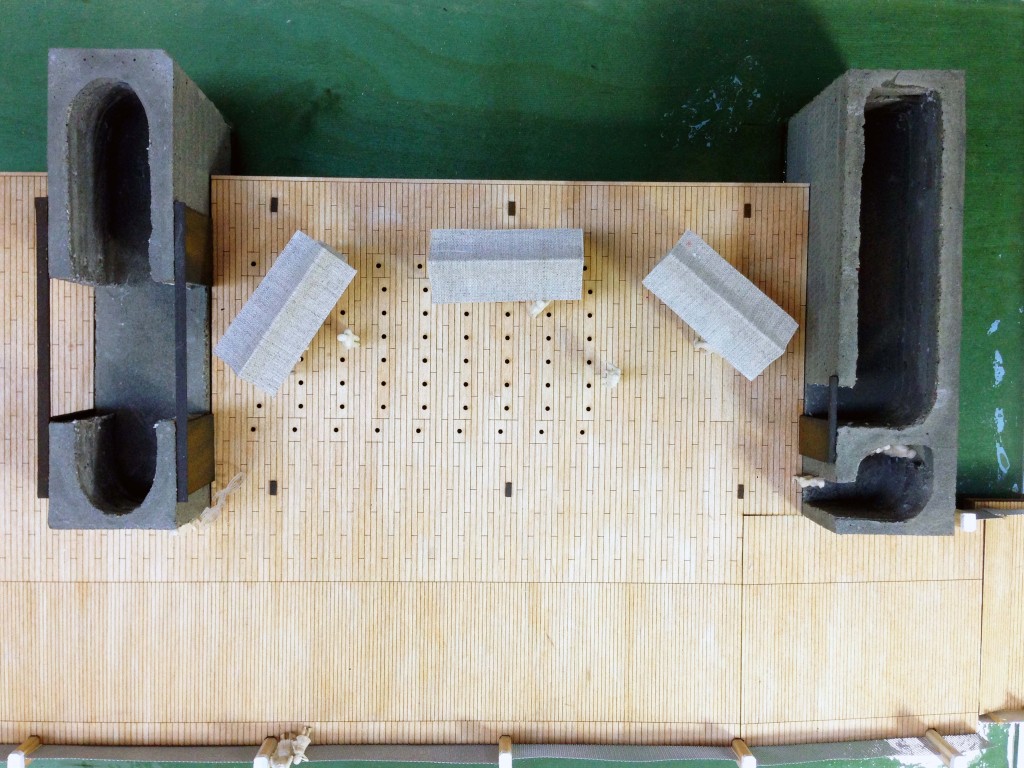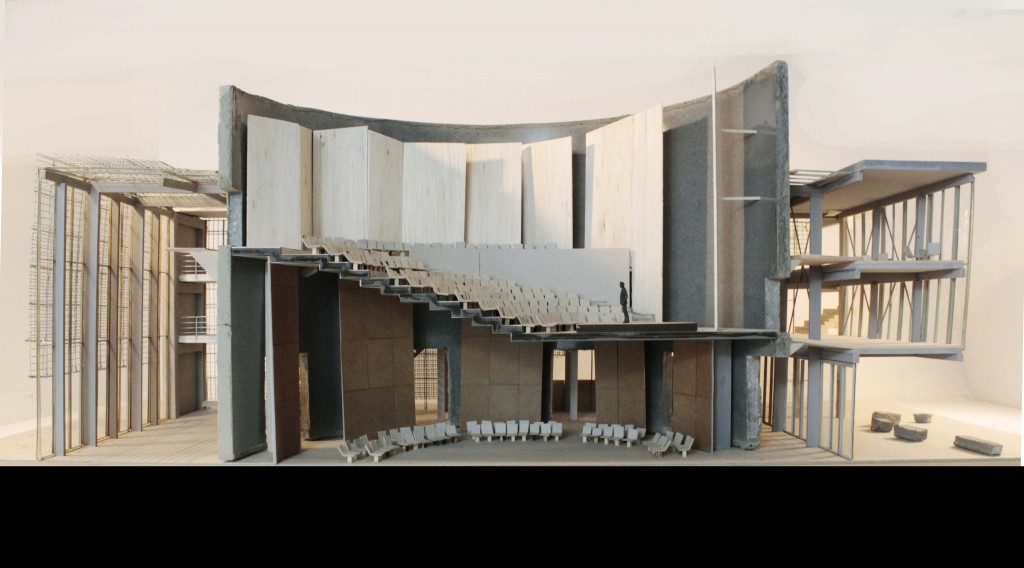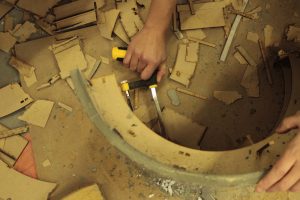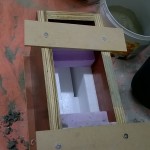
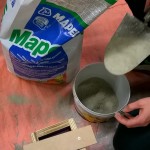
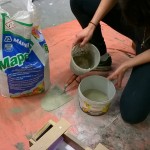
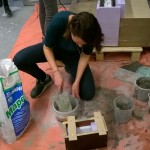
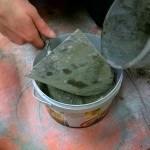
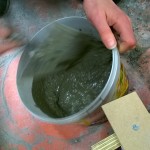
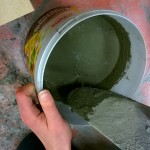
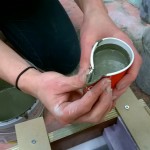
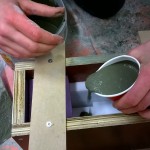
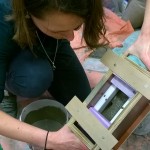
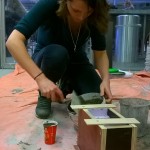
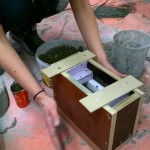
Clara Jansen uses concrete in a repeated casting process. The wooden box can be reused, the foam blocks inside are different for every block. Before casting concrete it could help to read the following basic information:
• Mould making.
The mould must be watertight. This can be ensured by precise tailoring of the components from which the mold is made. If this is not the case any seams can be sealed with acrylic kit.
The shape must be solvable. A releasable form is constructed from wide to narrow and has no projections or protrusions. Any locked parts must be filled with foam. If this is done with a different material, the unloading will be prevented due to shrinkage. It is important which material is chosen for the construction of the mold. The materials that work best are plywood, vivak, EPS foam sheet and silicone rubber. When plywood and foam plates are used, the inside of the mold needs to be treated with oil.
• Concrete mixing.
Before the concrete is mixed the volume must be determined. The solid particles can be measured in a bucket or a tub. Then water can be added. The amount of water must in the end be about 1:4. It is advisable to add it into parts while mixing. If the substance changes from solid to liquid, there is just enough water.
• Composition.
Normal concrete consists of: 1 part cement, 2 parts of sand, 3 parts of stones and 1 part water. The concrete that we usually have in stock misses the stones, instead some gravel or fibers have been added.
• Casting.
During the casting of the concrete a large opening is needed. When the mold is filled, shake slightly to get rid of the bubbles. A compact size causes a high temperature. It’s recommended to cover the mould with foil for one day to prevent the concrete from drying out.
• Unloading.
Before it can be unloaded it’s recommended to wait for at least two days. The unloading takes some strength sometimes, depending on the construction of the mold. Try to take this into account in advance so that the cast does not break when unloading.
• Tools.
There are buckets, a trowel and a mixer available on the faculty. Please clean all tools by rinsing with water after using it. Do not pour the water into the sink, the concrete must settle in the bucket first.
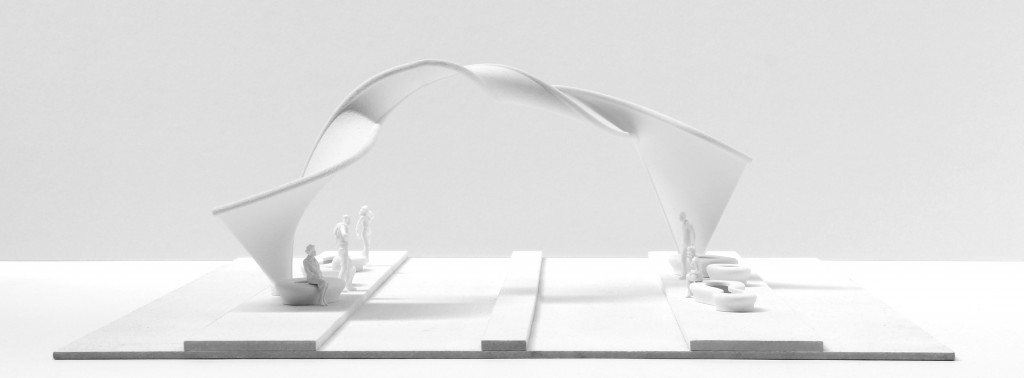
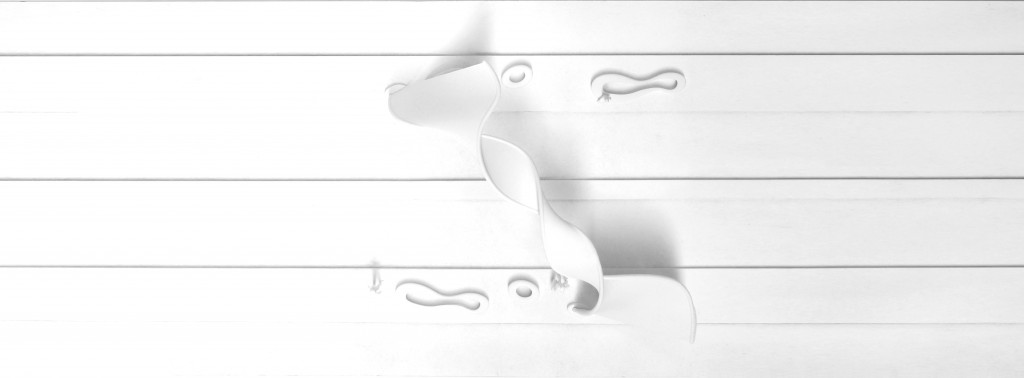
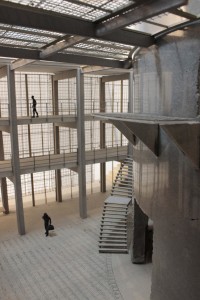
In this case the building process is being imitated by the building process of the model. This is a way of learning about material quality and creating images to show the ambiance at the same time.

